标签:
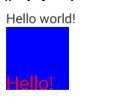
自定义一个View, 继承自 View, 实现如下效果:
/*** 自定义一个简单的 View** @author GAOYUAN**/public class CustomView1 extends View {private Paint mPaint = new Paint();private Rect mRect = new Rect();- // 一般要实现下面两个构造方法
public CustomView1(Context context) {super(context);}- // 第二个参数后面会讲到
public CustomView1(Context context, AttributeSet attrs) {super(context, attrs);}@Overrideprotected void onDraw(Canvas canvas) {super.onDraw(canvas);mPaint.setStyle(Style.FILL);mPaint.setColor(Color.BLUE);mRect.set(0, 0, 100, 100);// Avoid object allocations during draw/layout operations (preallocate// and reuse instead)// 避免在 draw/layout 方法中进行对象分配, 提前分配, 或者重用.// canvas.drawRect(new Rect(0, 0, 100, 100), mPaint);canvas.drawRect(mRect, mPaint);// mPaint.reset();mPaint.setColor(Color.RED);mPaint.setTextSize(30.0f);// 注意, 画文字的时候, 是从左下角开始画的.canvas.drawText("Hello!", 0, 100, mPaint);}}
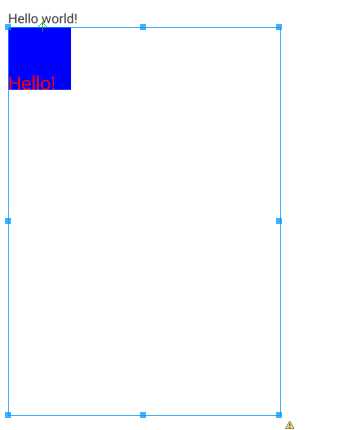
<TextViewandroid:id="@+id/tv_hello"android:layout_width="wrap_content"android:layout_height="wrap_content"android:text="@string/hello_world" /><com.gaoyuan4122.customui.views.CustomView1android:id="@+id/cv_custom1"android:layout_width="wrap_content"android:layout_height="wrap_content"android:layout_below="@id/tv_hello" /><TextViewandroid:id="@+id/tv_hello2"android:layout_width="wrap_content"android:layout_height="wrap_content"android:text="@string/hello_world"android:layout_below="@id/cv_custom1" />

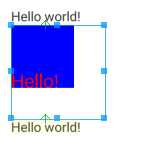
<TextViewandroid:id="@+id/tv_hello"android:layout_width="wrap_content"android:layout_height="wrap_content"android:text="@string/hello_world" /><com.gaoyuan4122.customui.views.CustomView1android:id="@+id/cv_custom1"android:layout_width="100dp"android:layout_height="100dp"android:layout_below="@id/tv_hello" /><TextViewandroid:id="@+id/tv_hello2"android:layout_width="wrap_content"android:layout_height="wrap_content"android:text="@string/hello_world"android:layout_below="@id/cv_custom1" />

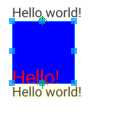
@Overrideprotected void onMeasure(int widthMeasureSpec, int heightMeasureSpec) {widthMeasureSpec = MeasureSpec.makeMeasureSpec(100, MeasureSpec.EXACTLY);heightMeasureSpec = MeasureSpec.makeMeasureSpec(100, MeasureSpec.EXACTLY);super.onMeasure(widthMeasureSpec, heightMeasureSpec);}

标签:
原文地址:http://www.cnblogs.com/ywq-come/p/5927301.html