标签:
安装编译所需的包:
[root@xaiofan ~]# yum install -y gcc gcc-c++ autoconf automake
安装nginx使用某些功能需要的包:
[root@xaiofan ~]# yum install -y zlib zlib-devel openssl openssl-devel pcre-devel
创建用户:
[root@xaiofan ~]# useradd -u 8000 -s /sbin/nologin nginx
安装:
[root@xaiofan ~]# cd /soft/
[root@xaiofan soft]# ls
nginx-1.8.0.tar.gz
[root@xaiofan soft]# tar xf nginx-1.8.0.tar.gz
[root@xaiofan soft]# cd nginx-1.8.0
[root@xaiofan nginx-1.8.0]# ./configure --prefix=/usr/local/nginx --with-http_dav_module --with-http_stub_status_module --with-http_addition_module --with-http_sub_module --with-http_flv_module --with-http_mp4_module --with-http_ssl_module
[root@xaiofan nginx-1.8.0]# make&&make install
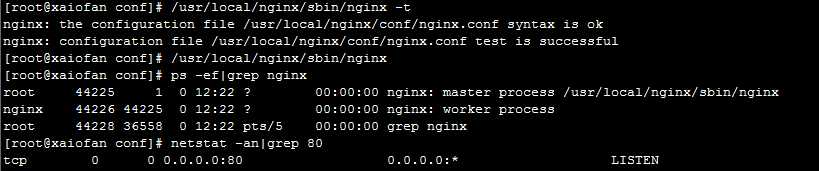
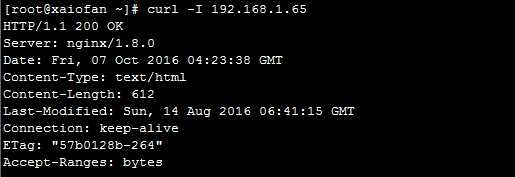
启动nginx:
标签:
原文地址:http://www.cnblogs.com/fanxuanhui/p/5935729.html