标签:
注:本文提到的代码示例下载地址>How to create a simple extension for VS Code
VS Code 是微软推出的一款轻量级的代码编辑器,免费,开源,支持多种语言,还能安装各种扩展。没有用过的同学可以下载下来感受一下,具体参见官方文档。
假设VS Code你已经安装好了,也已经大概玩过一遍了。接下来我们就开始讲讲怎么创建一个简单的VS Code扩展。
首先要装下node.js,然后通过命令行安装Yeoman,我们要通过这个工具来自动生成扩展代码:
>npm install -g yo generator-code
安装完了之后,再在命令行中敲>yo code
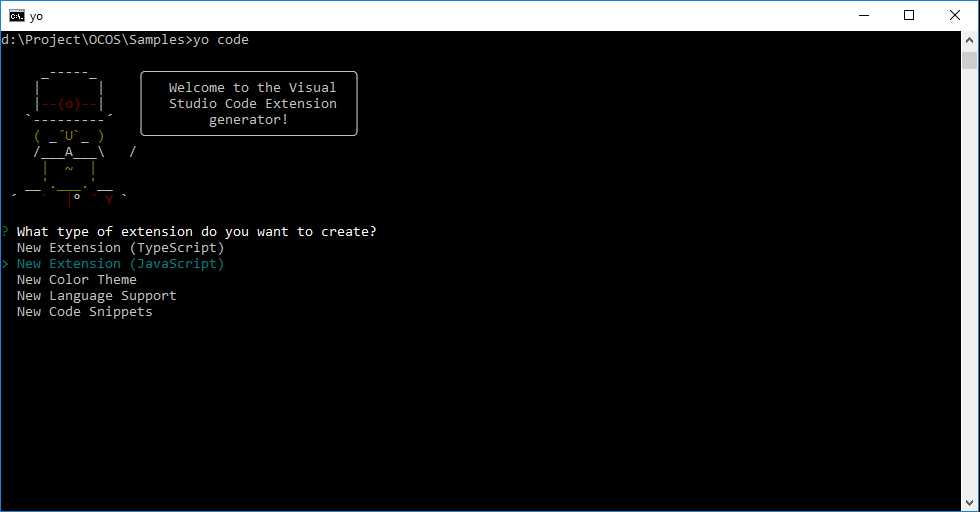
扩展支持JavaScript和TypeScript两种语言编写,我们这次选择JavaScript,使用上下键来选择,然后回车,下面输入你的扩展的各种信息
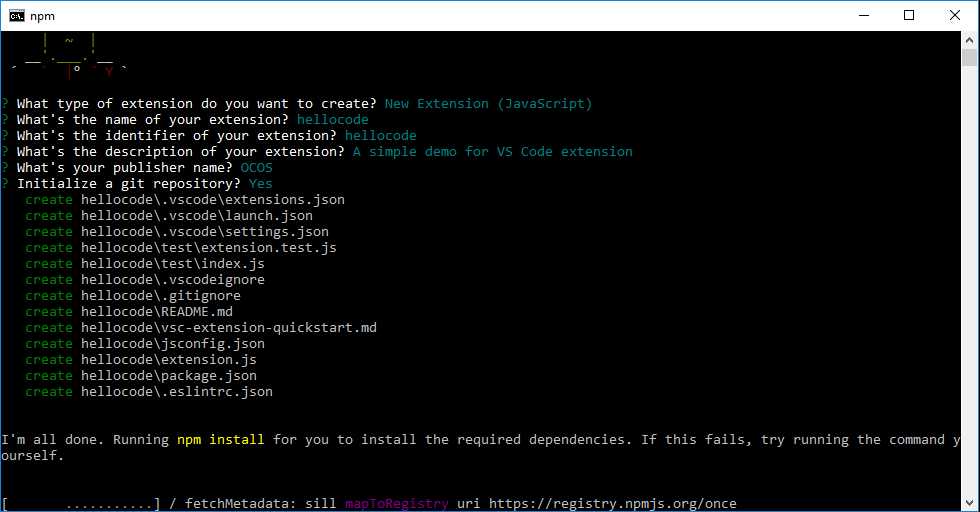
确认回车后,工具会帮我们生成一个Hello World扩展,我们这边取的名字是hellocode, 所以扩展所在的文件夹名就是hellocode,打开hellocode
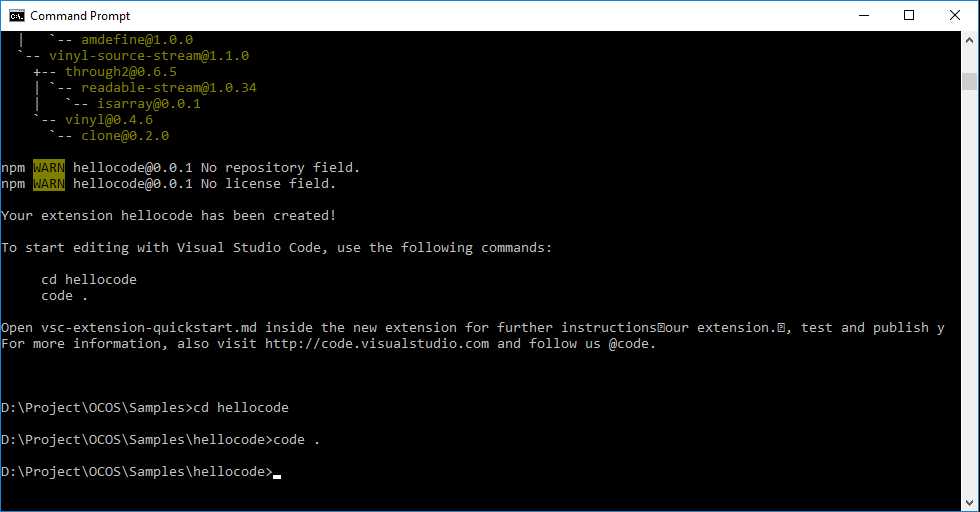
运行>code .
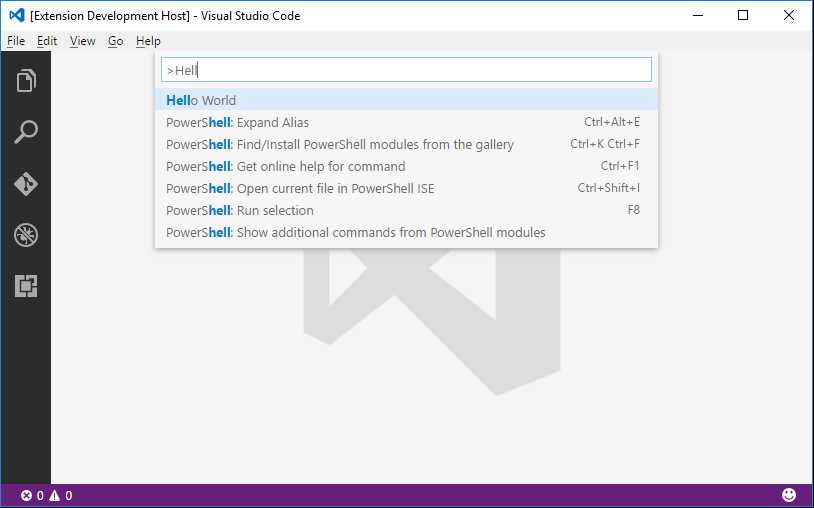
hellocode文件夹将会通过VS Code打开,我们在这个VS Code窗口中按下F5来运行这个扩展,可以看到一个新的VS Code窗口会打开。我们在里面按下Ctrl+Shift+P,在弹出的命令栏中敲Hello World回车,你会看到弹出一个“Hello Worlld!”信息框。

关掉这个窗口,我们来看一下hellocode底下的文件,package.json 里有我们用工具生成代码的时候写的一些信息。
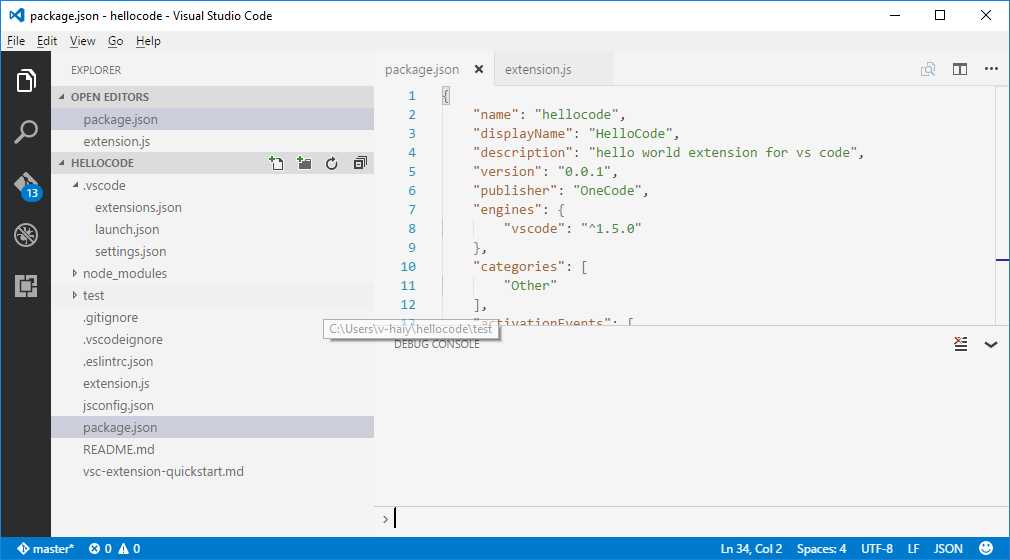
我们可以在这个里面修改配置,比如把title改成“Hi Code”,那我们调取这个扩展的时候就要敲“Hi Code”而不是“Hello World”了。

    "contributes": {
        "commands": [{
            "command": "extension.sayHello",
            "title": "Hi Code"
        }]
    },
那么弹出信息框的代码在哪里呢?
我们在extension.js里找到这段代码,activate 方法中,我们给“extension.sayHello”注册了方法,方法内容就是,弹出“Hello World!”信息框。
function activate(context) {

    // Use the console to output diagnostic information (console.log) and errors (console.error)
    // This line of code will only be executed once when your extension is activated
    console.log(‘Congratulations, your extension "testcode" is now active!‘);

    // The command has been defined in the package.json file
    // Now provide the implementation of the command with  registerCommand
    // The commandId parameter must match the command field in package.json
    let disposable = vscode.commands.registerCommand(‘extension.sayHello‘, function () {
        // The code you place here will be executed every time your command is executed

        // Display a message box to the user
        vscode.window.showInformationMessage(‘Hello World!‘);
    });

    context.subscriptions.push(disposable);
}
接下来我们稍微修改下这个方法,
function activate(context) {
    // Use the console to output diagnostic information (console.log) and errors (console.error)
    // This line of code will only be executed once when your extension is activated
    console.log(‘Congratulations, your extension "hellocode" is now active!‘);
    // The command has been defined in the package.json file
    // Now provide the implementation of the command with  registerCommand
    // The commandId parameter must match the command field in package.json
    let disposable = vscode.commands.registerCommand(‘extension.sayHello‘, SelectItem);
    context.subscriptions.push(disposable);
}

function SelectItem() {
    vscode.window.showQuickPick(["a", "b"]).then(function (selected) {
        if(selected){
        vscode.window.showInformationMessage("Item ‘"+selected+"‘ has been selected!");}
    });
}
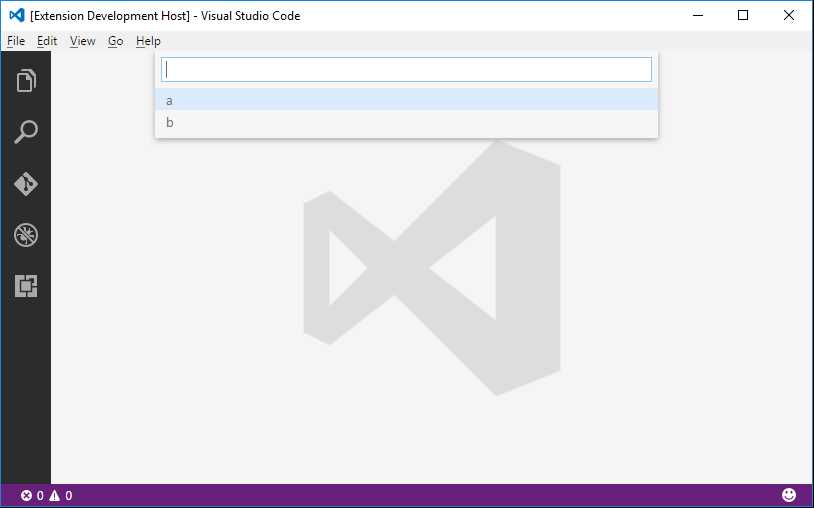
我们在弹出信息框之前,调用了一个VC Code 的API,显示一个快速选择的列表,当用户选择之后,把选中的内容显示在信息框中。
按下F5来debug一下,

我们可以在extension.js中添加断点进行一步步调试,这边我就不一步步的放截图了,大家可以自己尝试着去做一下。
好了,这次的示范就到这里,希望能帮到大家~
想了解更多的VS Code API, 戳这边:https://code.visualstudio.com/docs/extensionAPI/vscode-api
这次的示例代码在这里可以下载:How to create a simple extension for VS Code
觉得这个例子太简单?这里有更多完整的示例:https://code.visualstudio.com/docs/tools/samples
标签:
原文地址:http://www.cnblogs.com/Leo_wl/p/5979152.html