标签:end nbsp 布局文件 fill 设计 linear view 代码 encoding
有时需要一些组合起来的功能性强的控件,为了以后复用简单,还是自己自定义比较方便。
这里以一个自定义的导航栏为例子,在MainActivity里面使用这个控件。
方法一:
设计并编写自定义控件的布局文件,然后在其他布局文件中include。
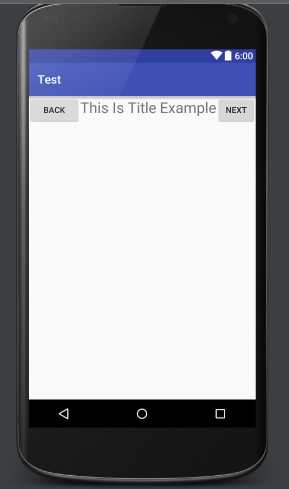
title的布局文件
<?xml version="1.0" encoding="utf-8"?>
<LinearLayout xmlns:android="http://schemas.android.com/apk/res/android"
    android:layout_width="match_parent"
    android:layout_height="match_parent">

    <Button
        android:layout_width="wrap_content"
        android:layout_height="wrap_content"
        android:text="Back"

        />

    <TextView
        android:layout_width="wrap_content"
        android:layout_height="wrap_content"
        android:text="This Is Title Example"
        android:textSize="25dp"
        />

    <Button
        android:layout_width="wrap_content"
        android:layout_height="wrap_content"
        android:text="Next"
        />

</LinearLayout>
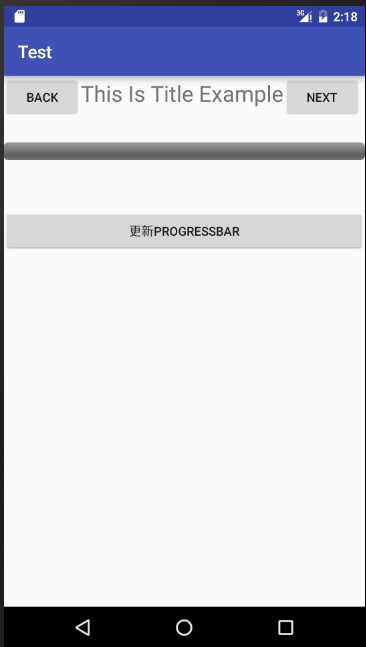
MainActivity的布局文件
<?xml version="1.0" encoding="utf-8"?>
<RelativeLayout xmlns:android="http://schemas.android.com/apk/res/android"
    xmlns:tools="http://schemas.android.com/tools"
    android:layout_width="match_parent"
    android:layout_height="match_parent"

    tools:context="com.example.administrator.test.MainActivity">


    <!-- 调用布局 -->
    <include layout="@layout/titlelayout"/>


    <!-- 后面的控件无关 -->
    <ProgressBar
        android:id="@+id/progressBar02"
        android:layout_width="fill_parent"
        android:layout_height="wrap_content"
        style="@android:style/Widget.ProgressBar.Horizontal"

        android:layout_below="@+id/textView01"
        android:layout_alignParentLeft="true"
        android:layout_alignParentStart="true"
        android:layout_marginTop="56dp" />

    <Button
        android:id="@+id/button03"
        android:layout_width="fill_parent"
        android:layout_height="wrap_content"
        android:text="更新progressbar"
        android:layout_marginTop="133dp"
        android:layout_below="@+id/textView01"
        android:layout_alignParentRight="true"
        android:layout_alignParentEnd="true" />


</RelativeLayout>
方法二:
设计并编写自定义控件的布局文件,将其封装为一个类。
然后在MainActivity的布局文件直接调用该类。
Title类
public class Title extends LinearLayout {
    public Title(Context context, AttributeSet attrs) {
        super(context, attrs);
        LayoutInflater.from(context).inflate(R.layout.titlelayout,this);
    }
}
MainActivity的布局文件:
<?xml version="1.0" encoding="utf-8"?>
<RelativeLayout xmlns:android="http://schemas.android.com/apk/res/android"
    xmlns:tools="http://schemas.android.com/tools"
    android:layout_width="match_parent"
    android:layout_height="match_parent"

    tools:context="com.example.administrator.test.MainActivity">


    <!-- 调用 -->
    <com.example.administrator.test.Title
        android:layout_width="wrap_content"
        android:layout_height="wrap_content">

    </com.example.administrator.test.Title>

    <!-- 后面的控件无关 -->
    <ProgressBar
        android:id="@+id/progressBar02"
        android:layout_width="fill_parent"
        android:layout_height="wrap_content"
        style="@android:style/Widget.ProgressBar.Horizontal"

        android:layout_below="@+id/textView01"
        android:layout_alignParentLeft="true"
        android:layout_alignParentStart="true"
        android:layout_marginTop="56dp" />

    <Button
        android:id="@+id/button03"
        android:layout_width="fill_parent"
        android:layout_height="wrap_content"
        android:text="更新progressbar"
        android:layout_marginTop="133dp"
        android:layout_below="@+id/textView01"
        android:layout_alignParentRight="true"
        android:layout_alignParentEnd="true" />


</RelativeLayout>
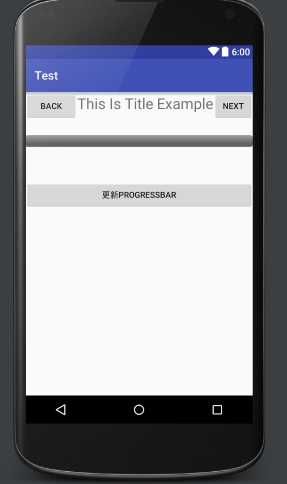
效果是一样的
自定义控件里面肯定会有一些对控件的操作,如果用方法一,每次使用该自定义控件还必须再实现一次监听函数的编写,太麻烦。
推荐大家使用方法二,在自定义类里面完成控件监听等功能的编写。
完整代码:
public class Title extends LinearLayout {


    public Title(Context context, AttributeSet attrs) {
        super(context, attrs);
        LayoutInflater.from(context).inflate(R.layout.titlelayout,this);

        Button back = (Button)findViewById(R.id.back);
        Button next = (Button)findViewById(R.id.next);

        back.setOnClickListener(new OnClickListener() {
            @Override
            public void onClick(View v) {

                //do....

            }
        });

        next.setOnClickListener(new OnClickListener() {
            @Override
            public void onClick(View v) {

                //do...

            }
        });

    }


}
标签:end nbsp 布局文件 fill 设计 linear view 代码 encoding
原文地址:http://www.cnblogs.com/wzben/p/6067607.html