标签:目录 front round init.d pre res make chm timezone
yum -y install net-snmp-devel libxml2-devel libcurl-devel
groupadd zabbix
useradd -g zabbix zabbix
tar xf zabbix-3.2.1.tar.gz
cd zabbix-3.2.1
./configure --prefix=/usr/local/zabbix --enable-server --enable-agent --with-mysql --with-net-snmp --with-libcurl --with-libxml2
make && make install
mysql
MariaDB [(none)]> use mysql;
MariaDB [(none)]> update user set Password=PASSWORD("123456") where User=‘root‘;
MariaDB [(none)]> GRANT ALL PRIVILEGES ON *.* TO ‘root‘@‘%‘ IDENTIFIED BY ‘123456‘ WITH GRANT OPTION;
MariaDB [(none)]> FLUSH PRIVILEGES;
创建utf8编码的zabbix数据库,
MariaDB [(none)]> create database zabbix default charset utf8;
MariaDB [(none)]>exit
[root@localhost ~]# find / -name schema.sql
/root/packet/zabbix-3.2.1/database/ibm_db2/schema.sql
/root/packet/zabbix-3.2.1/database/sqlite3/schema.sql
/root/packet/zabbix-3.2.1/database/mysql/schema.sql
/root/packet/zabbix-3.2.1/database/postgresql/schema.sql
/root/packet/zabbix-3.2.1/database/oracle/schema.sql
[root@localhost ~]# ls /root/packet/zabbix-3.2.1/database/mysql/
data.sql  images.sql  schema.sql
cd /root/packet/zabbix-3.2.1/database/mysql/
mysql -uroot -p123456 zabbix < schema.sql
mysql -uroot -p123456 zabbix < images.sql
mysql -uroot -p123456 zabbix < data.sql
cp packet/zabbix-3.2.1/misc/init.d/tru64/zabbix_server /etc/rc.d/init.d/
chmod +x /etc/rc.d/init.d/zabbix_server
vi /etc/init.d/zabbix_server
# chkconfig: - 95 95
# description: Zabbix Server
DAEMON=/usr/local/zabbix/sbin/zabbix_server
注:
chkconfig --add zabbix_server
chkconfig zabbix_server on
DBName=zabbix
DBUser=root
DBPassword=123456
service zabbix_server start
mkdir /usr/local/nginx/html/zabbix
cp -rp packet/zabbix-3.2.1/frontends/php/* /usr/local/nginx/html/zabbix
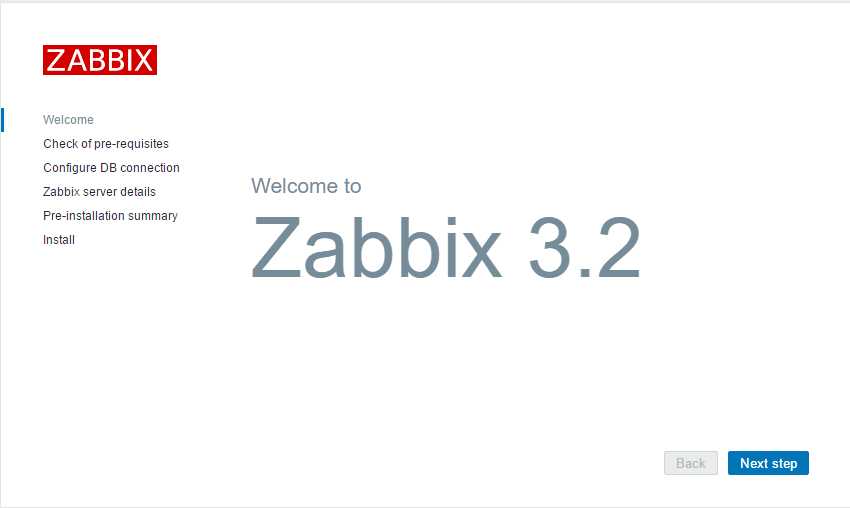
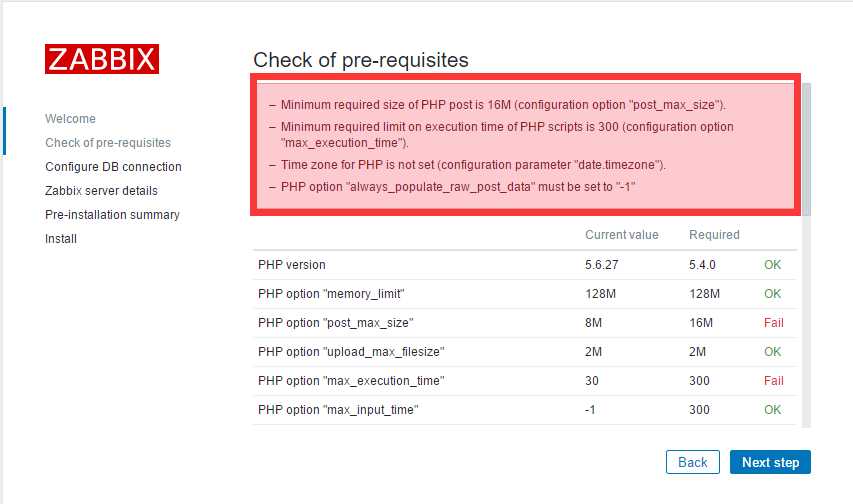
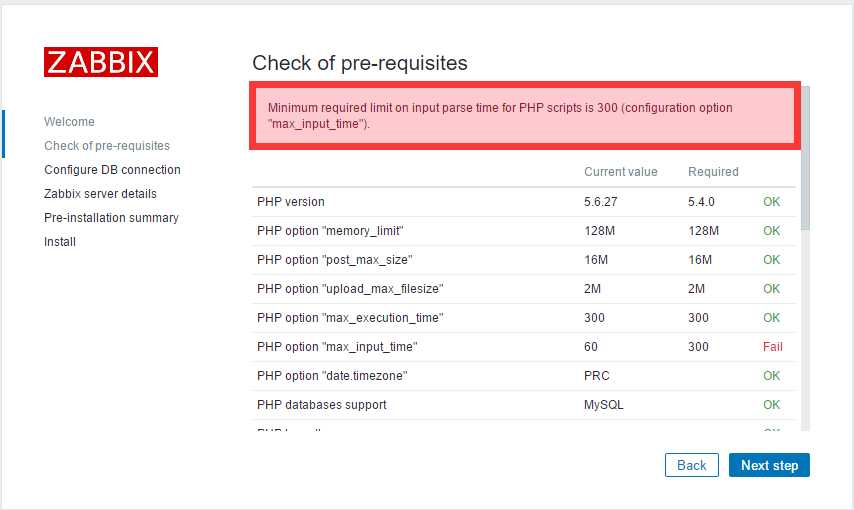
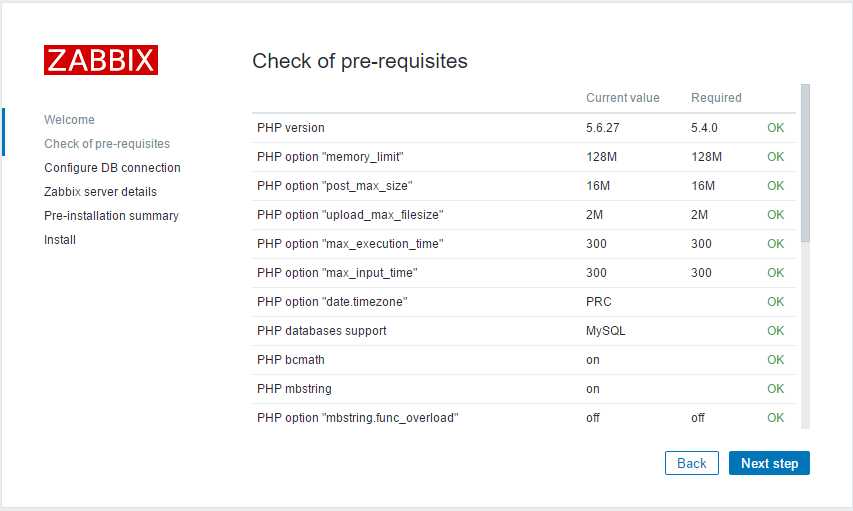
vi /usr/local/php/lib/php.ini
max_execution_time = 300
post_max_size = 16M
date.timezone = PRC
always_populate_raw_post_data = -1
max_input_time = 300
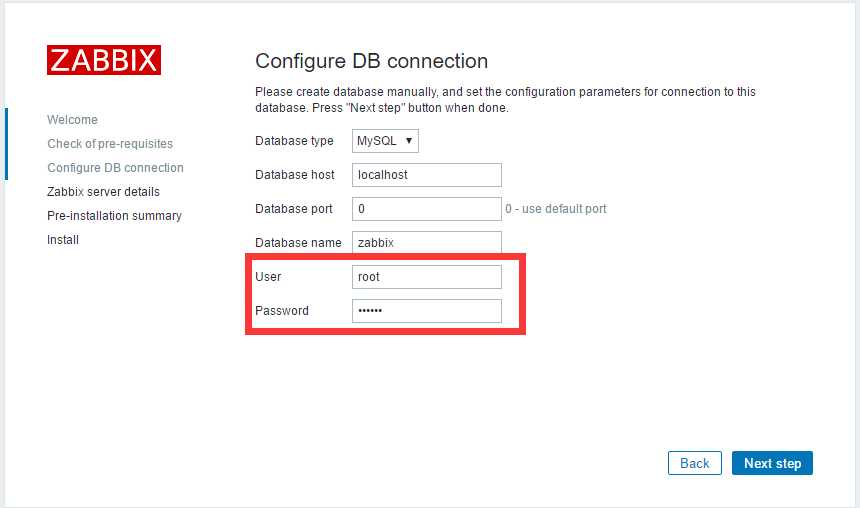
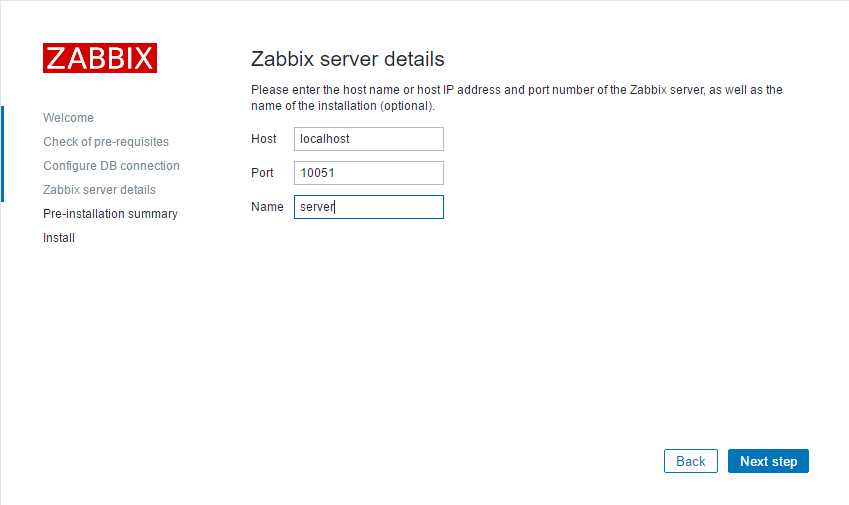
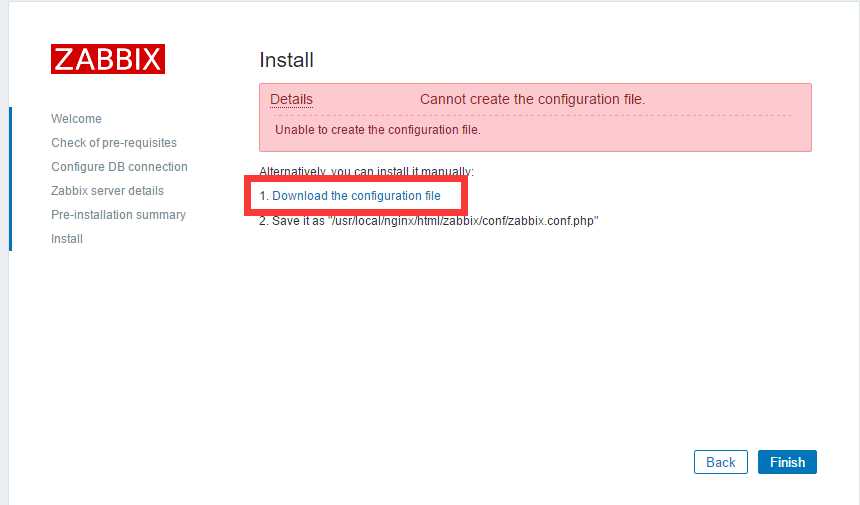

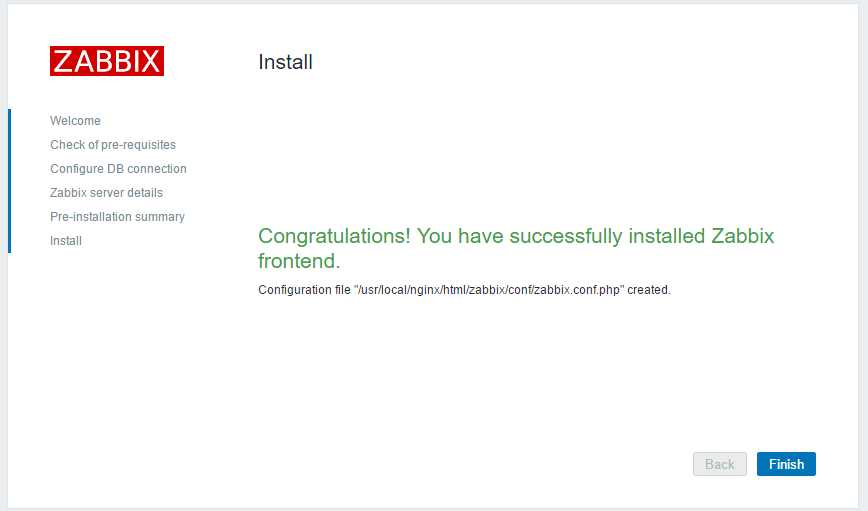
标签:目录 front round init.d pre res make chm timezone
原文地址:http://www.cnblogs.com/armo/p/6067755.html