标签:set src 技术 rand mini oge under back sub
关于windows的ssh client终端, 着实纠结很久, 从putty到SecureCRT到Xshell再到mRemoteNG再到Tera Terminal. 再到后来使用的Cygwin+ConEmu+Screen的管理方式. 总是觉得不那么称心如意, 每种ssh client都存在着各种各样不同的问题. 其实就归结于一点, windows的终端实在是不够给力.
最终我的解决方案是cygwin + tmux + tmux-logging+ oh-my-zsh + autojump + shell脚本的管理方式. 终端就是用cygwin自带的mintty
首先安装cygwin, 可以直接去cygwin官网下载https://www.cygwin.com/, 然后安装即可, 建议使用mirrors.163.com的源进行下载
安装oh-my-zsh和autojump
wget --no-check-certificate https://github.com/robbyrussell/oh-my-zsh/raw/master/tools/install.sh -O - | sh
cygwin默认启动使用bash, 修改.bashrc文件添加
exec zsh
我的zsh配置文件,供参考
export ZSH=$HOME/.oh-my-zsh
ZSH_THEME="ys"
DISABLE_AUTO_UPDATE="true"
plugins=(git textmate ruby autojump osx mvn gradle)
export PATH=$HOME/bin:/usr/local/bin:$PATH
source $ZSH/oh-my-zsh.sh
if [[ -n $SSH_CONNECTION ]]; then
   export EDITOR=‘vim‘
 else
   export EDITOR=‘vim‘
 fi
alias vi=‘vim‘
alias drccd="ssh sun59@drccd.dr.avaya.com"
alias toolsa="ssh sun59@st3tds04.us1.avaya.com"
alias vsp_test=‘ssh admin@192.168.65.31‘
alias sb=‘screen -S hugh -c /home/Administrator/screen/screenrc‘
alias sx=‘screen -r hugh‘
alias vm=‘screen -S vm -c /home/Administrator/screen/vm‘
alias ls=‘ls --color‘
alias grep=‘grep --color‘
alias open=‘cygstart‘
export LANG=en_US.UTF-8
echo -e "\033[33mWelcome to Linux World\033[0m"
alias rm=‘rm -i‘
alias ca=‘screen -S ca -c /home/Administrator/screen/test‘
alias c2="noglob sh c2"
alias mm=‘open /home/Administrator/Desktop/Tools/sublime/Docs/Markdown/web_service.md‘
alias c=‘pygmentize -g‘
ANSIBLE=/opt/ansible
export PATH=$PATH:$ANSIBLE/bin
export PYTHONPATH=$ANSIBLE/lib
export ANSIBLE_LIBRARY=$ANSIBLE/library
export CHEATCOLORS=true
function _cheat_autocomplete {
    sheets=$(cheat -l | cut -d‘ ‘ -f1)
    COMPREPLY=()
    if [ $COMP_CWORD = 1 ]; then
        COMPREPLY=(`compgen -W "$sheets" -- $2`)
    fi
}
export PATH=/cygdrive/c/Users/Administrator/Desktop/Tools/sublime/Docs/python/bin:$PATH
安装autojump
wget https://github.com/downloads/joelthelion/autojump/autojump_v21.1.2.tar.gz
tar -xf autojump_v21.1.2.tar.gz
cd autojump_v21.1.2
./install.sh
然后安装tmux, 直接按照tmux的官方文档安装
 git clone https://github.com/tmux/tmux.git
 cd tmux
 sh autogen.sh
 ./configure && make
然后配置tmux, 下面是我tmux的配置文件, 我的bind key是^o, 不同于默认的^a, 因为在linux系统中经常要使用^a回到行首.
主要实现了几个功能.
1. 快速打开man page 使用bindkey + m
2. 快速的记录笔记 bindkey + n
3. 快速的打开一个开发环境连接 bindkey + a
4. 快速的打开小抄功能(cheat)
5. 绑定使用快捷键, 比如alt + 1输入一个常用的默认密码itsgrand3
# released under the WTFPL v2 license, by Gregory Pakosz (@gpakosz)
# modified by Ying. last version 2016/8/15
set -g @plugin ‘tmux-plugins/tpm‘
set -g @plugin ‘tmux-plugins/tmux-sensible‘
set-option -g @plugin knakayama/tmux-newline-detector
run ‘~/.tmux/plugins/tpm/tpm‘
set -g prefix ^o
unbind ^b
set -g -q mouse off
set -g default-terminal "screen-256color" # colors!
setw -g xterm-keys on
set -s escape-time 0 # fastest command sequences
set -sg repeat-time 600 # increase repeat timeout
set -s quiet on # disable various messages
set -g history-limit 65535 # boost history
bind r source-file ~/.tmux.conf \; display ‘~/.tmux.conf sourced‘
if ‘which -s reattach-to-user-namespace‘ ‘set -g default-command "exec initializing... 2> /dev/null & reattach-to-user-namespace $SHELL -l"‘
set -g base-index 1 # start windows numbering at 1
setw -g pane-base-index 1 # make pane numbering consistent with windows
setw -g automatic-rename on # rename window to reflect current program
set -g renumber-windows on
set -g set-titles on # set terminal title
set -g set-titles-string ‘#h ? #S ● #I #W‘
set -g display-panes-time 800 # slightly longer pane indicators display time
set -g display-time 1000 # slightly longer status messages display time
set -g status-interval 10 # redraw status line every 10 seconds
setw -g clock-mode-style 24
bind -n C-l send-keys C-l \; run ‘tmux clear-history‘
set -g monitor-activity on
set -g visual-activity off
bind C-f command-prompt -p find-session ‘switch-client -t %%‘
bind -r h select-pane -L # move left
bind -r j select-pane -D # move down
bind -r k select-pane -U # move up
bind -r l select-pane -R # move right
bind > swap-pane -D # swap current pane with the next one
bind < swap-pane -U # swap current pane with the previous one
bind + run ‘cut -c3- ~/.tmux.conf | sh -s maximize_pane‘
bind -r H resize-pane -L 2
bind -r J resize-pane -D 2
bind -r K resize-pane -U 2
bind -r L resize-pane -R 2

unbind n
unbind p
bind -r C-h previous-window # select previous window
bind -r C-l next-window # select next window
bind Tab last-window # move to last active window
bind m command-prompt "splitw ‘exec man %%‘" # man (prefix m)
bind n command-prompt "splitw ‘exec vi ~/notes/`date +%F`_%%‘"
bind a run "tmux splitw /usr/bin/ssh sun59@st3tds04.us1.avaya.com"
bind y run "tmux splitw /usr/bin/ssh 127.0.0.1"
bind e command-prompt "splitw ‘exec cheat -e %%‘"
bind U run "cut -c3- ~/.tmux.conf | sh -s urlview #{pane_id}"
bind F run "cut -c3- ~/.tmux.conf | sh -s fpp #{pane_id}"
bind -t vi-choice h tree-collapse
bind -t vi-choice l tree-expand
run -b ‘tmux bind -t vi-choice K start-of-list 2> /dev/null‘
run -b ‘tmux bind -t vi-choice J end-of-list 2> /dev/null‘
bind -t vi-choice H tree-collapse-all
bind -t vi-choice L tree-expand-all
bind -t vi-choice Escape cancel
bind -ct vi-edit H start-of-line
bind -ct vi-edit L end-of-line
bind -ct vi-edit q cancel
bind -ct vi-edit Escape cancel
bind Escape copy-mode # enter copy mode
bind b list-buffers # list paster buffers
bind p paste-buffer # paste from the top pate buffer
bind P choose-buffer # choose which buffer to paste from

bind -t vi-copy v begin-selection
bind -t vi-copy C-v rectangle-toggle
bind -t vi-copy y copy-selection
bind -t vi-copy Escape cancel
bind -t vi-copy H start-of-line
bind -t vi-copy L end-of-line
if -b ‘which -s reattach-to-user-namespace‘ ‘bind y run "tmux save-buffer - | reattach-to-user-namespace pbcopy"‘
if ‘[ -f ~/.tmux.conf.local ]‘ ‘source ~/.tmux.conf.local‘
unbind ‘"‘
bind - splitw -v # vertical split (prefix -)
unbind %
bind | splitw -h # horizontal split (prefix |)
set -g @plugin ‘tmux-plugins/tmux-logging‘
run-shell ~/clone/path/logging.tmux
bind-key -n M-1 send-keys itsgrand3
bind-key -n M-2 send-keys admin01
bind-key -n M-3 send-keys root01
bind-key -n M-4 send-keys sroot01
bind-key -n M-5 send-keys Administrator
bind-key -n M-6 send-keys redhat
bind-key -n F1 send-keys Escape x
bind-key -n F2 send-keys Escape r
bind-key -n F3 send-keys Escape e
bind-key -n F5 send-keys Escape h
bind-key -n F7 send-keys Escape n
bind-key -n F8 send-keys Escape p
日志功能需要安装tmux的插件
git clone https://github.com/tmux-plugins/tmux-logging ~/clone/path
然后在 ~/.tmux/plugins/tmux-logging/script/variables.sh 中修改快捷键. 然后就可以在想记录日志的时候使用tmux的快捷键安装日志即可
最后就是脚本的使用来做主机管理, 我个人使用的是shell脚本, 方式也比较简单易实现. 未来预期可以使用python的paramiko, 然后将登录主机信息入库来控制
写了一个c2脚本, 他会去读取我本地目录的xshell_session文件
#!/bin/zsh

xshell_session=/home/Administrator/xshell_session

if [ $# -ge 1 ];then
    cat $xshell_session|egrep $1 &> /dev/null
    if [ $? -eq 0 ];then
        B_screen=$(cat $xshell_session|egrep $1|awk -F "---->" ‘{print $2}‘)
    else
        echo "the host cannot be found!"
        exit 1
    fi
else
    echo "You need input something"
    exit 2

fi

if [ "$TERM" == "screen" -o "$TERM" == "cygwin" -o "$TERM" == "xterm" ];then
if [ ! $2 ]; then
    screen -t $1 $B_screen
    exit 0
else
    screen -t $2 $B_screen
    exit 0
fi
fi

if [ $TERM == ‘screen-256color‘ ];then
if [ ! $2 ];then
    tmux new-window -n $1 $B_screen
else
    tmux new-window -n $2 $B_screen
fi

fi
xshell_sessions格式如下
vm_node1                  ----> ssh root@192.168.48.131
vm_node2                  ----> ssh root@192.168.48.132
vm_rhel6                  ----> ssh root@192.168.48.133
vm_node3                  ----> ssh root@192.168.48.137
vm_node4                  ----> ssh root@192.168.48.138
可以直接c2 node1来创建远程连接.
此外可以使用初始化脚本来创建初始化的tmux session, 示例如下, 可以直接启动多个窗口
session=Linux

if [ ! $1 ];then
tmux has -t $session 2>/dev/null
    if [ $? != 0 ];then
        tmux new -d -n Linux -s Linux ssh root@192.168.48.130
        tmux split-window -h
        tmux new-window -n node1 -d ssh root@192.168.48.131
        tmux splitw -h -d -t node1   ssh root@192.168.48.132
        tmux new-window -n node3 -d ssh root@192.168.48.137
        tmux splitw -h -d -t node3 ssh root@192.168.48.138
        tmux new-window -n cm202 -d ssh init@10.133.169.202
        tmux splitw -h -d -t cm202 ssh init@192.168.64.57
        tmux new-window -n cm36 -d ssh init@192.168.64.36
        tmux splitw -h -d -t cm36 ssh init@192.168.70.209
        tmux new-window -n lab_sm -d ssh cust@192.168.65.36
        tmux splitw -h -d -t lab_sm ssh admin@192.168.65.33
        tmux new-window -n dup_cm1 -d ssh craft@10.130.124.86
        tmux splitw -h -d -t dup_cm1 ssh craft@10.130.124.85
        tmux att -t $session
    else
        tmux att -t $session
    fi
else
    if [ $1 == "-q" ];then
        tmux kill-session -t $session > /dev/null 2>&1
        exit 0
    fi
    if [ $1 == "-x" ];then
        tmux new -d -n linux -s Linux
        tmux new-window -n c1 -d ssh root@192.168.48.130
        tmux new-window -n n1 -d ssh root@192.168.48.131
        tmux new-window -n n2 -d ssh root@192.168.48.132
        tmux new-window -n n3 -d ssh root@192.168.48.137
        tmux new-window -n n4 -d ssh root@192.168.48.138
        tmux new-window -n p1 -d ssh root@192.168.48.135
        tmux att -t $session
    else
        echo -e "\033[032mWrong Input\033[0m"
        exit 1
    fi
fi
添加一张效果图, 可以使用^o +num 来进行session的切换
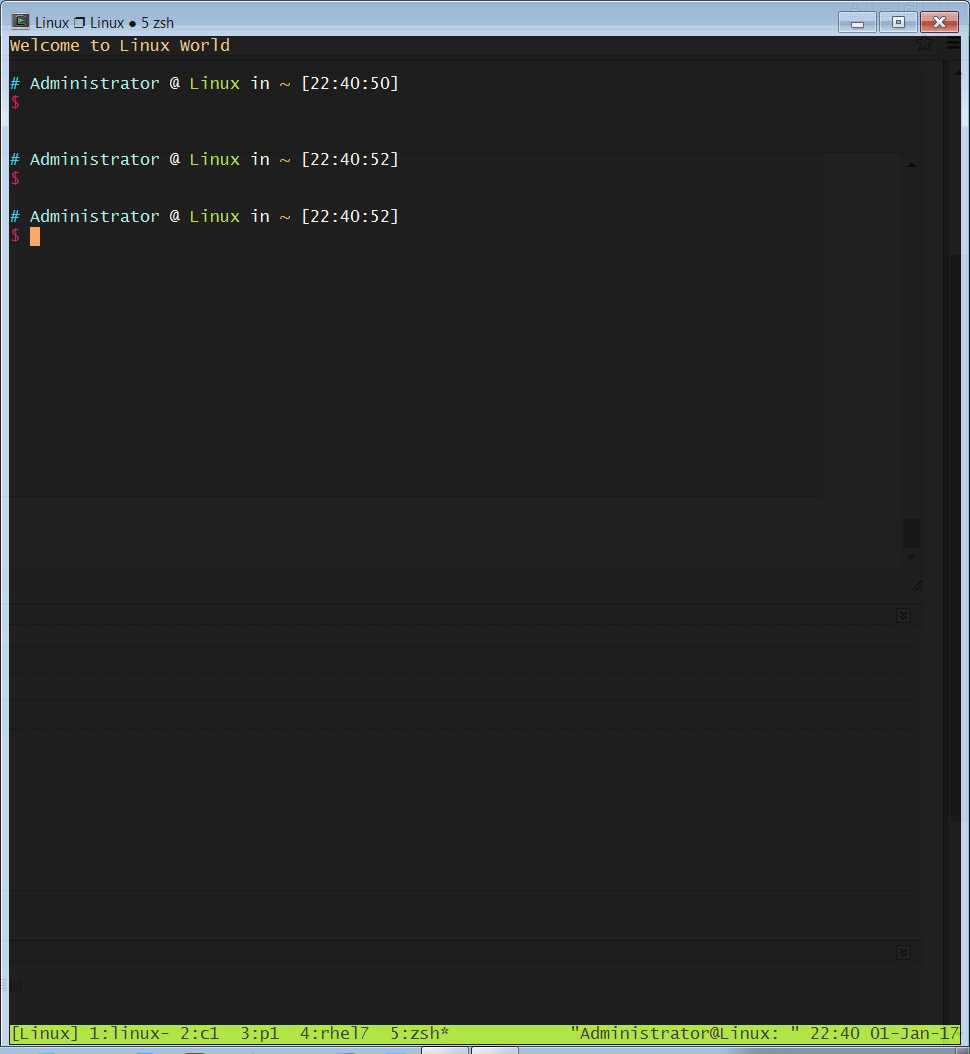
还有很多细节可以个人定制.
最后附上一个我个人使用ConEmu + screen的screen配置
screen -t c1 2 /usr/bin/ssh root@192.168.48.130
escape ^Oo
defscrollback 10000
#screen -t r7 2 /usr/bin/ssh root@192.168.48.135
screen -t class 9 /usr/bin/ssh root@192.168.64.100
screen -t kvm 7 /usr/bin/ssh root@192.168.64.93
#screen -t s2 8 /usr/bin/ssh root@192.168.48.136
screen -t x1 8 /usr/bin/ssh root@192.168.64.92
#screen -t client1 0 /usr/bin/ssh root@172.16.100.7
#screen -t cls 9 /usr/bin/ssh root@192.168.64.131
screen -t tsa 0 /usr/bin/ssh sun59@st3tds04.us1.avaya.com
screen -t n1 3 /usr/bin/ssh root@192.168.48.131
screen -t n2    4 /usr/bin/ssh root@192.168.48.132
screen -t n3 5 /usr/bin/ssh root@192.168.48.137
screen -t n4 6 /usr/bin/ssh root@192.168.48.138
screen -t bash 1


termcapinfo xterm* ti@:te@
# Scroll up
bindkey -d "^[[5S" eval copy "stuff 5\025"
bindkey -m "^[[5S" stuff 5\025

# Scroll down
bindkey -d "^[[5T" eval copy "stuff 5\004"
bindkey -m "^[[5T" stuff 5\004


bindkey "^[s" split -v
bindkey "^[q" focus
bindkey "^[f" only


#hardstatus off
#hardstatus alwaysfirstline
caption always "%{.bW}%-w%{.rW}%n %t%{-}%+w %=%H %Y/%m/%d %c"
#backtick 1 5 5 true
#termcapinfo rxvt* ‘hs:ts=\E]2;:fs=\007:ds=\E]2;\007‘
#hardstatus string "screen (%n: %t)"
#caption string "%{= kw}%Y-%m-%d;%c %{= kw}%-Lw%{= kG}%{+b}[%n %t]%{-b}%{= kw}%+Lw%1`"
#caption always

#hardstatus off
#hardstatus alwayslastline
#hardstatus string ‘%{= kG}[ %{G}%H %{g}][%= %{= kw}%?%-Lw%?%{r}(%{W}%n*%f%t%?(%u)%?%{r})%{w}%?%+Lw%?%?%= %{g}][%{B} %m-%d %{W} %c %{g}]‘
标签:set src 技术 rand mini oge under back sub
原文地址:http://www.cnblogs.com/sundaxi/p/6230526.html