标签:情况 开始 close src ide str stp dex 设计器
2017-04-11 01:52:01
根据大牛一去、二三里的教程提示,成功将多个对话框进行切换。
学习教程地址:http://blog.csdn.net/liang19890820/article/details/51614346
结果展示:
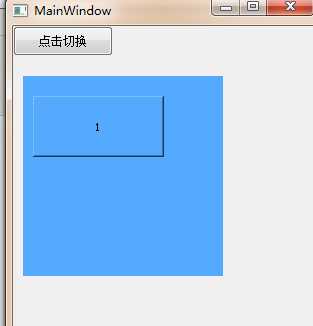
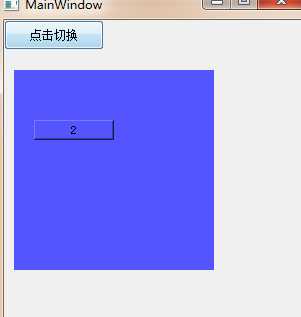
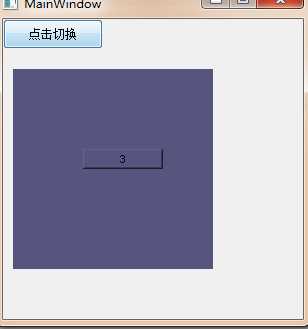
1.新建一个带ui界面的QWidgetApplication。
2.创建三个dialog;dialog1,dialog2,dialog3,(添加新文件之后选择QT中的界面类)
分别在对应对话框的qtDesigner中的样式表进行color设置背景色设置:
dialog1:background-color: rgb(85, 170, 255);
dialog2:background-color: rgb(85, 85, 255);
dialog3:background-color: rgb(85, 85, 127);
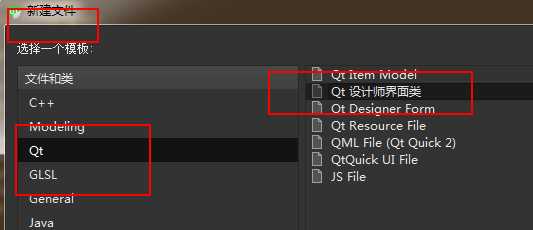
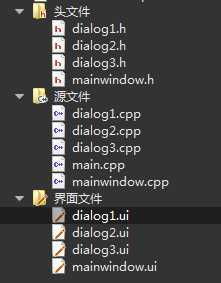
3.撸代码开始:
① main.cpp 不需要修改。
② mainwindow.h 中添加
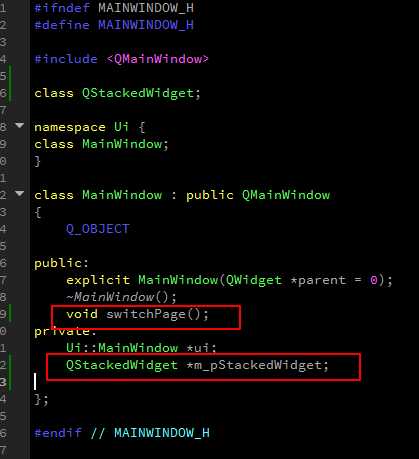

#ifndef MAINWINDOW_H
#define MAINWINDOW_H

#include <QMainWindow>

class QStackedWidget;

namespace Ui {
class MainWindow;
}

class MainWindow : public QMainWindow
{
    Q_OBJECT

public:
    explicit MainWindow(QWidget *parent = 0);
    ~MainWindow();
    void switchPage();
private:
    Ui::MainWindow *ui;
    QStackedWidget *m_pStackedWidget;

};

#endif // MAINWINDOW_H
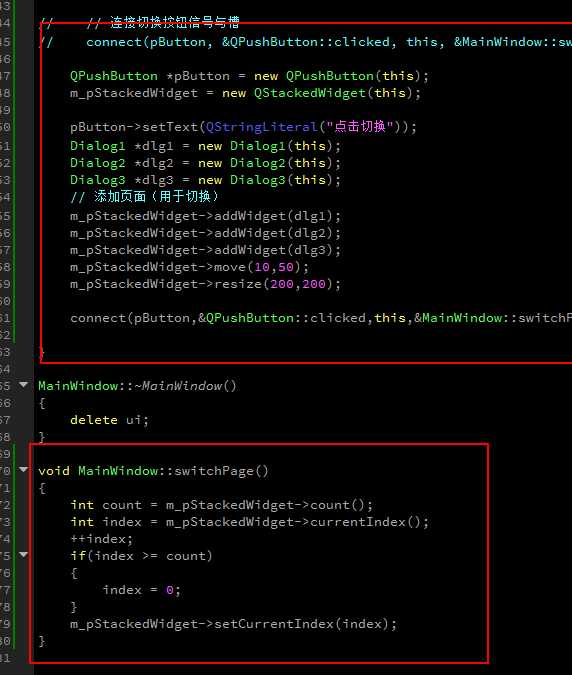
③ mainwindow.cpp中添加

#include <QtWidgets>

#include "mainwindow.h"
#include "ui_mainwindow.h"

#include "dialog1.h"
#include "dialog2.h"
#include "dialog3.h"

MainWindow::MainWindow(QWidget *parent) :
    QMainWindow(parent),
    ui(new Ui::MainWindow)
{
    ui->setupUi(this);
//    QPushButton *pButton = new QPushButton(this);
//    QLabel *pFirstPage= new QLabel(this);
//    QLabel *pSecondPage = new QLabel(this);
//    QLabel *pThirdPage = new QLabel(this);
//    m_pStackedWidget = new QStackedWidget(this);

//    pButton->setText(QStringLiteral("点击切换"));
//    pFirstPage->setText(QStringLiteral("一去丶二三里"));
//    pSecondPage->setText(QStringLiteral("青春不老,奋斗不止!"));
//    pThirdPage->setText(QStringLiteral("纯正开源之美,有趣、好玩、靠谱。。。"));

//    pFirstPage->move(10,100);
//    pSecondPage->move(10,100);
//    pThirdPage->move(10,100);
//    pButton->move(10,100);
//    // 添加页面(用于切换)
//    m_pStackedWidget->addWidget(pFirstPage);
//    m_pStackedWidget->addWidget(pSecondPage);
//    m_pStackedWidget->addWidget(pThirdPage);

//    m_pStackedWidget->move(10,200);

////    QVBoxLayout *pLayout = new QVBoxLayout();
////    pLayout->addWidget(pButton, 1, Qt::AlignRight | Qt::AlignVCenter);
////    pLayout->addWidget(m_pStackedWidget);
////    pLayout->setSpacing(10);
////    pLayout->setContentsMargins(10, 10, 10, 10);
////    setLayout(pLayout);

//    // 连接切换按钮信号与槽
//    connect(pButton, &QPushButton::clicked, this, &MainWindow::switchPage);

    QPushButton *pButton = new QPushButton(this);
    m_pStackedWidget = new QStackedWidget(this);

    pButton->setText(QStringLiteral("点击切换"));
    Dialog1 *dlg1 = new Dialog1(this);
    Dialog2 *dlg2 = new Dialog2(this);
    Dialog3 *dlg3 = new Dialog3(this);
    // 添加页面(用于切换)
    m_pStackedWidget->addWidget(dlg1);
    m_pStackedWidget->addWidget(dlg2);
    m_pStackedWidget->addWidget(dlg3);
    m_pStackedWidget->move(10,50);
    m_pStackedWidget->resize(200,200);

    connect(pButton,&QPushButton::clicked,this,&MainWindow::switchPage);

}

MainWindow::~MainWindow()
{
    delete ui;
}

void MainWindow::switchPage()
{
    int count = m_pStackedWidget->count();
    int index = m_pStackedWidget->currentIndex();
    ++index;
    if(index >= count)
    {
        index = 0;
    }
    m_pStackedWidget->setCurrentIndex(index);
}
其中代码注释的部分是教程中的代码。
总结:
1.QStackedWidget需要设置大小和位置,初始的大小比较小,猜想可以使用布局设计器设置大小,这个需要以后验证,有人验证的话麻烦请留言告知谢谢。
2.用QStackedWidget进行界面设计感觉比较适合目前雨大的情况,还有其他方式实现多界面切换,请见:http://bbs.csdn.net/topics/350099102;
标签:情况 开始 close src ide str stp dex 设计器
原文地址:http://www.cnblogs.com/ourran/p/6691769.html