标签:动画 技术 blog options back 时间 tee uiimage net
前沿 :
最近重新做了一个手势的demo,其中有“点击”,“长按”,“旋转”,“拉升”等等在这里就不过多说明了,这些手势都是我们手机上经常会用到的功能,所这部分内容还是比较重要的废话也不多说了-上代码。有些同样的代码小编只会写一遍注释。
等等---我忘记说了,在上代码之前我们先看看小编的Assets.xcassets中的内容,这个里面放的都是图片
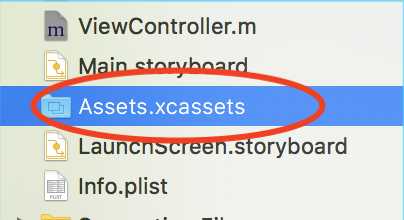
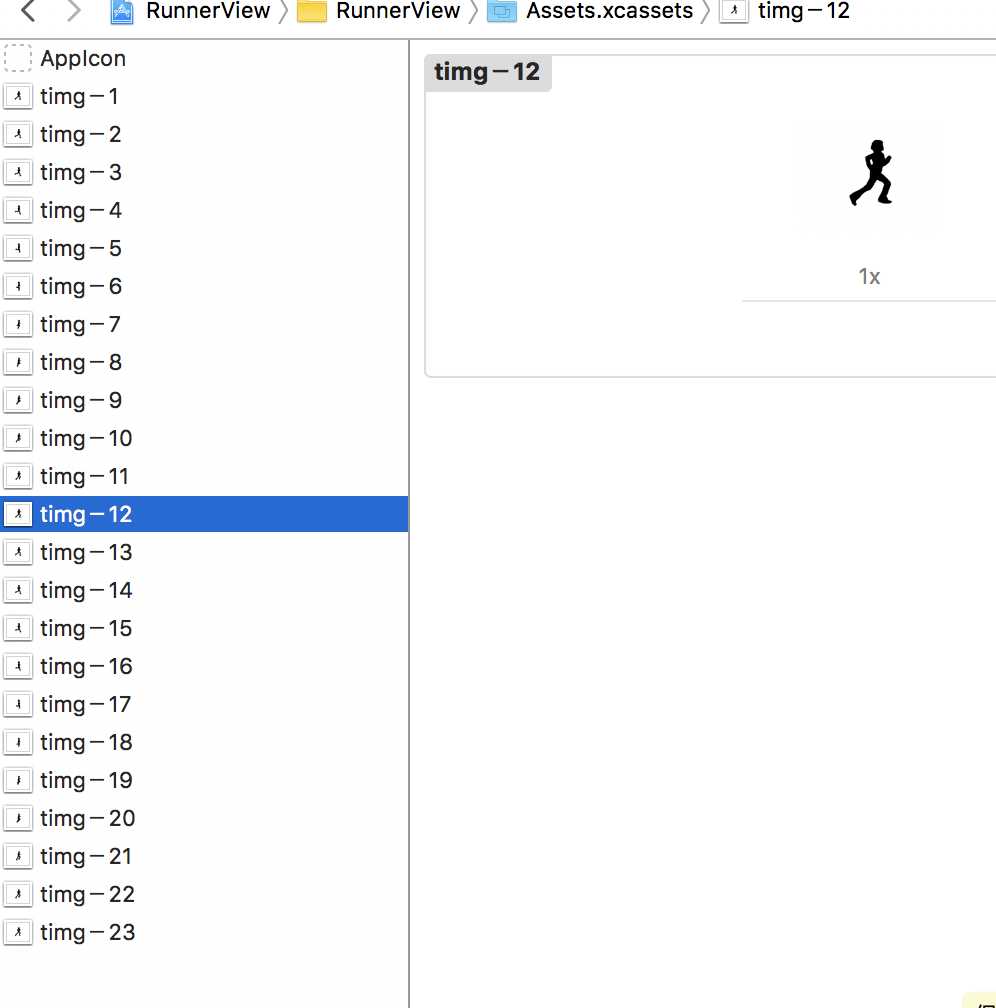
现在如上面2张图片可以看出在Assets.xcassets中 有23张图片,有人会问要这么多图片有什么用,其是也没什么用处,小编在这里只是想实现一个动画效果而已,那么在这里可以为大家普及一下知识。在我们所看到的动画效果中,其实就是一张张图片在不停切换,只不过速度太快了,我们的肉眼识别不出来而已,所以感觉就是在动。小编早这里就是想实现一个人在不停地奔跑的动画效果,所以有23张图片,当然你只要一张图片也行。------咱们的标贴叫“手势与动画效果”,总得带点动画吧??。
----感觉说的有点多了,下面正式上代码。
在viewcontroller.m中
@interface ViewController ()<UIGestureRecognizerDelegate>
@property (nonatomic,strong) UIImageView *imageview;


@end
创建一个UIImageView对象,作用是放图片。
首先我们要添加一个UIGestureRecognizerDelegate这个委托协议,我们要用到它的一个委托方法,
-(BOOL)gestureRecognizer:(UIGestureRecognizer *)gestureRecognizer shouldRecognizeSimultaneouslyWithGestureRecognizer:(UIGestureRecognizer *)otherGestureRecognizer
这个委托方法的作用就是检测你的手势,打个比方来说:有个拖动的手势和一个滑动的手势,那么怎么区分开来我是拖动还是滑动呢,这时就需要这个检测方法来进行判断了。
//遵守UIGestureRecognizerDelegate协议,作用是检测手势
-(BOOL)gestureRecognizer:(UIGestureRecognizer *)gestureRecognizer shouldRecognizeSimultaneouslyWithGestureRecognizer:(UIGestureRecognizer *)otherGestureRecognizer{

    if ([gestureRecognizer isKindOfClass:[UIPinchGestureRecognizer class]] && [otherGestureRecognizer isKindOfClass:[UIRotationGestureRecognizer class]]) {
        return YES;
    }

    return NO;

}
以上是这个检测方法的实现代码。
- (void)viewDidLoad {
    [super viewDidLoad];
    //定义view的背景颜色
    self.view.backgroundColor=[UIColor redColor];
    //创建一个数组来放图片
    NSMutableArray *imageArray=[NSMutableArray arrayWithCapacity:0];
    //把Assets.xcassets的图片全部放入这个数字中
    imageArray=[NSMutableArray arrayWithObjects:
                [UIImage imageNamed:@"timg-1"],[UIImage imageNamed:@"timg-2"],
                [UIImage imageNamed:@"timg-3"],[UIImage imageNamed:@"timg-4"],
                [UIImage imageNamed:@"timg-5"],[UIImage imageNamed:@"timg-6"],
                [UIImage imageNamed:@"timg-7"],[UIImage imageNamed:@"timg-8"],
                [UIImage imageNamed:@"timg-9"],[UIImage imageNamed:@"timg-10"],
                [UIImage imageNamed:@"timg-11"],[UIImage imageNamed:@"timg-12"],
                [UIImage imageNamed:@"timg-13"],[UIImage imageNamed:@"timg-14"],
                [UIImage imageNamed:@"timg-15"],[UIImage imageNamed:@"timg-16"],
                [UIImage imageNamed:@"timg-17"],[UIImage imageNamed:@"timg-18"],
                [UIImage imageNamed:@"timg-19"],[UIImage imageNamed:@"timg-20"],
                [UIImage imageNamed:@"timg-21"],[UIImage imageNamed:@"timg-22"],
                [UIImage imageNamed:@"timg-23"], nil ];
    //设置UIimageView的坐标与大小(宽高)
    imageview=[[UIImageView alloc]initWithFrame:CGRectMake(0, 0, self.view.frame.size.width, self.view.frame.size.height)];
    //设置在UIimageView中第一张图片是数组的第一个对象
    imageview.image=[imageArray firstObject];
    //设置动画效果
    imageview.animationImages=imageArray;
    //设置播放速度0.0f-1.0f    1为正常速度,越小速度越快
    imageview.animationDuration=0.2f;
    //设置图片可以编辑(在下面的一些手势需要)
    imageview.userInteractionEnabled=YES;
    //开始播放
    [imageview startAnimating];
    //在view中添加一个UIimageVIew
    [self.view addSubview:imageview];

    //手势
    [self Gesture];

    // Do any additional setup after loading the view, typically from a nib.
}
在这小编先解释一下,我们设置的view背景颜色为红色,但是根本没有红色,那是因为view被UIImageView给挡了,
imageview=[[UIImageView alloc]initWithFrame:CGRectMake(0, 0, self.view.frame.size.width, self.view.frame.size.height)];
这里小编把 UIImageView的宽高设置为和view的宽高一样大小。别急等下面我们讲解手势的时候,比如拖动,缩放等,就可以看到view了
这串代码小编就不多说了,每一行都有注视说明,到了这一步小编的动画效果就出来了:
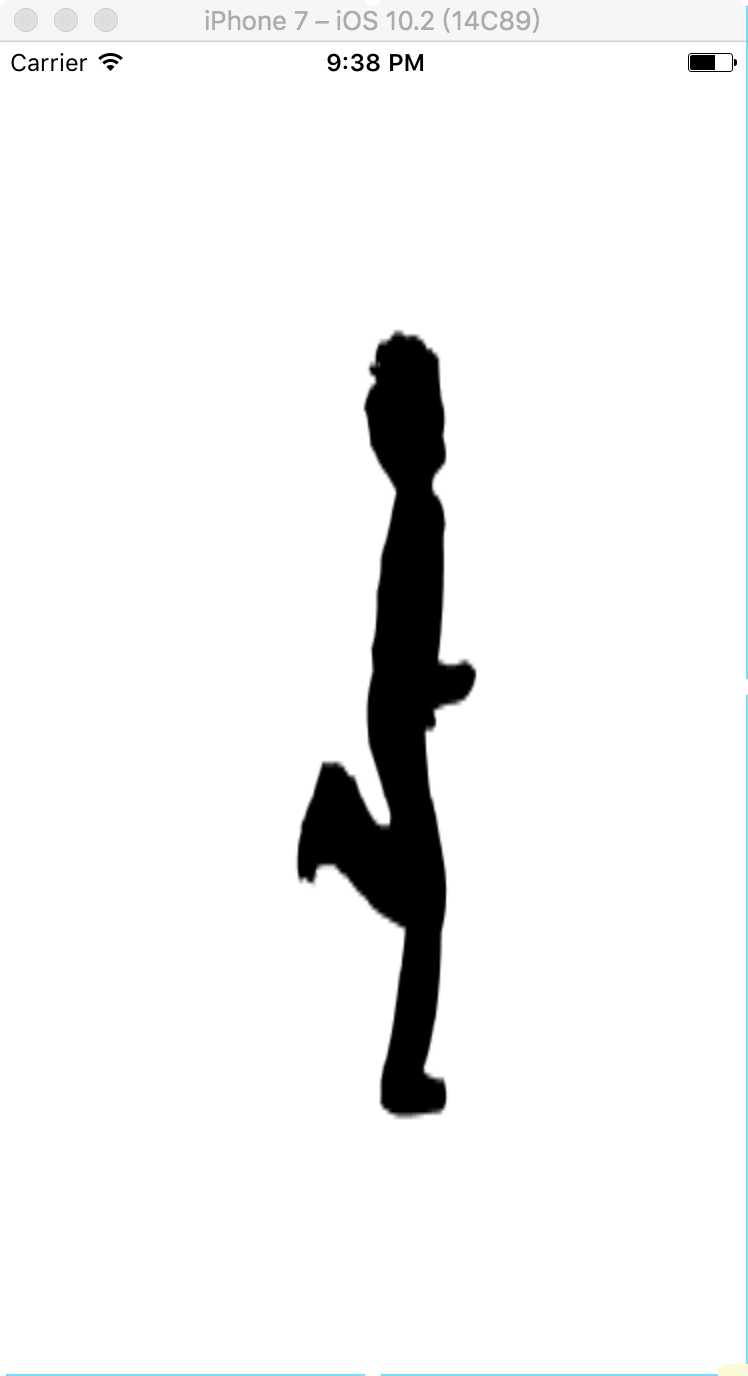
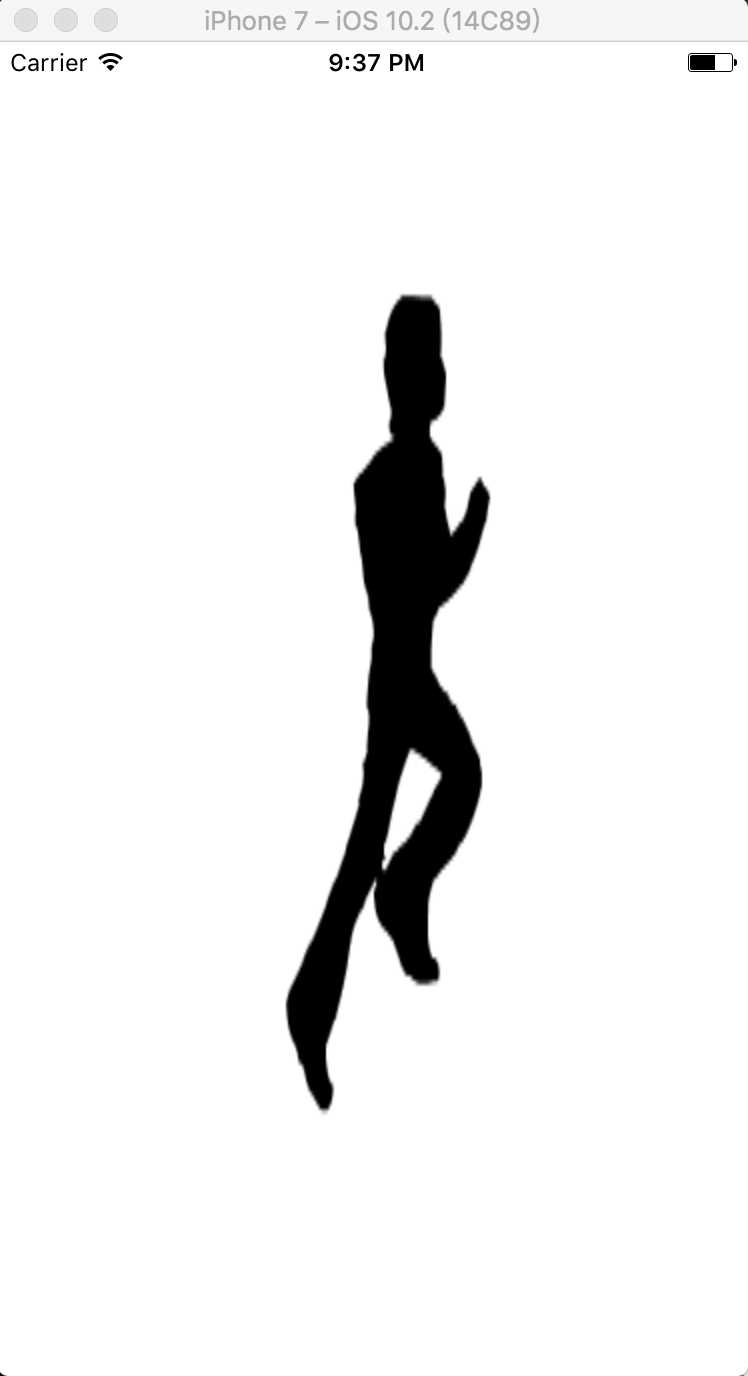
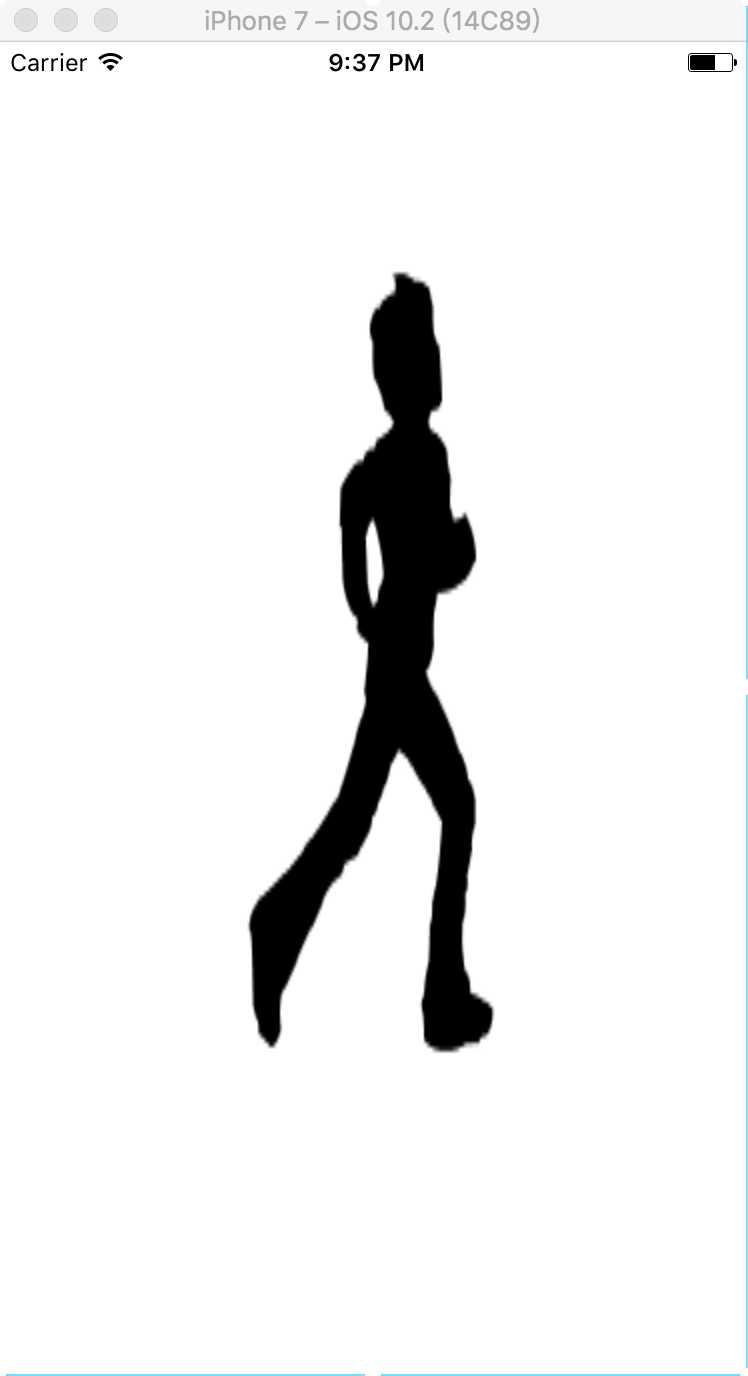
怎么说呢,小编其实是想做一个GIF图的,可是在其他电脑上加载不出来,不知道是不是太大的缘故,哎!!没办法小编就发3张图片给大家凑合凑合吧。
手势小知识:
UIGestureRecognizer将一些和手势操作相关的方法抽象了出来,但它本身并不实现什么手势我们也不会用到他,所以在开发中过程中,我们一般不会直接使用UIGestureRecognizer的对象,而是通过其子类进行实例化并实现手势的功能。以下是几种手势
UITapGestureRecognizer 点击手势
UIPinchGestureRecognizer 缩放手势
UIRotationGestureRecognizer 旋转手势
UISwipeGestureRecognizer 滑动手势
UIPanGestureRecognizer 拖动手势
UILongPressGestureRecognizer 长按手势
一下是手势的代码:
1)点击一下
    UITapGestureRecognizer *TapGestureRecognizer=[[UITapGestureRecognizer alloc]initWithTarget:self action:@selector(TapGesture:)];
    //设置手指的个数为1个
    TapGestureRecognizer.numberOfTouchesRequired=1;
    //遵守UIGestureRecognizerDelegate协议
    TapGestureRecognizer.delegate=self;
    //添加这个手势到UIimageView中
    [imageview addGestureRecognizer:TapGestureRecognizer];
-(void)TapGesture:(UITapGestureRecognizer *)Tap{
    NSLog(@"Tap------>%@",Tap);
    //判断UIimageView是否在动画中
    if (imageview.isAnimating) {
        [imageview stopAnimating];
    }else{
        [imageview startAnimating];
    }
//    if (Tap.state==UIGestureRecognizerStateEnded) {
//        [UIView animateWithDuration:1 delay:0 options:UIViewAnimationOptionCurveEaseOut animations:^{
//            CGPoint point=self.view.center;
//
//            Tap.view.center =CGPointMake(point.x, point.y-100) ;
//
//                    } completion:nil];
//
//
//        [UIView animateWithDuration:1 delay:1 options:UIViewAnimationOptionCurveEaseOut animations:^{
//            CGPoint point=self.view.center;
//
//            Tap.view.center =CGPointMake(point.x, point.y+100);
//            CGPoint oo=CGPointMake(point.x, point.y+100);
//            }
//
//        } completion:nil];

//  }

}
numberOfTouchesRequired // 手指数量个数;
numberOfTapsRequired // 连续轻拍次数;
-(void)TapGesture:(UITapGestureRecognizer *)Tap这个方法是自定义的,主要实现点击后的效果,在这方中有一大串注释过的代码,其实就是实现一个动作效果而已,可以忽略,当然有兴趣的可以去掉注释,看看效果。这串代码很少,其实就是一个判断是否在动画而已。

2)拖动效果
    UIPanGestureRecognizer *PanGestureRecognizer=[[UIPanGestureRecognizer alloc]initWithTarget:self action:@selector(PanGesture:)];
    PanGestureRecognizer.delegate=self;
    [imageview addGestureRecognizer:PanGestureRecognizer];
-(void)PanGesture:(UIPanGestureRecognizer *)Pan{
    NSLog(@"Pan------>%@",Pan);
    //view上可以放控件,那么这个view就是这些控件的superView.而UIWindow上可以叠一层又一层的view,UIWindow就是这些view的superView.先放上去的index为0,然后依次累加
    CGPoint point=[Pan translationInView:Pan.view.superview];
    //中心点
    CGPoint center=imageview.center;
    //设置中心坐标(x,y)
    center.x=center.x+point.x;
    center.y=center.y+point.y;
    imageview.center=center;

    [Pan setTranslation:CGPointZero inView:Pan.view];
    //拖动结束后执行
    if(Pan.state==UIGestureRecognizerStateEnded){

       // imageview.center=self.view.center;
//        CGPoint velocity = [Pan velocityInView:self.view];
//        CGFloat magnitude = sqrtf((velocity.x * velocity.x) + (velocity.y * velocity.y));
//        CGFloat slideMult = magnitude / 200;
//        NSLog(@"magnitude: %f, slideMult: %f", magnitude, slideMult);
//
//        float slideFactor = 0.1 * slideMult; // Increase for more of a slide
//        CGPoint finalPoint = CGPointMake(Pan.view.center.x + (velocity.x * slideFactor),
//                                         Pan.view.center.y + (velocity.y * slideFactor));
//        finalPoint.x = MIN(MAX(finalPoint.x, 0), self.view.bounds.size.width);
//        finalPoint.y = MIN(MAX(finalPoint.y, 0), self.view.bounds.size.height);
//
        [UIView animateWithDuration:1 delay:0 options:UIViewAnimationOptionCurveEaseOut animations:^{

            Pan.view.center = self.view.center;

        } completion:nil];
    }
}
[Pan setTranslation:CGPointZero inView:Pan.view];这个方法网上介绍的很少,我总结了一下大概意思就是:清空(把Translation置零)移动的距离,有的解释为“复位”,复位的意思就是归零, 也可以叫初始化
UIGestureRecognizerStateEnded 拖动手势结束后
        [UIView animateWithDuration:1 delay:0 options:UIViewAnimationOptionCurveEaseOut animations:^{

            Pan.view.center = self.view.center;

        } completion:nil];
以动画的效果回到view 的终点。
3)上下滑效果
//向上滑动
    UISwipeGestureRecognizer *SwipeGestureRecognizerUP=[[UISwipeGestureRecognizer alloc]initWithTarget:self action:@selector(SwipeGestureUP:)];
    SwipeGestureRecognizerUP.delegate=self;
    //上滑动
    SwipeGestureRecognizerUP.direction=UISwipeGestureRecognizerDirectionUp;
    [imageview addGestureRecognizer:SwipeGestureRecognizerUP];

    //向下滑动
    UISwipeGestureRecognizer *SwipeGestureRecognizerDOWN=[[UISwipeGestureRecognizer alloc]initWithTarget:self action:@selector(SwipeGestureDOWN:)];
    SwipeGestureRecognizerDOWN.delegate=self;
    //下滑动
    SwipeGestureRecognizerDOWN.direction=UISwipeGestureRecognizerDirectionDown;
    [imageview addGestureRecognizer:SwipeGestureRecognizerDOWN];
滑动分上滑动和下滑动,这里为了好看,我一起发了出来
 typedef enum {
    UISwipeGestureRecognizerDirectionRight = 1 << 0,
    UISwipeGestureRecognizerDirectionLeft  = 1 << 1,
    UISwipeGestureRecognizerDirectionUp    = 1 << 2,
  } UISwipeGestureRecognizerDirection;
这是一个枚举类型,滑动可以上下左右,这里我只区分了上下滑动
//向上滑动的效果
-(void)SwipeGestureUP:(UISwipeGestureRecognizer *)UP{
    NSLog(@"UP------>%@",UP);
    //动画的速度
    float Duration=imageview.animationDuration;
    Duration=Duration-0.1;
    //判断是否小于0
    if (Duration<0) {
        Duration=0.1;
    }

    if (imageview.isAnimating) {
        //把新的动画速度给UIimageView
        imageview.animationDuration=Duration;
        [imageview startAnimating];
    }else{
        imageview.animationDuration=Duration;
    }

}

//向下滑动的效果
-(void)SwipeGestureDOWN:(UISwipeGestureRecognizer *)DOWN{
    NSLog(@"DOWN------>%@",DOWN);
    float Duration=imageview.animationDuration;
    Duration=Duration+0.1;
    if (Duration>1.0) {
        Duration=1.0;
    }

    if (imageview.isAnimating) {
        imageview.animationDuration=Duration;
        [imageview startAnimating];
    }else{
        imageview.animationDuration=Duration;
    }

}
imageview.animationDuration设置动画速度,上滑动就是加速度,下滑动就是减速度。然后重新复制给imageview.animationDuration来改变动画的速度。
4)长按效果UILongPressGestureRecognizer *LongPressGestureRecognizer=[[UILongPressGestureRecognizer alloc]initWithTarget:self action:@selector(LongPressGesture:)]; //长安时间为0.5秒 LongPressGestureRecognizer.minimumPressDuration=0.5f; LongPressGestureRecognizer.delegate=self; [imageview addGestureRecognizer:LongPressGestureRecognizer];
//长按的效果
-(void)LongPressGesture:(UILongPressGestureRecognizer *)LongPress{
    NSLog(@"LongPress------>%@",LongPress);
    //LongPress.allowableMovement = 10;
}
minimumPressDuration: 长按生效时间
allowableMovement: 长按有效移动范围(从点击开始,长按移动的允许范围)
5)放大缩小效果
    UIPinchGestureRecognizer *PinchGestureRecognizer=[[UIPinchGestureRecognizer alloc]initWithTarget:self action:@selector(PinchGesture:)];
    PinchGestureRecognizer.delegate=self;
    [imageview addGestureRecognizer:PinchGestureRecognizer];
//放大缩小的效果
-(void)PinchGesture:(UIPinchGestureRecognizer *)Pinch{
    NSLog(@"Pinch------>%@",Pinch);
    imageview.transform=CGAffineTransformScale(imageview.transform, Pinch.scale, Pinch.scale);
    Pinch.scale=1;
}
CGAffineTransformScale缩放:设置缩放比例
scale缩放比例(手指距离增大,scale增大) // scale = 1.0
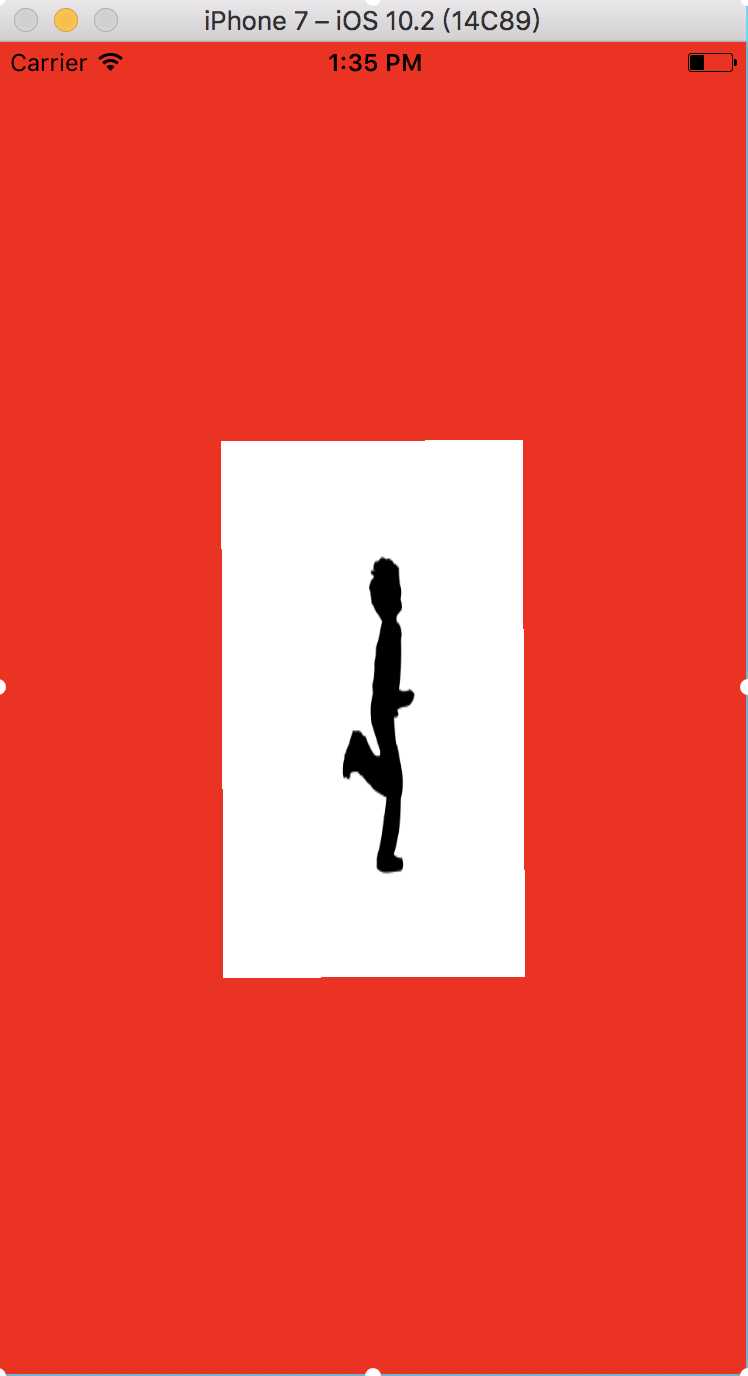
以下是效果图
6)旋转效果
    UIRotationGestureRecognizer *RotationGestureRecognizer=[[UIRotationGestureRecognizer alloc]initWithTarget:self action:@selector(RotationGesture:)];
    RotationGestureRecognizer.delegate=self;
    [imageview addGestureRecognizer:RotationGestureRecognizer];
-(void)RotationGesture:(UIRotationGestureRecognizer *)Rotation{
    NSLog(@"Rotation------>%@",Rotation);
    imageview.transform=CGAffineTransformRotate(imageview.transform, Rotation.rotation);
    Rotation.rotation=0;
}
CGAffineTransformMakeRotation 旋转:设置旋转角度
velocity :速度
rotation 旋转的弧度
Rotation.rotation = 0;
将旋转的弧度清0(将当前手势旋转的弧度清0);
-----------------------------------------------------目前几个手势的功能就基本实现了,希望我的笔记可以帮打你们
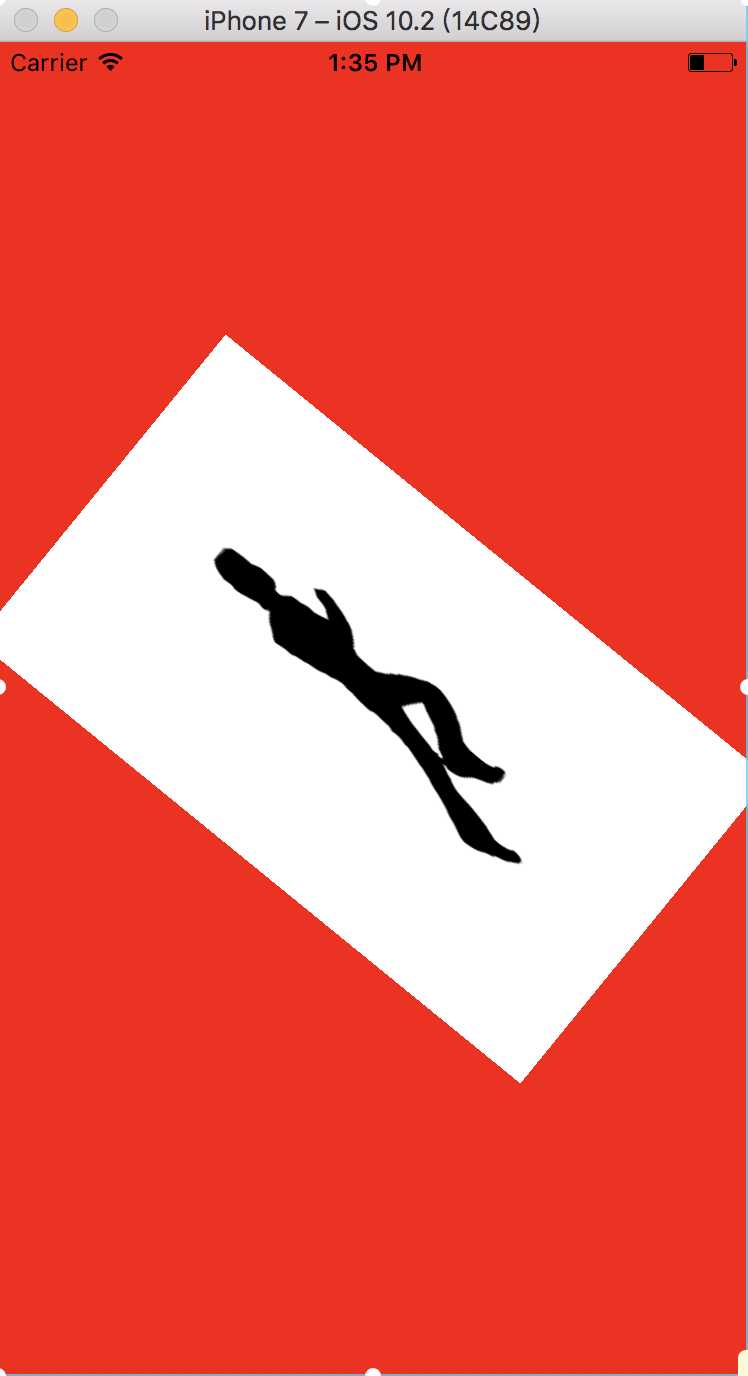
一下是效果图
标签:动画 技术 blog options back 时间 tee uiimage net
原文地址:http://www.cnblogs.com/312294025myj/p/6736079.html