标签:验证 视图 color style his else let 模型 效果
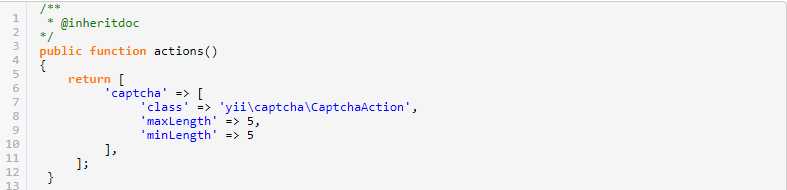
第一步,控制器:
在任意controller里面重写方法
第二步,表单模型:
这里只给出验证码相关的部分。

验证规则里面验证码的验证器是captcha。
第三步,视图:
用ActiveForm生成对应字段。
captchaAction参数指定第一步是在写在哪里的,默认是site里面。

验证码,生成和验证的整个流程就完成了。
以上是生成验证码的流程,因为验证码数字是在代码中写死的,如果我们需要数字的话,那该怎么办呢?
很好办,我们可以自己写个类来继承CaptchaAction,重写generateVerifyCode方法,例子:
namespace yii\captcha;
class   Newcaptcha extends CaptchaAction
{
    protected function generateVerifyCode()
    {
        if ($this->minLength > $this->maxLength) {
            $this->maxLength = $this->minLength;
        }
        if ($this->minLength < 3) {
            $this->minLength = 3;
        }
        if ($this->maxLength > 20) {
            $this->maxLength = 20;
        }
        $length = mt_rand($this->minLength, $this->maxLength);

        $letters = ‘1234567890123456789012‘;
        $vowels = ‘aeiou‘;
        $code = ‘‘;
        for ($i = 0; $i < $length; ++$i) {
            if ($i % 2 && mt_rand(0, 10) > 2 || !($i % 2) && mt_rand(0, 10) > 9) {
                $code .= $vowels[mt_rand(0, 4)];
            } else {
                $code .= $letters[mt_rand(0, 20)];
            }
        }
        return $code;
    }
}
生成类文件成功。
然后再更改控制器的配置
‘captcha‘ => [
    ‘class‘ => ‘yii\captcha\Newcaptcha‘,
    ‘maxLength‘ => 5,
    ‘minLength‘ =>5
],

好了,更改完成,让我们来看下效果吧!

标签:验证 视图 color style his else let 模型 效果
原文地址:http://www.cnblogs.com/tengjian/p/7126780.html