标签:下载 9.png nbsp com ice org access art 版本
1.
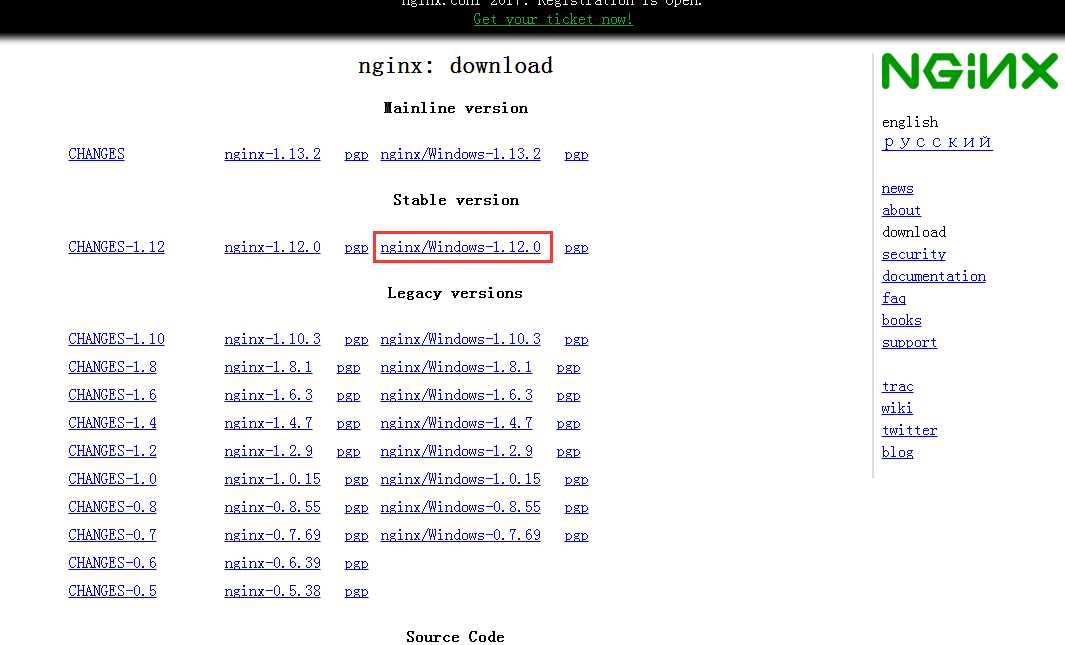
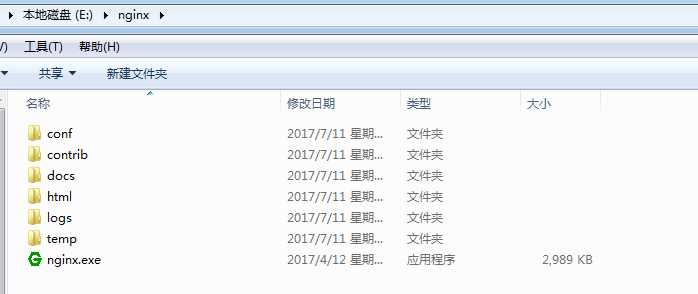
首先去Nginx官网下载一个最新版本的Nginx,下载地址:http://nginx.org/en/download.html。我这里下载的版本是:nginx/Windows-1.12.0。下载完成之后,得到一个.zip的压缩包,把压缩包解压到E盘根目录。如图1-1


2.
打开目录 E:\nginx\conf ,编辑nginx.conf文件,修改成如下:
#user  nobody;
worker_processes  1;

#error_log  logs/error.log;
#error_log  logs/error.log  notice;
#error_log  logs/error.log  info;

#pid        logs/nginx.pid;


events {
    worker_connections  1024;
}


http {
    include       mime.types;
    default_type  application/octet-stream;

    #log_format  main  ‘$remote_addr - $remote_user [$time_local] "$request" ‘
    #                  ‘$status $body_bytes_sent "$http_referer" ‘
    #                  ‘"$http_user_agent" "$http_x_forwarded_for"‘;

    #access_log  logs/access.log  main;

    sendfile        on;
    #tcp_nopush     on;

    #keepalive_timeout  0;
    keepalive_timeout  65;

    #gzip  on;


    server {
        listen       80;                            # nginx访问端口
        server_name  localhost;                        # nginx访问域名

        location / {
            proxy_pass   http://127.0.0.1:8020;        # 前端静态页面地址
            proxy_redirect default;
        }

        location /apis {                            # 自定义nginx接口前缀
            rewrite  ^/apis/(.*)$ /$1 break;        # 监听所有/apis前缀,是则转发后台api接口地址
            include  uwsgi_params;
            proxy_pass   http://127.0.0.1:8080;        # 后台api接口地址
        }

        error_page   500 502 503 504  /50x.html;
        location = /50x.html {
            root   html;
        }
    }

}
3.
启动nginx,进入目录 E:\nginx,点击空白处,按住Shift + 鼠标右键 --> 点击“在此处打开命令窗口”,输入命令:
启动:start nginx
停止:nginx -s stop
重启:nginx -s reload
4.
访问 http://localhost/前端项目名/index.html
5.
ajax接口访问地址由原来的 http://127.0.0.1:8080/api/xxx...
变成:/apis/api/xxx...

标签:下载 9.png nbsp com ice org access art 版本
原文地址:http://www.cnblogs.com/007sx/p/7151720.html