标签:kafka window blog value enter https 安装位置 etc target
https://www.confluent.io/ 一个基于kafka的扩展平台,我们主要关注其管控中心。
由于监控中心只有企业版才有,所以下载企业版,并进行测试。
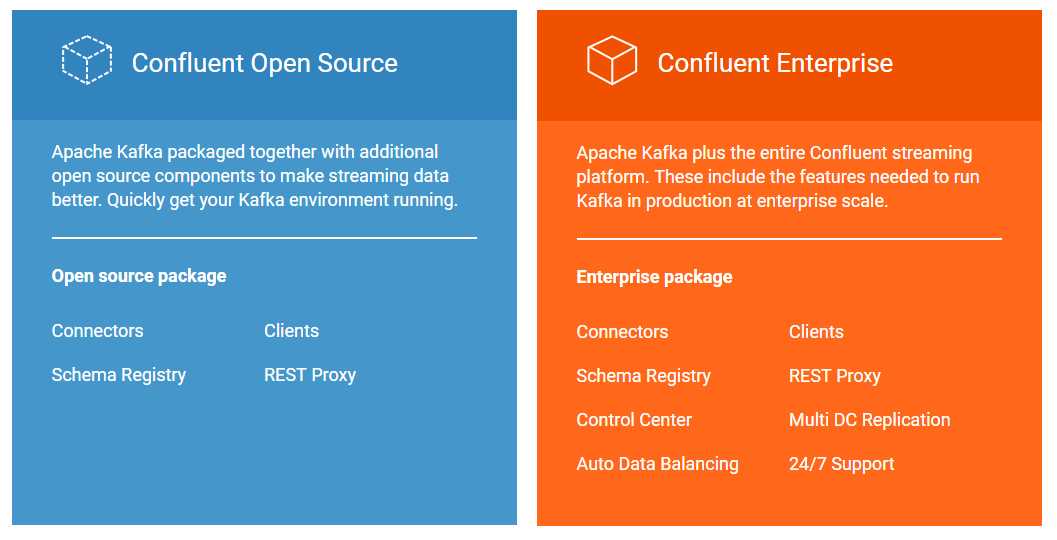
进入下载中心,可以看到两个版本:

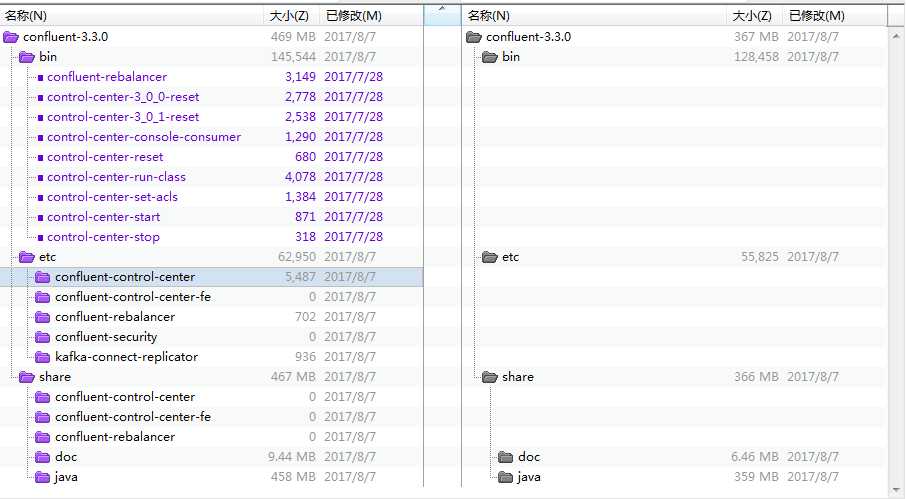
比对了两个版本的差异,发现也主要在管控中心、同步和安全上。并且一些功能,不提供windows的启动脚本,应该是只能在linux上运行

安装管控中心:
http://docs.confluent.io/current/control-center/docs/quickstart.html#base-installation
由于官方文档,写的很清晰,这里只是将一些要点重新记录一下。
centos7
这里使用的是JDK1.8
需要用到的一个后台命令工具,若没有可以安装一个。
yum install screen
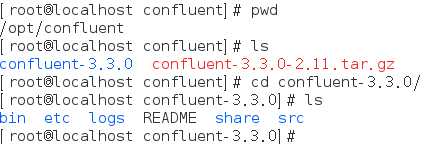
/opt/confluent

将下载回来的confluent包解压出来,进入解压后的confluent-3.3.0目录(重要,后续的命令行操作,都在该目录下执行)
启动zookeeper,配置使用默认配置
$ screen -dmS zookeeper bash -c ‘./bin/zookeeper-server-start ./etc/kafka/zookeeper.properties; exec bash‘
设置kafka配置文件,这里将配置文件放到/tmp目录下
$ cp ./etc/kafka/server.properties /tmp/kafka-server.properties && sed -i ‘s/#metric.reporters=io.confluent.metrics.reporter.ConfluentMetricsReporter/metric.reporters=io.confluent.metrics.reporter.ConfluentMetricsReporter/g‘ /tmp/kafka-server.properties && sed -i ‘s/#confluent.metrics.reporter.bootstrap.servers=localhost:9092/confluent.metrics.reporter.bootstrap.servers=localhost:9092/g‘ /tmp/kafka-server.properties && sed -i ‘s/#confluent.metrics.reporter.zookeeper.connect=localhost:2181/confluent.metrics.reporter.zookeeper.connect=localhost:2181/g‘ /tmp/kafka-server.properties && sed -i ‘s/#confluent.metrics.reporter.topic.replicas=1/confluent.metrics.reporter.topic.replicas=1/g‘ /tmp/kafka-server.properties
启动kafka
$ screen -dmS kafka bash -c "./bin/kafka-server-start /tmp/kafka-server.properties; exec bash"
添加拦截器的支持
$ cp ./etc/kafka/connect-distributed.properties /tmp/connect-distributed.properties
$ cat <<EOF >> /tmp/connect-distributed.properties

# Interceptor setup
consumer.interceptor.classes=io.confluent.monitoring.clients.interceptor.MonitoringConsumerInterceptor
producer.interceptor.classes=io.confluent.monitoring.clients.interceptor.MonitoringProducerInterceptor
EOF
启动连接器
$ screen -dmS connect-distributed bash -c "./bin/connect-distributed /tmp/connect-distributed.properties; exec bash"
启动管控中心
$ cp ./etc/confluent-control-center/control-center.properties /tmp/control-center.properties
$ cat <<EOF >> /tmp/control-center.properties

# Quickstart partition and replication values
confluent.controlcenter.internal.topics.partitions=1
confluent.controlcenter.internal.topics.replication=1
confluent.controlcenter.command.topic.replication=1
confluent.monitoring.interceptor.topic.partitions=1
confluent.monitoring.interceptor.topic.replication=1
EOF
$ screen -dmS control-center bash -c "./bin/control-center-start /tmp/control-center.properties; exec bash"
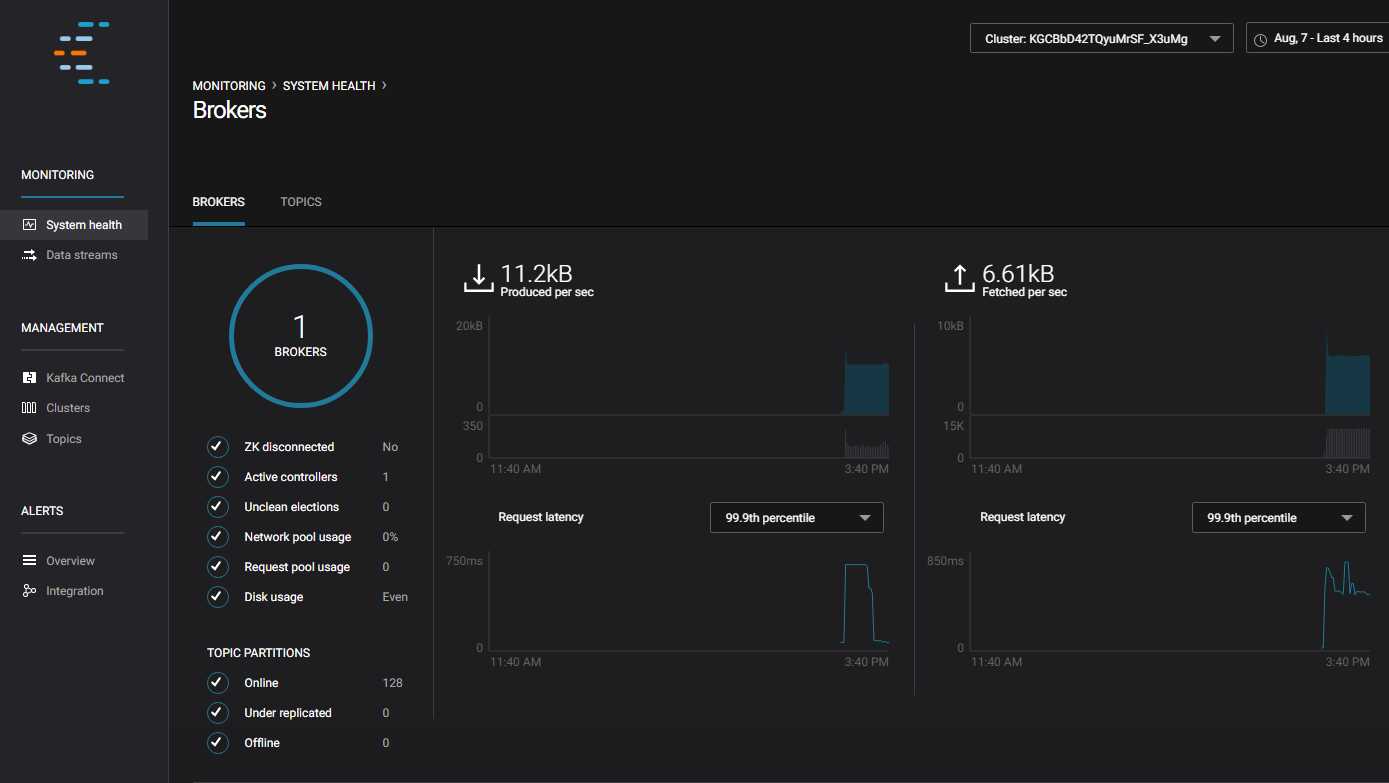
访问管控中心:
管控中心提供了一系列监控的功能,之后我们会对这些功能进行分析。

标签:kafka window blog value enter https 安装位置 etc target
原文地址:http://www.cnblogs.com/maobuji/p/7299461.html