标签:stat domain mime class t权限 加域 去掉 rom efi
本文记录在本地虚拟机CentOS6上搭建Sendmail + Dovecot + Squirrelmail 的Webmail环境的过程,仅仅是本地局域网的环境测试,不配置DNS, 也没有安全认证,Squirrelmail 版本squirrelmail-webmail-1.4.22。
关于CentOS系统的安装,这里便不做介绍了,大家可以在网上找到很多相关的资料参考。如果已经对下面的命令熟悉的朋友,请直接跳到下一步...
现简单介绍一下一些基本命令的使用:
[lz@localhost ~]$ cat /etc/issue
CentOS release 6.9 (Final)
Kernel \r on an \m
[lz@localhost ~]$ uname -a
Linux localhost.localdomain 2.6.32-71.el6.x86_64 #1 SMP Fri May 20 03:51:51 BST 2011 x86_64 x86_64 x86_64 GNU/Linux
[lz@localhost ~]$ su root
Password:             【输入lz的密码】
[root@localhost lz]#
[root@localhost lz]# vim /etc/sudoers

按esc键,输入:wq! 保存文件,退出,这样lz就用使用sudo命令获取root权限了。来,试试看。
[root@localhost lz]# exit
exit
[lz@localhost ~]$ sudo -i     【获取root权限】
We trust you have received the usual lecture from the local System
Administrator. It usually boils down to these three things:
    #1) Respect the privacy of others.
    #2) Think before you type.
    #3) With great power comes great responsibility.
[sudo] password for lz:
[root@localhost ~]#
[root@mail ~]# cat /etc/sysconfig/network
NETWORKING=yes
NETWORKING_IPV6=no
HOSTNAME=mail.squirrelmail.com
[root@mail ~]# cat /etc/hosts
127.0.0.1 mail.squirrelmail.com localhost.localdomain
127.0.0.1 squirrelmail.com localhost.localdomain
127.0.0.1 localhost.localdomain localhost
::1 localhost6.localdomain6 localhost6
重启一下系统,命令提示符前面的就会变成如上所示。
[root@mail ~]# yum update
这个过程可能需要比较长的时间,耐心等待系统更新完成。
下面记录Sendmail的安装过程,重要的步骤会给出命令行输出结果。首先,我们需要安装一些依赖包,CentOS系统使用yum来安装,跟Debian/Ubuntu的apt-get 类似可以很方便的安装一些软件。press y
[root@mail mail]# yum install m4 telnet mailx
Loaded plugins: fastestmirror, refresh-packagekit
Setting up Install Process
Loading mirror speeds from cached hostfile
* base: centos.ustc.edu.cn
* extras: centos.ustc.edu.cn
* updates: centos.ustc.edu.cn
Package m4-1.4.13-5.el6.x86_64 already installed and latest version
Package 1:telnet-0.17-48.el6.x86_64 already installed and latest version
Package mailx-12.4-8.el6_6.x86_64 already installed and latest version
Nothing to do
[root@mail mail]# yum install sendmail sendmail-cf
Loaded plugins: fastestmirror, refresh-packagekit
Setting up Install Process
Loading mirror speeds from cached hostfile
* base: centos.ustc.edu.cn
* extras: centos.ustc.edu.cn
* updates: centos.ustc.edu.cn
Package sendmail-8.14.4-9.el6_8.1.x86_64 already installed and latest version
Package sendmail-cf-8.14.4-9.el6_8.1.noarch already installed and latest version
Nothing to do
我这已经安装好了,仅演示安装过程,在软件的安装过程中,会提示输入[y/N] : y , 当然输入y了
Sendmail的配置文件默认是在/etc/mail目录下的:
[root@mail mail]# ls /etc/mail
access     aliasesdb-stamp  domaintable.db  local-host-names  mailertable.db  Makefile     sendmail.cf.bak  submit.cf  trusted-users  virtusertable.db
access.db  domaintable      helpfile        mailertable       make            sendmail.cf  sendmail.mc      submit.mc  virtusertable
默认监听的是本地接口地址: 127.0.0.1:25, 我们可以通过命令查看
[root@mail mail]# ps -ef | grep -v grep | grep -i sendmail
root      29409      1  0 14:52 ?        00:00:00 sendmail: accepting connections
smmsp     29419      1  0 14:52 ?        00:00:00 sendmail: Queue runner@01:00:00 for /var/spool/clientmqueue
[root@mail mail]# netstat -an | grep :25 | grep tcp
tcp        0      0 127.0.0.1:25                0.0.0.0:*                   LISTEN
如果要让Sendmail监听本机的所有接口地址,可以修改sendmail.mc文件, 如果默认监听的是0.0.0.0:25,则可以跳过下面这步。
[root@mail mail]# vim /etc/mail/sendmail.mc
大概在116行, 将如下内容注释掉, 在行首添加dnl
From:
DAEMON_OPTIONS(`Port=smtp,Addr=127.0.0.1, Name=MTA‘)dnl

To:
dnl # DAEMON_OPTIONS(`Port=smtp,Addr=127.0.0.1, Name=MTA‘)dnl
重启一下Sendmail,再查看:
[root@mail ~]# service sendmail restart
Shutting down sm-client:                                   [  OK  ]
Shutting down sendmail:                                    [  OK  ]
Starting sendmail:                                         [  OK  ]
Starting sm-client:                                        [  OK  ]
[root@mail ~]# netstat -an | grep :25 | grep tcp
tcp        0      0 0.0.0.0:25                  0.0.0.0:*                   LISTEN
下面将使用m4这个工具来创建sendmail.cf这个文件
[root@mail ~]# m4 /etc/mail/sendmail.mc > /etc/mail/sendmail.cf
在local-host-names增加域名项,表示的是可以用来发送/接收邮件的域名。
[root@mail ~]# cat /etc/mail/local-host-names
# local-host-names - include all aliases for your machine here.
squirrelmail.com
mail.squirrelmail.com
重启Sendmail,设置开机启动。
[root@mail ~]# service sendmail restart
Shutting down sm-client:                                   [  OK  ]
Shutting down sendmail:                                    [  OK  ]
Starting sendmail:                                         [  OK  ]
Starting sm-client:                                        [  OK  ]
[root@mail ~]# chkconfig sendmail on      【开机启动】
首先创建两个测试的账户: 使用useradd命令添加两个用户user1和user2、然后用passwd命令更改密码、再将用户添加到mail组。
[root@mail ~]# useradd user1      【添加用户】
[root@mail ~]# useradd user2
[root@mail ~]# passwd user1       【修改密码】
Changing password for user user1.
New password:
BAD PASSWORD: it does not contain enough DIFFERENT characters
BAD PASSWORD: is too simple
Retype new password:
passwd: all authentication tokens updated successfully.
[root@mail ~]# passwd user2       【修改密码】
Changing password for user user2.
New password:
BAD PASSWORD: it does not contain enough DIFFERENT characters
BAD PASSWORD: is too simple
Retype new password:
passwd: all authentication tokens updated successfully.
[root@mail ~]# gpasswd -a user1 mail    【添加用户到mail组】
Adding user user1 to group mail
[root@mail ~]# gpasswd -a user2 mail
Adding user user2 to group mail
用其中一个账户登陆,给另一个用户发送邮件
[root@mail ~]# su user1      【切换用户user1】
[user1@mail root]$ mail -s "hello user2" user2      [发送邮件:mail -s "主题内容" "收信人"]
This is a test mail from user1.               【邮件正文】
.
EOT
[user1@mail root]$ exit
exit
[root@mail ~]# cat /var/mail/user2             【查看邮件】
From user1@mail.squirrelmail.com  Wed Aug  9 17:18:16 2017
Return-Path: <user1@mail.squirrelmail.com>
Received: from mail.squirrelmail.com (mail.squirrelmail.com [127.0.0.1])
	by mail.squirrelmail.com (8.14.4/8.14.4) with ESMTP id v799IFCn003225
	for <user2@mail.squirrelmail.com>; Wed, 9 Aug 2017 17:18:16 +0800
Received: (from user1@localhost)
	by mail.squirrelmail.com (8.14.4/8.14.4/Submit) id v799IFjw003224
	for user2; Wed, 9 Aug 2017 17:18:15 +0800
From: user1@mail.squirrelmail.com
Message-Id: <201708090918.v799IFjw003224@mail.squirrelmail.com>
Date: Wed, 09 Aug 2017 17:18:15 +0800
To: user2@mail.squirrelmail.com
Subject: hello user2
User-Agent: Heirloom mailx 12.4 7/29/08
MIME-Version: 1.0
Content-Type: text/plain; charset=us-ascii
Content-Transfer-Encoding: 7bit

This is a test mail from user1.
可以看到,上面的邮件发送成功。
[说明] 使用mail命令发送邮件, "-s"后面接邮件主题,然后是接收邮件的账户,直接使用用户名即可,在本域测试。然后输入邮件正文,最后用‘.‘ ,表示邮件正文结束。
需要设置防火墙允许本机25号端口的数据通过:
[root@starnight mail]# iptables -A INPUT -p tcp -m tcp --dport 25 -j ACCEPT
保存防火墙设置,并重启:
[root@starnight mail]# service iptables save      【保存设置】
iptables: Saving firewall rules to /etc/sysconfig/iptables:[  OK  ]
[root@starnight mail]# service iptables restart    【重启防火墙】
iptables: Setting chains to policy ACCEPT: filter          [  OK  ]
iptables: Flushing firewall rules:                         [  OK  ]
iptables: Unloading modules:                               [  OK  ]
iptables: Applying firewall rules:                         [  OK  ]
[root@starnight mail]# service iptables stop      【关闭,我比较暴力】
iptables: Setting chains to policy ACCEPT: filter          [  OK  ]
iptables: Flushing firewall rules:                         [  OK  ]
iptables: Unloading modules:                               [  OK  ]
[root@starnight mail]#
到这里,Sendmail的配置就完成了。成功!
需要先安装一些依赖包:
[root@mail ~]# yum install telnet mailx mutt
[root@mail ~]# yum install dovecot
默认情况下,Dovecot的配置文件在/etc/dovecot/下
[root@mail ~]# ls /etc/dovecot/
conf.d  dovecot.conf
修改配置文件/etc/dovecot/dovecot.conf:
[root@mail ~]# vim /etc/dovecot/dovecot.conf
去掉protocols的注释, 即去掉‘#‘

打开配置文件/etc/dovecot/conf.d/10-mail.conf:
[root@mail ~]# vim /etc/dovecot/conf.d/10-mail.conf
设置:mail_location = mbox:~/mail:INBOX=/var/mail/%u

启动和查看Dovecot 服务:
[root@mail ~]# service dovecot start
Starting Dovecot Imap:                                     [  OK  ]
[root@mail ~]# ps -ef | grep -v grep | grep -i dovecot
root       3556      1  0 17:42 ?        00:00:00 /usr/sbin/dovecot
dovecot    3558   3556  0 17:42 ?        00:00:00 dovecot/anvil
root       3559   3556  0 17:42 ?        00:00:00 dovecot/log
root       3561   3556  0 17:42 ?        00:00:00 dovecot/config
[root@mail ~]# netstat -planet | grep -i dove
tcp        0      0 0.0.0.0:993                 0.0.0.0:*                   LISTEN      0          21510      3556/dovecot
tcp        0      0 0.0.0.0:995                 0.0.0.0:*                   LISTEN      0          21502      3556/dovecot
tcp        0      0 0.0.0.0:110                 0.0.0.0:*                   LISTEN      0          21500      3556/dovecot
tcp        0      0 0.0.0.0:143                 0.0.0.0:*                   LISTEN      0          21508      3556/dovecot
tcp        0      0 :::993                      :::*                        LISTEN      0          21511      3556/dovecot
tcp        0      0 :::995                      :::*                        LISTEN      0          21503      3556/dovecot
tcp        0      0 :::110                      :::*                        LISTEN      0          21501      3556/dovecot
tcp        0      0 :::143                      :::*                        LISTEN      0          21509      3556/dovecot
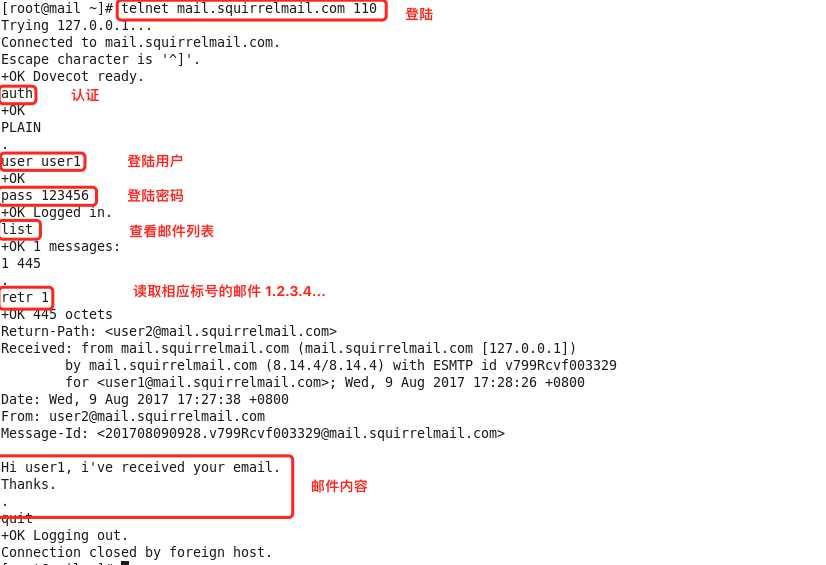
之前在测试Sendmail的时候,用user1这个账户向user2发送了一封邮件,通过查看本地文件进行验证。
[root@mail ~]# mutt -f imap://user2:123456@localhost 【用户user2 密码:123456】
第一次使用在底部会有提示,按照提示进行即可:
 yes
yes
 a
a
accept 之后,会出现如下邮件列表,

按回车键即可查看邮件:
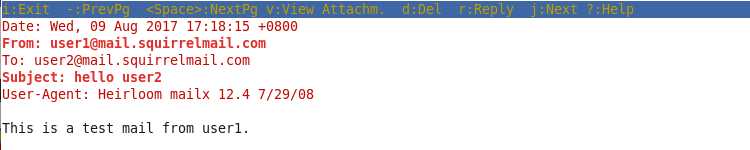
【注】如果新建的用户user1或user2没有加入到mail用户组,通过这种方式查看邮件就会出错。
到这里,Dovecot的配置就完成了。成功!
CentOS Apache2默认应该是安装了的,名称为httpd,如果没有安装可以采用如下命令进行安装
安装:
[root@mail html]# yum install httpd
启动、停止、重启等命令:
[root@mail html]# service httpd start
Starting httpd:                                            [  OK  ]
[root@mail html]# service httpd stop
Stopping httpd:                                            [  OK  ]
[root@mail html]# service httpd restart
Stopping httpd:                                            [  OK  ]
Starting httpd:                                            [  OK  ]
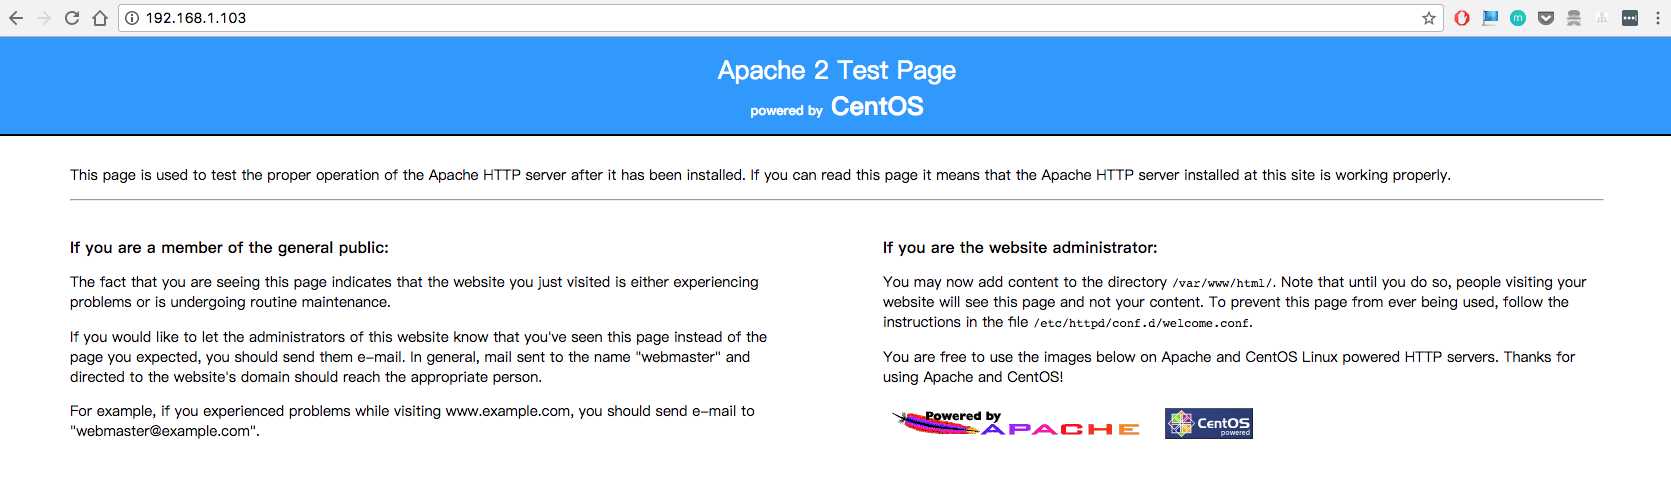
此刻访问虚拟机ip地址,应该就能正常访问了
安装方法也很简单:
[root@mail html]# yum install php
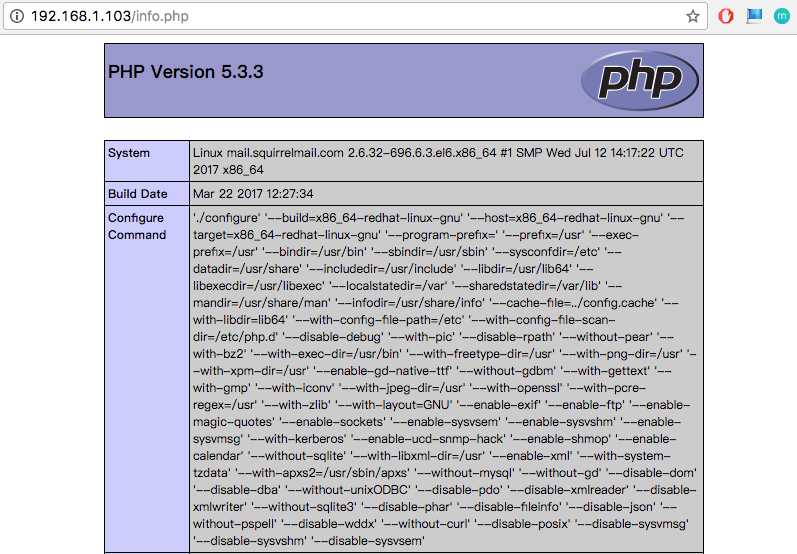
测试: 在web根目录:/var/www/html, 编写如下文件info.php
[root@mail html]# pwd
/var/www/html
[root@mail html]# cat info.php
<?php
phpinfo();
?>
浏览器访问:http://192.168.1.103/info.php
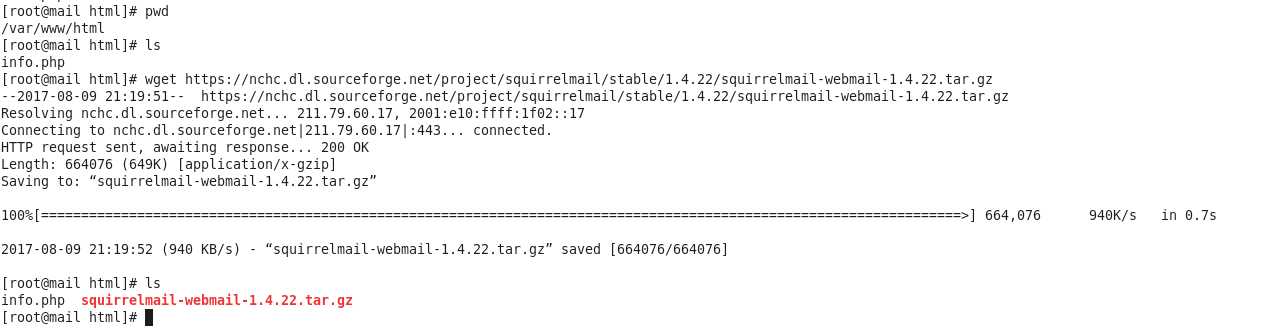
切换到web根目录:使用如下命令下载
[root@mail html]# wget https://nchc.dl.sourceforge.net/project/squirrelmail/stable/1.4.22/squirrelmail-webmail-1.4.22.tar.gz
[root@mail html]# tar -zxvf squirrelmail-webmail-1.4.22.tar.gz
[root@mail html]# ls
info.php  squirrelmail-webmail-1.4.22  squirrelmail-webmail-1.4.22.tar.gz
[root@mail html]# mv squirrelmail-webmail-1.4.22 squirrelmail            【重命名为squirrelmail】
[root@mail html]# ls
info.php  squirrelmail  squirrelmail-webmail-1.4.22.tar.gz
[root@mail html]# cd squirrelmail
[root@mail squirrelmail]# ls
class  config  configure  contrib  data  doc  functions  help  images  include  index.php  locale  plugins  po  README  src  themes
[root@mail squirrelmail]# cd config
[root@mail config]# ls
config_default.php  config_local.php  conf.pl  index.php
运行配置文件:
[root@mail config]# pwd
/var/www/html/squirrelmail/config
[root@mail config]# ls
config_default.php  config_local.php  conf.pl  index.php
[root@mail config]# ./conf.pl         【运行配置文件】
配置项如下:
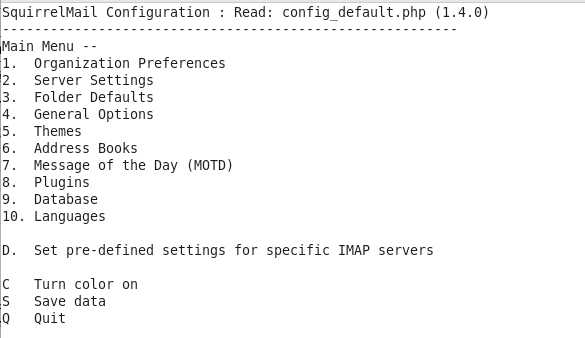
修改一下域名:可以根据自己的需求进行相应的修改。
[2]. Server Settings => [1]. Domain => 输入:mail.squirrelmail.com => 输入:S [保存数据] => 输入:R [返回上一级] => Q [退出]
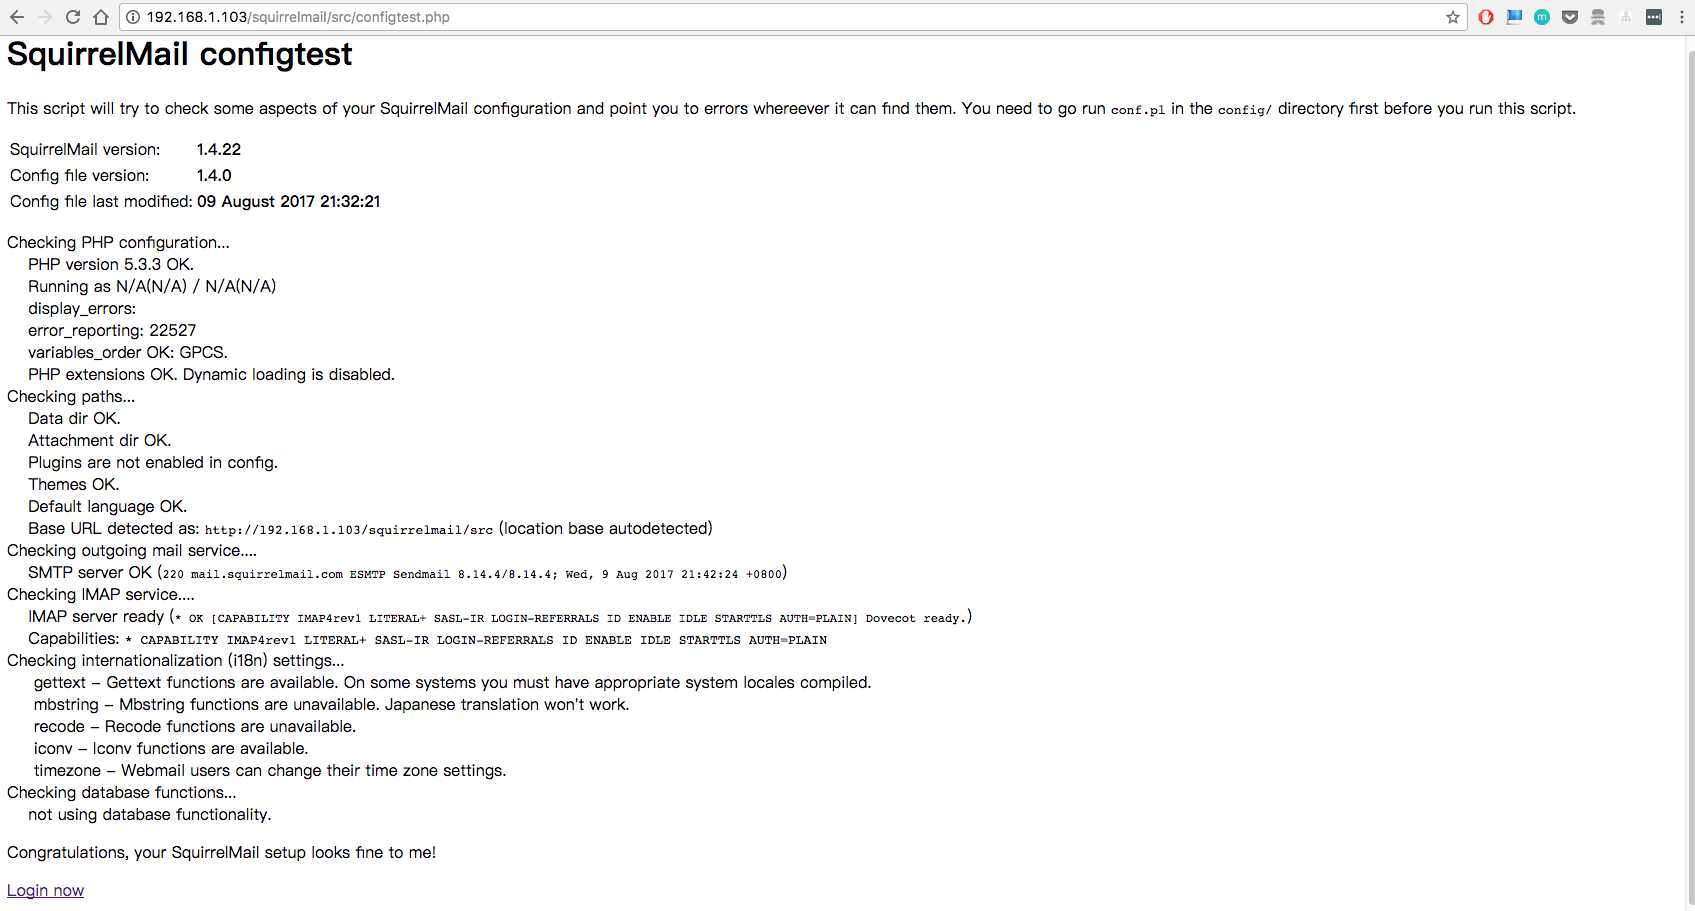
浏览器访问:http://192.168.1.103/squirrelmail/src/configtest.php
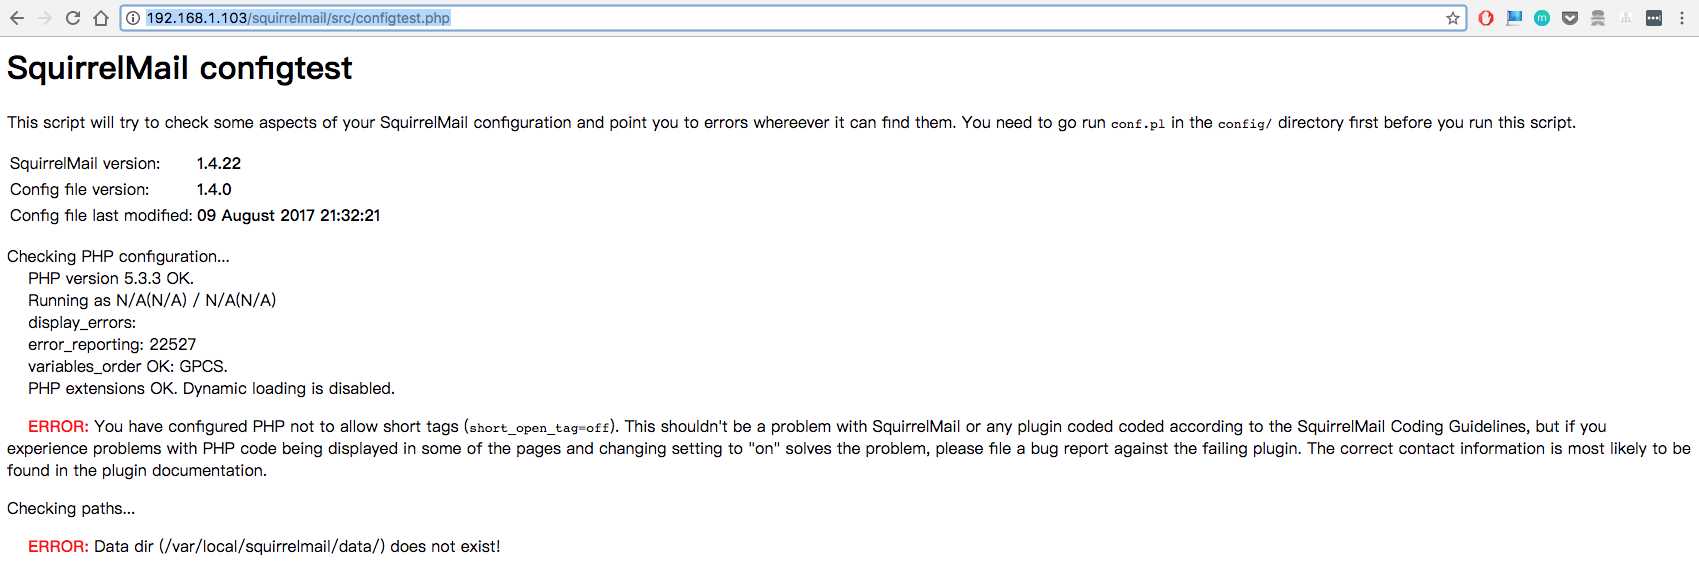
看到上面出现两个错误,我们可以尝试解决一下:
1、 PHP short_open_tag = off 需要设置为On
[root@mail html]# vim /etc/php.ini

2、在填加两个文件夹data和attach,并赋予写权限
[root@mail ~]# cd /var/local/
[root@mail local]# ls
[root@mail local]# mkdir squirrelmail
[root@mail local]# cd squirrelmail/
[root@mail squirrelmail]# mkdir data
[root@mail squirrelmail]# mkdir attach
[root@mail squirrelmail]# chmod a+w data/
[root@mail squirrelmail]# chmod a+w attach/
[root@mail squirrelmail]# ls -l
total 8
drwxrwxrwx 2 root root 4096 Aug  9 21:39 attach
drwxrwxrwx 2 root root 4096 Aug  9 21:39 data
重启一下Web服务器: httpd
[root@mail squirrelmail]# service httpd restart
再次访问正常:
现在可以访问: http://192.168.1.103/squirrelmail/src/login.php
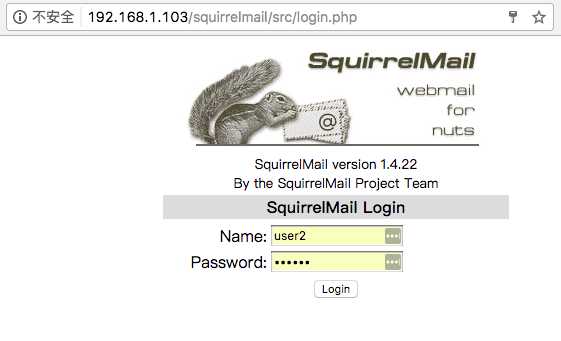
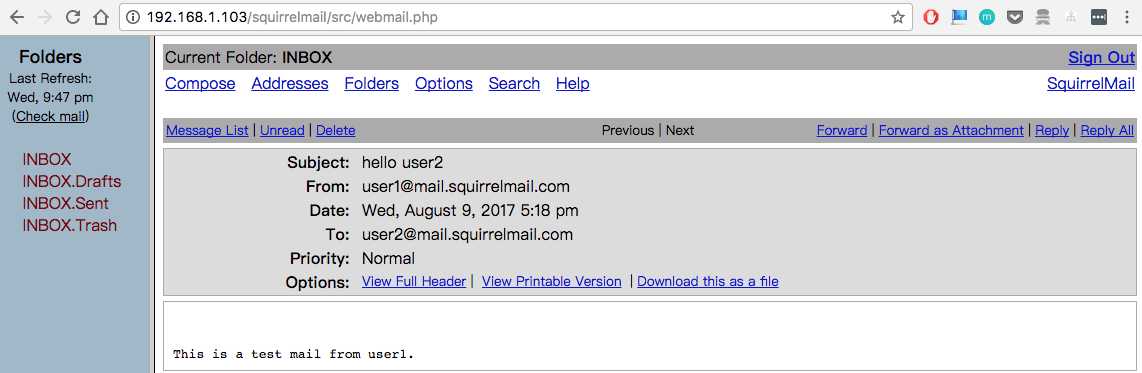
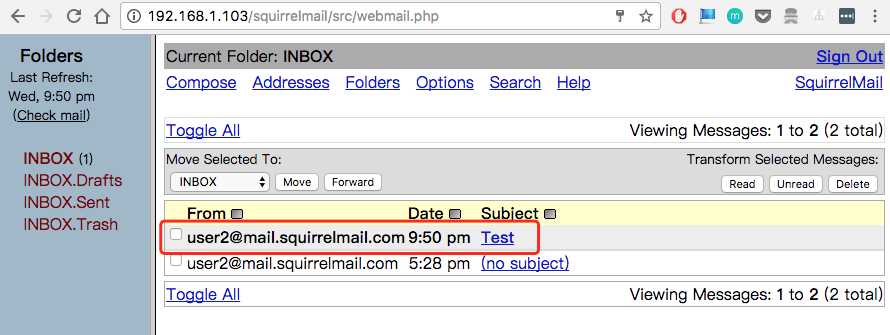
用之前新建的账户名: user1/user2 : 123456 登陆, 用user2登陆看看,可以发现已经有一封之前发送的邮件了
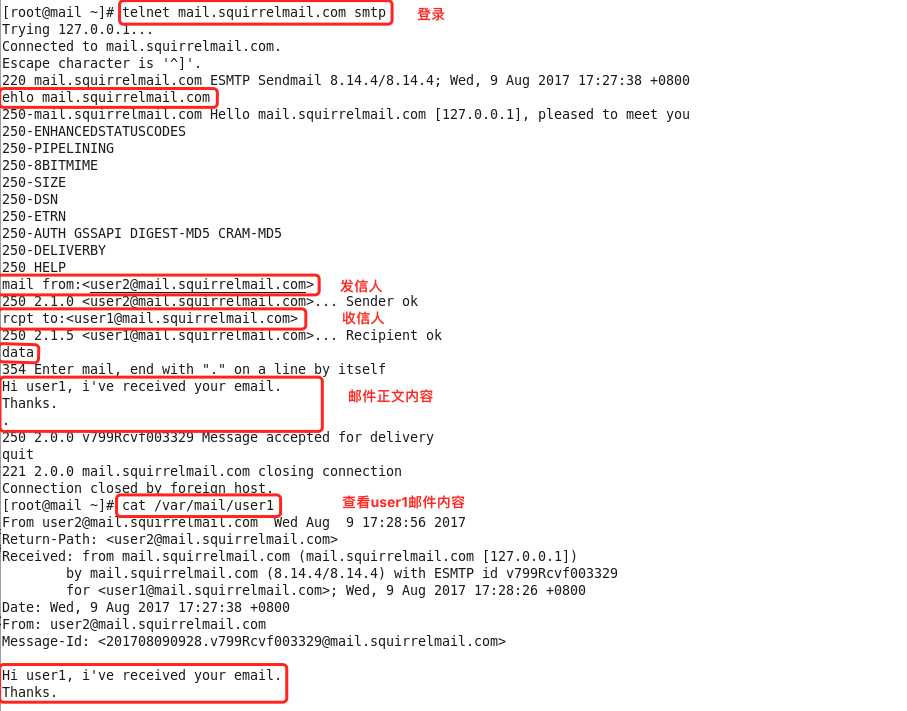
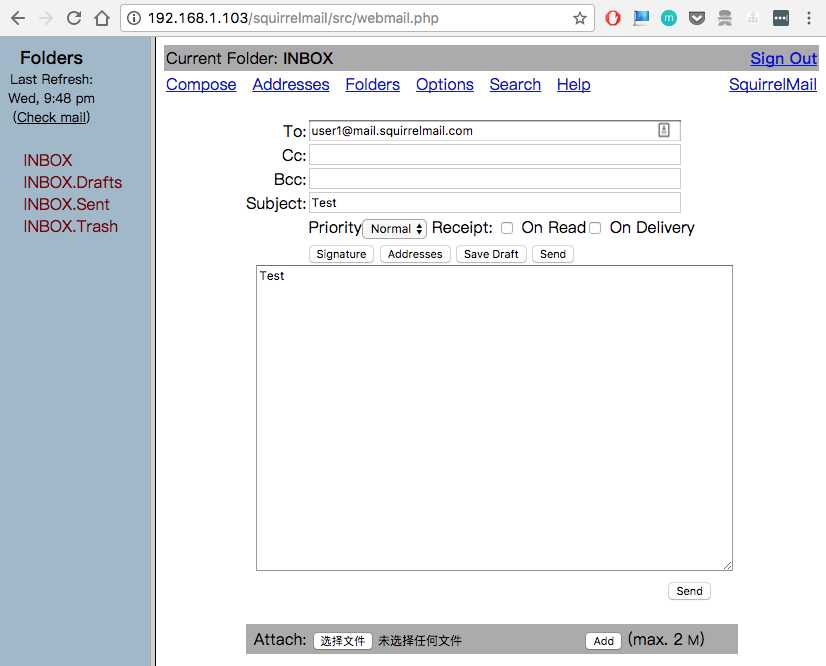
下面我们在Webmail中发送邮件试试:user2 发送给 user1
再用user1登陆看看, 可以看到我们刚才发送的测试邮件...
至此,我们在CentOS6 上安装 Sendmail + Dovecot + Squirrelmail 圆满成功。
【注】不得不提的是,这只是个局域网的Webmail的测试环境,如果要实际使用的话,还必须搭建一个DNS服务器,还有跟邮件服务器配套的相关垃圾邮件过滤,认证之类的。
这本是我研究邮件服务器安全所搭建的测试环境,目前仅限于此。
Postfix + Dovecot + Squirrelmail--CentOS 6.4
最后,只想说一句,没有截图的都是耍流氓....
CentOS6 安装Sendmail + Dovecot + Squirrelmail
标签:stat domain mime class t权限 加域 去掉 rom efi
原文地址:http://www.cnblogs.com/Hi-blog/p/7170116.html