标签:80端口 添加 blog kconfig host 操作 conf details extern
http://www.cnblogs.com/derekchen/p/5870723.html
1.新建 /etc/yum.repos.d/gitlab-ce.repo,添加以下内容
[gitlab-ce]
name=gitlab-ce
baseurl=http://mirrors.tuna.tsinghua.edu.cn/gitlab-ce/yum/el6
repo_gpgcheck=0
gpgcheck=0
enabled=1
gpgkey=https://packages.gitlab.com/gpg.key
2.安装步骤:
https://about.gitlab.com/installation/#centos-6
# 安装依赖包
yum install curl openssh-server openssh-clients postfix cronie
# 启动 postfix 邮件服务
service postfix start
# 检查 postfix
 chkconfig postfix on
# 安装 GitLab 社区版
yum install gitlab-ce
# 初始化 GitLab
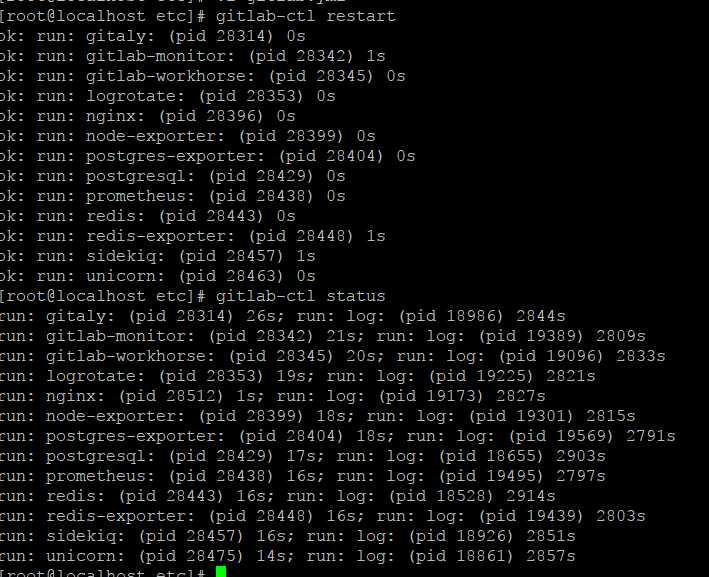
gitlab-ctl reconfigure
添加访问的 host,修改/etc/gitlab/gitlab.rb的external_url
external_url ‘http://git.test.com‘
每次修改/etc/gitlab/gitlab.rb,都要运行以下命令,让配置生效
gitlab-ctl reconfigure
在浏览器打开网址http://git.test.com,登陆。默认管理员:
用户名: root
密码: 5iveL!fe
http://blog.csdn.net/ouyang_peng/article/details/72903221
我自己操作到如下:

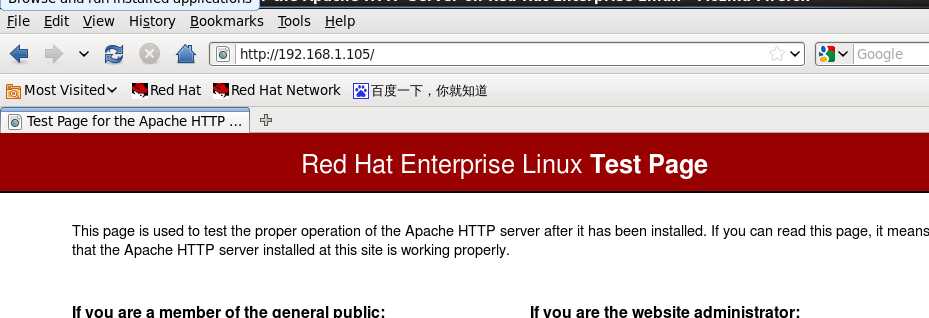
1. 考虑是否默认80端口被占用,如果被占用修改为其他端口

标签:80端口 添加 blog kconfig host 操作 conf details extern
原文地址:http://www.cnblogs.com/dieyaxianju/p/7583094.html