标签:inter class url html 格式 自己的 before base ima
今天自己写了一个简单的登录HTML网页,在用Selenium+FireFox调用时发现浏览器出现了乱码,之后百度发现是因为浏览器设置的编码格式不是“UTF-8”,之后修改浏览器编码为“UTF-8”之后,再次运行程序发现还是乱码,但是直接打开浏览器浏览网页,字符编码已经正常了,之后查询了资料才知道是由于WebDriver启动FireFox浏览器时会启动全新的FireFox浏览器窗口,导致当前机器用户的浏览器配置信息均在测试中无法被使用,要解决这一问题,就需要为使用指定的配置文件来启动FireFox浏览器窗口,下面我们就来硕硕如何配置属于自己的浏览器。
1)生成自定义的Firefox浏览器配置文件
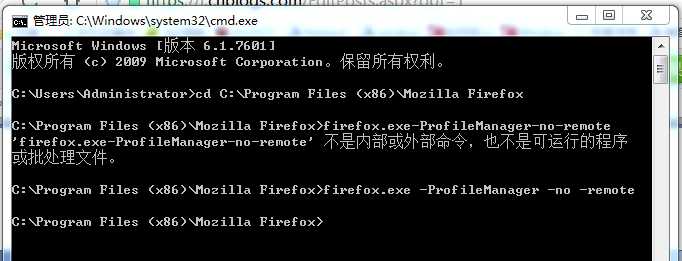
1、打开CMD窗口
2、使用CD命令进入firefox.exe的所在目录,并输入命令firefox.exe -ProfileManager -no -remote
3、输入命令之后会显示FireFox的“选择用户配置文件”对话框,单击“Create Profile”按钮,创建属于自己的配置文件:
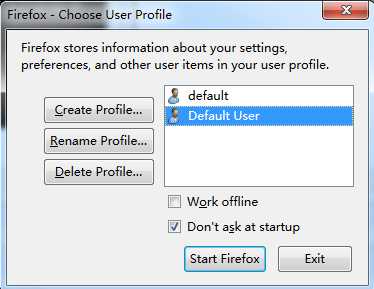
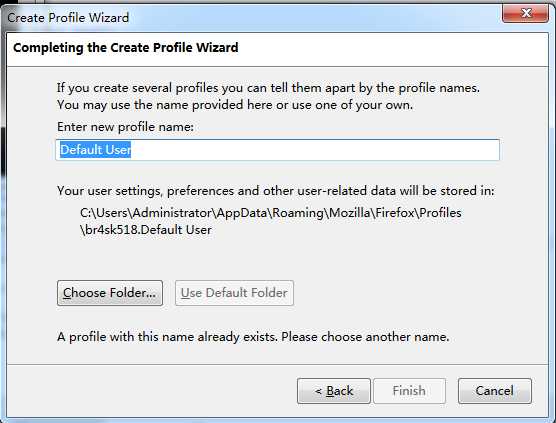
4、创建OK之后,选择自己创建的配置文件名,我这里配置的是Default User,所以我选择Default User之后,点击"Start Firefox"
5、编写Selenium代码,加载创建的配置文件
package com.testng.webdriver;
import org.openqa.selenium.WebDriver;
import org.openqa.selenium.firefox.FirefoxDriver;
import org.openqa.selenium.firefox.FirefoxProfile;
import org.openqa.selenium.firefox.internal.ProfilesIni;
import org.testng.annotations.BeforeMethod;
import org.testng.annotations.Test;

public class CreateFireProfile {
	WebDriver driver;
	String baseUrl;

	@BeforeMethod
	public void beforeMethod()
	{
		baseUrl = "http://localhost:8080/Example1.html";
	}

	@Test
	public void testFirefoxProfile()
	{

		ProfilesIni allProfiles = new ProfilesIni();
		FirefoxProfile profile = allProfiles.getProfile("WebDriver");
		profile.setPreference("browser.fixup.use-utf8", true);
		profile.setPreference("intl.charsetmenu.browser.cache", "UTF-8");
		profile.setPreference("intl.charsetmenu.browser.static", "UTF-8");
		profile.setPreference("intl.charsetmenu.browser.unicode", "UTF-8");
		profile.setPreference("intl.charsetmenu.mailedit", "UTF-8");
		profile.setPreference("prefs.converted-to-utf8", "UTF-8");

		driver = new FirefoxDriver(profile);

		driver.manage().window().maximize();
		driver.get(baseUrl);

	}

}
修改浏览器的默认字符编码,未修改成功,后续待补充。
标签:inter class url html 格式 自己的 before base ima
原文地址:http://www.cnblogs.com/xmmc/p/7586808.html