标签:article sys encoder gem ges inpu deb lob username
Filebeat 安装参考 http://blog.csdn.net/kk185800961/article/details/54579376
elasticsearch 安装参考 http://blog.csdn.net/kk185800961/article/details/54175291
kibana 安装参考 http://blog.csdn.net/kk185800961/article/details/54232097
logstash 安装参考 http://blog.csdn.net/kk185800961/article/details/54430493
我这里用的是 5.6.2 版本,国内下载很慢
这里是我的百度盘分享 Filebeat + logstash + elasticsearch + kibana
链接:http://pan.baidu.com/s/1i5rHXvZ 密码:lisn
使用filebeat,springboot 项目不再需要集成 logstash-logback-encoder ,输出到logstash,再转换为json
关于elasticsearch 安装 需要注意 下面一段操作是需要root权限的
# vi /etc/security/limits.conf
elsearch soft nofile 65536
elsearch hard nofile 65536
elsearch soft nproc 2048
elsearch hard nproc 2048
# vi /etc/sysctl.conf
vm.max_map_count=262144
# sysctl -p
filebeat配置输出到logstash
 [root@192 filebeat]# vi filebeat.yml
    - input_type: log
  # Paths that should be crawled and fetched. Glob based paths.
  paths:
    - /usr/local/log/*.log  #可以配置多个路径

注释
#output.elasticsearch:
  # Array of hosts to connect to.
  #hosts: ["localhost:9200"]

  # Optional protocol and basic auth credentials.
  #protocol: "https"
  #username: "elastic"
  #password: "changeme"

解开注释:
output.logstash:
  # The Logstash hosts
  hosts: ["192.168.1.10:5044"]
  index: "filebeat"     #索引根名称
创建logstash.conf,启动logstash -f logstash.conf
input{
   beats {
        port => 5044
        codec => json     # 直接将filebeat保存在message中的json字串解析出来
    }
}
filter {
    mutate {
        remove_field => ["tags", "beat"]
        #删除filebeat自动添加的字段
    }
}

output {
   elasticsearch {
         hosts => ["192.168.1.10:9200"]
         index => "logstash"  #用这个在kibana页面上创建索引
    }
    stdout {
        codec => rubydebug
    }
}
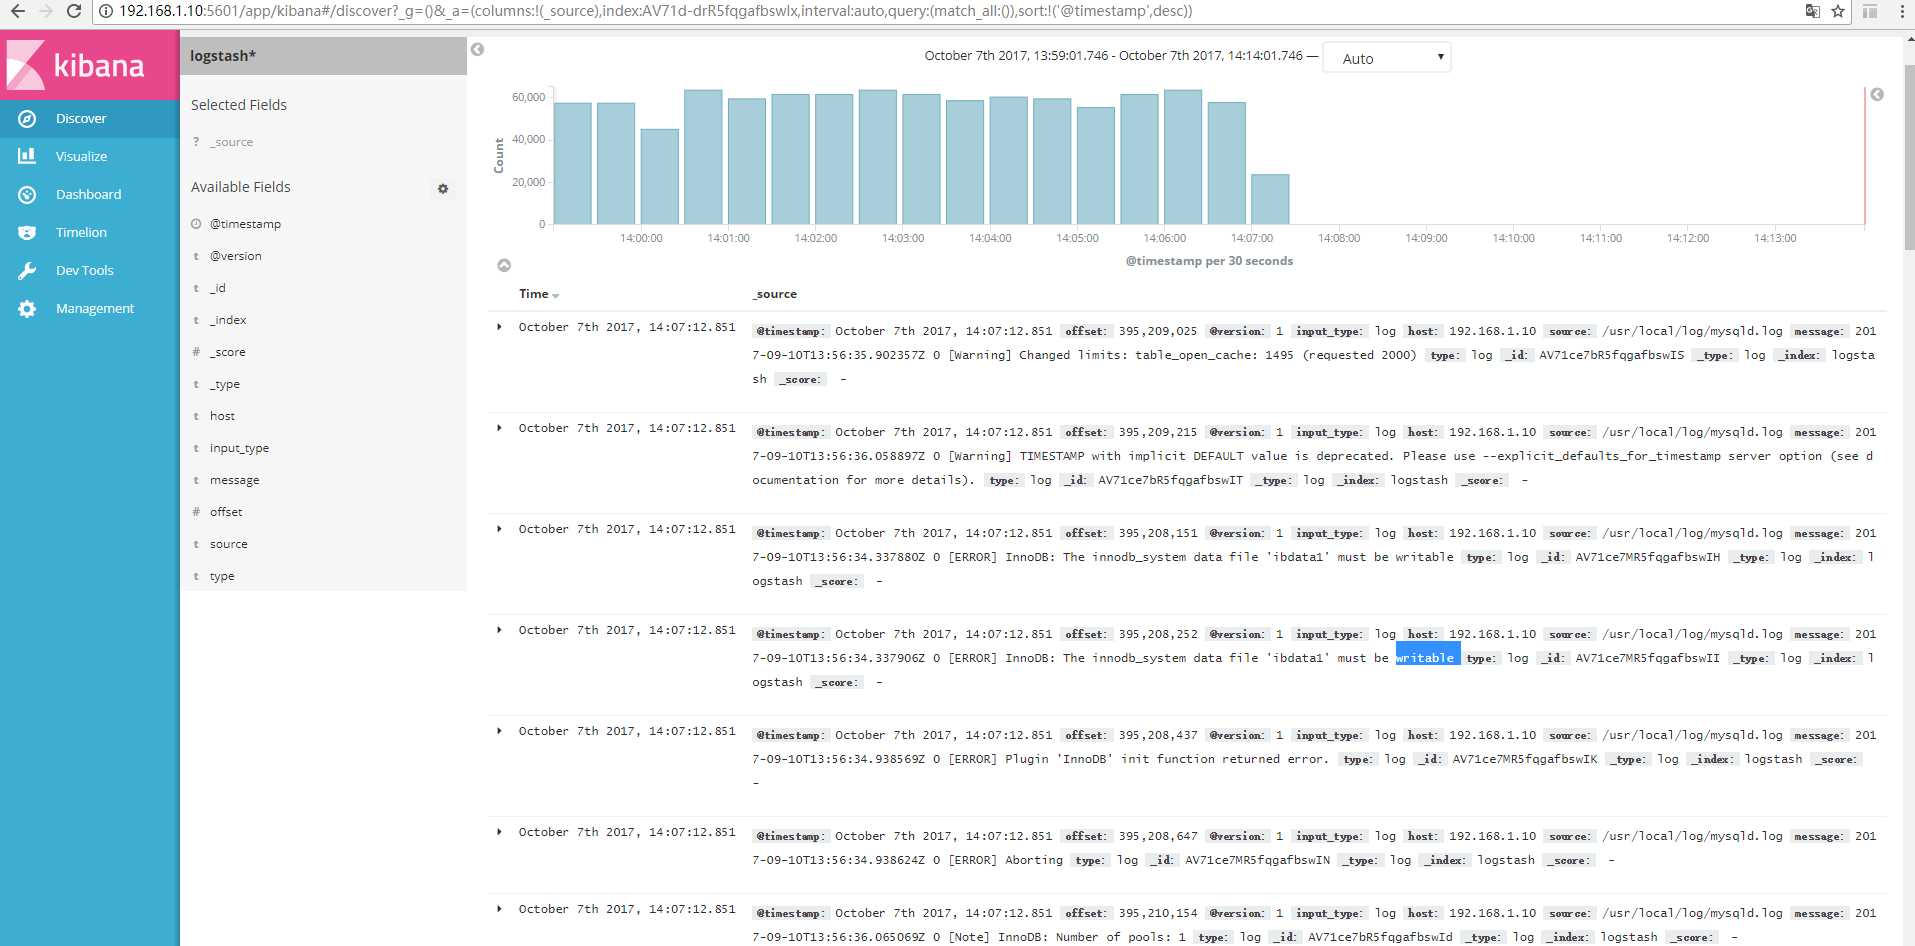
把mysqld.log放入/usr/local/log/ 测试用.

filebeat -> logstash -> elasticsearch -> kibana ELK 日志收集搭建
标签:article sys encoder gem ges inpu deb lob username
原文地址:http://www.cnblogs.com/sweetchildomine/p/7634687.html