标签:not x86 out mod log 技术 target style tar
(一)依赖包安装
首先,gcc,pcre,zlib,openssl安装一边(可以用非-devel,但是嫌麻烦....用非-devel的看这个链接)
yum -y install gcc
------------------------------------------------------------------------------------------------------------------------------------------------------------------------------------------------------------------------------------
(再次执行./configure
./configure: error: the HTTP rewrite module requires the PCRE library.
You can either disable the module by using --without-http_rewrite_module
option, or install the PCRE library into the system, or build the PCRE library
statically from the source with nginx by using --with-pcre=<path> option.)-->只是为了研究过程,实际中不需要每次都./configure
yum install pcre-devel
------------------------------------------------------------------------------------------------------------------------------------------------------------------------------------------------------------------------------------
------------------------------------------------------------------------------------------------------------------------------------------------------------------------------------------------------------------------------------
yum install perl-Digest-SHA1.x86_64
开启ssl 模块 执行./configure --with-http_ssl_module
启用“server+status"页,执行./configure --with-http_stub_status_module
两个都启动,不用我说了。执行./configure --with-http_stub_status_module --with-http_ssl_module
( -devel和非-devel的区别:
devel 包主要是供开发用,至少包括以下2个东西:
1. 头文件
2. 链接库
有的还含有开发文档或演示代码。
以 glib 和 glib-devel 为例:
如果你安装基于 glib 开发的程序,只需要安装 glib 包就行了。
但是如果你要编译使用了 glib 的源代码,则需要安装 glib-devel。)
(二)Nginx安装
常规的非-devel包用这种方法:
$ cd /usr/local/
$ wget http://nginx.org/download/nginx-1.8.0.tar.gz
$ tar -zxvf nginx-1.8.0.tar.gz
$ cd nginx-1.8.0
$ ./configure --prefix=/usr/local/nginx
$ make
$ make install
在--prefix后面接以下命令:
--with-pcre=/usr/local/pcre-8.36 指的是pcre-8.36 的源码路径。
--with-zlib=/usr/local/zlib-1.2.8 指的是zlib-1.2.8 的源码路径
不过,现在既然用了-devel包,就直接操作!很简单直接。
------------------------------
------------------------------------------------------------------------------------------------------------------------------------------------------------------------------------------------------------------------------------
执行make 命令
执行make install 命令
至此,nginx 执行成功了---------------------------------------------------------------------
启动
$ /usr/local/nginx/sbin/nginx
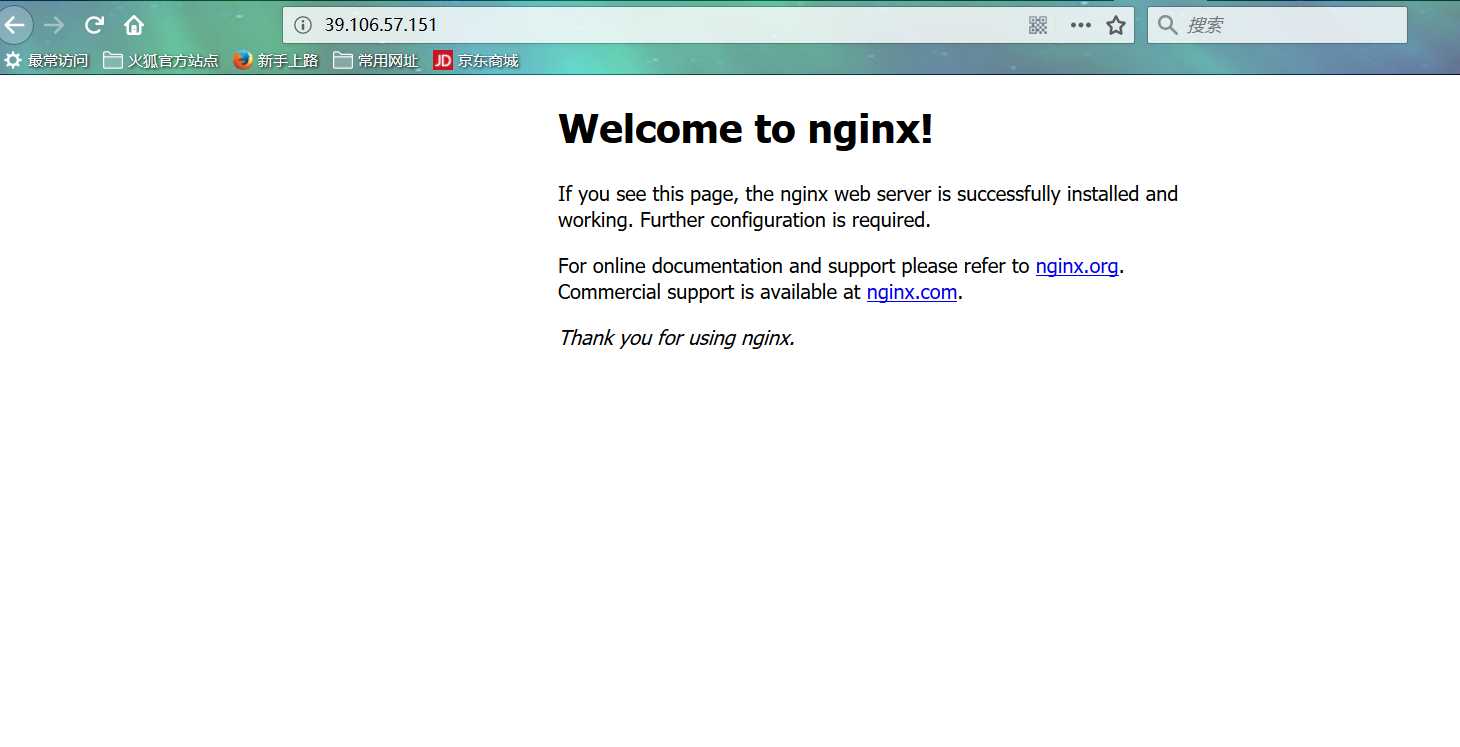
用浏览器直接访问ipv4,显示Nginx默认页面,搞定!

标签:not x86 out mod log 技术 target style tar
原文地址:http://www.cnblogs.com/jokerjason/p/7865837.html