环境:阿里云ESC 2核 4G
系统:CentOS 7.3
注意:如果部署成功,在外网访问不到,查看阿里云的安全组,开放出入端口,80端口是必须开放的,如果修改了gitlab的配置 http://xxx:123 地址中的端口也需要开放出来
1、在 Centos 7系统上, 下面的命令将在系统防火墙里面开放HTTP和SSH端口. 开启postfix 发送邮件(Centos 6 跳过防火墙设置步骤)
安装依赖
sudo yum install curl policycoreutils openssh-server openssh-clients
启动SSH
sudo systemctl enable sshd
sudo systemctl start sshd
下载postfix并启动服务
sudo yum install postfix
sudo systemctl enable postfix
sudo systemctl start postfix
设置防火墙
sudo firewall-cmd --permanent --add-service=http
sudo systemctl reload firewalld
执行systemctl enable postfix 可能会报错如下图,是因为ipv6的原因,编辑hosts,用#号注释掉

vim /etc/hosts //注释掉下面一行
#::1 localhost localhost.localdomain localhost6 localhost6.localdomain6
执行sudo firewall-cmd --permanent --add-service=http
如果报错firewalld is not running 是因为防火墙没有开启 执行 systemctl start firewalld 开启防火墙
systemctl start firewalld
2、下载gitlab
官网国外的下载太慢,推荐使用清华的镜像
centos (内核7.x)https://mirrors.tuna.tsinghua.edu.cn/gitlab-ce/yum/el7
centos (内核6.x)https://mirrors.tuna.tsinghua.edu.cn/gitlab-ce/yum/el6
根据需要选择的版本进行安装,担心迭代的最新版有坑,一般选择都是最新版的前一版,我这里选择了10.2.5 版,10.2.x的最后一版。最新已经到了10.3.x
执行下面的命令 下载安装gitlab,下载到哪个文件路径下按个人喜好
wget https://mirrors.tuna.tsinghua.edu.cn/gitlab-ce/yum/el7/gitlab-ce-10.2.5-ce.0.el7.x86_64.rpm
rpm -ivh gitlab-ce-10.2.5-ce.0.el7.x86_64.rpm
3、修改gitlab的配置
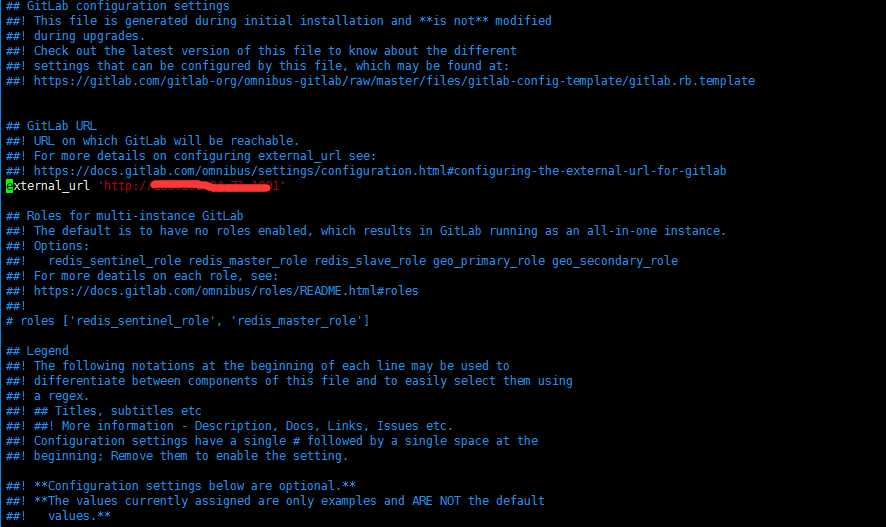
将external_url变量的地址修改为gitlab所在centos的ip地址
vim /etc/gitlab/gitlab.rb
执行vim,搜索external_url 定位到变量位置,修改访问地址,这里可以用IP,gitlab默认会监听所有端口,也可以IP+端口号 指定端口

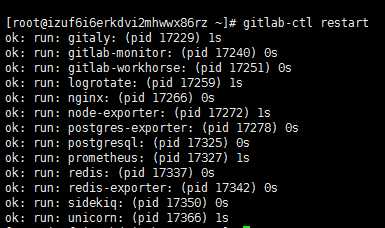
4、启动gitlab,每次修改完配置都必须执行,不然修改无效
gitlab-ctl reconfigure
gitlab-ctl restart

启动成功,输入地址访问,第一次打开gitlab账号默认root,需要设置密码,登录即可。
可以查询gitlab版本,下载对应的汉化包
head -1 /opt/gitlab/version-manifest.txt
汉化loading.....
