在mac打开终端:
1.查询php版本
php -v
查的PHP版本是:
PHP 7.1.13
2.输入命令:
brew search xdebug
3.找到对应php版本的xdebug:
brew install homebrew/php/php71-xdebug
==> Installing php71-xdebug from homebrew/php
==> Downloading https://homebrew.bintray.com/bottles-php/php71-xdebug-2.5.5.el_c
######################################################################## 100.0%
==> Pouring php71-xdebug-2.5.5.el_capitan.bottle.1.tar.gz
==> Caveats
To finish installing xdebug for PHP 7.1:
* /usr/local/etc/php/7.1/conf.d/ext-xdebug.ini was created,
do not forget to remove it upon extension removal.
* Validate installation via one of the following methods:
*
* Using PHP from a webserver:
* - Restart your webserver.
* - Write a PHP page that calls "phpinfo();"
* - Load it in a browser and look for the info on the xdebug module.
* - If you see it, you have been successful!
*
* Using PHP from the command line:
* - Run `php -i "(command-line ‘phpinfo()‘)"`
* - Look for the info on the xdebug module.
* - If you see it, you have been successful!
==> Summary
?? /usr/local/Cellar/php71-xdebug/2.5.5: 4 files, 209.8KB
4.配置xdebug
在ext-xdebug.ini配置,
vi /usr/local/etc/php/7.1/conf.d/ext-xdebug.ini
如下配置:
[xdebug]
zend_extension="/usr/local/opt/php71-xdebug/xdebug.so"
xdebug.remote_enable=1
xdebug.remote_host="localhost"
xdebug.remote_port=9001
xdebug.profiler_enable=1
xdebug.profiler_output_dir="/Users/lst/develop/debug/"
xdebug.idekey="PHPSTORM"
5.配置完成,需重启
重启php-fpm,或是Apache
6.在phpstorm中配置xdebug
1)打开Preferences,在Languages&Frameworks找到php,
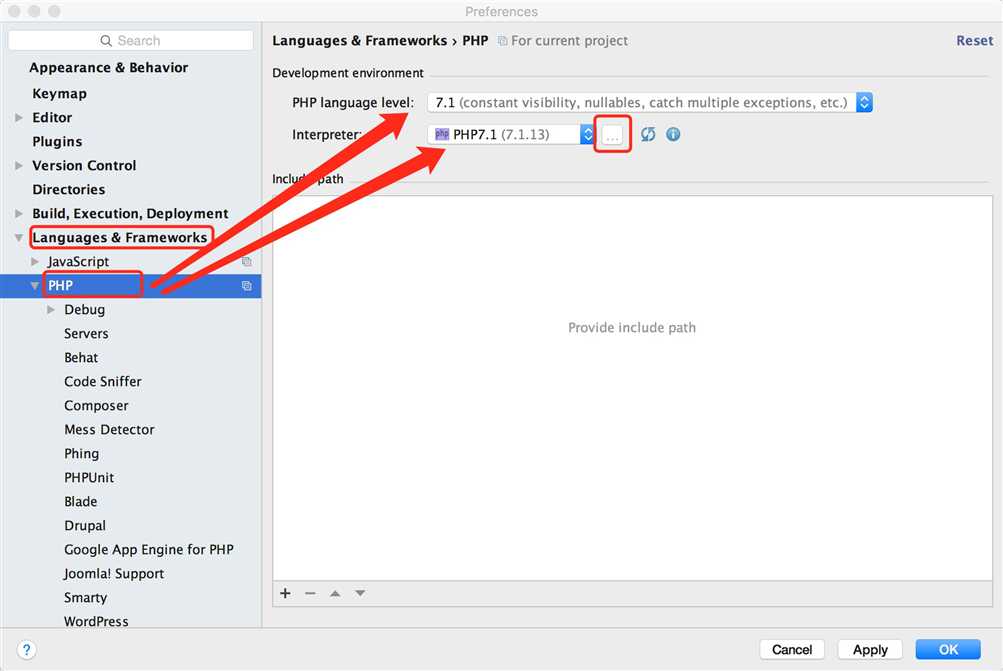
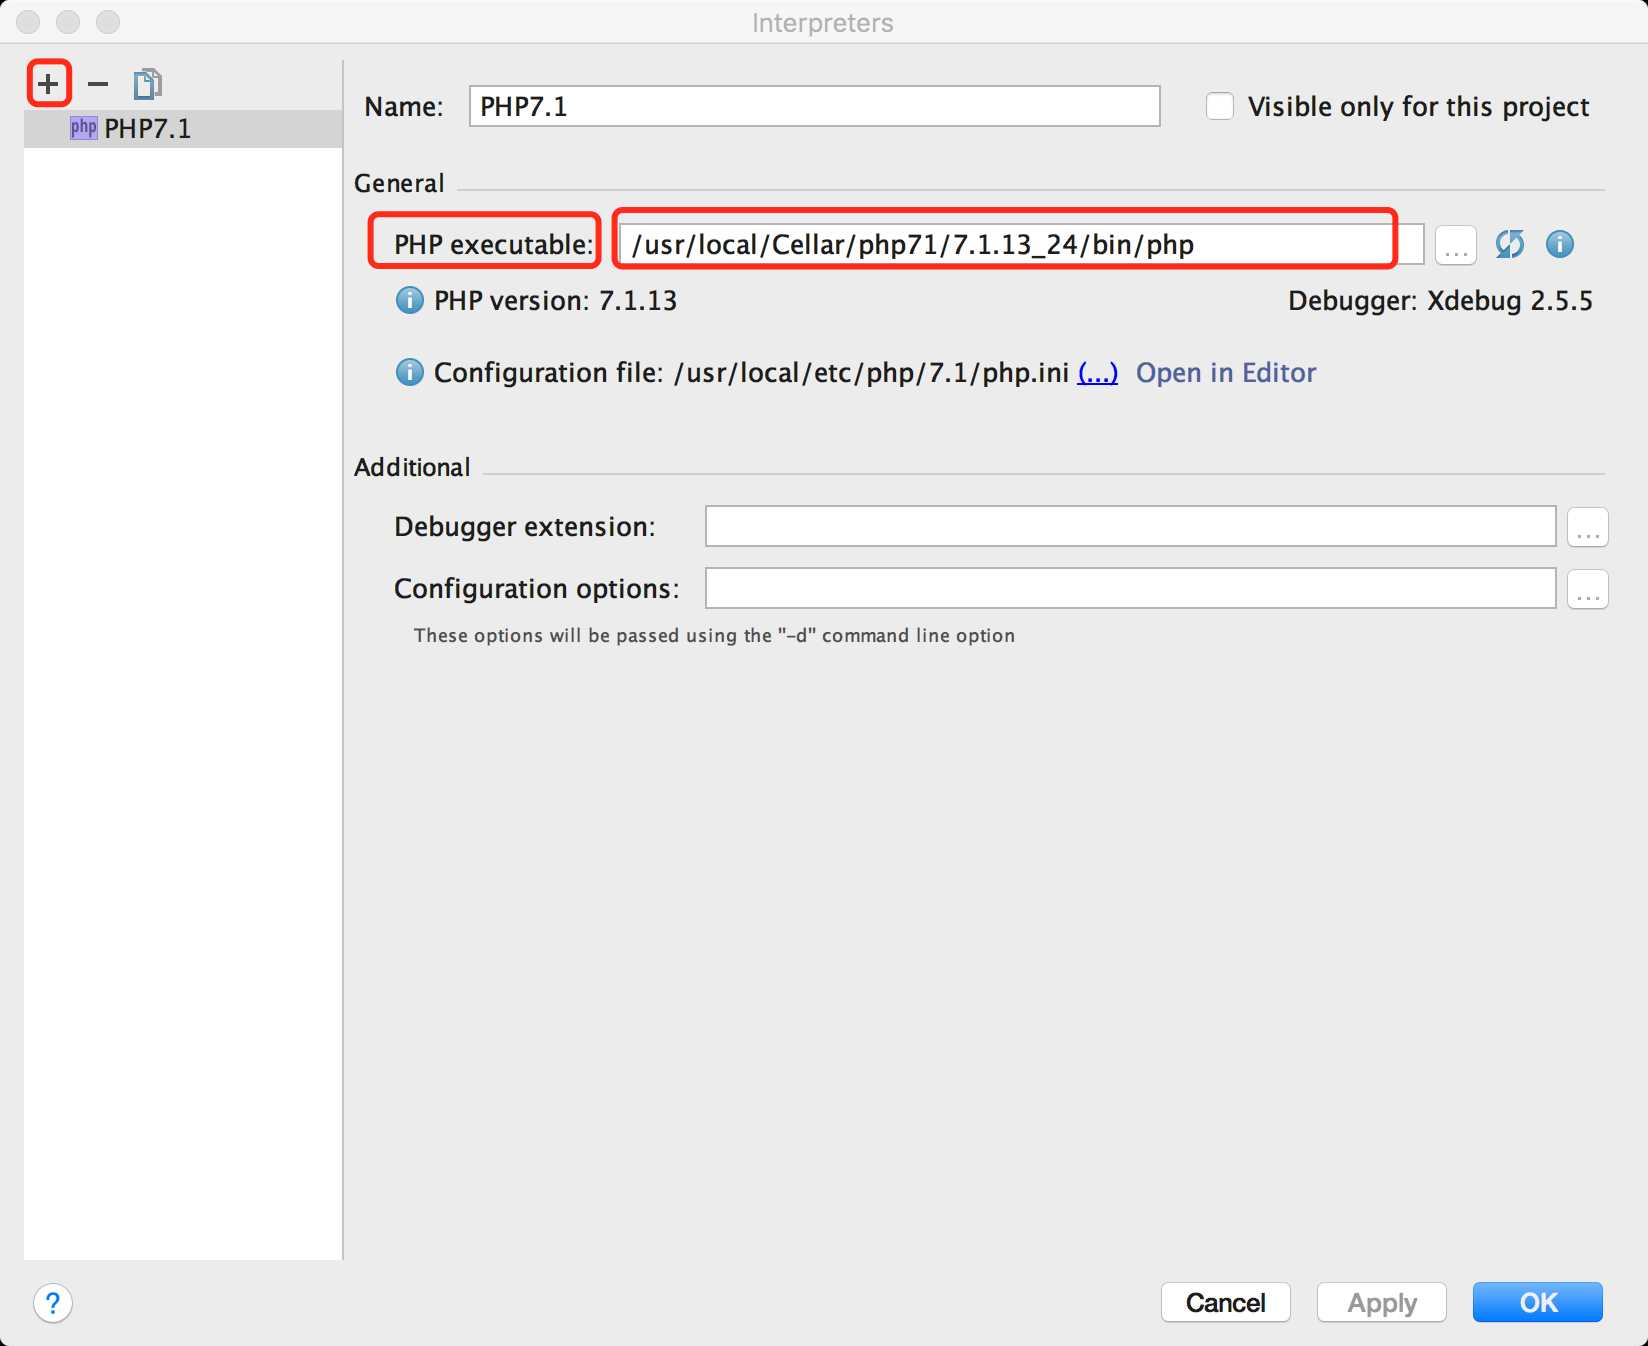
2)在php executable里找到bin下的php,选择brew安装的PHP版本,这里使用的是php7.1的bin下的php路径
/usr/local/Cellar/php71/7.1.13_24/bin/php
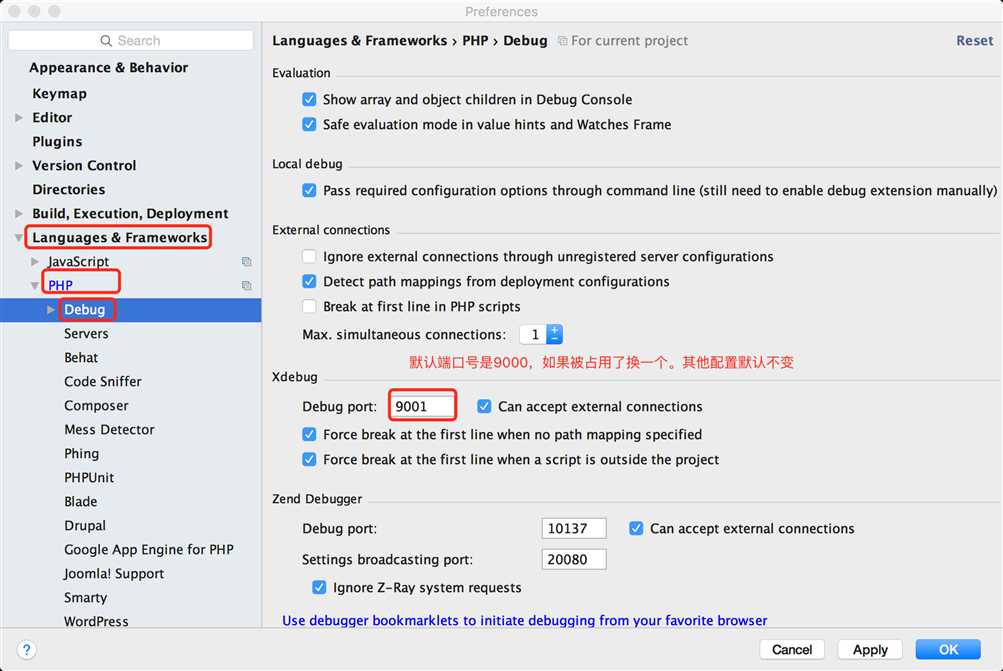
3)端口号要对应
要与ext-xdebug.ini配置中xdebug.remote_port的端口号一致
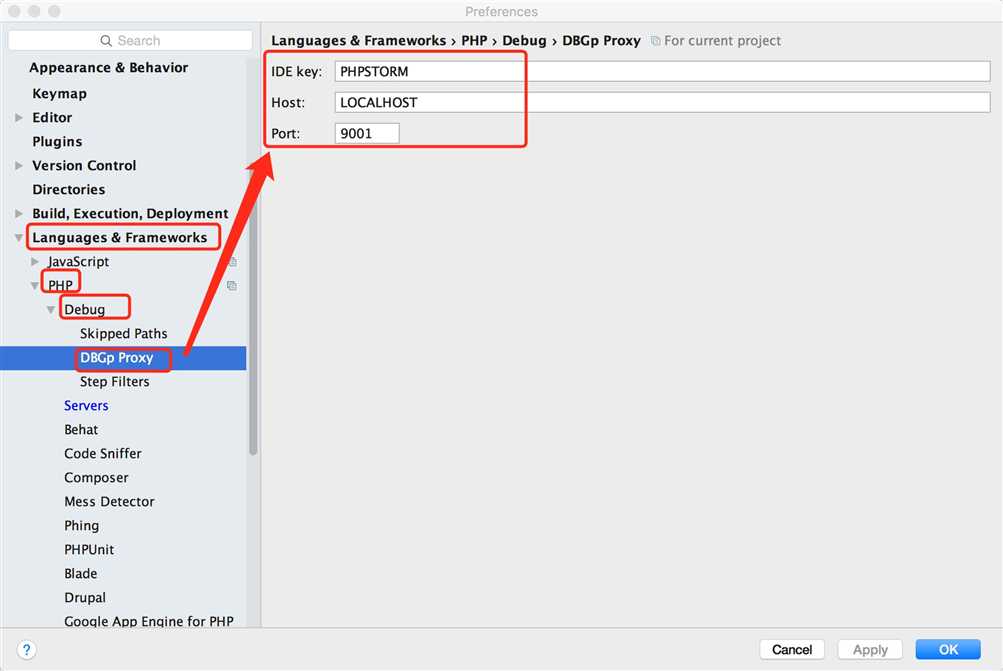
4)配置Debug下的DBGp proxy
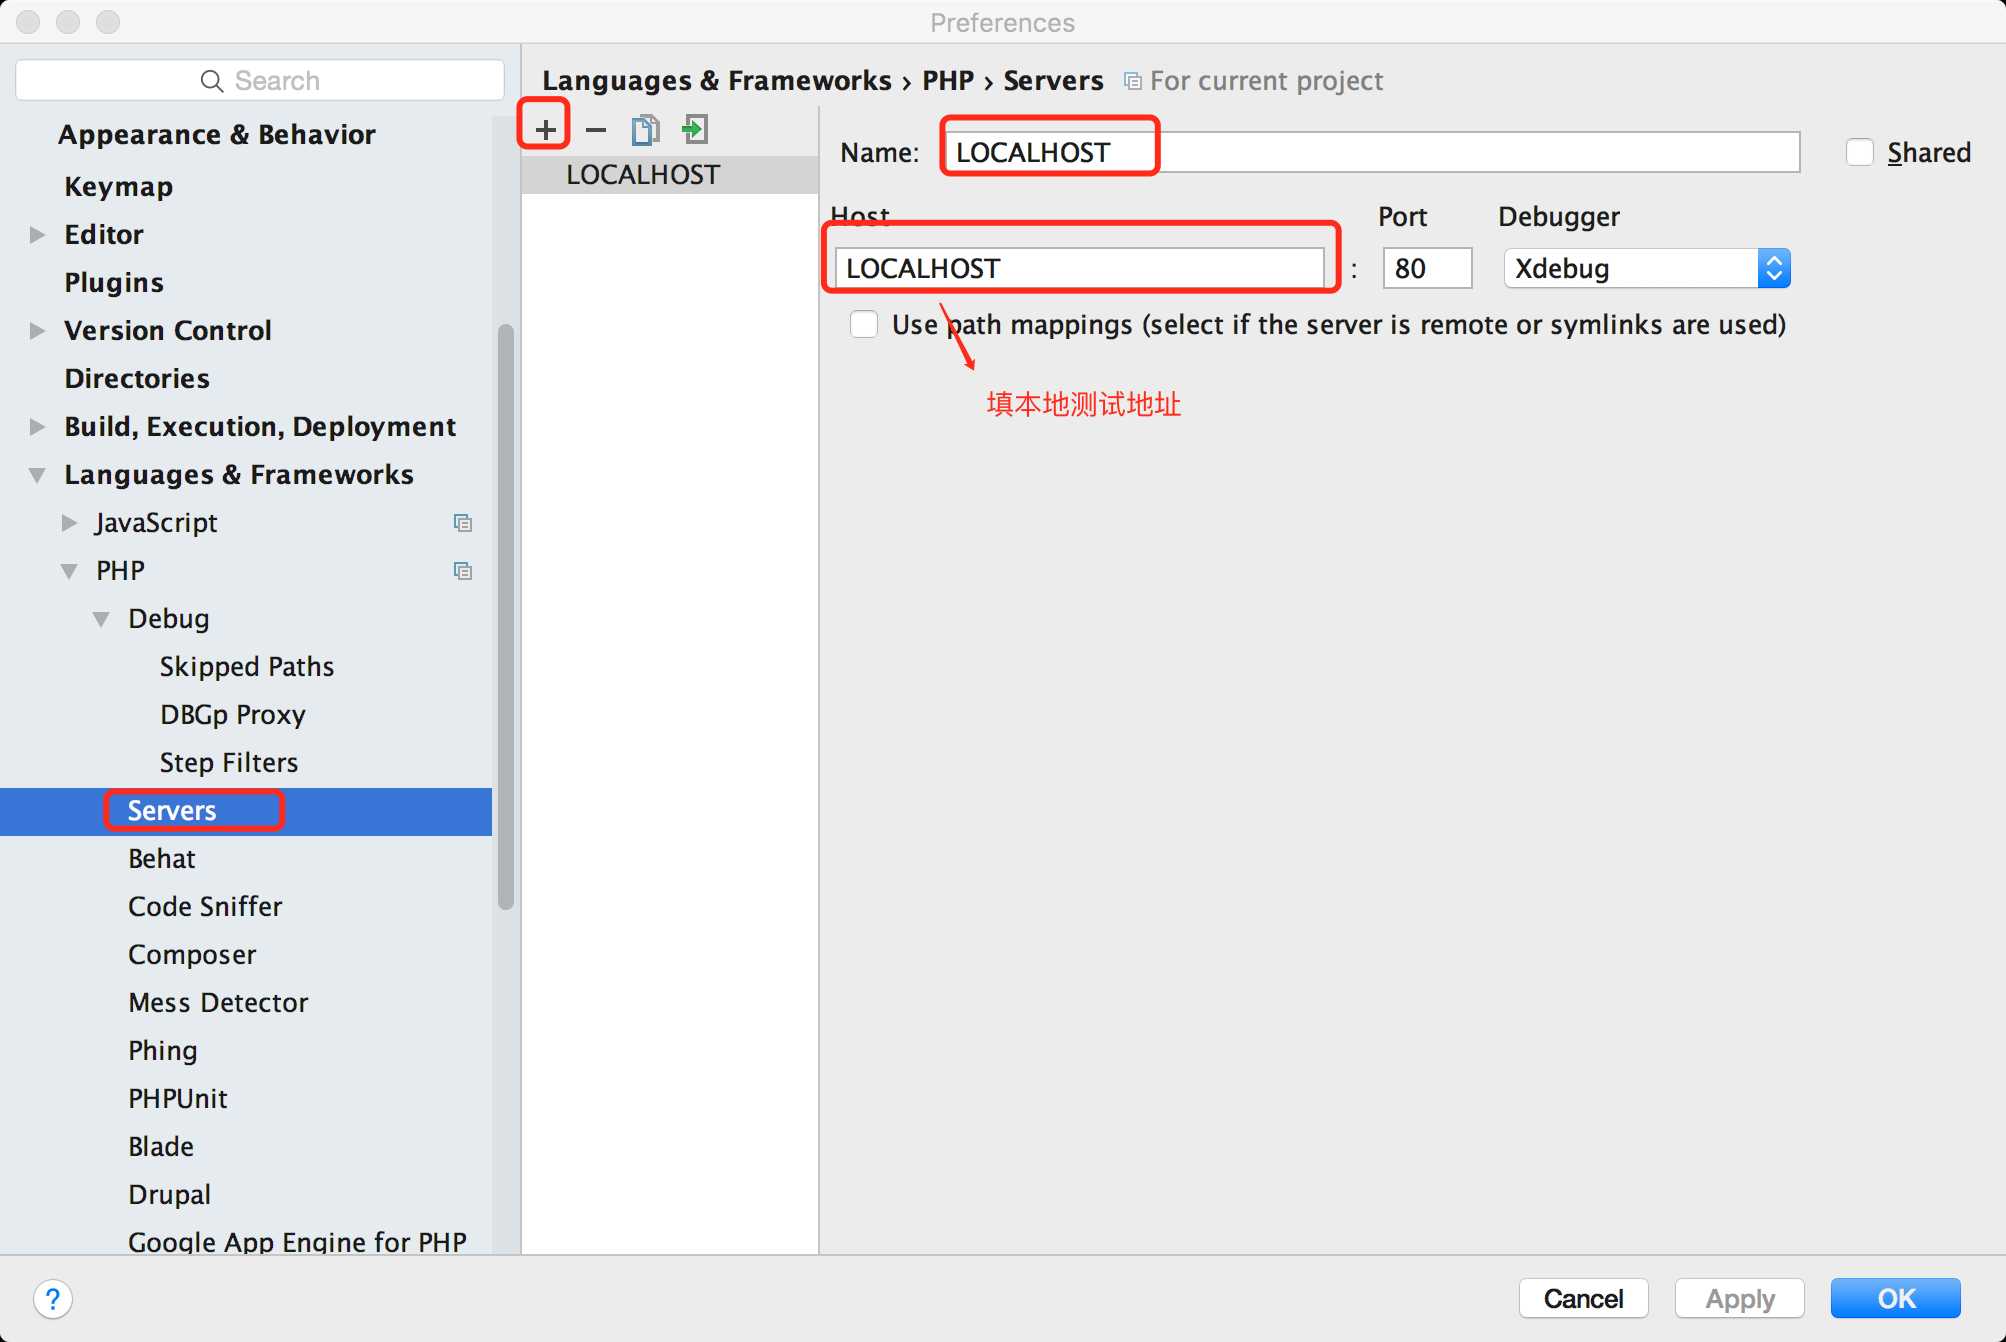
5)配置servers
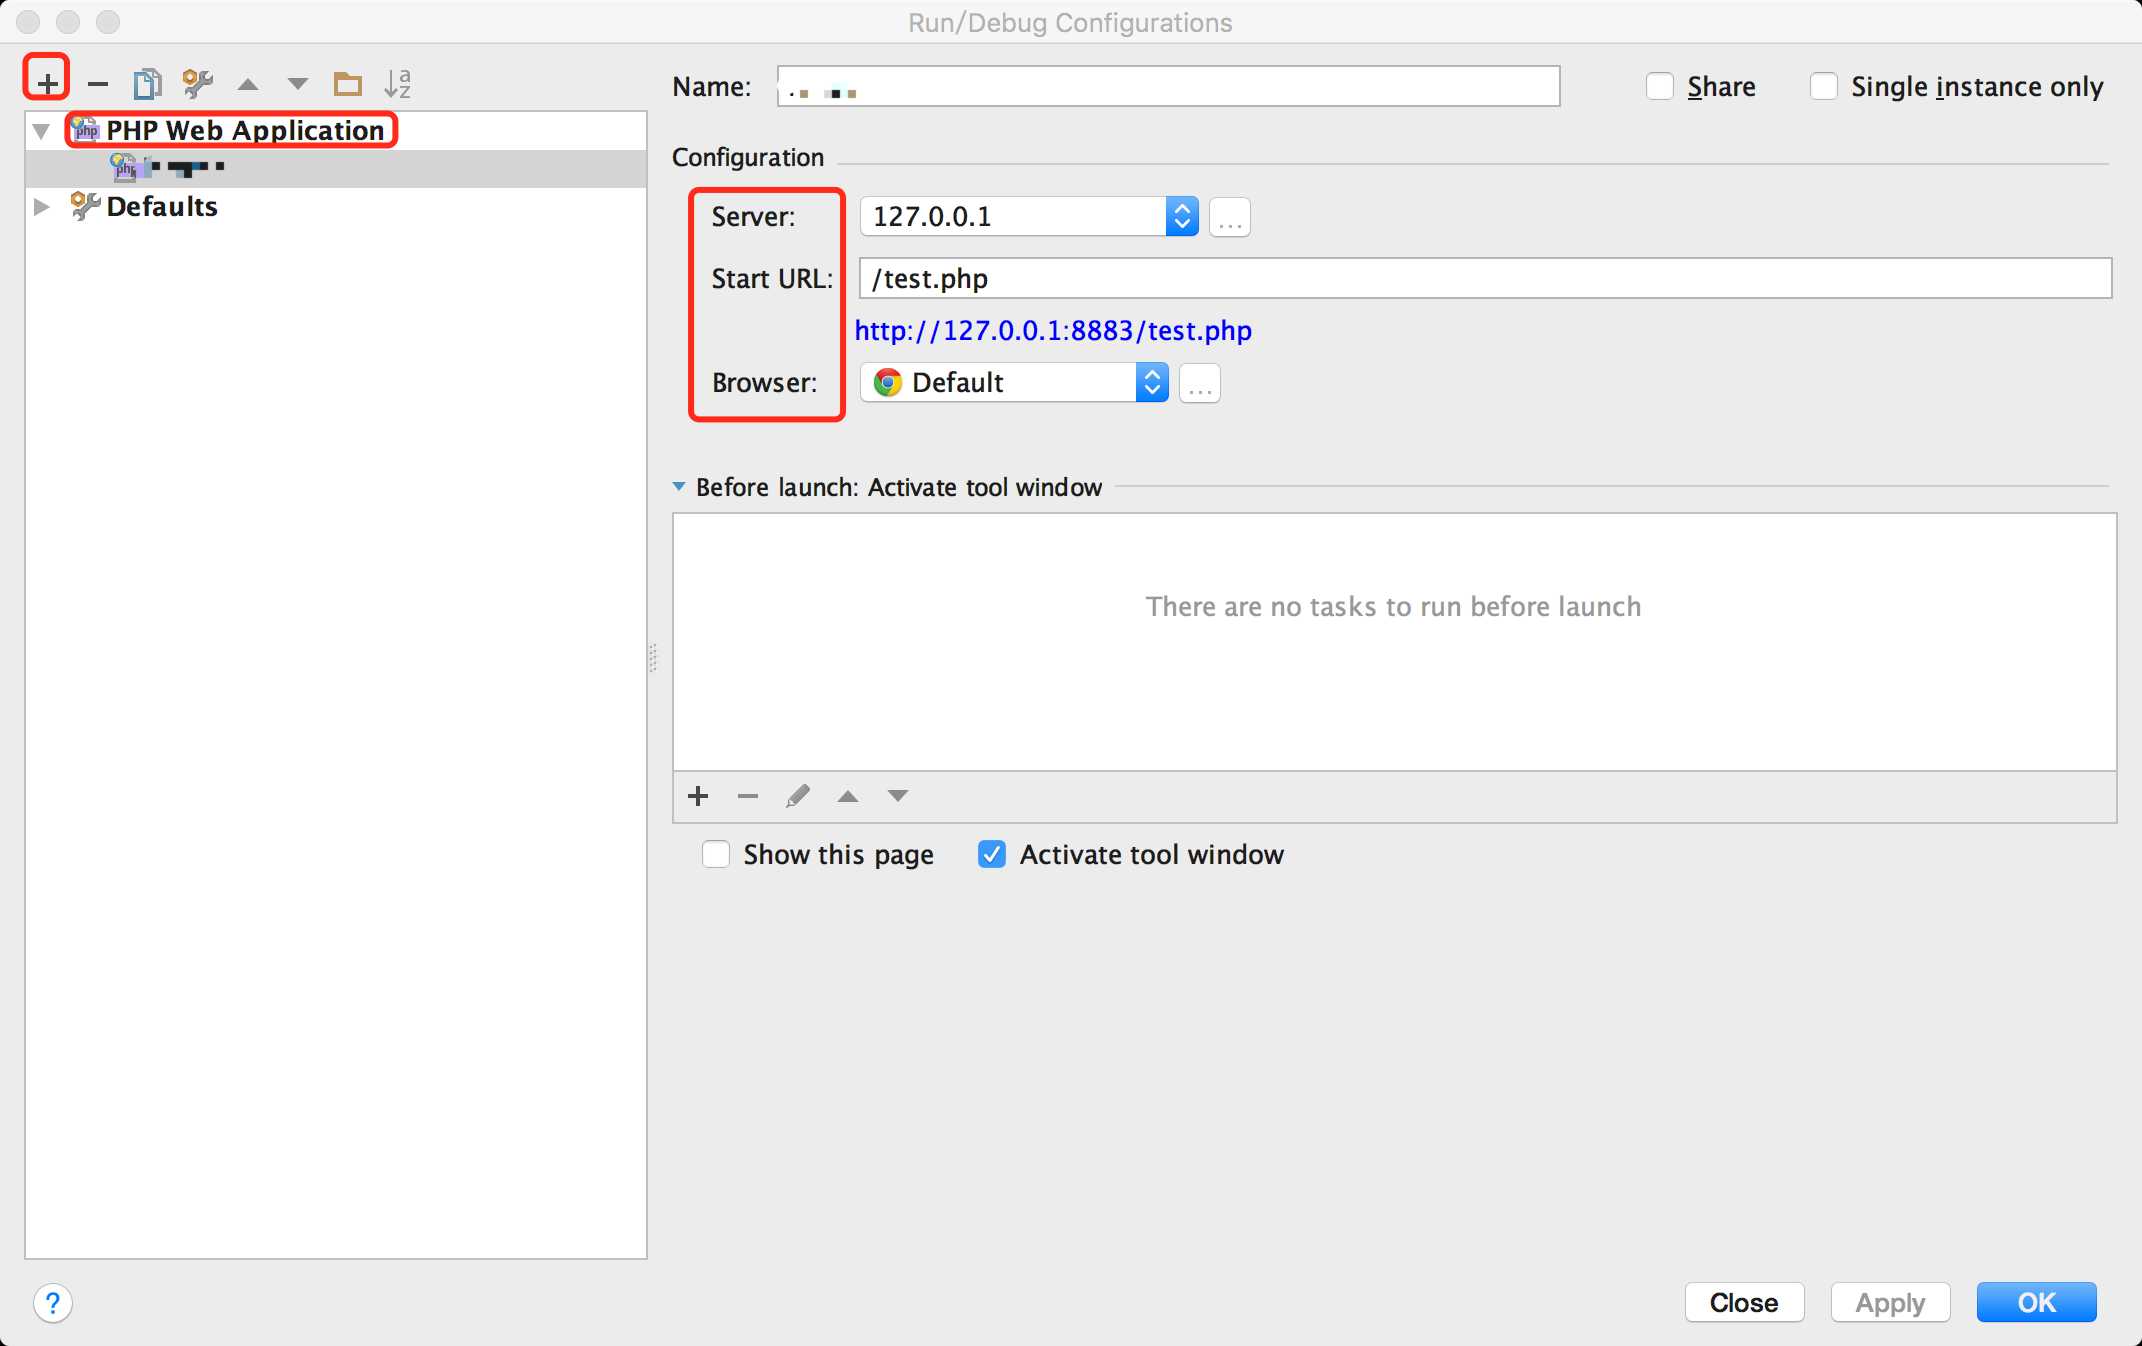
6)点击phpstorm右上角的三角形,选择Edit Configurations,配置服务器信息,添加项目调试开发地址,保存完后phpstorm配置完成。
7)重启服务器 nginx或Apache
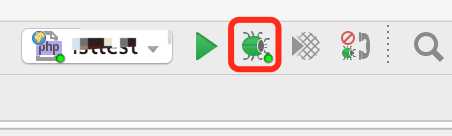
8)点击小虫子,即刻开启debug
9) chrome安装xdebug
在安装完xdebug后,打开xdebug选项,把IDE key配置得跟之前设置的一样PHPSTORM
