1.安装mininet
参考链接:http://www.sdnlab.com/15138.html
mininet基本测试
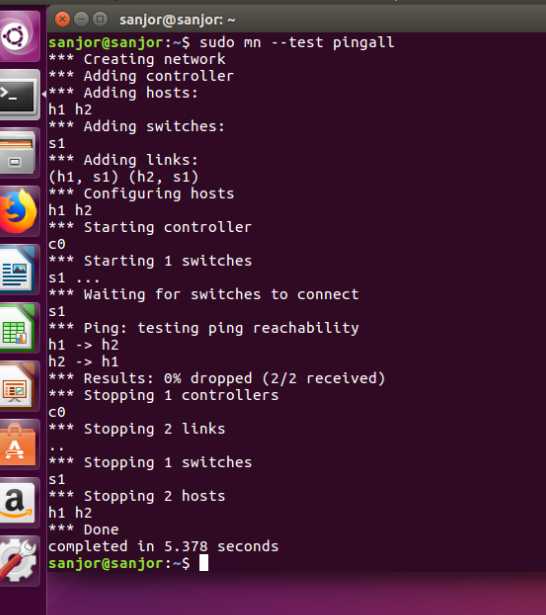
mininet版本检查

2.安装opendaylight
参考链接:http://blog.51cto.com/wanxiule/1912730
为了后续windows与ubuntu文件传递方便,先安装了lrzsz软件
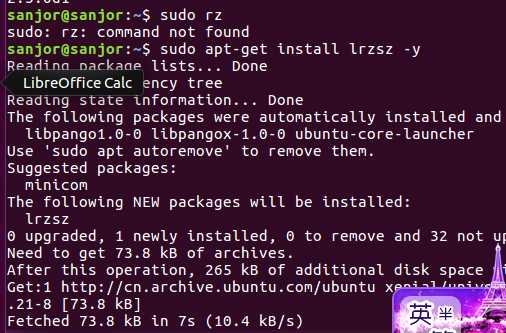
安装unzip软件解压文件
~$ sudo apt-get install unzip

安装JDK8
:/$ sudo apt-get install openjdk-8-jdk

安装opendaylight
为方便windows和ubuntu之间文件传递,共享一个文件夹。设置如下:
参考链接:http://www.linuxidc.com/Linux/2016-04/129851.htm
(1)安装virtualBox增强工具

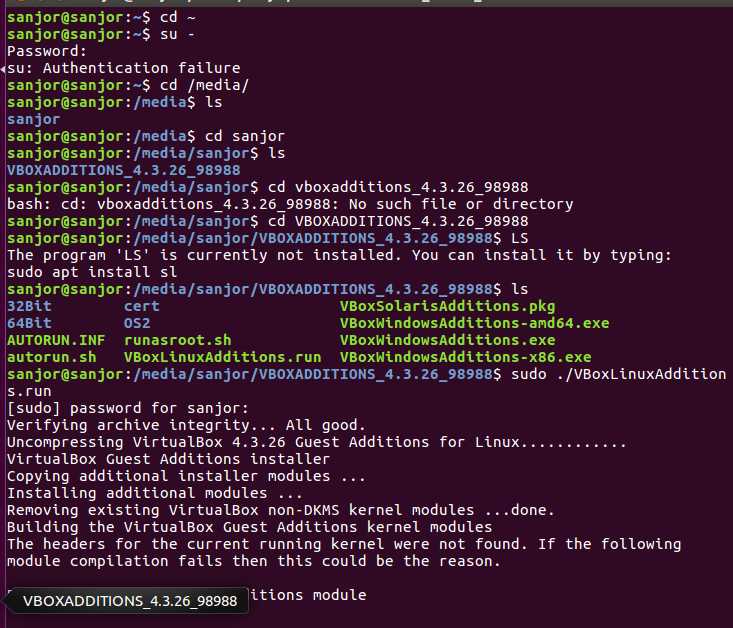
ps:开始安装vbox增强工具时下载的是4.3.26版本,但运行命令时显示kernel的头文件找不到(见上图),导致后继命令运行时总提示找不到设备(当然也可能是没有重新启动一次系统的原因,这里没弄明白),于是又下了一个最高版本5.2.6版本(http://dlc-cdn.sun.com/virtualbox/),重新安装,没有显示kernel头文件的问题,重新启动了一次,再执行sudo mount -t vboxsf share /mnt/shared 命令时顺利完成。
(2)挂载共享文件夹
进入虚拟Ubuntu,在命令行终端下输入:
sudo mkdir /mnt/shared
sudo mount -t vboxsf share /mnt/shared
其中"share"是之前创建的共享文件夹的名字。终于,在Ubuntu的/mnt/shared文件夹下可以看到windows系统中的文件了,ubuntu和主机可以互传文件了!!!!!
(3)安装Opendaylight
从官方网站(https://www.opendaylight.org/downloads)下载了Opendaylight的碳版本(distribution-karaf-0.6.2-Carbon.zip),为打字方便,将压缩文件改名成carbon.zip,解压并放置到共享文件夹中。(PS:突然发现也许不需要安装解压缩软件,因为ubuntu系统已经支持自动解压,通过鼠标操作就能完成)
进入解压缩文件夹目录(computer->mnt/shared/carbon/etc)中,找到 org.apache.karaf.management.cfg文件,双击打开,进行如下修改并保存:(这个工作可以在windows系统下通过记事本打开文件来执行)
rmiRegistryHost= 0.0.0.0 改为 rmiRegistryHost = 127.0.0.1
rmiServerHost= 0.0.0.0 改为 rmiServerHost = 127.0.0.1
启动opendaylight容器karaf,其结果如下图:
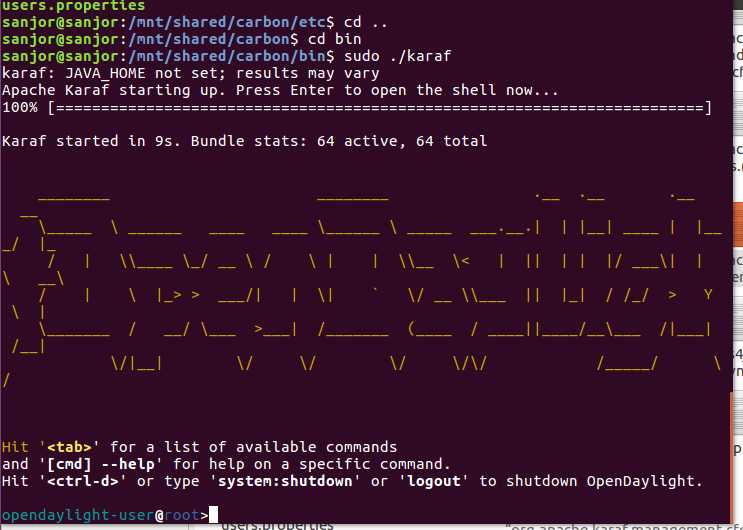
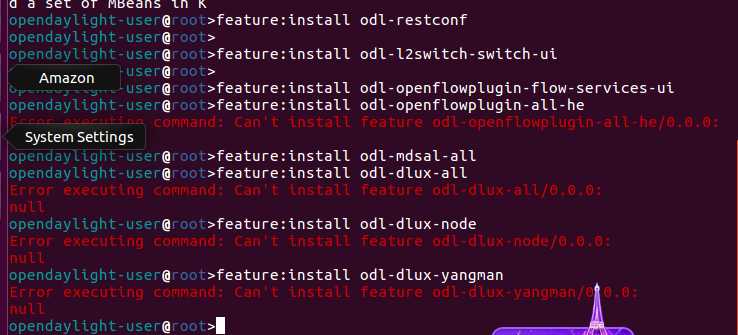
通过命令行的方式安装一下feature,注意安装顺序,否则后续网页打开opendaylight会出错
opendaylight-user@root>feature:install odl-restconf
opendaylight-user@root>feature:install odl-l2switch-switch-ui
opendaylight-user@root>feature:install odl-openflowplugin-flow-services-ui
opendaylight-user@root>feature:installodl-openflowplugin-all-he(安装时报错~)
opendaylight-user@root>feature:install odl-mdsal-all
opendaylight-user@root>feature:install odl-dlux-all(安装时报错~)
opendaylight-user@root>feature:install odl-dlux-node(安装时报错~)
opendaylight-user@root>feature:install odl-dlux-yangman(安装时报错~)
打开浏览器,输入:http://127.0.0.1:8181/index.html
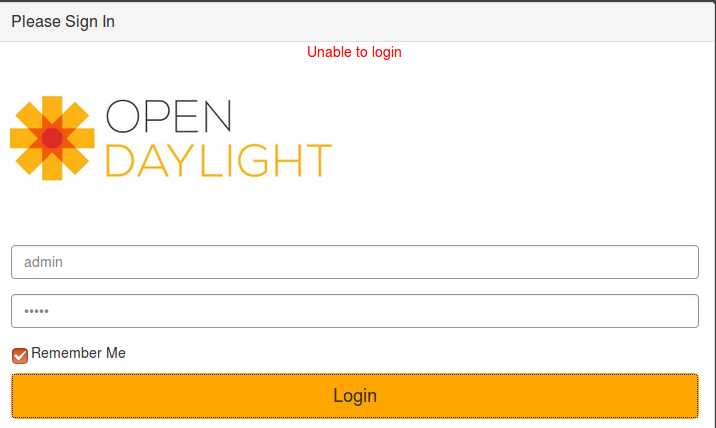
使用初始用户名和密码admin,未能成功登录。~~~~~~~~~~~~
其他参考链接:
https://www.sdnlab.com/1931.html ----OpenDaylight的Helium(氦)版本安装
http://www.mamicode.com/info-detail-1165318.html
3.安装wireshark(后继有时间再补充安装)
