1、安装QT5.10.0
这个不用多说,相信大家都会。
在线安装:https://www.qt.io/download
或者下载离线安装包:http://download.qt.io/official_releases/qt/
2、下载OpenCV
https://github.com/opencv/opencv/releases/download/3.4.0/opencv-3.4.0-vc14_vc15.exe
从上面的网址下载并安装(其实就是解压缩),我的路径是C:\opencv,安装完毕后该目录下还有build和sources两个文件夹。其中的内容如下:
build:头文件以及编译好的库文件,包括lib和dll。
sources:OpenCV的源代码,可以自己重新进行编译。
3、配置QT
3.1 新建工程
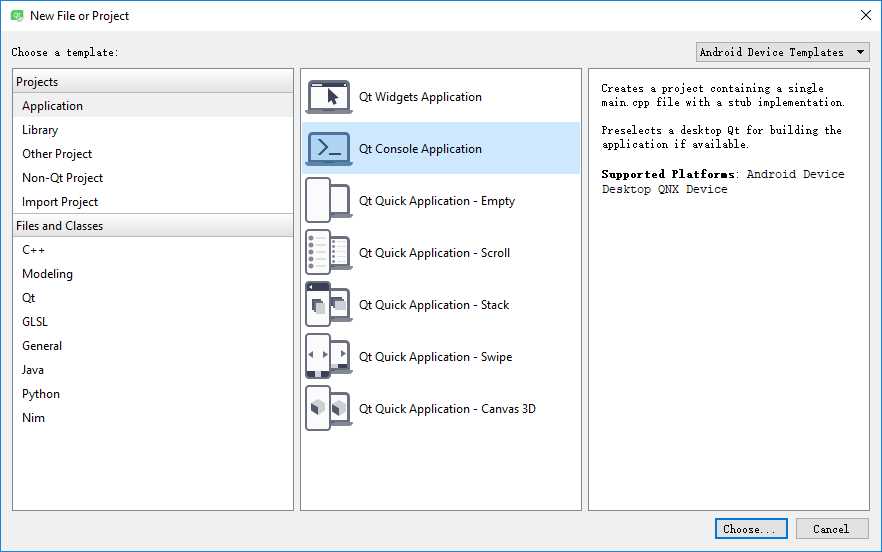
按照下图所示,建立一个 QT Console Application
3.2 设置编译平台
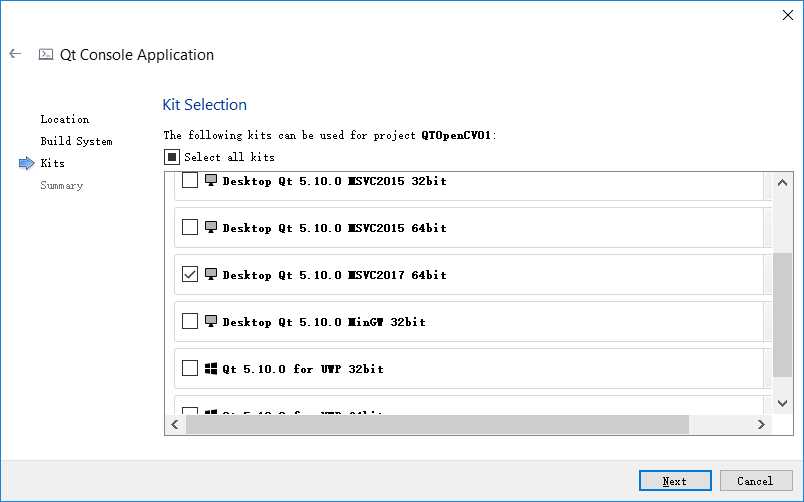
所有设置都按照默认选项即可,只有“Kits”例外。
因为我安装了VS2017,并且OpenCV5.10.0安装后所提供的库只有vc14和vc15,如下图所示
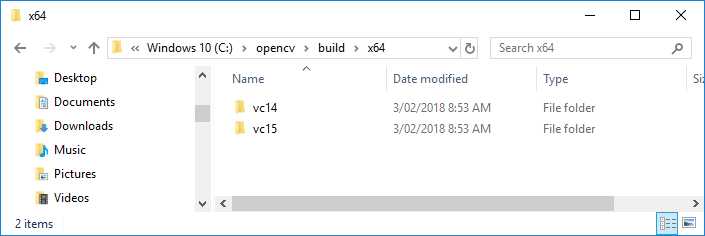
所以这里我的Kits只选择了“Desktop QT5.10.0 MSVC2017 64bit”,如下图所示。关于如何编译OpenCV生成自己需要的库,看参考《如何编译OpenCV3.4.0》
3.3 设置pro文件
在项目的pro文件中添加下面2行:
INCLUDEPATH += "C:/opencv/build/include"
LIBS+=C:/opencv/build/x64/vc15/lib/opencv_world340d.lib
QT -= gui

CONFIG += c++11 console
CONFIG -= app_bundle

# The following define makes your compiler emit warnings if you use
# any feature of Qt which as been marked deprecated (the exact warnings
# depend on your compiler). Please consult the documentation of the
# deprecated API in order to know how to port your code away from it.
DEFINES += QT_DEPRECATED_WARNINGS

# You can also make your code fail to compile if you use deprecated APIs.
# In order to do so, uncomment the following line.
# You can also select to disable deprecated APIs only up to a certain version of Qt.
#DEFINES += QT_DISABLE_DEPRECATED_BEFORE=0x060000    # disables all the APIs deprecated before Qt 6.0.0

SOURCES += main.cpp

INCLUDEPATH += "C:/opencv/build/include"

LIBS+=C:/opencv/build/x64/vc15/lib/opencv_world340d.lib
3.4 编写代码
编辑main.cpp(该代码源自OpenCV Samples)
#include <QCoreApplication>

#include "opencv2/imgcodecs.hpp"
#include "opencv2/highgui.hpp"
#include <iostream>

using namespace cv;
using namespace std;


int main(int argc, char *argv[])
{
    QCoreApplication a(argc, argv);

    double alpha = 0.5; double beta; double input;

        Mat src1, src2, dst;


        //![load]
        /// Read images ( both have to be of the same size and type )
        src1 = imread("LinuxLogo.jpg");
        src2 = imread("WindowsLogo.jpg");
        //![load]

        if (src1.empty()) { cout << "Error loading src1" << endl; return -1; }
        if (src2.empty()) { cout << "Error loading src2" << endl; return -1; }

        //![blend_images]
        beta = (1.0 - alpha);
        addWeighted(src1, alpha, src2, beta, 0.0, dst);
        //![blend_images]

        //![display]
        imshow("Linear Blend", dst);

    return a.exec();
}
3.5 准备图片
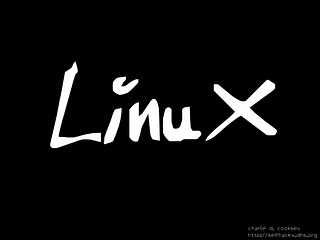
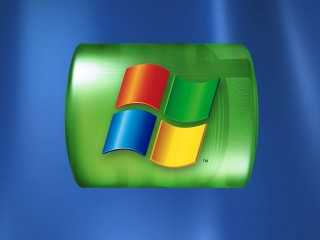
准备2张图片(LinuxLogo.jpg和WindowsLogo.jpg),并拷贝到编译生成目录(我的是build-QTOpenCV-Desktop_Qt_5_10_0_MSVC2017_64bit-Debug)
4、测试
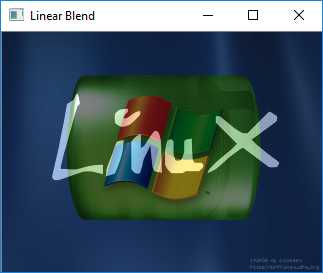
运行结果应该如下图所示
