Alpine是一个小型的linux系统,官方docker镜像只有不到5MB,非常适合作为容器镜像。
Alpine Linux is a security-oriented, lightweight Linux distribution based on musl libc and Busybox.

A minimal Docker image based on Alpine Linux with a complete package index and only 5 MB in size!
为了更好地了解alpine,我在虚拟机上安装了一个本地alpine。
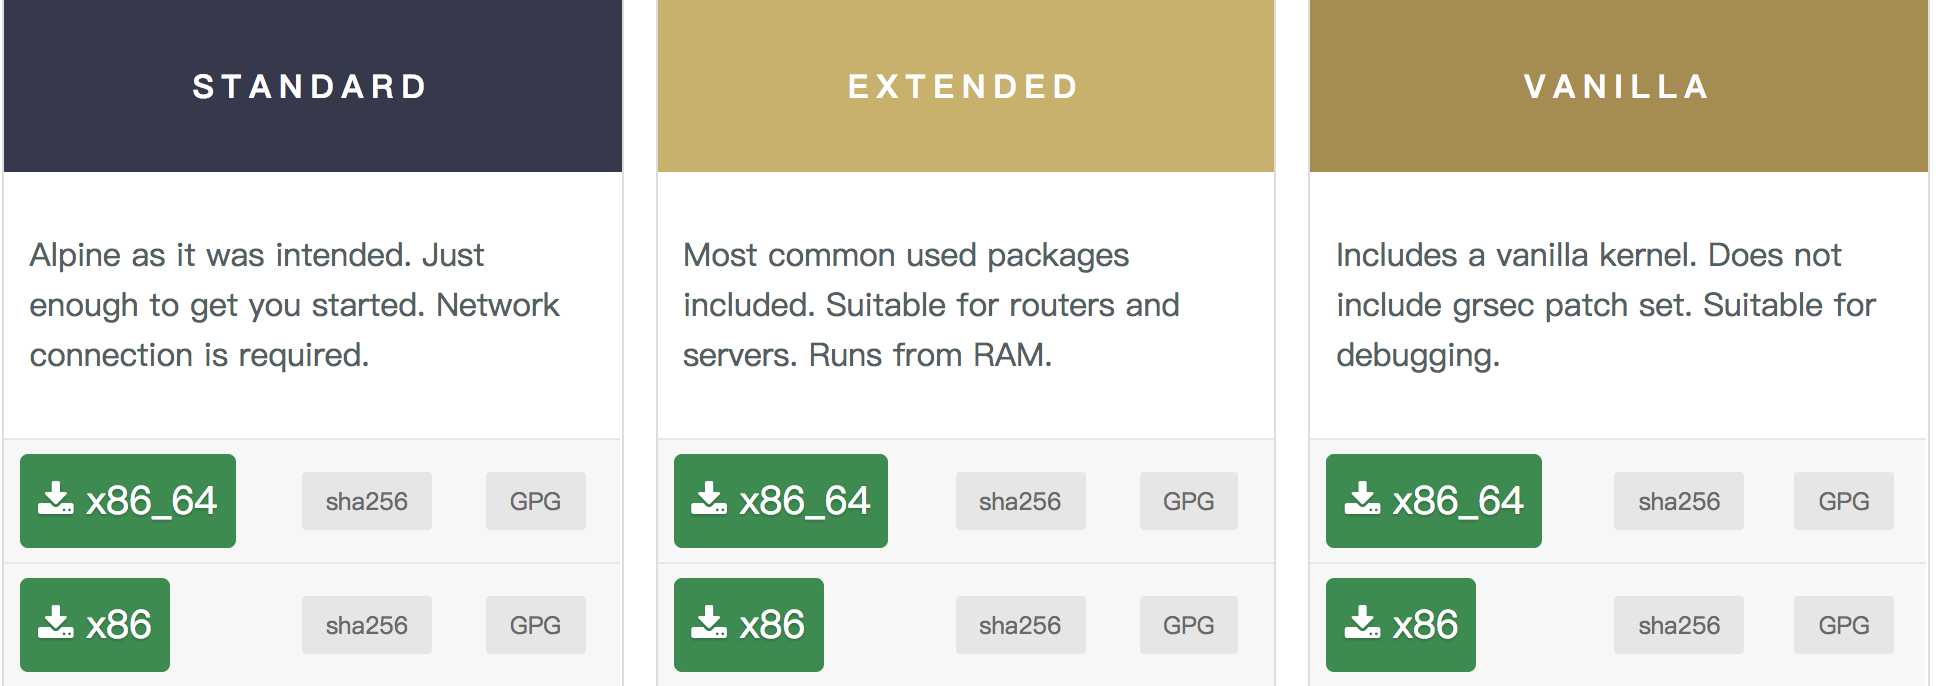
上官网下载一个标准STANDARD镜像。创建一个虚拟机,我用的 VMWare Fusion,挂载好下载iso镜像。
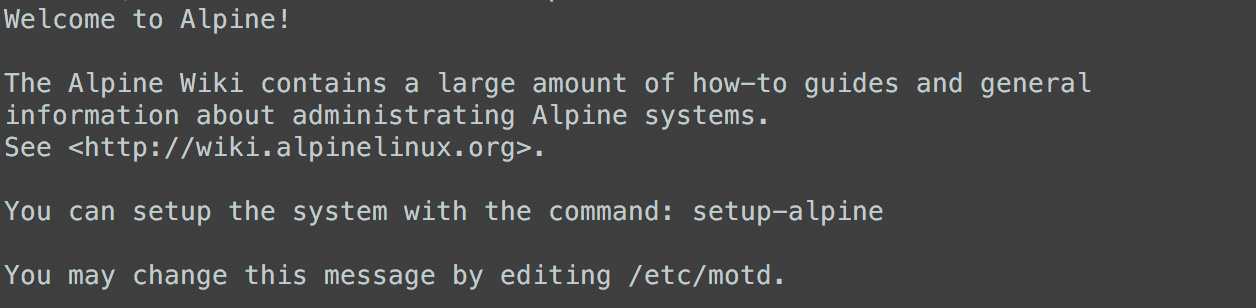
然后启动就可以了,不过这时信息没有存盘,需要使用安装脚本安装系统到磁盘。安装过程其实很简单,初次使用,最重要的是要知道有这个安装脚本。
安装脚本叫做 setup-alpine,其实仔细看的话,系统每次启动和登陆的时候都会有提示。
安装系统细节就不说了,如果有疑问可查官方文档。安装完成后,需要重启系统。重启之后,就是从磁盘启动的了。
下面具体说说如何使用:
1、配置安装源。
# vim /etc/apk/repositories
https://mirrors.ustc.edu.cn/alpine/edge/main
https://mirrors.ustc.edu.cn/alpine/edge/community
https://mirrors.ustc.edu.cn/alpine/edge/testing
2、安装ssh服务。Alpine使用的包管理工具叫 apk。服务管理系统叫 OpenRC。
# apk update
# apk add openssh
# rc-service sshd start
# rc-update add sshd
3、修改sshd配置文件,允许root登录。
# vim /etc/ssh/sshd_config
PermitRootLogin yes

# service sshd restart
这时就可以使用终端远程登陆了。
4、安装用户管理工具,修改root用户的shell为bash,默认使用的是ash。
# apk add shadow

# usermod -s /bin/bash root
5、安装常用工具。
# apk add vim bash bash-completion6、设置常用别名。
# vim /etc/profile
export LS_OPTIONS=‘--color=auto‘
alias ls=‘ls $LS_OPTIONS‘
alias ll=‘ls $LS_OPTIONS -l‘
alias l=‘ls $LS_OPTIONS -lA‘
7、其实在testing源里面,已经有现成的tengine安装包了。不过这里我会测试手动编译,不会直接使用安装包。
# apk policy tengine
tengine policy:
  2.1.0-r4:
    https://mirrors.ustc.edu.cn/alpine/edge/testing
8、如何查看安装包包含哪些文件。有两种方法,不过都只能查看已经安装的包。
# apk manifest tengine | awk ‘{print $2}‘
etc/tengine/scgi_params
etc/tengine/fastcgi_params
etc/tengine/tengine.conf
etc/tengine/uwsgi_params
etc/tengine/fastcgi.conf
etc/tengine/mime.types
etc/tengine/koi-win
etc/tengine/mime.types.default
etc/tengine/koi-utf
etc/tengine/browsers
etc/tengine/uwsgi_params.default
etc/tengine/scgi_params.default
etc/tengine/module_stubs
etc/tengine/nginx.conf.default
etc/tengine/fastcgi_params.default
etc/tengine/win-utf
etc/tengine/fastcgi.conf.default
etc/logrotate.d/tengine
etc/init.d/tengine
usr/sbin/nginx
usr/sbin/dso_tool
usr/html/index.html
usr/html/50x.html
usr/share/licenses/tengine/LICENSE
# apk info -a tengine | grep -v \.h
tengine-2.1.0-r4 description:
tengine-2.1.0-r4 webpage:
http://tengine.taobao.org/
tengine-2.1.0-r4 installed size:
1519616
tengine-2.1.0-r4 depends on:
so:libc.musl-x86_64.so.1
so:libcrypto.so.42
so:libpcre.so.1
so:libssl.so.44
so:libz.so.1
tengine-2.1.0-r4 provides:
cmd:dso_tool
cmd:nginx
tengine-2.1.0-r4 is required by:
tengine-2.1.0-r4 contains:
etc/tengine/scgi_params
etc/tengine/fastcgi_params
etc/tengine/tengine.conf
etc/tengine/uwsgi_params
etc/tengine/fastcgi.conf
etc/tengine/mime.types
etc/tengine/koi-win
etc/tengine/mime.types.default
etc/tengine/koi-utf
etc/tengine/browsers
etc/tengine/uwsgi_params.default
etc/tengine/scgi_params.default
etc/tengine/module_stubs
etc/tengine/nginx.conf.default
etc/tengine/fastcgi_params.default
etc/tengine/win-utf
etc/tengine/fastcgi.conf.default
etc/logrotate.d/tengine
etc/init.d/tengine
usr/sbin/nginx
usr/sbin/dso_tool
tengine-2.1.0-r4 triggers:
tengine-2.1.0-r4 affects auto-installation of:
tengine-2.1.0-r4 replaces:
tengine-2.1.0-r4 license:
Custom9、安装开发组件。
# apk add alpine-sdk
(1/26) Installing fakeroot (1.22-r0)
(2/26) Installing sudo (1.8.22-r2)
(3/26) Installing pax-utils (1.2.2-r1)
(4/26) Installing libressl2.6-libtls (2.6.4-r0)
(5/26) Installing libressl (2.6.4-r0)
(6/26) Installing libattr (2.4.47-r6)
(7/26) Installing attr (2.4.47-r6)
(8/26) Installing tar (1.30-r0)
(9/26) Installing patch (2.7.6-r1)
(10/26) Installing lzip (1.19-r2)
(11/26) Installing abuild (3.1.0-r4)
Executing abuild-3.1.0-r4.pre-install
(12/26) Installing libmagic (5.32-r0)
(13/26) Installing file (5.32-r0)
(14/26) Installing g++ (6.4.0-r6)
(15/26) Installing fortify-headers (0.9-r0)
(16/26) Installing build-base (0.5-r1)
(17/26) Installing lz4-libs (1.8.1.2-r0)
(18/26) Installing lzo (2.10-r2)
(19/26) Installing squashfs-tools (4.3-r4)
(20/26) Installing libburn (1.4.8-r0)
(21/26) Installing libedit (20170329.3.1-r3)
(22/26) Installing libacl (2.2.52-r4)
(23/26) Installing libisofs (1.4.8-r0)
(24/26) Installing libisoburn (1.4.8-r0)
(25/26) Installing xorriso (1.4.8-r0)
(26/26) Installing alpine-sdk (0.5-r0)
其中,build-base包含gcc,libc,make,g++。
# apk info -a build-base

build-base-0.5-r1 webpage:
http://dev.alpinelinux.org/cgit

build-base-0.5-r1 installed size:
4096

build-base-0.5-r1 depends on:
binutils
file
gcc
g++
make
libc-dev
fortify-headers
10、编译安装tengine。这里我加了ldap模块。
# apk add libressl-dev openldap-dev zlib-dev pcre-dev
# mkdir /usr/local/src
# cd /usr/local/src
# git clone https://github.com/kvspb/nginx-auth-ldap.git
# wget http://tengine.taobao.org/download/tengine-2.2.0.tar.gz
# tar xvf tengine-2.2.0.tar.gz
# cd tengine-2.2.0/
# ./configure --prefix=/usr/local/nginx --with-http_reqstat_module=shared --add-module=../nginx-auth-ldap
# make -j 2
# make install
# make dso_install
11、安装supervisor。
# apk add supervisor修改supervisor的配置文件。
[unix_http_server]
file=/run/supervisord.sock   ; (the path to the socket file)

[supervisord]
logfile=/var/log/supervisord.log ; (main log file;default $CWD/supervisord.log)
loglevel=info                ; (log level;default info; others: debug,warn,trace)
pidfile=/run/supervisord.pid ; (supervisord pidfile;default supervisord.pid)
childlogdir=/var/log/supervisor ; (‘AUTO‘ child log dir, default $TEMP)
environment=LC_ALL=en_US.UTF-8,LANG=en_US.UTF-8,LANGUAGE=en_US.UTF-8

[rpcinterface:supervisor]
supervisor.rpcinterface_factory = supervisor.rpcinterface:make_main_rpcinterface

[supervisorctl]
serverurl=unix:///run/supervisord.sock ; use a unix:// URL  for a unix socket

[program:nginx-app]
command = /usr/local/nginx/sbin/nginx
这里需要手动创建日志目录,不然supervisord无法启动。算是一个坑。
# mkdir /var/log/supervisor
# service start supervisord
# supervisorctl
nginx-app RUNNING pid 33479, uptime 0:00:02