标签:http color io os 使用 ar 2014 sp on
这是第一次使用CGContextRef画图,主要UIButton设置圆角,一设置就是四个角都是圆的,目前我还不知道有什么方法,可以单独设置某个角是圆形,其他的角仍然是矩形。我的一个想法是继承UIButton自己画图,来实现。好一番折腾,终于出效果。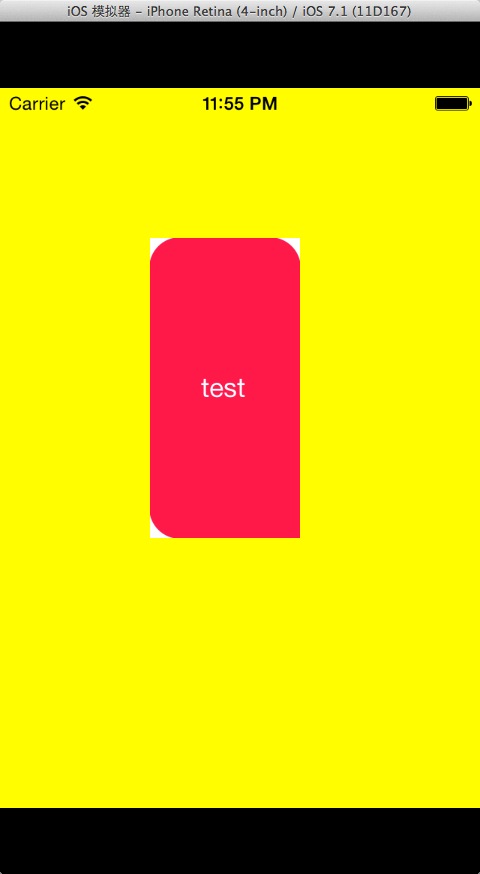
其实在网上查一查,就可以找到用CGContextRef如何画圆,画线之类的方法,我只不过把这些综合起来而已。下面贴代码,代码里有相关注释,希望能帮助解读。
@interface FillterButton () {
    CGFloat _radius;

    BOOL _upperLeft;
    BOOL _upperRight;
    BOOL _lowerLeft;
    BOOL _lowerRight;

    UIColor* _fillterColor;
}

@end

#define PI 3.14

@implementation FillterButton

@synthesize fillterColor = _fillterColor;

- (id)initWithFrame:(CGRect)frame
{
    self = [super initWithFrame:frame];
    if (self) {
        // Initialization code
    }
    return self;
}

- (void)setCornerRadius:(CGFloat)radius upperLeft:(BOOL)upperLeft upperRight:(BOOL)upperRight lowerLeft:(BOOL)lowerLeft lowerRight:(BOOL)lowerRight {
    _radius = radius;
    _upperLeft = upperLeft;
    _upperRight = upperRight;
    _lowerLeft = lowerLeft;
    _lowerRight = lowerRight;
}

- (void)drawRect:(CGRect)rect
{
    // 取出指定的颜色信息RGB值,注意_fillterColor必须是RGB颜色空间,这里用的是[UIColor colorWithRed:1 green:0 blue:.3 alpha:1],不能使用[UIColor redColor]
    const CGFloat *components = CGColorGetComponents(_fillterColor.CGColor);

    CGContextRef context = UIGraphicsGetCurrentContext();

    CGContextBeginPath(context);
    // 将图形的线条颜色指定为上面得到的颜色RGBA值,也就是指定笔触颜色
    CGContextSetRGBStrokeColor(context, components[0], components[1], components[2], components[3]);

    // 我的做法是把图形分解成四个角的扇形和中间重叠的两个矩形,先画出两个矩形
    CGContextAddRect(context, CGRectMake(_radius, 0, self.frame.size.width - _radius * 2, self.frame.size.height));
    CGContextAddRect(context, CGRectMake(0, _radius, self.frame.size.width, self.frame.size.height - _radius * 2));
    // 指定填充色
    CGContextSetFillColorWithColor(context, _fillterColor.CGColor);

    // notice order
    if (_upperLeft) {
        // 开始画扇形,先指定扇形圆心坐标
        CGContextMoveToPoint(context, _radius, _radius);
        // 画弧,指定弧心坐标,弧半径,开始弧度,结束弧度,顺时针逆时针
        CGContextAddArc(context, _radius, _radius, _radius, 180* PI/ 180, 270* PI/ 180,0);
    } else {
        // 不需要这个圆角,就变成矩形
        CGContextAddRect(context, CGRectMake(0, 0, _radius, _radius));
    }

    if (_upperRight) {
        CGContextMoveToPoint(context, self.frame.size.width - _radius, _radius);
        CGContextAddArc(context, self.frame.size.width - _radius, _radius, _radius, 270* PI/ 180, 0* PI/ 180,0);
    } else {
        CGContextAddRect(context, CGRectMake(self.frame.size.width - _radius, 0, _radius, _radius));
    }

    if (_lowerRight) {
        CGContextMoveToPoint(context, self.frame.size.width - _radius, self.frame.size.height - _radius);
        CGContextAddArc(context, self.frame.size.width - _radius, self.frame.size.height - _radius, _radius, 0* PI/ 180, 90* PI/ 180,0);
    } else {
        CGContextAddRect(context, CGRectMake(self.frame.size.width - _radius, self.frame.size.height - _radius, _radius, _radius));
    }

    if (_lowerLeft) {
        CGContextMoveToPoint(context, _radius, self.frame.size.height - _radius);
        CGContextAddArc(context, _radius, self.frame.size.height - _radius, _radius, 90* PI/ 180, 180* PI/ 180,0);
    } else {
        CGContextAddRect(context, CGRectMake(0, self.frame.size.height - _radius, _radius, _radius));
    }

    // 封闭路径,然后填充路径
    CGContextClosePath(context);
    CGContextDrawPath(context, kCGPathFillStroke);
}
我的方法比较笨,就是用四个角的扇形加中间重叠的两个矩形。本来试过全部用直线+弧线来画图,然后再封闭图形,但是发现图形的结果总是不合意,不知道是不是因为一条直线+一条弧线无法封闭的缘故。有时还要注意一笔接一笔的顺序。
标签:http color io os 使用 ar 2014 sp on
原文地址:http://my.oschina.net/u/574245/blog/316570