问题描述:
在npm run build 生成dist后,url配置也被固定了,传到运行的前端服务器上后,假设某次,api服务器的ip修改了,改动只是更新下这个url,但是却需要回到前端源码,修改url后,在重新npm run build,然后再把整个dist再重新传到前端服务器。
解决方案:
第一步:安装generate-asset-webpack-plugin插件
npm install --save-dev generate-asset-webpack-plugin第二步:配置webpack.prod.conf.js文件
//让打包的时候输出可配置的文件
var GenerateAssetPlugin = require(‘generate-asset-webpack-plugin‘);
var createServerConfig = function(compilation){
  let cfgJson={ApiUrl:"http://www.adoctors.cn"};
  return JSON.stringify(cfgJson);
}
//让打包的时候输入可配置的文件
//这段代码加在plugins:[]中
new GenerateAssetPlugin({
filename: ‘serverconfig.json‘,
fn: (compilation, cb) => {
cb(null, createServerConfig(compilation));
},
extraFiles: []
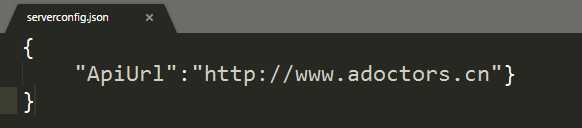
})第三步:输入npm run build打包代码 结果如下

第四步:以后需要修改域名之类的 在serverconfig.json修改即可
第五步:获取ApiUrl
//在main.js中定义一个全局函数
Vue.prototype.getConfigJson=function(){
    this.$http.get("serverconfig.json").then((result)=>{
        //用一个全局字段保存ApiUrl  也可以用sessionStorage存储
        Vue.prototype.ApiUrl=result.body.ApiUrl;
    }).catch((error)=>{console.log(error)});
}
第六步:使用ApiUrl
//在app.vue里面  执行this.getConfigJson();
mounted:function(){
      this.getConfigJson();
}
//之后...用在需要用到的地方 因为ApiUrl已经是全局了 可以直接用this.ApiUrl
var url=this.ApiUrl+‘/api/....‘