[root@localhost tlsit]# ansible-playbook a.yml

PLAY [test] ********************************************************************************************************************************************************************************************************************

TASK [Gathering Facts] *********************************************************************************************************************************************************************************************************
ok: [10.0.3.46]

TASK [user] ********************************************************************************************************************************************************************************************************************
changed: [10.0.3.46]

PLAY RECAP *********************************************************************************************************************************************************************************************************************
10.0.3.46                  : ok=2    changed=1    unreachable=0    failed=0

[root@localhost tlsit]# cat a.yml
---               #首行顶格开始,注意不能混用空格和tab键,注意格式的对齐(我这里使用的是两个空格)
- name: test      #起一个名字?
  hosts: slave     #主机名
  user: root         #远程登录用户
  vars:                 #相当于标志开始定义变量
    - user: test      #-是指另起一行的标志(不敢肯定),定义user的值为test,引用变量用{{vars}}
  tasks:                 #指定要运行的任务
    - user: name="{{ user }}"   #引用变量user
[root@localhost tlsit]#
[root@localhost tlsit]# ls
a.retry  a.yml  slave  slave.yml  slave.yml_bak  test.yml
[root@localhost tlsit]# cd ..
[root@localhost roles]# ls
tlsit
[root@localhost roles]# cd ..
[root@localhost ansible]# ls
ansible.cfg  hosts  roles
[root@localhost ansible]# cat hosts
[master]       #这个是本机
10.0.3.66]
[slave]          #这个是我要控制的主机
10.0.3.46
[root@localhost ansible]#
(注意:需要设置本机到被控制主机的ssh免秘钥登录,执行ssh-keygen && ssh-copy-id root@10.0.3.46即可,测试是否成功,只需要在本机ssh root@10.0.3.46,如果没有提示输入密码就已经登录上去了,说明设置成功)
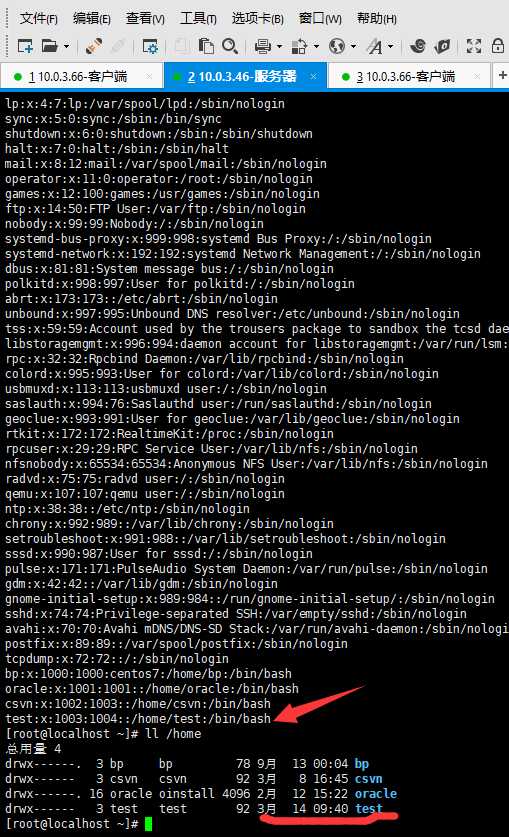
效果(说实在,我还不知道,为什么就会自动创建test用户了,只能简单了解yml文件的大概意思)

