标签:windows DNS
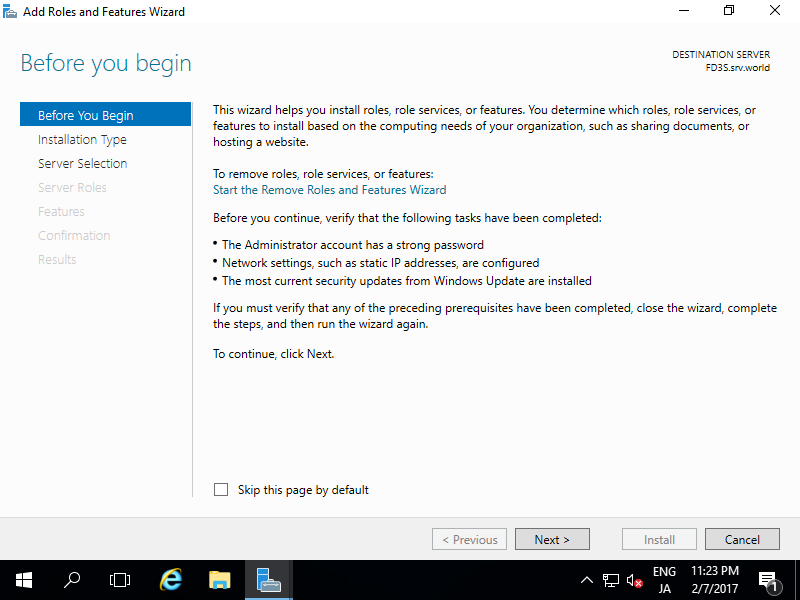
Configure DNS Server to resolve Hostname or IP Address.| [1] | Run Server Manager and Click [Add roles and features]. |
 |
| [2] | Click [Next] button. |
 |
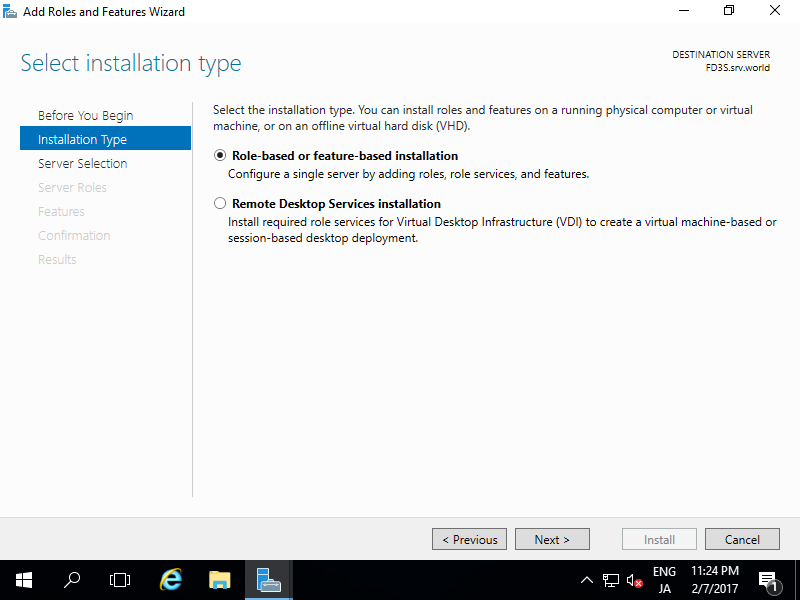
| [3] | Select [Role-based or feature-based installation]. |
 |
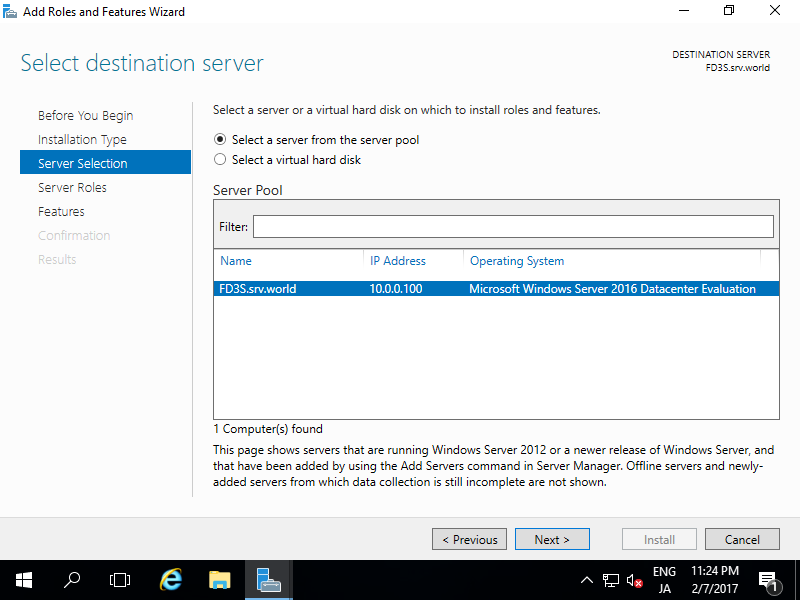
| [4] | Select a Host which you'd like to add services. |
 |
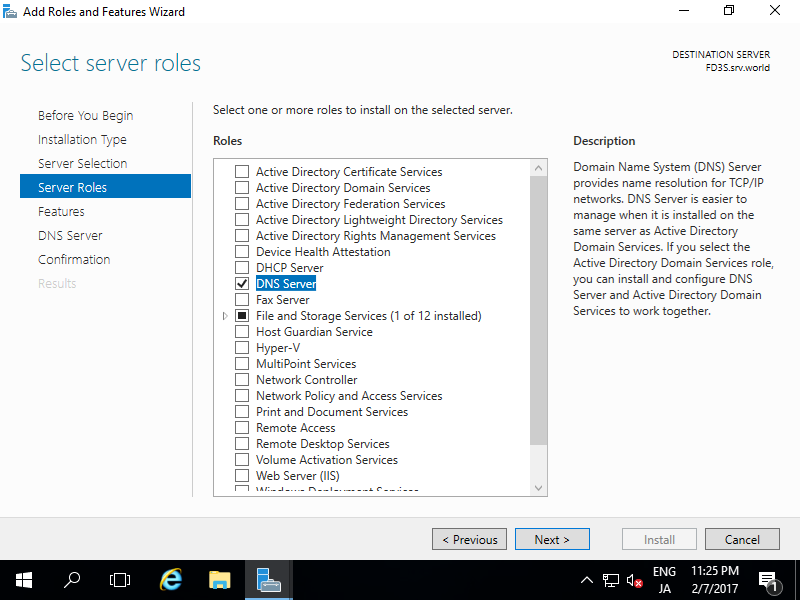
| [5] | Check a box [DNS Server]. |
 |
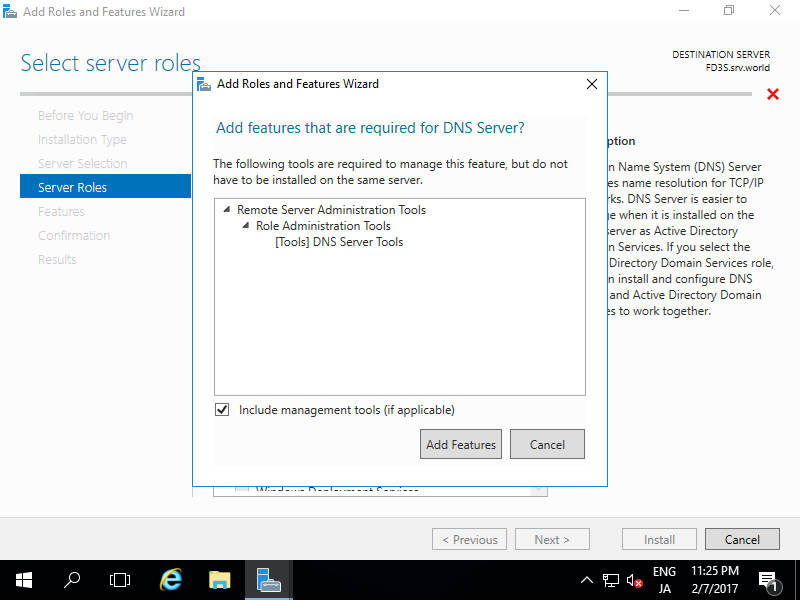
| [6] | Addtional features are required to add DNS Server. Click [Add Features] button. |
 |
| [7] | Click [Next] button. |
 |
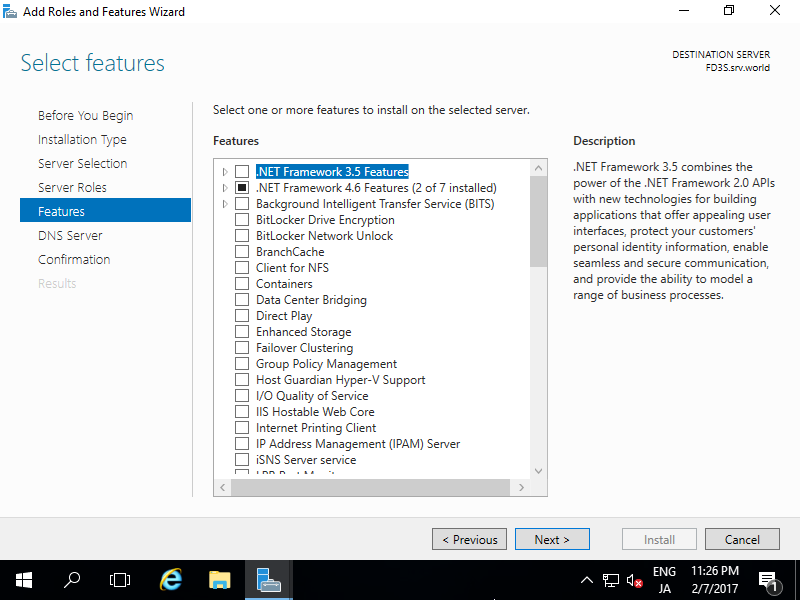
| [8] | Click [Next] button. |
 |
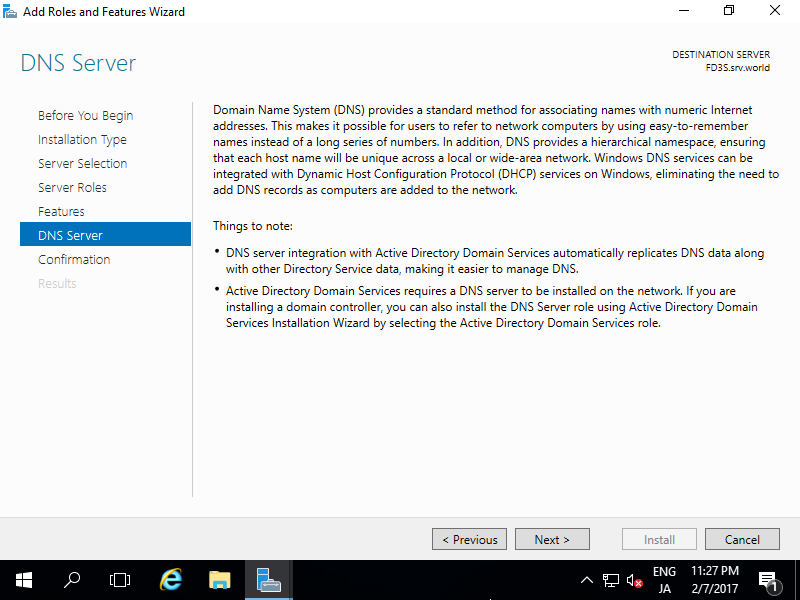
| [9] | Click [Next] button. |
 |
| [10] | Click [Install] button. |
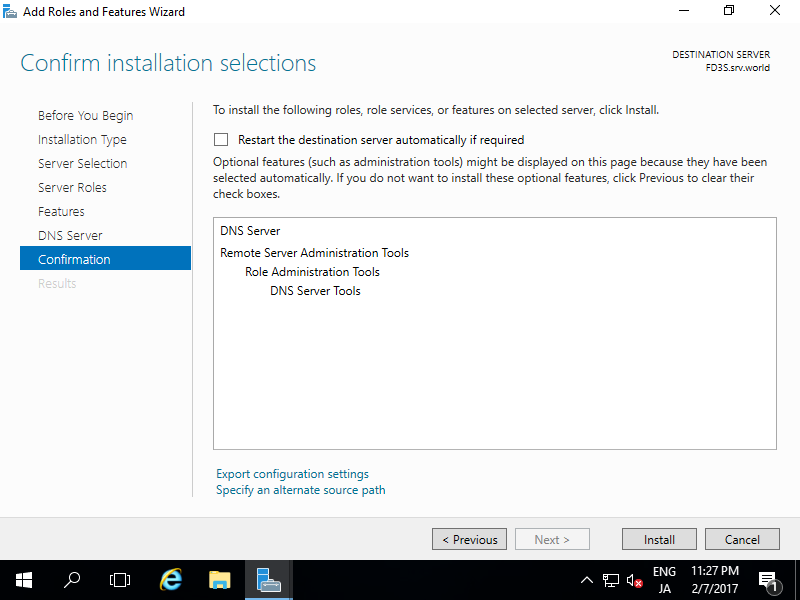 |
| [11] | After finishing Installation, click [Close] button. |
 |
Add Forward lookup Zone.
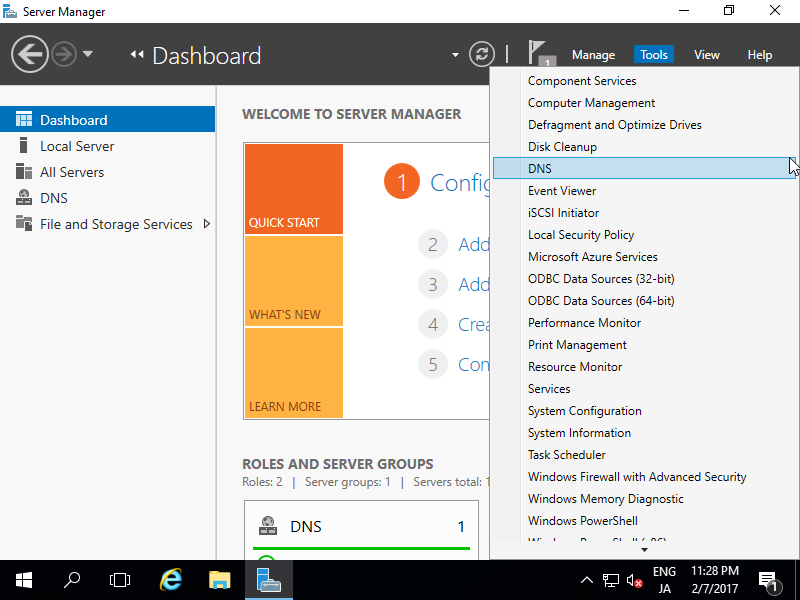
| [1] | Run Server Manager and select [Tools] - [DNS]. |
 |
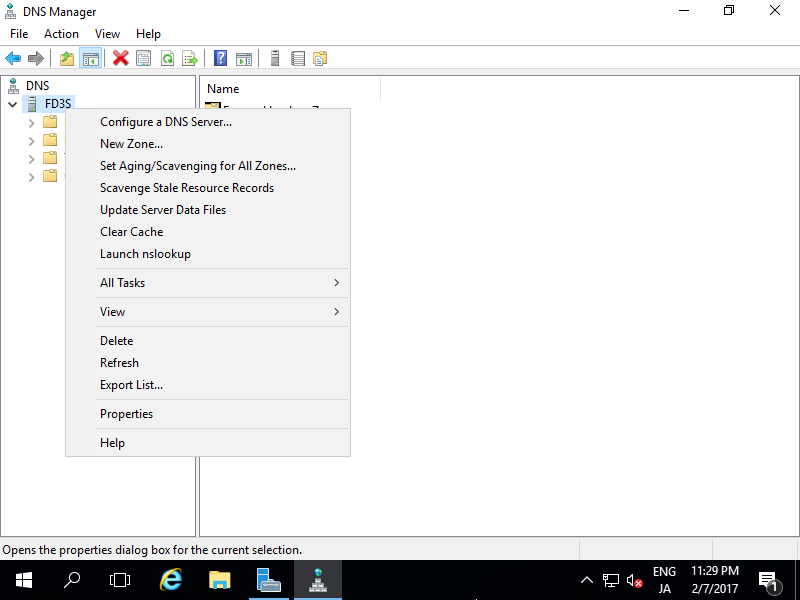
| [2] | Select own Hostname on the left pane and right-click the own Hostname to show menu on the left pane, then select [New Zone...]. |
 |
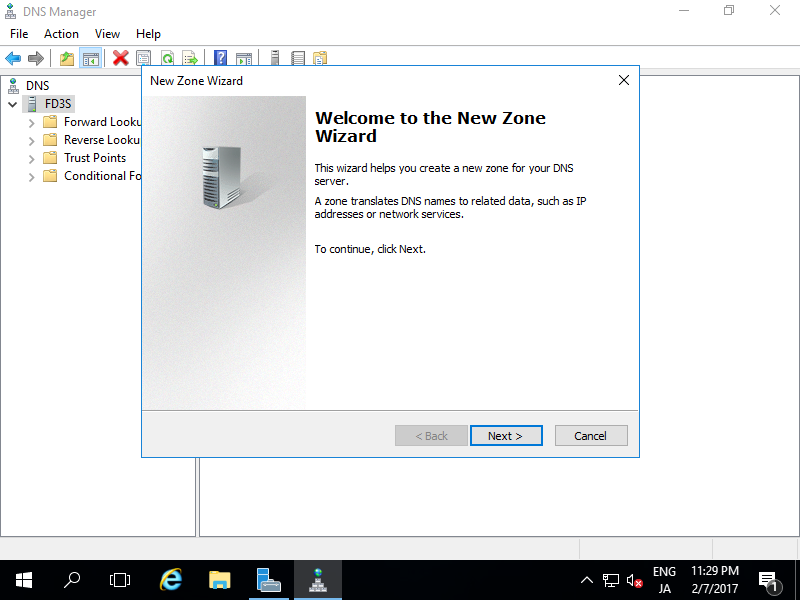
| [3] | Click [Next] button. |
 |
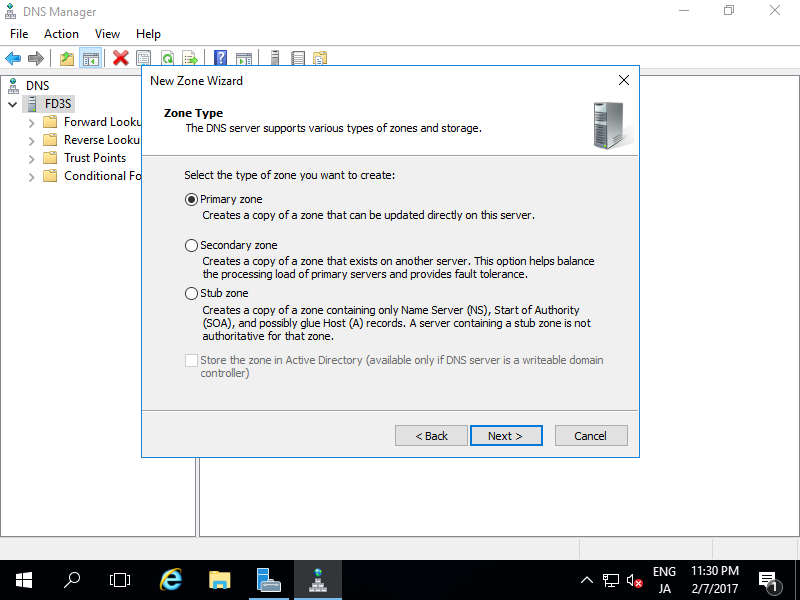
| [4] | Check a box [Primary zone] and click [Next] button. |
 |
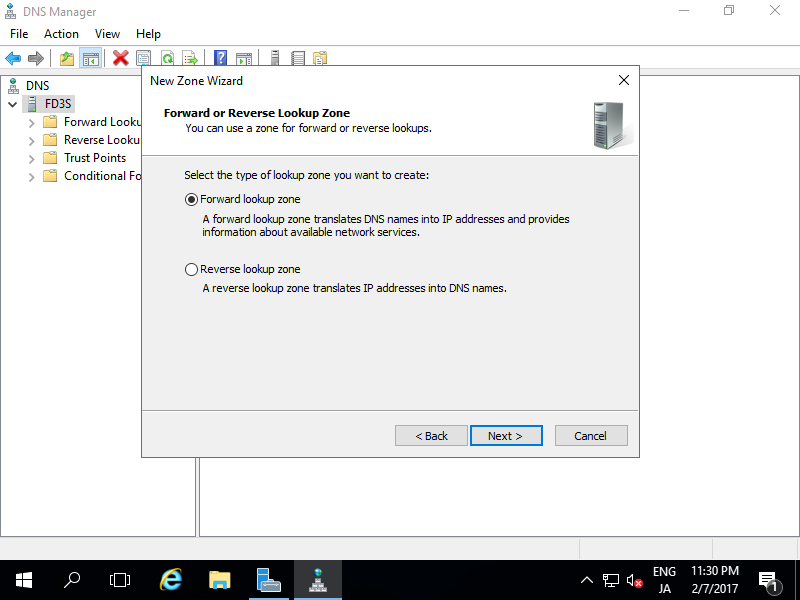
| [5] | Check a box [Forward lookup Zone] and click [Next] button. |
 |
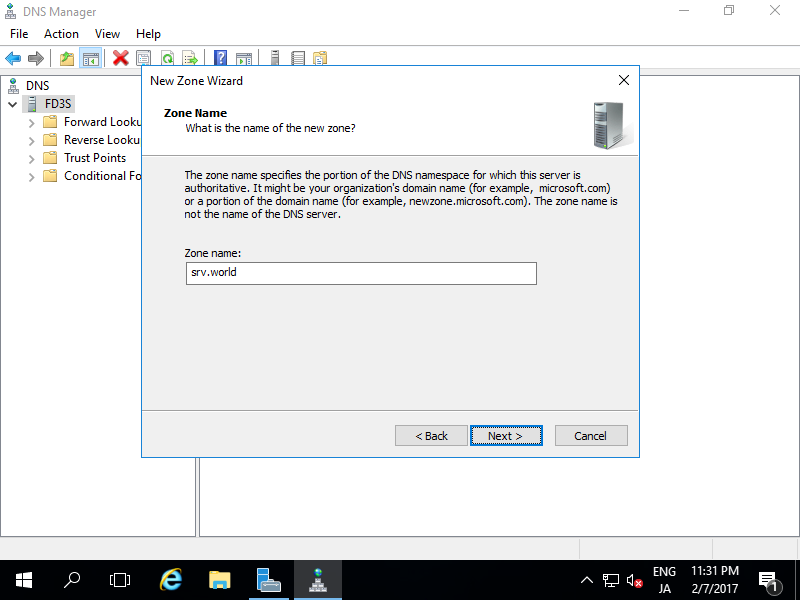
| [6] | Input Zone name. As the description on the screen-shot below, set domain name or portion of domain name for this zone name. |
 |
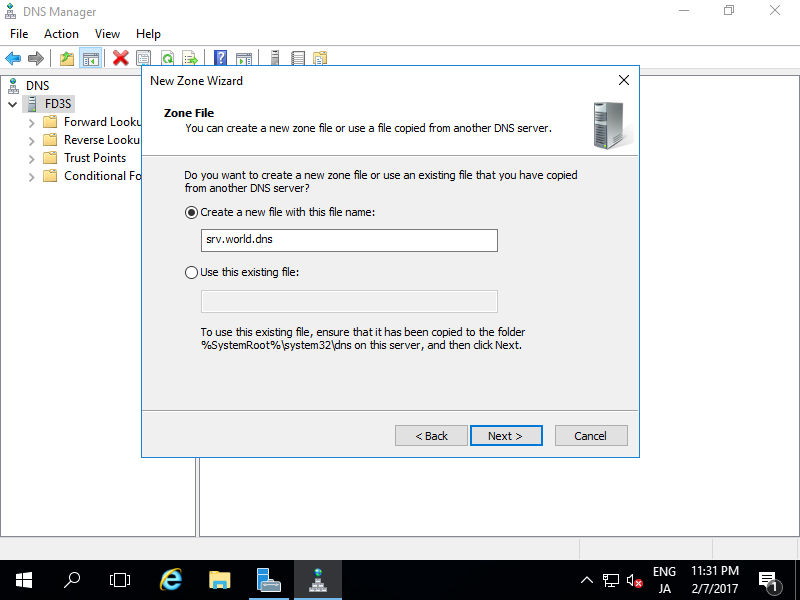
| [7] | Set zone-file-name and click [Next] button. It's OK to keep default for zone-file-name. |
 |
| [8] | Click [Next] button with keeping default. |
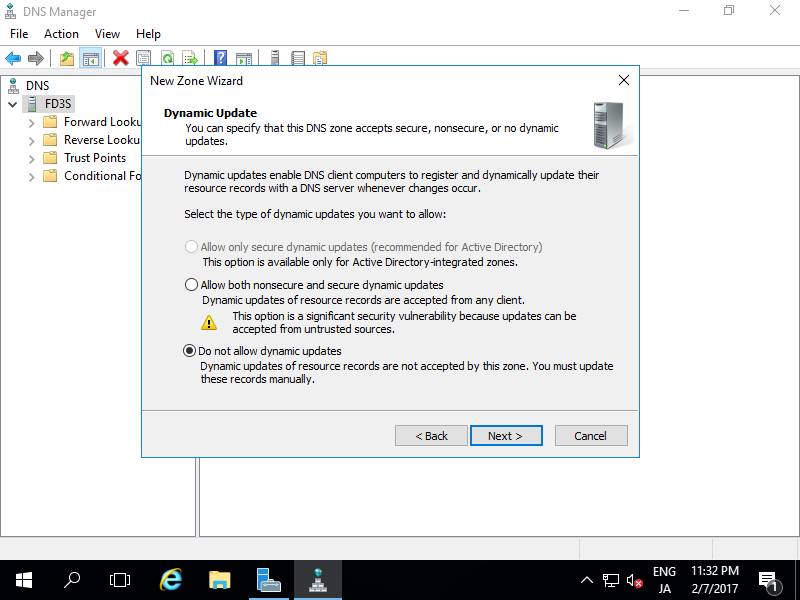 |
| [9] | Click [Finish] button. |
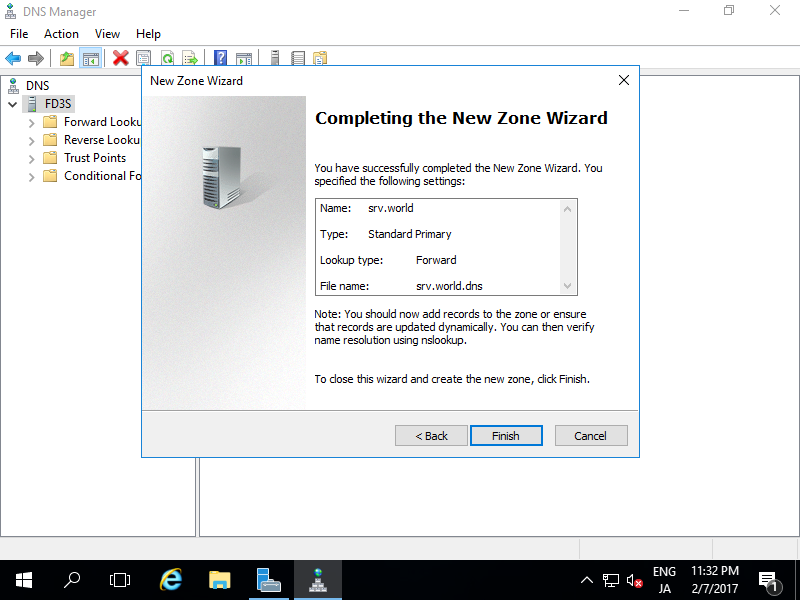 |
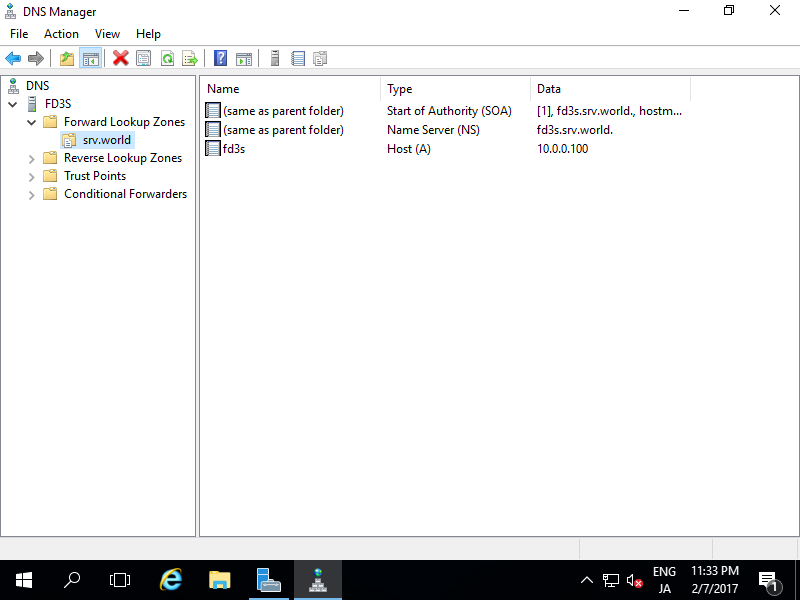
| [10] | A new zone has been created under the Forward lookup Zone. |
 |
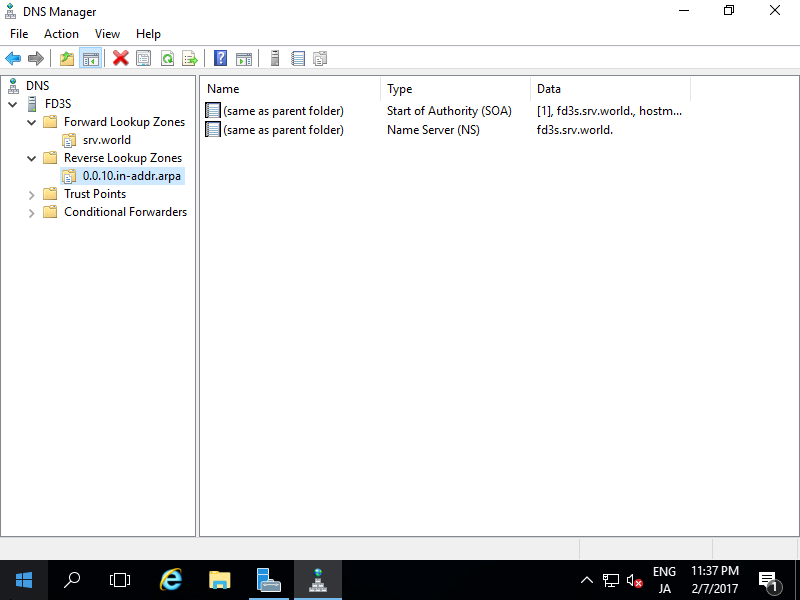
DNS Server : Add Reverse lookup Zone
Add Reverse lookup Zone.
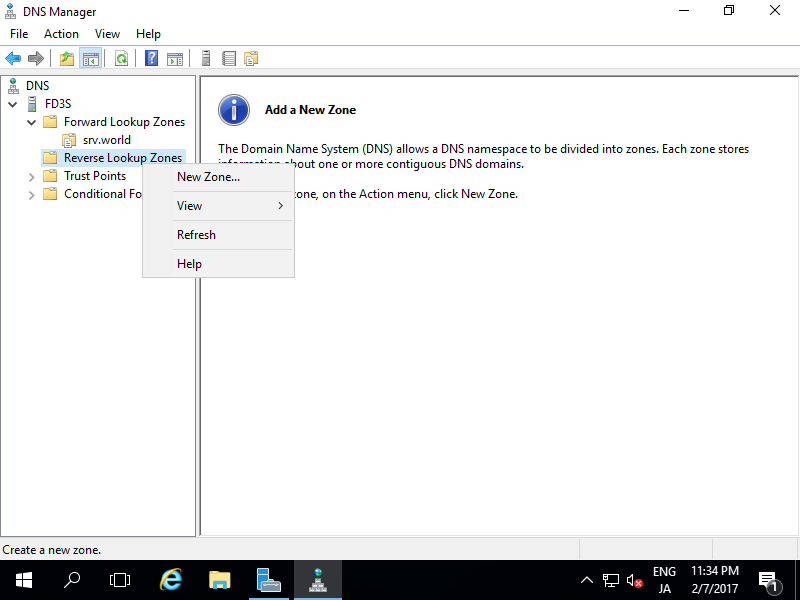
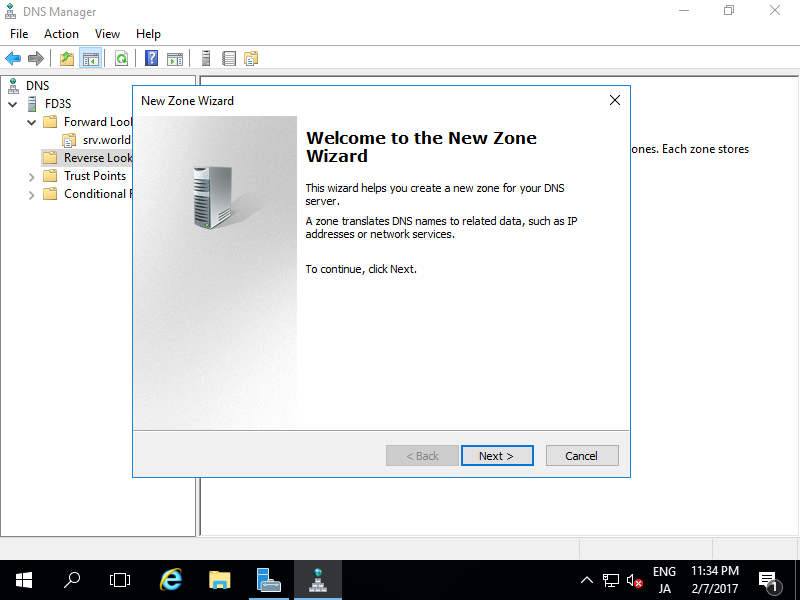
| [1] | Run Server Manager and select [Tools] - [DNS], next right-click [Reverse lookup Zones...] to show menu on the left pane, then select [New Zone...]. |
 |
| [2] | Click [Next] button. |
 |
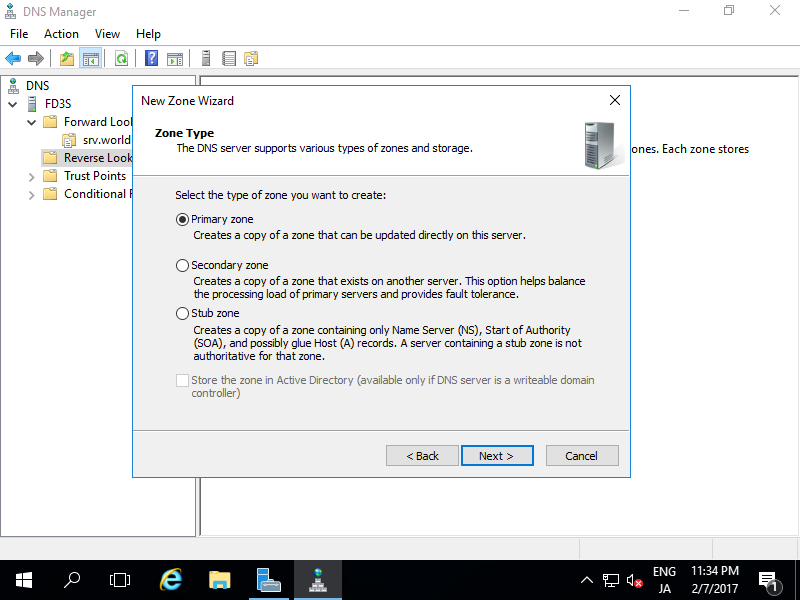
| [3] | Check a box [Primary zone] and click [Next] button. |
 |
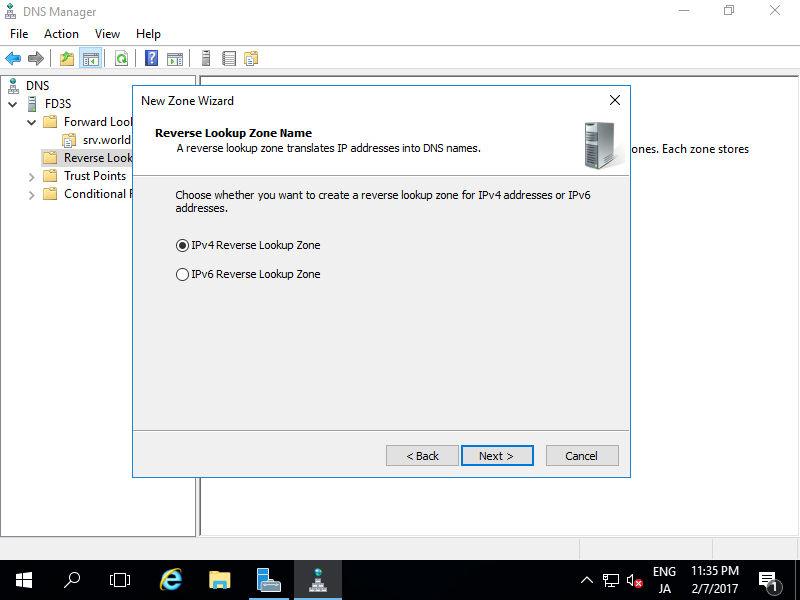
| [4] | Check a box [IPv4 Reverse lookup Zone] and click [Next] button. |
 |
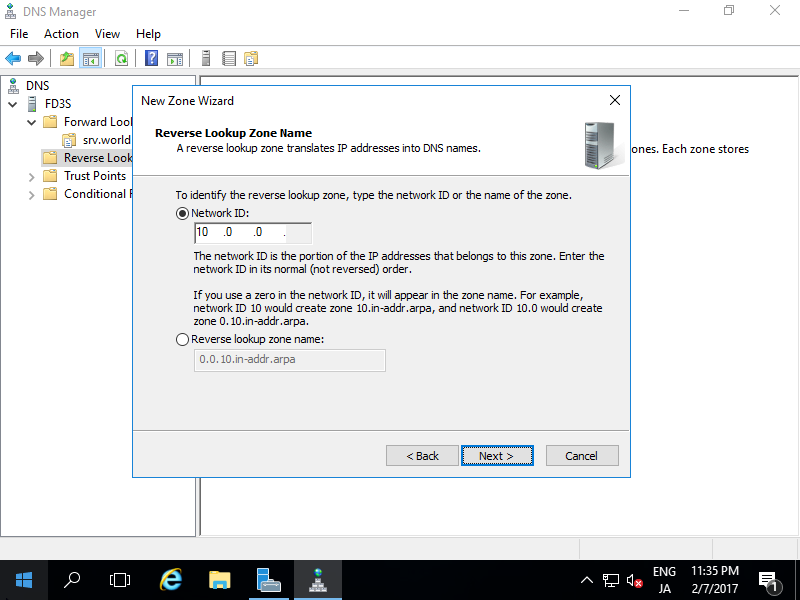
| [5] | Input [Network ID]. The example follows is for the case 10.0.0.0/24. |
 |
| [6] | Set zone-file-name and click [Next] button. It's OK to keep default for zone-file-name. |
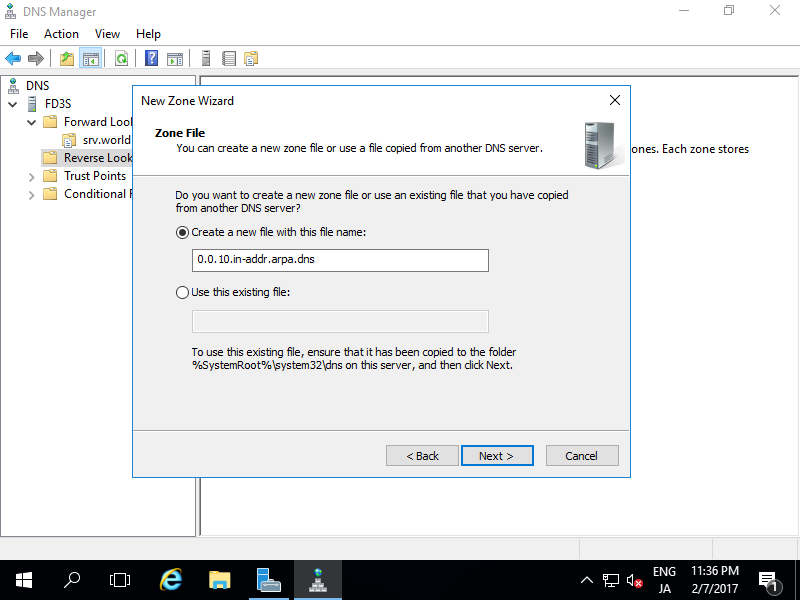 |
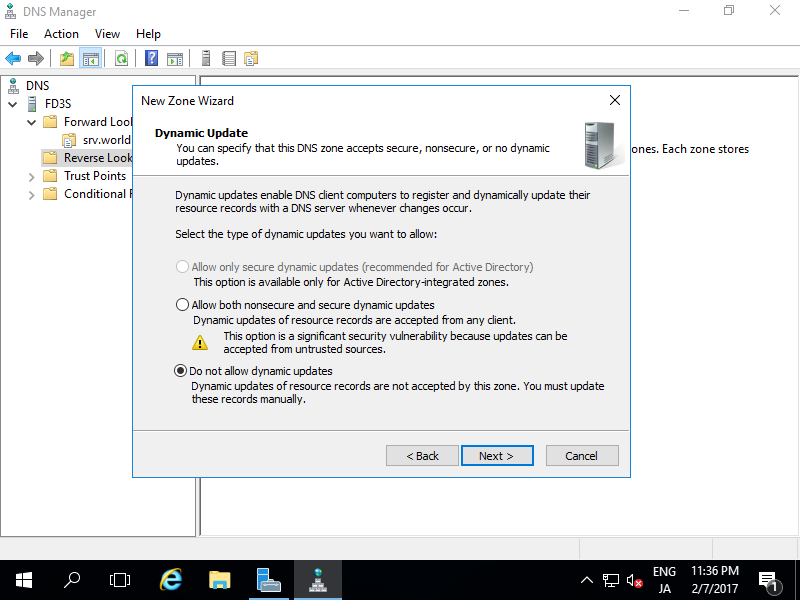
| [7] | Click [Next] button with keeping default. |
 |
| [8] | Click [Finish] button. |
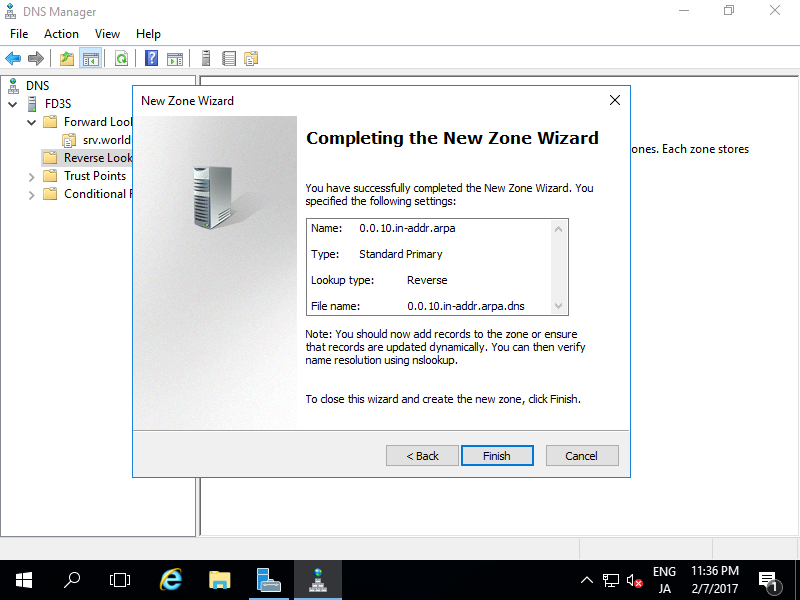 |
| [9] | A new zone has been created under the Reverse lookup Zone. |
|
DNS Server : Add A/PTR record
Add A/PTR record.
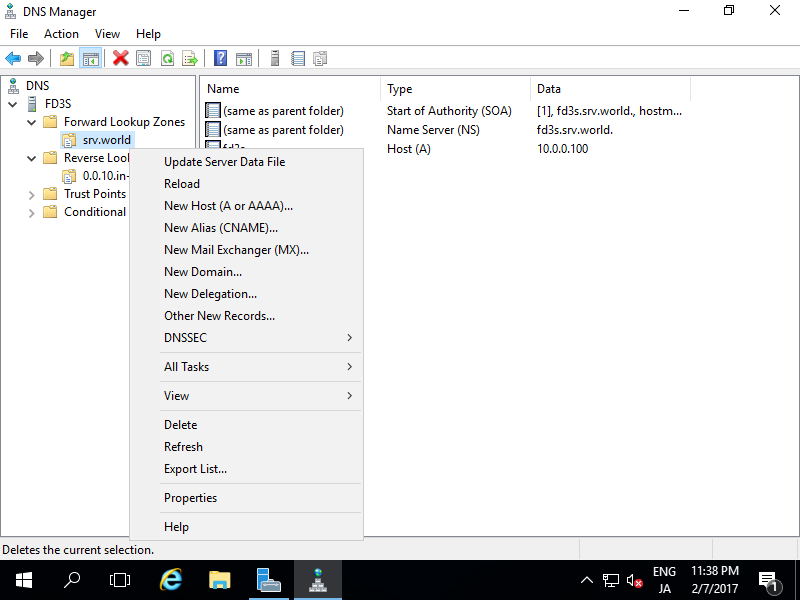
| [1] | Run Server Manager and select [Tools] - [DNS], next right-click the own domain name to show menu on the left pane, then select [New Host(A or AAA)...]. |
 |
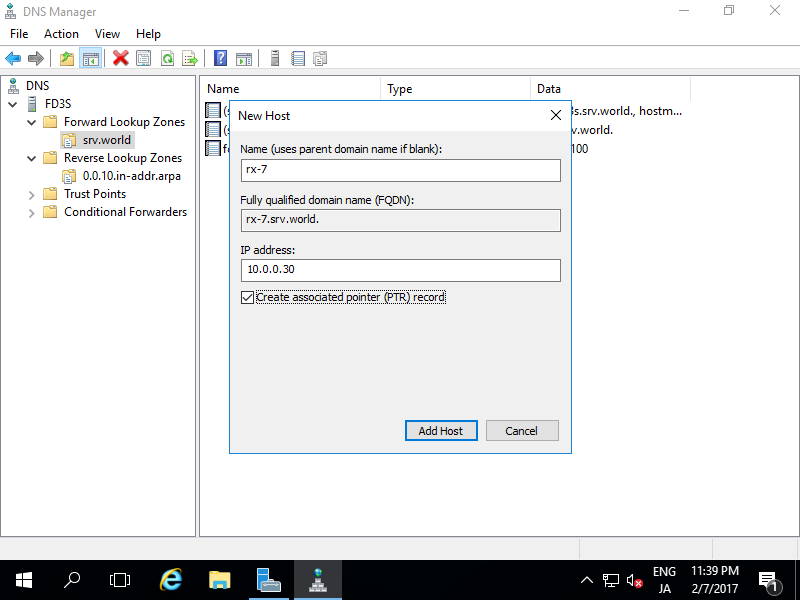
| [2] | Input Hostname and IP address you'd like to add. Furthermore, check a box [Create associated pointer (PTR) record]. |
 |
| [3] | A new A-record has beed just added. |
 |
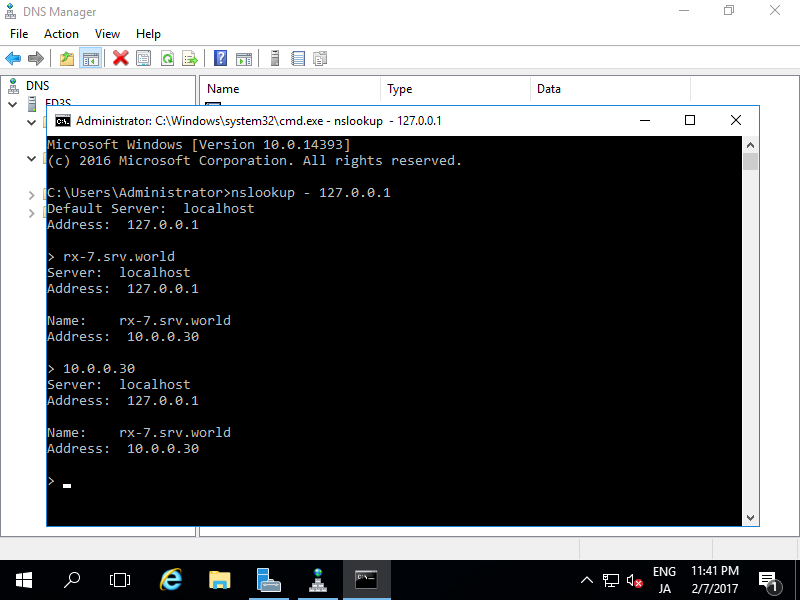
| [4] | Make sure with nslookup to resolve Hostname or IP address. |
 |
DNS Server : Add MX record
Add MX record to define Mail Server to use.
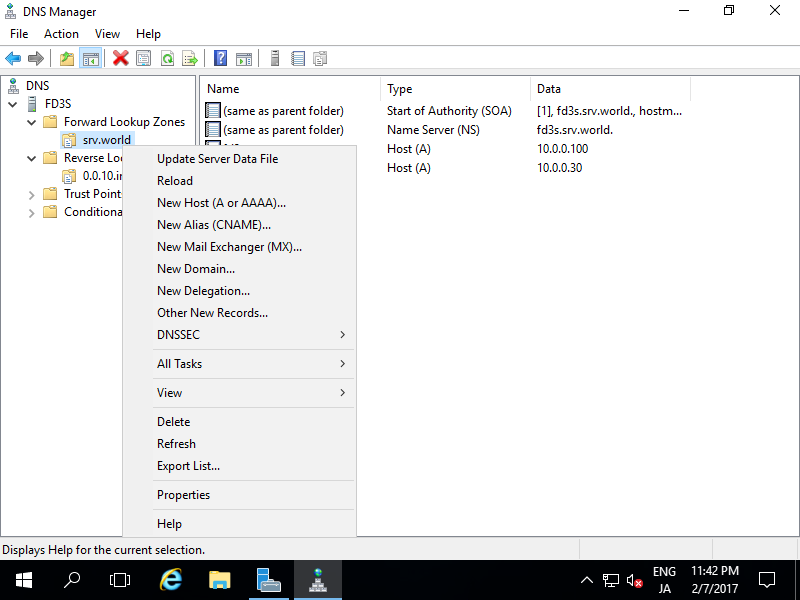
| [1] | Run Server Manager and select [Tools] - [DNS], next right-click the own domain name to show menu on the left pane, then select [New Mail Exchanger(MX)...]. |
 |
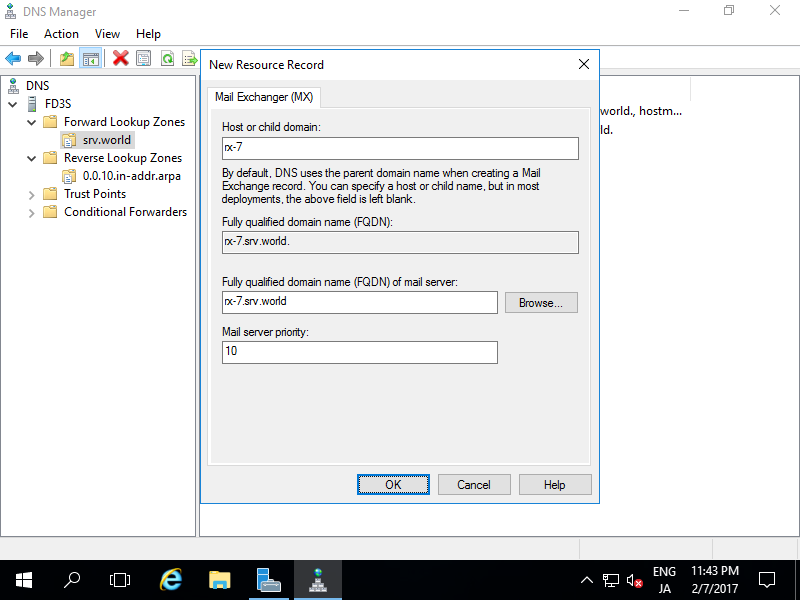
| [2] | Input Hostname and FQDN of Mail exchanger like follows. |
 |
| [3] | A new Mail exchanger record has beed just added. |
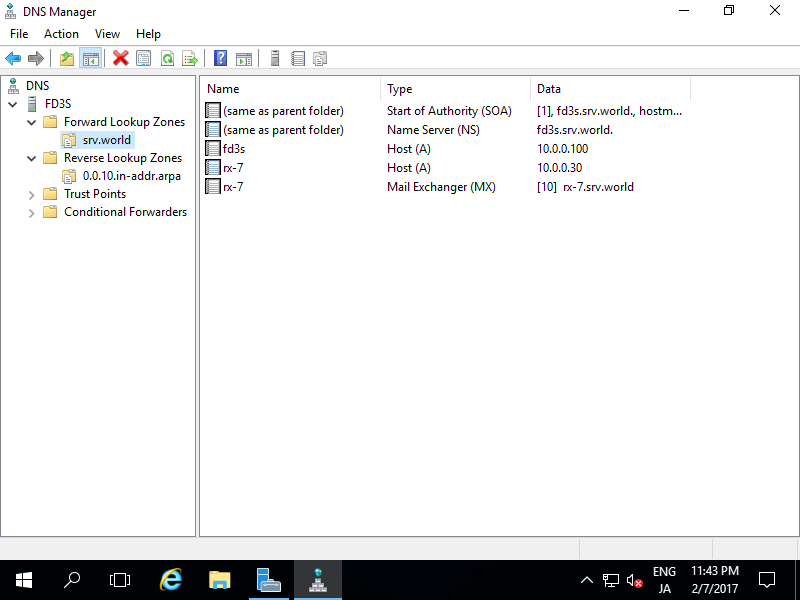 |
DNS Server : Add CNAME record
Add CNAME record which is another name of an A-record.
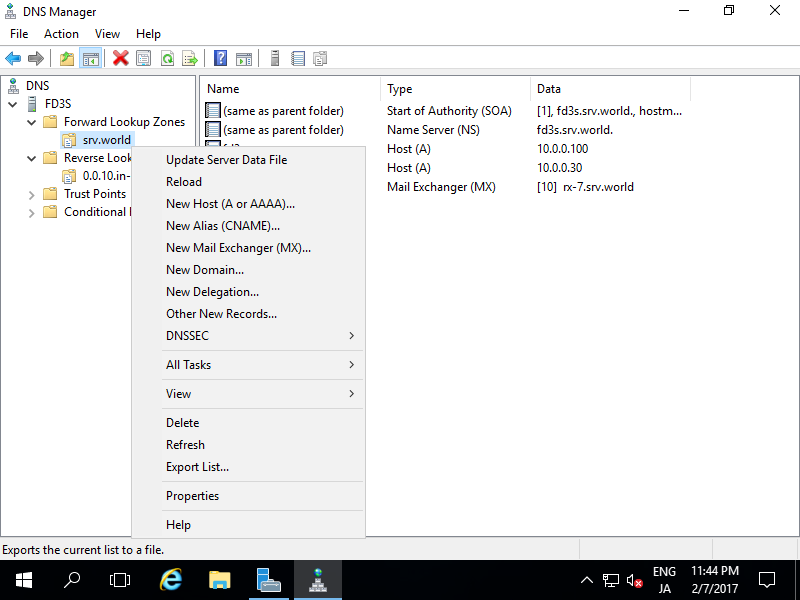
| [1] | Run Server Manager and select [Tools] - [DNS], next right-click the own domain name to show menu on the left pane, then select [New Alias (CNAME)...]. |
 |
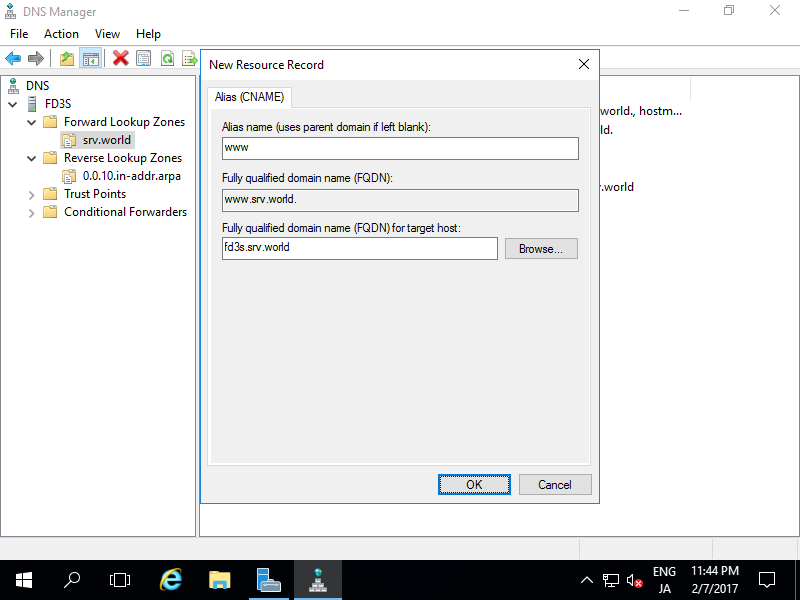
| [2] | Input Alias name and FQDN, and also target Hostname like follows. |
 |
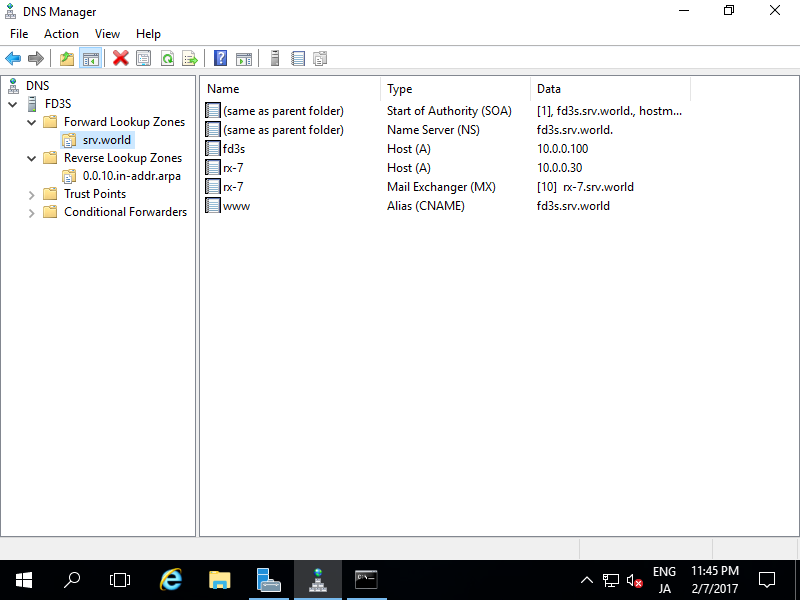
| [3] | A new CNAME record has beed just added. |
 |
| [4] | Make sure with nslookup to resolve the Alias Name. |
 |
标签:windows DNS
原文地址:http://blog.51cto.com/2833481/2092397