标签:Egret Visual Studio Code VSC
一 : 为VSC安装插件 , 一共为2个1‘ 是Chrome插件 , 2‘ Egret插件
具体步骤
①: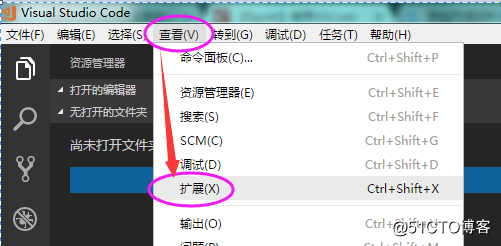
②: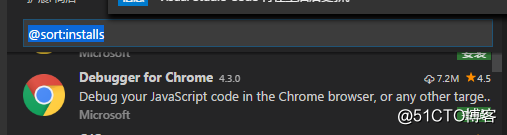
③: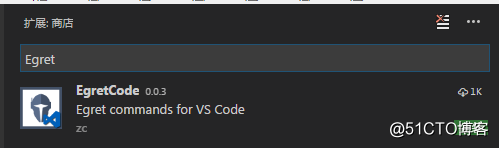
1‘ 按 F5 选择 Chrome , 可以生成 launch.json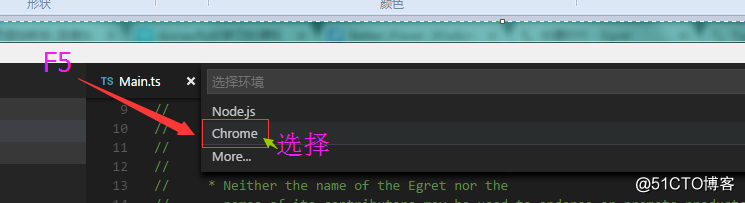
2‘ 配置launch.json
①,加入配置:
        {
            "name": "使用本机 Chrome 调试",
            "type": "chrome",
            "request": "launch",
            // "file": "index.html",
            "url": "http://10.10.20.120:3000/index.html", //使用外部服务器时,请注释掉 file, 改用 url, 并将 useBuildInServer 设置为 false "http://mysite.com/index.html
            "runtimeExecutable": "C:\\Program Files (x86)\\Google\\Chrome\\Application\\chrome.exe", // 改成您的 Chrome 安装路径
            "sourceMaps": true,
            "webRoot": "${workspaceRoot}",
            "preLaunchTask":"build",
            "userDataDir":"${tmpdir}",
            "port":5433
        }
如下图: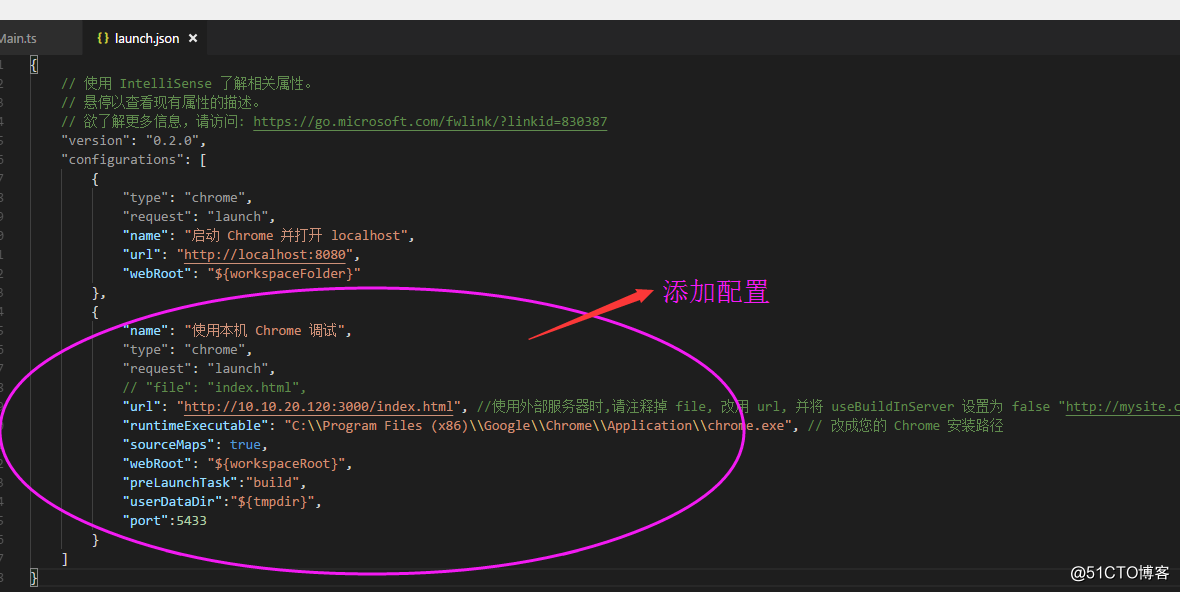
3‘ 配置tasks.json
原始文件: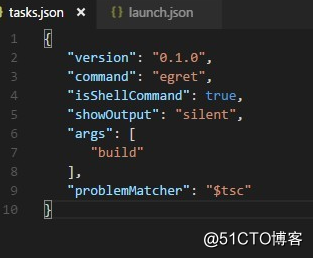
换成如下文件:
{
    "version": "0.1.0",
    "command": "egret",
    "isShellCommand": true,
    "tasks": [
        {
            "taskName": "build",
            "showOutput": "always",
            "args": [
                "build",
                "-sourcemap"
            ],
            "problemMatcher": "$tsc"
        },
        {
            "taskName": "clean",
            "showOutput": "always",
            "args": [
                "build",
                "-e"
            ],
            "problemMatcher": "$tsc"
        },
        {
            "taskName": "publish",
            "showOutput": "always",
            "args": [
                "publish"
            ],
            "problemMatcher": "$tsc"
        }
    ]
}
结果如下: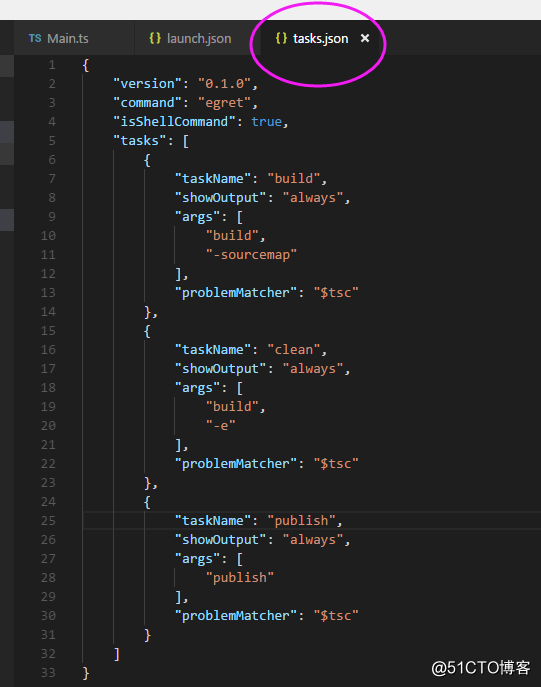
开始启动游戏吧.........
标签:Egret Visual Studio Code VSC
原文地址:http://blog.51cto.com/aonaufly/2093999