标签:style blog http color io 使用 div sp 2014
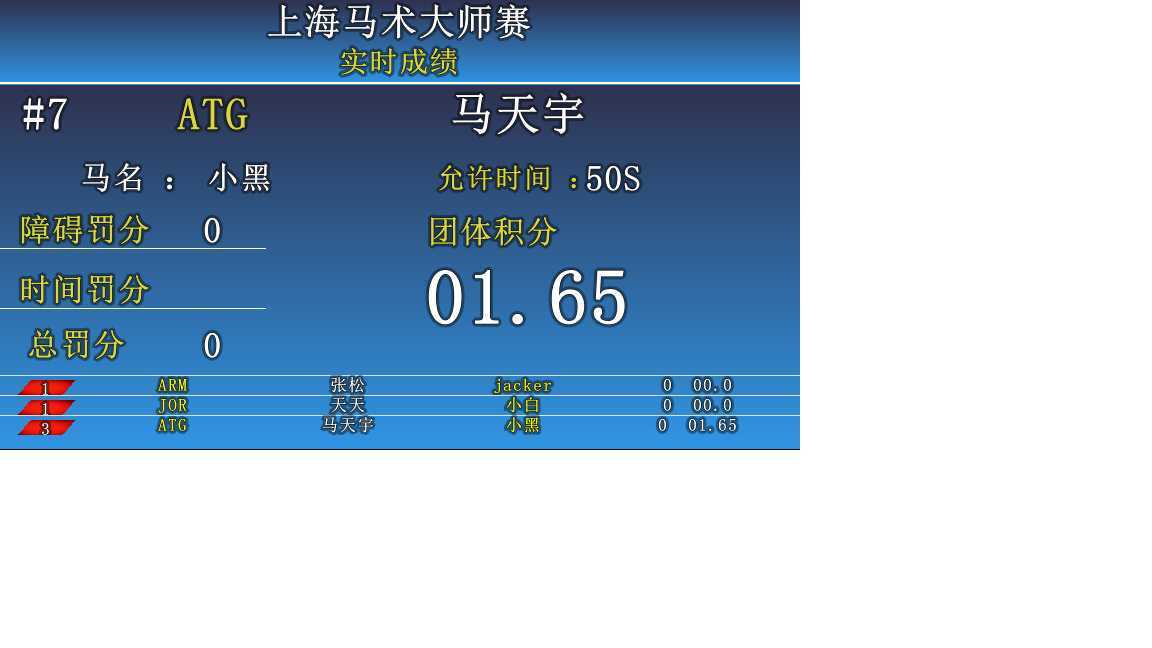
效果如图所示:

绘制的过程如下:
 1     QFont font;
 2     font.setPointSize(this->height() * 2 * mZoomRatio / 3);
 3     font.setBold(true);
 4     if(mDrawOutlined)
 5     {
 6         QFontMetrics metrics(font);
 7         QPainterPath path;
 8         QPen pen(QColor(0, 0, 0, 100));
 9         int penwidth = font.pointSize() * 0.05;
10         if(penwidth > 6);
11         {
12             penwidth = 6;
13         }
14         pen.setWidth(penwidth);
15         int len = metrics.width(mText);
16         int w = width();
17         int px = (len - w) / 2;
18         if(px < 0)
19         {
20             px = -px;
21         }
22         //(px,py)是字体基线的起点位置,在qt助手中查找addText函数可以了解到
23         int py = (height() - metrics.height()) / 2 + metrics.ascent();
24         if(py < 0)
25         {
26             py = -py;
27         }
28         path.addText(px, py, font, mText);
29         painter.strokePath(path, pen);
30         painter.drawPath(path);
31         painter.fillPath(path, QBrush(mTextColor));
32     //    painter.drawRect(rect());
33     }
34     else
35     {
36         painter.setFont(font);
37         painter.setPen(mTextColor);
38         painter.drawText(0, 0, this->width()-1, this->height()-1, mTextFlags, mText);
39     }
代码中strokePath函数式绘制字体的轮廓, fillPath函数用于填充字体。
addText函数中(px, py)指的是绘画的起点位置,py的计算方法在上面已经给出,通过控制px可以实现左对齐、右对齐、居中等对齐方式。用qt助手查看该函数说明可以了解。
这种方法适合在不可编辑的文字区域绘制例如QLabel,QButton等,对于QTextEdit等可编辑的区域可以使用QSS来实现,实现的方法在Qt助手中已经给出了,在qt助手中搜索styleColor就可以找到。
标签:style blog http color io 使用 div sp 2014
原文地址:http://www.cnblogs.com/jck34/p/3991174.html