标签:cti 分享图片 技术分享 功能 产品 tst var apm class
最近工作用到bootstraptable,并且一些功能需要很了解这个插件,那么我们便来看看这个东西
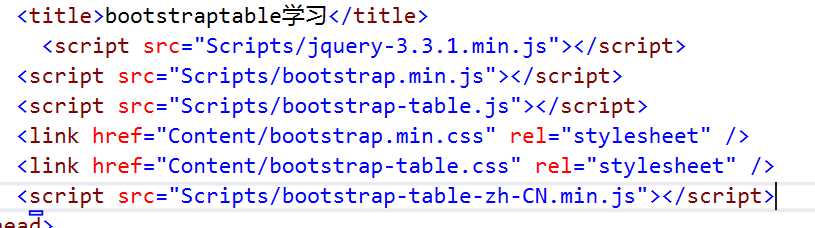
1.css与js的引入,顺序肯定是有讲究的,在这里不细说了
2.数据的引入与呈现,我们来看一下官网的例子,用 $(‘#tableModel‘).bootstrapTable({})这种语句来为配置table的信息,它的打data可以自己定义,好像是一个数组,再用 columns属性做到渲染
 1  <table id="tableModel"></table>
 2
 3    <script>
 4       $(‘#tableModel‘).bootstrapTable({
 5     columns: [{
 6         field: ‘id‘,
 7         title: ‘Item ID‘
 8     }, {
 9         field: ‘name‘,
10         title: ‘Item Name‘
11     }, {
12         field: ‘price‘,
13         title: ‘Item Price‘
14     }],
15     data: [{
16         id: 1,
17         name: ‘Item 1‘,
18         price: ‘$1‘
19     }, {
20         id: 2,
21         name: ‘商品2‘,
22         price: ‘$2‘
23     }]
24 });
25   </script>
3.data-toggle="table",自己直接写table
 1 <table data-toggle="table">
 2     <thead>
 3         <tr>
 4             <th>Item ID</th>
 5             <th>Item Name</th>
 6             <th>Item Price</th>
 7         </tr>
 8     </thead>
 9     <tbody>
10         <tr>
11             <td>1</td>
12             <td>Item 1</td>
13             <td>$1</td>
14         </tr>
15         <tr>
16             <td>2</td>
17             <td>Item 2</td>
18             <td>$2</td>
19         </tr>
20     </tbody>
21 </table>
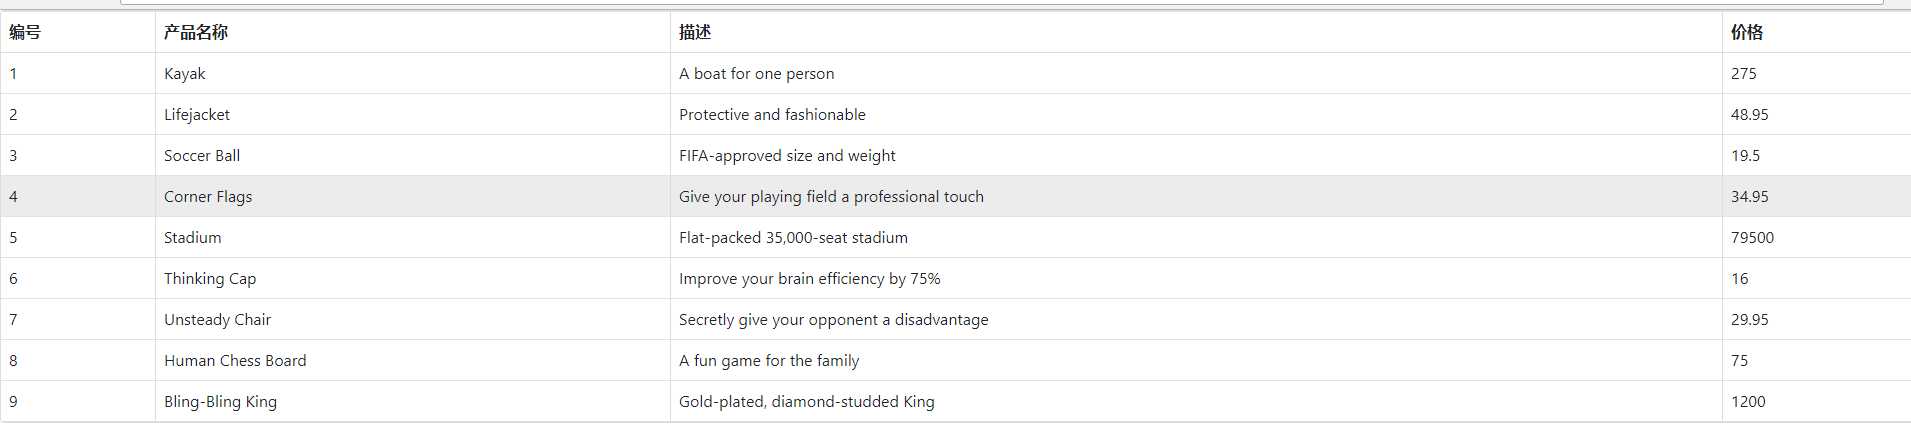
4.现在我们从后台获取数据,通过实验我发现如果从后台直接返回一个list前台是无法展示的,所以我将后台的list序列化成json对象,field为实体类里的字段的名称
1  context.Response.ContentType = "text/plain";
2             var productList = repo.Products.ToList();
3            var productListJson =  JsonConvert.SerializeObject(productList);
4             context.Response.Write(productListJson);
 1 function init() {
 2     $(‘#bootstrapModel‘).bootstrapTable({
 3         url: "../Listing.ashx",
 4         method: ‘post‘,
 5         columns: [
 6             {
 7             field: ‘ProductID‘,
 8             title: ‘编号‘
 9         }, {
10            field: ‘Name‘,
11            title: ‘产品名称‘
12         }, {
13            field: ‘Description‘,
14            title: ‘描述‘
15         }, {
16            field: ‘Price‘,
17             title: ‘价格‘
18         }
19
20         ]
21     });
22
23 }
标签:cti 分享图片 技术分享 功能 产品 tst var apm class
原文地址:https://www.cnblogs.com/Spinoza/p/8902754.html