标签:render otto ... show info class img use col
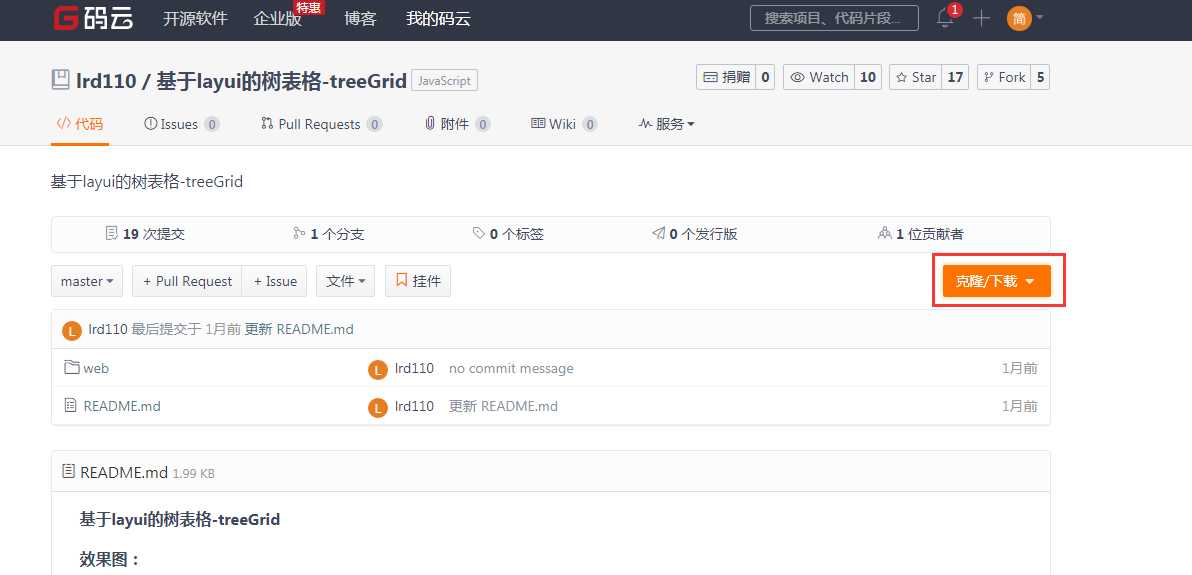
目前treeGrid的源码不是很完善, 没有开放, 只有社区里面有, 想用的可以看看下面方法:
(1)layui 的treeGrid 下载地址: https://gitee.com/lrd110/tree_table_treegrid_based_on_layui

(2)下载后找到里面的treeGrid.js .将文件放入现有的layui的包里面: layui/lay/modules/
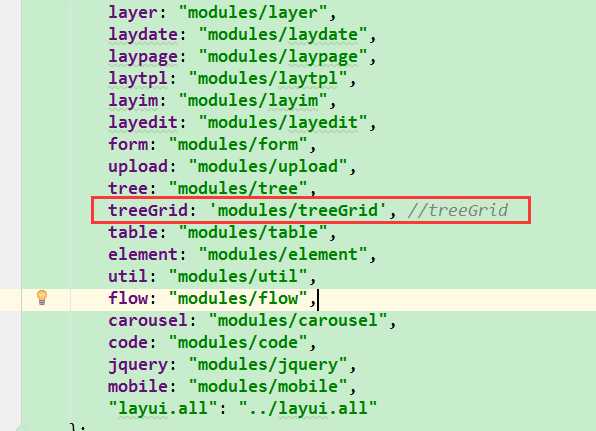
(3)修改layui.js 文件, 加入treeGrid.js 模块:

2.代码实现
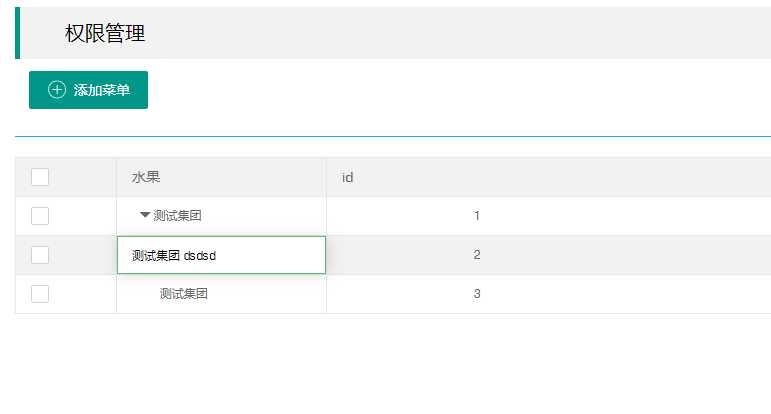
(1).效果

支持编辑:如果关掉可以自己修改源码(没找到在哪个地方,不过找到了全局禁用的标签)

(2). 代码
<!DOCTYPE html> <html> <head> <meta charset="utf-8"> <title>layui</title> <meta name="renderer" content="webkit"> <meta http-equiv="X-UA-Compatible" content="IE=edge,chrome=1"> <meta name="viewport" content="width=device-width, initial-scale=1, maximum-scale=1"> <link rel="stylesheet" href="static/layui/css/layui.css" media="all"> <style type="text/css"> body { height: 100%; width: 100%; /*overflow: hidden;*/ background-size: cover; margin: 0 auto; } .body_bg { /*height: 1000px;;*/ text-align: center; display: block; padding-left: 15px; padding-right: 15px; } .t_title { height: 65px; font-size: 20px; display: block; /*padding: 10px;*/ text-align: left; } .t_test { background-color: white; width: 100%; } .table_scroll { height: 505px; overflow-y: auto; } td { font-size: 12px !important; } .layui-form-checkbox span { height: 30px; } .layui-field-title { border-top: 1px solid white; } table { width: 100% !important; } </style> </head> <body> <div class="body_bg"> <!--标题--> <div class="t_title"> <fieldset class="layui-elem-field layui-field-title"> <blockquote class="layui-elem-quote"> <legend>权限管理</legend> </blockquote> </fieldset> </div> <div class="t_test"> <!--搜索 按钮--> <div class="layui-form-item"> <!--按钮--> <div style="padding-bottom: 10px; width:100%;height:40px"> <div class="layui-input-inline" style="width: 147px;"> <button class="layui-btn" id="addLeaguerInfoSpecial"> <i class="layui-icon" style="font-size: 20px; "></i> 添加菜单 </button> </div> </div> </div> <hr class="layui-bg-blue"> <div class="yys-fluid yys-wrapper"> <div class="layui-row lay-col-space20"> <div class="layui-cos-xs12 layui-col-sm12 layui-col-md12 layui-col-lg12"> <section class="yys-body animated rotateInDownLeft"> <div class="yys-body-content clearfix changepwd"> <div class="layui-col-lg12 layui-col-md10 layui-col-sm12 layui-col-xs12" style="width:100%"> <div class="user-tables"> <table id="userTables" lay-filter="userTables"></table> </div> </div> </div> </section> </div> </div> </div> </div> </div> <script src="static/layui/layui.js" charset="utf-8"></script> <!-- 注意:如果你直接复制所有代码到本地,上述js路径需要改成你本地的 --> <script type="text/javascript"> layui.use([‘element‘, ‘tree‘, ‘layer‘, ‘form‘, ‘upload‘, ‘treeGrid‘], function () { var $ = layui.jquery, tree = layui.tree; var datatable = [ { "sd_id": 1, "sd_name": "测试集团", "sd_up_id": null } ,{ "sd_id": 2, "sd_name": "测试集团", "sd_up_id": 1 } ,{ "sd_id": 3, "sd_name": "测试集团", "sd_up_id": 1 } ]; var treeGrid = layui.treeGrid; //很重要 var treeTable = treeGrid.render({ elem: ‘#userTables‘ , data: datatable , cellMinWidth: 100 , treeId: ‘sd_id‘//树形id字段名称 , treeUpId: ‘sd_up_id‘//树形父id字段名称 , treeShowName: ‘sd_name‘//以树形式显示的字段 , cols: [[ {type: ‘checkbox‘} , {field: ‘sd_name‘, edit: ‘text‘, width: ‘100‘, title: ‘水果‘} , {field: ‘sd_id‘, edit: ‘text‘, width: ‘300‘, title: ‘id‘} , {field: ‘sd_up_id‘, edit: ‘text‘, width: ‘300‘, title: ‘pId‘} ]] , page: false }); }); </script> </body> </html> </body> </html>
期待完善......
标签:render otto ... show info class img use col
原文地址:https://www.cnblogs.com/yysbolg/p/8968968.html