标签:系统 80端口 vol UNC centos www. mirrors iad 分享
===============================================
2018/5/13_第1次修改 ccb_warlock
===============================================
最早接触seafile还是在1年多前,当时是为了能够搭建私有开源、具有同步目录功能的文件系统供员工使用,seafile的功能恰好满足这几点需求。但是考虑到需要占用服务器资源,从成本角度最后这个方案被砍掉了。最近由于工作需要,重新整理了seafile的部署内容。
一、准备工作
1.1 安装wget、vim
yum install -y wget vim
1.2 关闭防火墙
systemctl stop firewalld
systemctl disable firewalld
1.3 安装epel、Nux Dextop
# 安装epel源
rpm -ivh http://mirrors.ustc.edu.cn/epel/7/x86_64/Packages/e/epel-release-7-11.noarch.rpm
# 安装Nux Dextop源
rpm --import http://li.nux.ro/download/nux/RPM-GPG-KEY-nux.ro
rpm -Uvh http://li.nux.ro/download/nux/dextop/el7/x86_64/nux-dextop-release-0-5.el7.nux.noarch.rpm
二、部署seafile
2.1 安装mysql/mariadb
# 选择安装mariadb
yum -y install mariadb mariadb-server
# 启动、开机启动
systemctl start mariadb
systemctl enable mariadb
# 安全设置
mysql_secure_installation
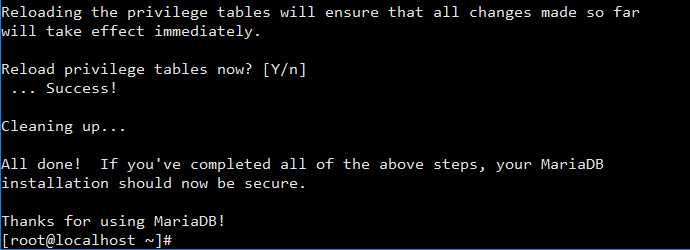
# 根据下面的内容进行设置
# 第一次运行密码为空,回车。
Enter current password for root (enter for none):

# 需要设置root密码,输入y后回车。
Set root password? [Y/n] y
接着输入两次新密码。

# 是否删除匿名用户,回车。
Remove anonymous users? [Y/n]

# 是否禁止root远程登录,回车。
Disallow root login remotely? [Y/n]

# 是否删除test数据库,回车。
Remove test database and access to it? [Y/n]

# 是否重新加载权限表,回车。
Reload privilege tables now? [Y/n]
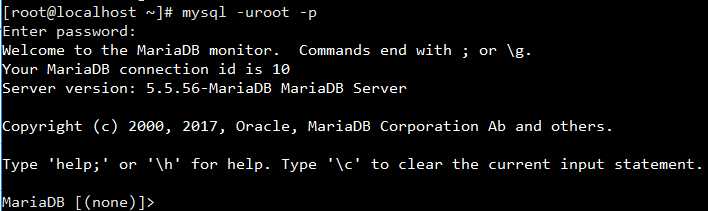
# 使用root账户登录mariadb
mysql -uroot -p
# 能连得进去说明刚才的设置已经生效
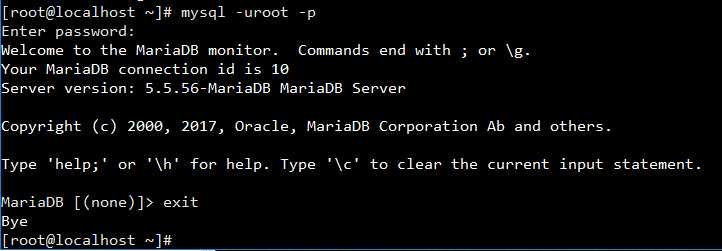
# 退出mariadb
exit
PS.如果需要远程连接,可以用下面的内容设置。
# 允许任意ip使用root远程连接
create user ‘root‘@‘%‘ identified by ‘root远程登录的密码‘;
# 添加权限给该root
grant all privileges on *.* to ‘root‘@‘%‘ identified by ‘root远程登录的密码‘;
# 配置立即生效
flush privileges;
2.2 安装依赖项
yum install -y python-memcached python-ldap python-urllib3 python-imaging MySQL-python python-distribute ffmpeg ffmpeg-devel
2.3 安装seafile
# 获取安装包
cd
wget http://seafile-downloads.oss-cn-shanghai.aliyuncs.com/seafile-server_6.2.5_x86-64.tar.gz
# 解压
tar zxf seafile-server_6.2.5_x86-64.tar.gz
# 运行shell脚本安装
cd seafile-server-*
./setup-seafile-mysql.sh
# 根据下面的内容进行设置
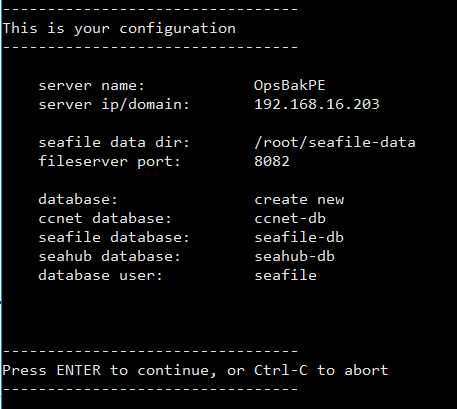
# 显示给客户端的服务名,输入服务名后回车。
What is the name of the server? It will be displayed on the client.
3 - 15 letters or digits
[ server name ] OpsBakPE

# 输入ip或域名,由于内部使用直接ip,输入ip后回车。
What is the ip or domain of the server?
For example: www.mycompany.com, 192.168.1.101
[ This server‘s ip or domain ] 192.168.16.203

# 使用默认,将数据文件放在/root/seafile-data下,回车。
Where do you want to put your seafile data?
Please use a volume with enough free space
[ default "/root/seafile-data" ]

# 使用默认的文件服务端口8082,回车。
Which port do you want to use for the seafile fileserver?
[ default "8082" ]

# 使用新的seahub数据库,输入1后回车。
-------------------------------------------------------
Please choose a way to initialize seafile databases:
-------------------------------------------------------

[1] Create new ccnet/seafile/seahub databases
[2] Use existing ccnet/seafile/seahub databases

[ 1 or 2 ] 1

# 由于刚才装了mariadb,使用默认本地,回车。
What is the host of mysql server?
[ default "localhost" ]

# mariadb的默认端口就是3306,回车。
What is the port of mysql server?
[ default "3306" ]

# 使用默认的seafile作为seafile使用mariadb的用户,回车。
Enter the name for mysql user of seafile. It would be created if not exists.
[ default "seafile" ]

# 输入mariadb的用户seafile的密码,回车。
Enter the password for mysql user "seafile":
[ password for seafile ]

# 使用默认ccnet-db作为ccnet-server使用的数据库名,回车。
Enter the database name for ccnet-server:
[ default "ccnet-db" ]

# 使用默认seafile-db作为seafile-server使用的数据库名,回车。
Enter the database name for seafile-server:
[ default "seafile-db" ]

# 使用默认seahub-db作为seahub使用的数据库名,回车。
Enter the database name for seahub:
[ default "seahub-db" ]
# 检查配置项,没有问题回车安装。
# 等待片刻,安装完成。
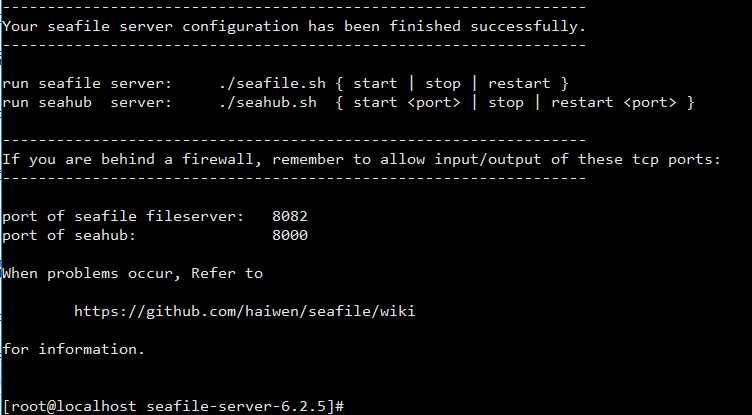
2.4 启动seafile、seahub
# 启动seafile服务
./seafile.sh start
# 启动seahub网站(这里加了80端口,不加端口的情况下默认运行在8000端口上)
./seahub.sh start 80
PS.第一次启动 seahub 时,seahub.sh脚本会提示创建seafile管理员帐号(邮箱名)。
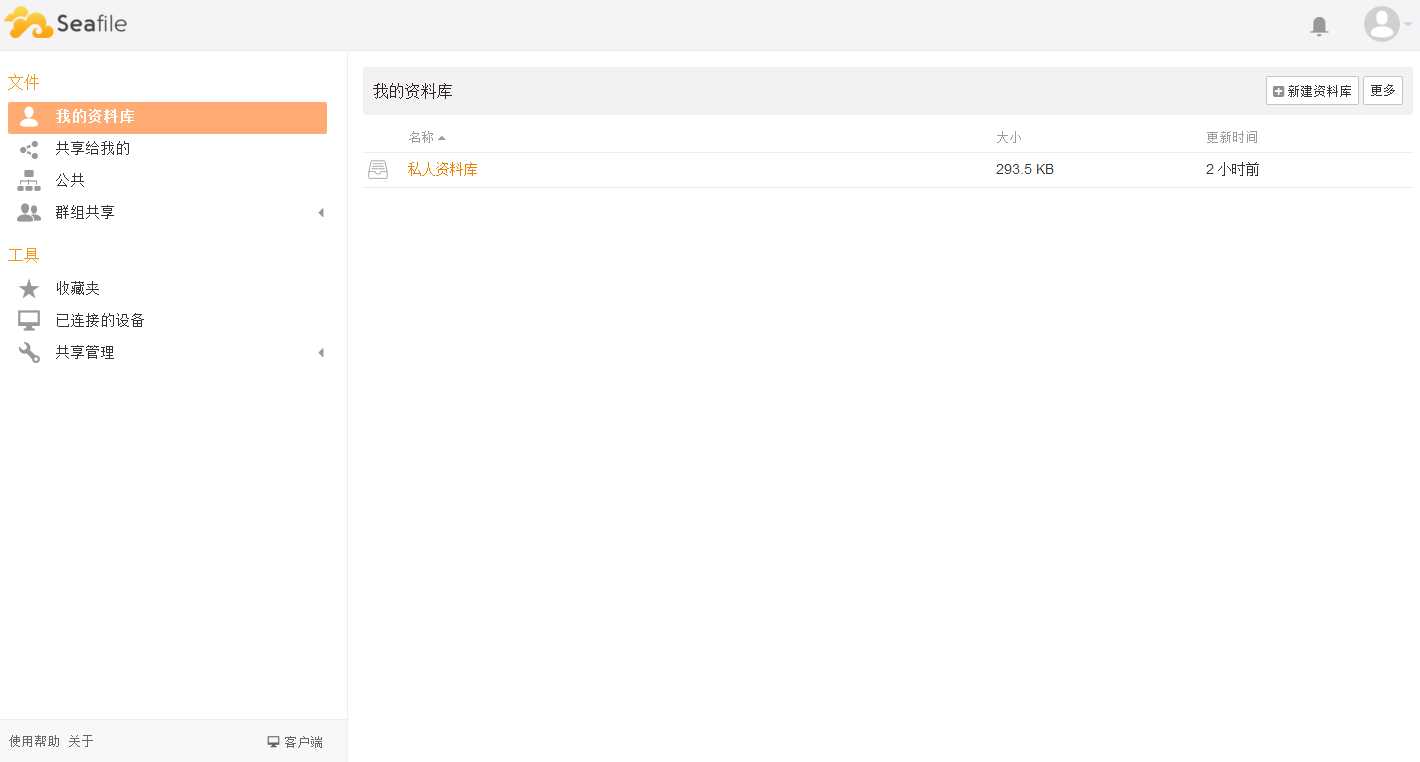
2.5 访问seafile
浏览器访问http://部署seafile的虚拟机IP,使用刚才创建的管理员账号登录。

三、设置开机启动
3.1 首先停止seafile、seahub服务
cd /root/seafile-server-*
./seafile.sh stop
./seahub.sh stop
3.2 创建seafile.service
vim /etc/systemd/system/seafile.service
# 添加下面的内容,wq保存。
[Unit]
Description=Seafile
After=mariadb.service

[Service]
Type=oneshot
ExecStart=/root/seafile-server-6.2.5/seafile.sh start
ExecStop=/root/seafile-server-6.2.5/seafile.sh stop
RemainAfterExit=yes

[Install]
WantedBy=multi-user.target
3.3 创建seahub.service
vim /etc/systemd/system/seahub.service
# 添加下面的内容,wq保存。
[Unit]
Description=Seafile hub
After=network.target seafile.service

[Service]
ExecStart=/root/seafile-server-6.2.5/seahub.sh start 80
ExecStop=/root/seafile-server-6.2.5/seahub.sh stop
Type=oneshot
RemainAfterExit=yes

[Install]
WantedBy=multi-user.target
3.4 启动、开机启动seafile、seahub
systemctl start seafile
systemctl enable seafile
systemctl start seahub
systemctl enable seahub
标签:系统 80端口 vol UNC centos www. mirrors iad 分享
原文地址:https://www.cnblogs.com/straycats/p/9033943.html