标签:rev attach 系统文件 ali gif 打包工具 version 简体中文 ever
前段时间关注了VC6.0自带的Installshield打包的使用方法,感觉繁琐,现在找到一个比较简单实用的打包小工具Inno setup,使用方法如下。
(1)将编写好的程序生成Release版本,打开Inno setup 5小软件,弹出如下界面:
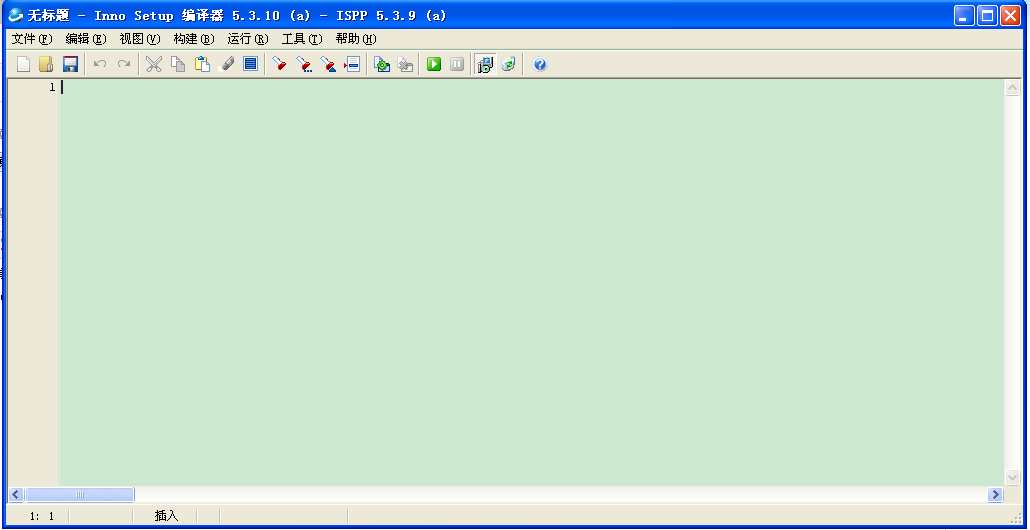
点击菜单栏“文件”——“新建”,出现如下界面
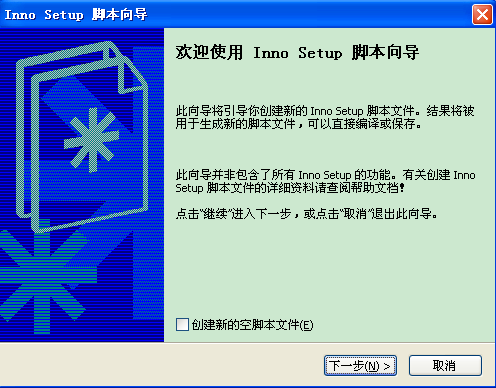
点击下一步,出现如下界面
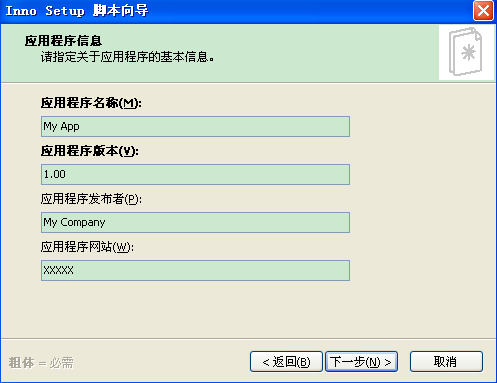
这里要填写程序的名字,如“My App”,用用版本“1.00”,应用程序的发布者“ My Company”,及应用程序的网站“XXXXX”,后两者可以不写。点击下一步出现如下界面
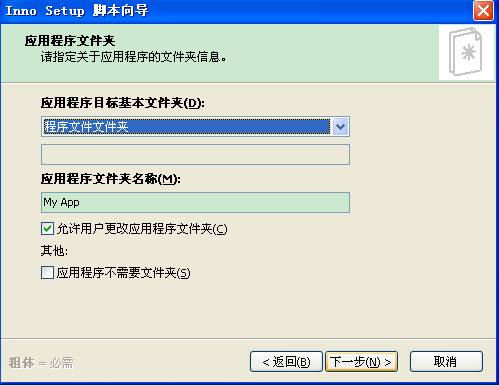
来这里基本不用更改,点击下一步,出现如下界面

这里首先要选择应用程序的这性文件,也就是XXXX.exe文件,点击右侧的浏览找到你的执行文件即可。下边的“允许用户在安装完成后启动应用程序”,勾选前面的对勾,即可,若禁止安装完成后就运行程序,可不选择此项。下边的“其他应用程序文件”比较重要,一般包含程序用到的一些DLL文件,配置文件(.ini文件),特殊的AxtiveX(.ocx)控件及Readme文件等,点击下一步,出现如下界面
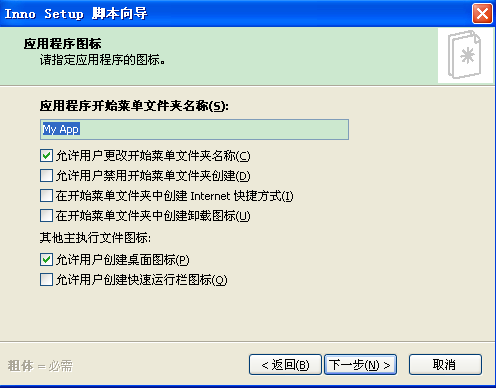
这里需要哪些功能,在前边打上对勾即可,点击下一步出现如下界面

这里可以选择许可文件,安装前的文件(如Readme文件等),安装后显示信息等,点击下一步,出现如下界面,
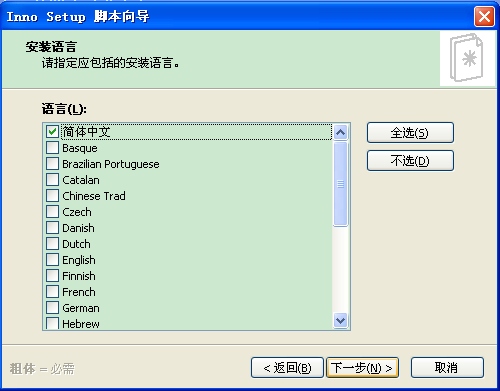
在此可选择语言,当然是“简体中文”,点击下一步,出现如下界面,
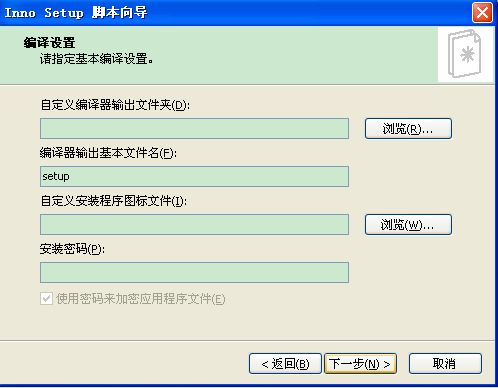
在这里选择编译文件的输出文件夹,输出地文件名等,还可以加载自定义的安装程序图标,填写完成后,点击下一步,出现如下界面

点击下一步,
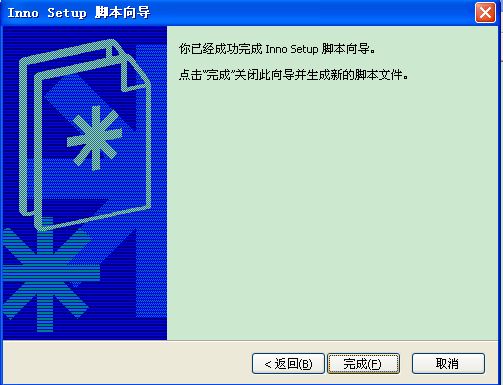
点击完成,进入Inno Setup的编译器,如下图,
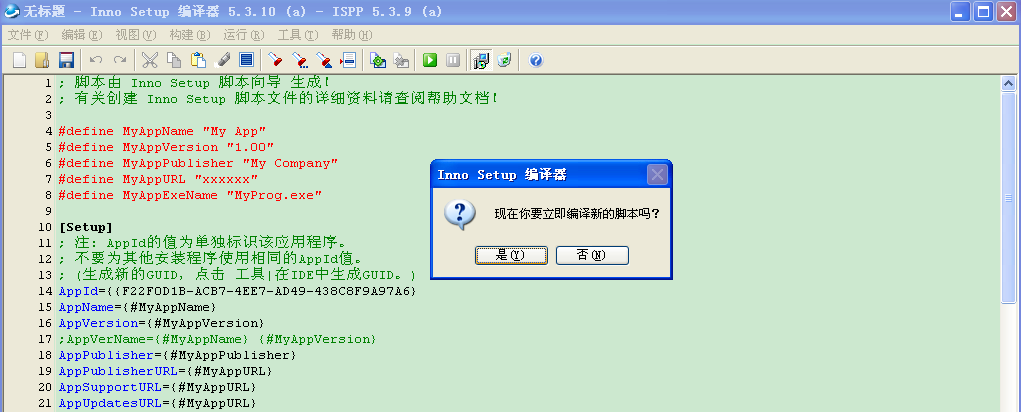
点击是,出现如下界面
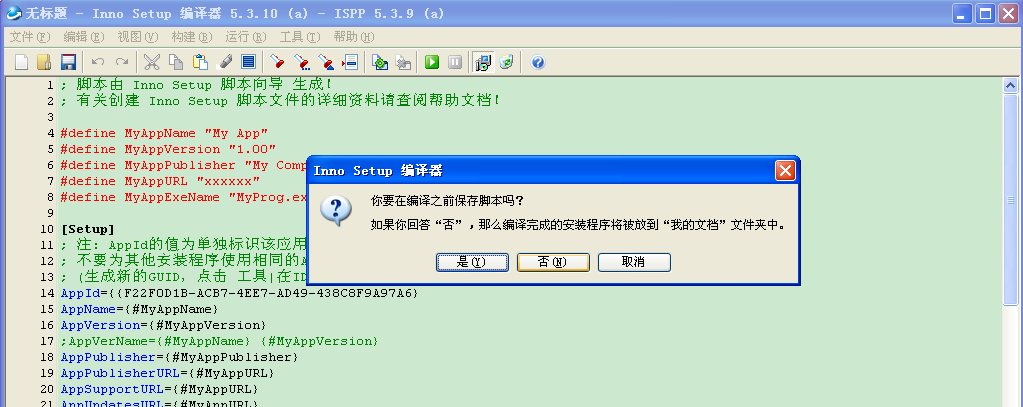
点击是,出现如下界面
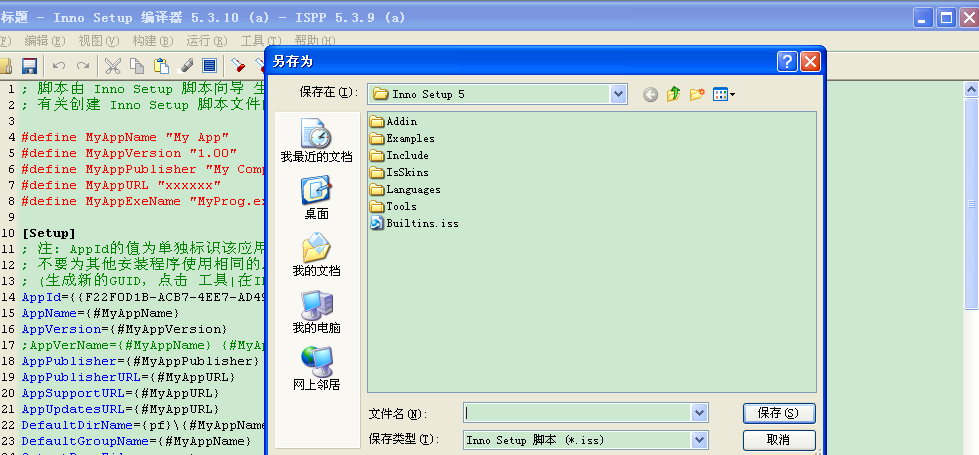
选择编译文本(.iss文件)的输出文件夹,之后便可见变得代码,如下
; 脚本由 Inno Setup 脚本向导 生成!
; 有关创建 Inno Setup 脚本文件的详细资料请查阅帮助文档!
#define MyAppName "3G NVS Viewer"
#define MyAppVersion "1.00"
#define MyAppExeName "LAUMp4Test.exe"
[Setup]
; 注: AppId的值为单独标识该应用程序。
; 不要为其他安装程序使用相同的AppId值。
; (生成新的GUID,点击 工具|在IDE中生成GUID。)
AppId={{140AF0C5-52A5-4ECD-AF8B-0037036B0549}
AppName={#MyAppName}
AppVersion={#MyAppVersion}
;AppVerName={#MyAppName} {#MyAppVersion}
DefaultDirName={pf}\{#MyAppName}
DefaultGroupName={#MyAppName}
InfoAfterFile=E:\MyProject\3G\modify\08060900\Client\bin\Readme.txt
OutputDir=E:\MyProject\3G\setup\Output
OutputBaseFilename=3G NVS Viewer setup_V1.00
Compression=lzma
SolidCompression=yes
[Languages]
Name: "chinesesimp"; MessagesFile: "compiler:Default.isl"
[Tasks]
Name: "desktopicon"; Description: "{cm:CreateDesktopIcon}"; GroupDescription: "{cm:AdditionalIcons}"; Flags: unchecked; OnlyBelowVersion: 0,6.1
[Files]
Source: "E:\MyProject\3G\modify\08060900\Client\bin\LAUMp4Test.exe"; DestDir: "{app}"; Flags: ignoreversion
Source: "E:\MyProject\3G\modify\08060900\Client\bin\config.ini"; DestDir: "{app}"; Flags: ignoreversion
Source: "E:\MyProject\3G\modify\08060900\Client\bin\en_resource.dll"; DestDir: "{app}"; Flags: ignoreversion
Source: "E:\MyProject\3G\modify\08060900\Client\bin\hi_h264dec_w.dll"; DestDir: "{app}"; Flags: ignoreversion
Source: "E:\MyProject\3G\modify\08060900\Client\bin\lang.ini"; DestDir: "{app}"; Flags: ignoreversion
Source: "E:\MyProject\3G\modify\08060900\Client\bin\LUSerParamX.ocx"; DestDir: "{app}"; Flags: ignoreversion
Source: "E:\MyProject\3G\modify\08060900\Client\bin\LUSerParamXEn.dll"; DestDir: "{app}"; Flags: ignoreversion
Source: "E:\MyProject\3G\modify\08060900\Client\bin\NetClient.dll"; DestDir: "{app}"; Flags: ignoreversion
Source: "E:\MyProject\3G\modify\08060900\Client\bin\NetHostSDK.dll"; DestDir: "{app}"; Flags: ignoreversion
Source: "E:\MyProject\3G\modify\08060900\Client\bin\Readme.txt"; DestDir: "{app}"; Flags: ignoreversion
Source: "E:\MyProject\3G\modify\08060900\Client\bin\RegOCX.bat"; DestDir: "{app}"; Flags: ignoreversion
Source: "E:\MyProject\3G\modify\08060900\Client\bin\LUSerParamX.ocx";DestDir: {app}; Flags: regserver
;最后一句在安装程序时自动注册LUSerParamX.ocx控件
; 注意: 不要在任何共享系统文件上使用“Flags: ignoreversion”
[Icons]
Name: "{group}\{#MyAppName}"; Filename: "{app}\{#MyAppExeName}";WorkingDir: "{app}" ;
Name: "{group}\{cm:UninstallProgram,{#MyAppName}}"; Filename: "{uninstallexe}";WorkingDir: "{app}" ;
Name: "{commondesktop}\{#MyAppName}"; Filename: "{app}\{#MyAppExeName}"; Tasks: desktopicon ;WorkingDir: "{app}" ;
;红色部分的代码实现在安装目录下读取.ini文件
[Run]
Filename: "{app}\{#MyAppExeName}"; Description: "{cm:LaunchProgram,{#StringChange(MyAppName, "&", "&&")}}"; Flags: nowait postinstall skipifsilent
至此简单的就打包完成了。
标签:rev attach 系统文件 ali gif 打包工具 version 简体中文 ever
原文地址:https://www.cnblogs.com/codingonelife/p/9096879.html