标签:profile wget tar.gz $path 管理 vim alt 高性能 nbsp
下面以 centos 编译安装httpd为例
操作系统:CentOS 7.5 x64 最小化安装
httpd版本:2.4.34
需要的软件包有 gcc,gcc-c++ ,openssl-devel ,expat-devel,这几个包可以通过yum安装
此外还需要较高版本的 apr,apr-util 和 pcre,这三个软件包可编译安装
[root@centos7 ~]# yum install gcc gcc-c++ openssl-devel expat-devel -y
[root@centos7 ~]# wget http://mirrors.ustc.edu.cn/apache/apr/apr-1.6.3.tar.gz
[root@centos7 ~]# tar xf apr-1.6.3.tar.gz
[root@centos7 ~]# cd apr-1.6.3
[root@centos7 apr-1.6.3]# ./configure --prefix=/usr/local/apr
[root@centos7 apr-1.6.3]# make -j 2 && make install
[root@centos7 ~]# wget http://mirrors.ustc.edu.cn/apache/apr/apr-util-1.6.1.tar.gz
[root@centos7 ~]# tar xf apr-util-1.6.1.tar.gz
[root@centos7 ~]# cd apr-util-1.6.1
[root@centos7 apr-util-1.6.1]#  ./configure --prefix=/usr/local/apr-util --with-apr=/usr/local/apr
[root@centos7 apr-util-1.6.1]# make -j 2 && make install
[root@centos7 ~]# wget https://ftp.pcre.org/pub/pcre/pcre-8.42.tar.gz
[root@centos7 ~]# tar xf pcre-8.42.tar.gz
[root@centos7 ~]# cd pcre-8.42
[root@centos7 pcre-8.42]# ./configure --prefix=/usr/local/pcre
[root@centos7 pcre-8.42]# make -j 2 && make install
[root@centos7 ~]# wget http://mirrors.hust.edu.cn/apache//httpd/httpd-2.4.34.tar.gz
[root@centos7 ~]# tar xf httpd-2.4.34.tar.gz
把apr和apr-util的解压文件复制一份至httpd-2.4.34/srclib目录下,并去除版本号 ,否则会出现如下错误
configure: error: Bundled APR requested but not found at ./srclib/. Download and unpack the corresponding apr and apr-util packages to ./srclib/.
[root@centos7 ~]# cp -r apr-1.6.3 httpd-2.4.34/srclib/apr
[root@centos7 ~]# cp -r apr-util-1.6.1 httpd-2.4.34/srclib/apr-util
[root@centos7 ~]# cd httpd-2.4.34
[root@centos7 httpd-2.4.34]# ./configure --prefix=/usr/local/httpd --sysconfdir=/etc/httpd --with-included-apr --with-apr=/usr/local/apr --with-apr-util=/usr/local/apr-util --with-pcre=/usr/local/pcre --with-zlib --enable-so --enable-ssl --enable-cgi --enable-rewrite --enable-modules=most --enable-mpms-shared=all --with-mpm=event
[root@centos7 httpd-2.4.34]# make -j 2 && make install
其中,上述 configure 选项的含义如下(可以用 ./configure --help 查看帮助):
--prefix=/usr/local/httpd              安装路径
--sysconfdir=/etc/httpd                配置文件路径
--with-included-apr                    包含apr
--with-apr=/usr/local/apr              指定apr的安装路径
--with-apr-util=/usr/local/apr-util    指定apr-util的安装路径
--with-pcre=/usr/local/pcre            指定pcre的安装路径
--with-zlib                            支持数据包压缩
--enable-so                            允许运行时加载DSO模块
--enable-ssl                           编译ssl模块
--enable-cgi                           允许使用cgi脚本
--enable-rewrite                       支持URL重写机制
--enable-modules=most                  启用大多数常用的模块
--enable-mpms-shared=all               启用MPM所有支持的模式
--with-mpm=event                       默认使用event模式
编译安装过程需要一定时间,请耐心等待
[root@centos7 ~]# echo ‘export PATH="/usr/local/httpd/bin:$PATH"‘ > /etc/profile.d/httpd.sh
[root@centos7 ~]# .  /etc/profile.d/httpd.sh
[root@centos7 ~]# echo $PATH
/usr/local/httpd/bin:/usr/local/sbin:/usr/local/bin:/usr/sbin:/usr/bin:/root/bin
[root@centos7 ~]# echo "/usr/local/httpd/lib" > /etc/ld.so.conf.d/httpd.conf
[root@centos7 ~]# ldconfig
[root@centos7 ~]# ln -sv /usr/local/httpd/include /usr/include/httpd
‘/usr/include/httpd’ -> ‘/usr/local/httpd/include’
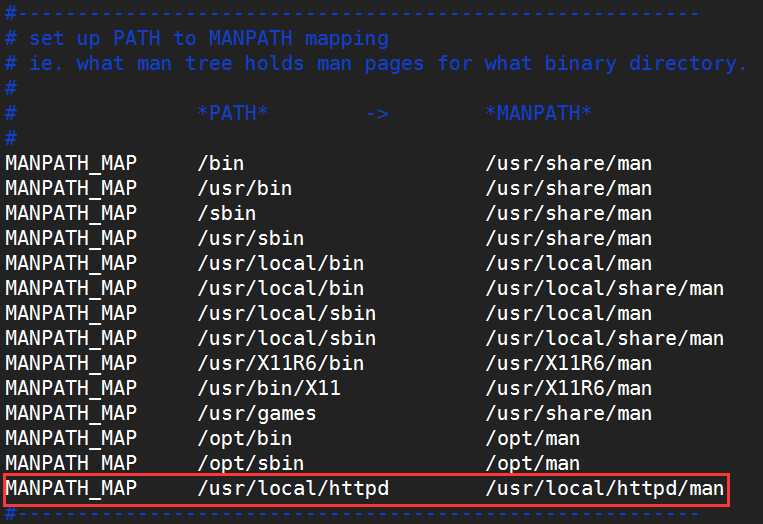
[root@centos7 ~]# vim /etc/man_db.conf
MANPATH_MAP     /usr/local/httpd        /usr/local/httpd/man

[root@centos7 ~]# apachectl start
[root@centos7 ~]# ss -tunl | grep :80
tcp    LISTEN     0      128      :::80                   :::*
关闭 firewalld 和 selinux
[root@centos7 ~]# systemctl stop firewalld
[root@centos7 ~]# systemctl disable firewalld
[root@centos7 ~]# setenforce 0
[root@centos7 ~]# sed -i ‘s/SELINUX=enforcing/SELINUX=disabled/‘ /etc/selinux/config
在浏览器输入 服务器地址

出现如上图所示则httpd服务已启动
至此,httpd 2.4的编译安装到此结束
标签:profile wget tar.gz $path 管理 vim alt 高性能 nbsp
原文地址:https://www.cnblogs.com/dugukeling/p/9448057.html