标签:jin 创建 记事本 ssh 火墙 运行 系统 inux clone
Git
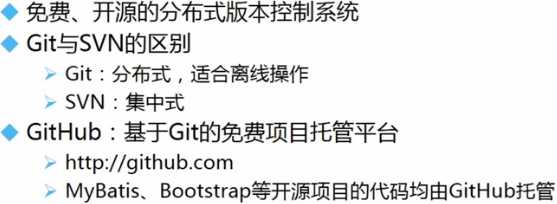
安装教程:https://jingyan.baidu.com/article/020278117cbe921bcc9ce51c.html
![]()
常用命令
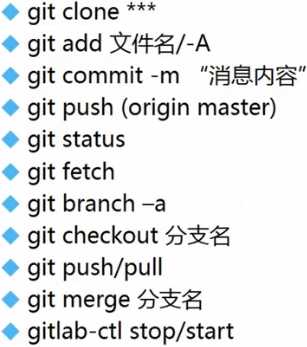

拷贝项目
git clone http://gitlab.xhd.com/mygroup/MyProject(项目仓库地址)
进入目录,查看项目状态
cd MyProject/
git status
添加文件并推送至GitLab
git add -A(添加所有,也可写文件名)
git commit -m "添加成功"(提示消息)
git push origin master(主干)
从GitLab获取分支
git fetch
查看所有分支
git branch -a
创建新的分支并推送至GitLab
git checkout -b branch2 origin/master(创建完成后切换至新分支)
git push origin branch2
GitLab

Linux安装GitLab
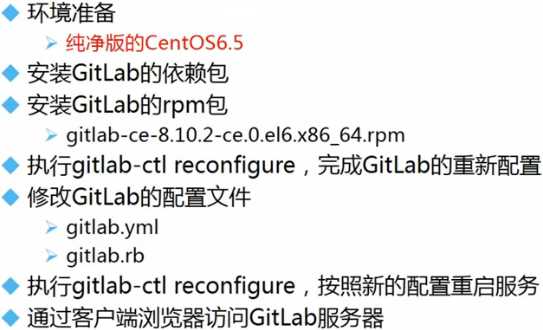
安装GitLab的依赖包
sudo yum install -y curl policycoreutils-python openssh-server cronie
在系统防火墙中打开HTTP和SSH访问
sudo lokkit -s http -s ssh
安装 Postfix 以发送通知邮件
sudo yum install -y postfix
sudo service postfix start
sudo chkconfig postfix on
将 gitlab-ce-8.10.2-ce.0.el6.x86_64.rpm 拷贝到/opt目录下
执行安装GitLab的rpm包
rpm -i /opt/gitlab-ce-8.10.2-ce.0.el6.x86_64.rpm
完成GitLab的重新配置
sudo gitlab-ctl reconfigure
修改GitLab的配置文件
vi /var/opt/gitlab/gitlab-rails/etc/gitlab.yml

vi /etc/gitlab/gitlab.rb

再次完成GitLab的重新配置
sudo gitlab-ctl reconfigure
主机连接GitLab
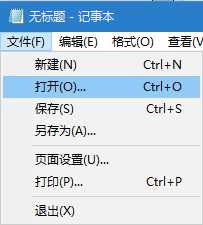
以管理员身份运行记事本
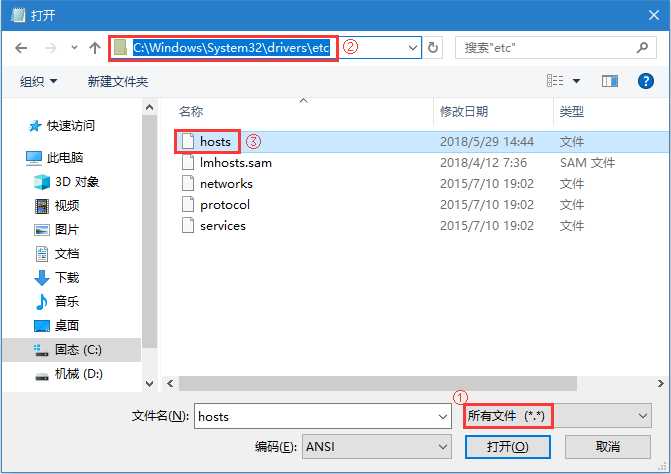

打开浏览器

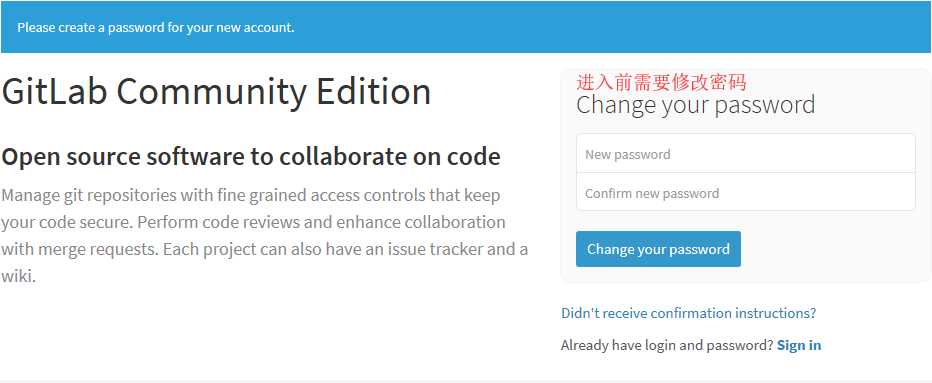
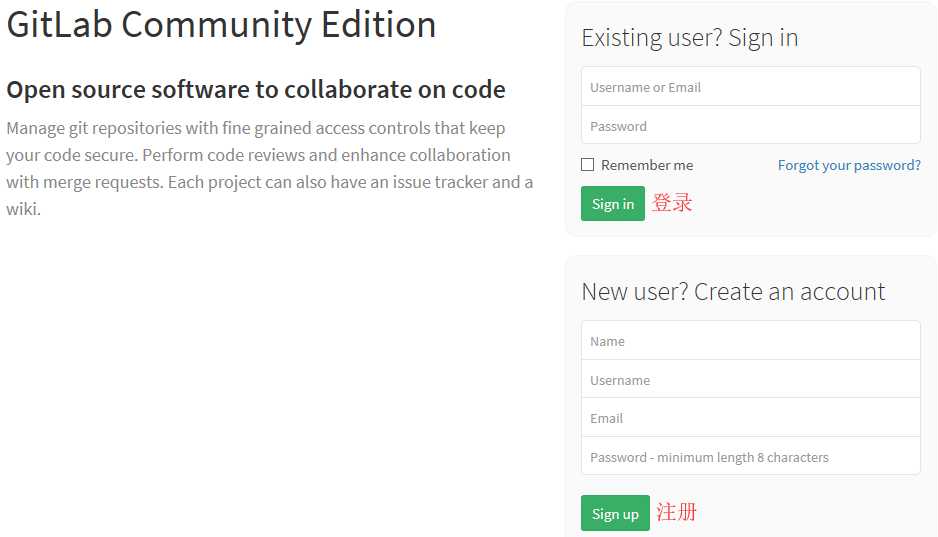
登陆后可以管理配置主干、分支和用户、组、项目仓库等
Bootstrap


标签:jin 创建 记事本 ssh 火墙 运行 系统 inux clone
原文地址:https://www.cnblogs.com/xhddbky/p/9492928.html