标签:拷贝 ott 说明 element back 获取 doc range border
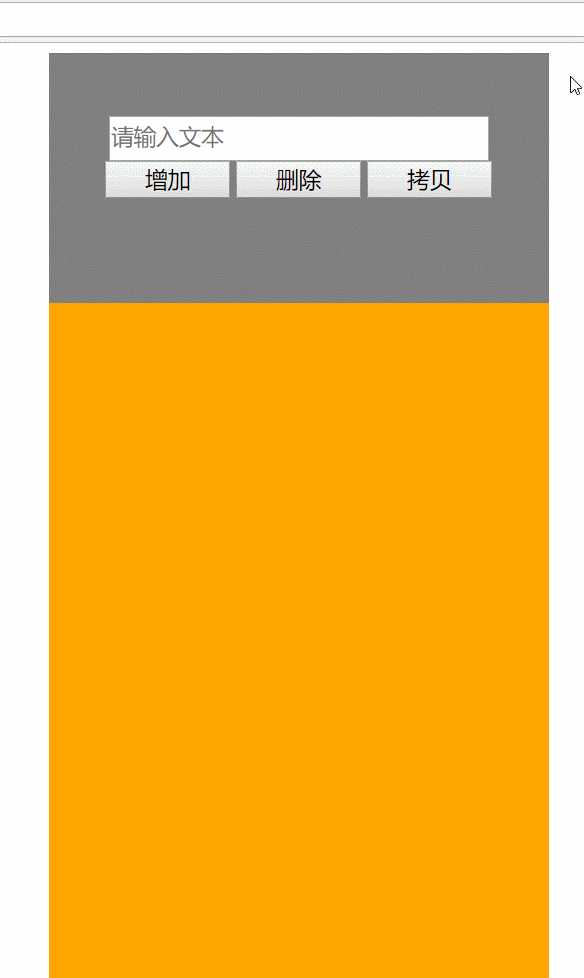
简单模拟评论效果
<!DOCTYPE html>
<html lang="en">
    <head>
        <meta charset="UTF-8">
        <title>模拟评论</title>
        <style>
            #div1{width: 400px; height: 200px; background-color: gray; text-align: center; margin: 0 auto;}
            #div2{width: 400px; height: 600px; background-color: orange; margin: 0 auto;}
            #div2 div{width: 400px; height: 20px; text-align: center; line-height: 20px; font-size: 16px; border-bottom: 1px dashed black; margin-top: 2px}
            #input1{width: 300px; height: 30px; margin-top: 50px; font-size: 18px}
            #div1 button{width: 100px; height: 30px; font-size: 18px}
        </style>
        <script>
            window.onload = function(){
                //获取元素节点
                var oDiv1 = document.getElementById(‘div1‘);
                var oDiv2 = document.getElementById(‘div2‘);
                var oInput = document.getElementById(‘input1‘);

                //获取三个按钮
                var aBtns = oDiv1.getElementsByTagName(‘button‘);

                //增加
                aBtns[0].onclick = function(){
                    var node = document.createElement(‘div‘);
                    node.innerHTML = oInput.value;//节点内容等于input输入框里的内容
                    node.style.backgroundColor = randomColor();//添加一个随机颜色
                    oDiv2.appendChild(node);//把节点node插入到oDiv2里最后
                }

                //删除
                aBtns[1].onclick = function(){
                    oDiv2.removeChild(oDiv2.lastElementChild);//在oDiv2元素节点里移除最后一个oDiv节点里的最后一个子节点
                }

                //拷贝
                aBtns[2].onclick = function(){
                    //拷贝最后一条记录
                    var node = oDiv2.lastElementChild.cloneNode(true);//传入参数 true 说明完全克隆拷贝

                    oDiv2.appendChild(node);//把节点node插入到oDiv2里最后
                }
            }


            /*-------------封装随机颜色函数--------*/


                function randomColor(){
                    var str = "rgba(" + parseInt(Math.random() * 256) + "," + parseInt(Math.random() * 256) + "," + parseInt(Math.random() * 256) + ",1)";
                    return str;
                }


            /*-------------封装随机颜色函数end--------*/


        </script>
    </head>
    <body>
        <div id = ‘div1‘>
            <input type="text" placeholder="请输入文本" id = ‘input1‘ /><br/>
            <button>增加</button>
            <button>删除</button>
            <button>拷贝</button>
        </div>
        <div id = ‘div2‘>
            <!-- <div>ssss</div>
            <div>ssdadad</div> -->
        </div>
    </body>
</html>
浏览器效果:

标签:拷贝 ott 说明 element back 获取 doc range border
原文地址:https://www.cnblogs.com/taohuaya/p/9589140.html