标签:item col 阶段 显示 php 页面切换 点击 此刻 还需要
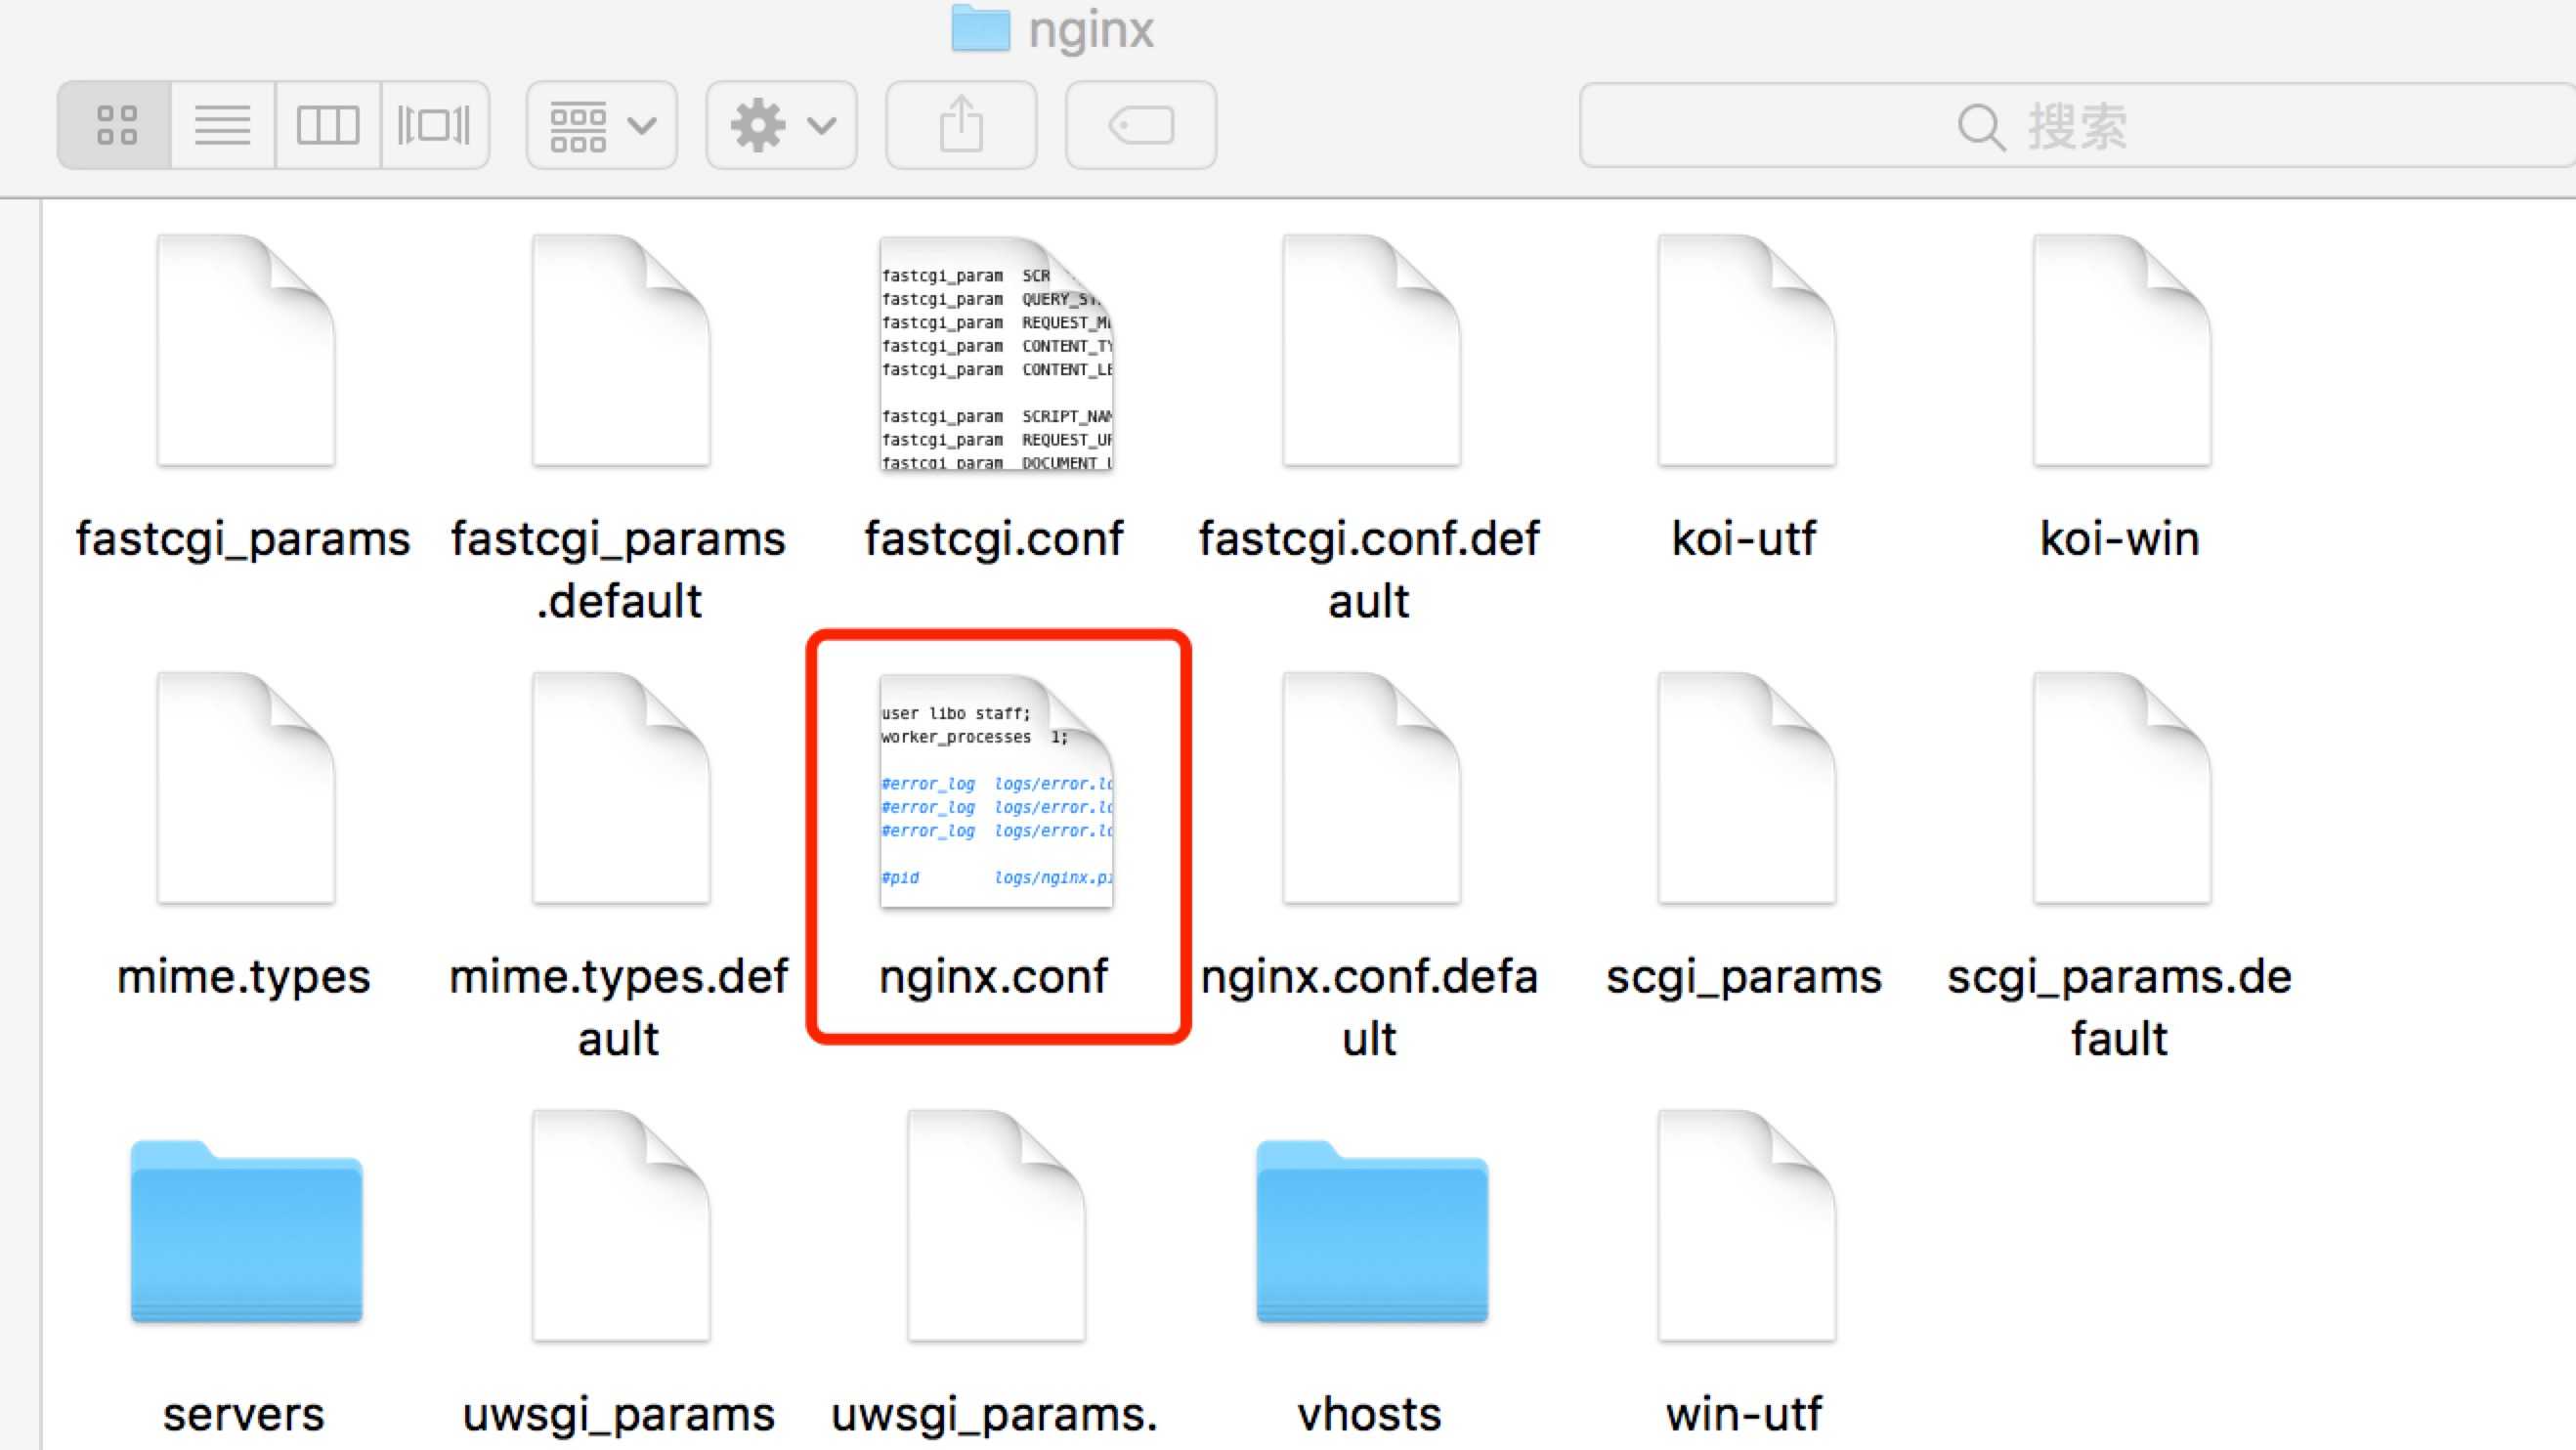
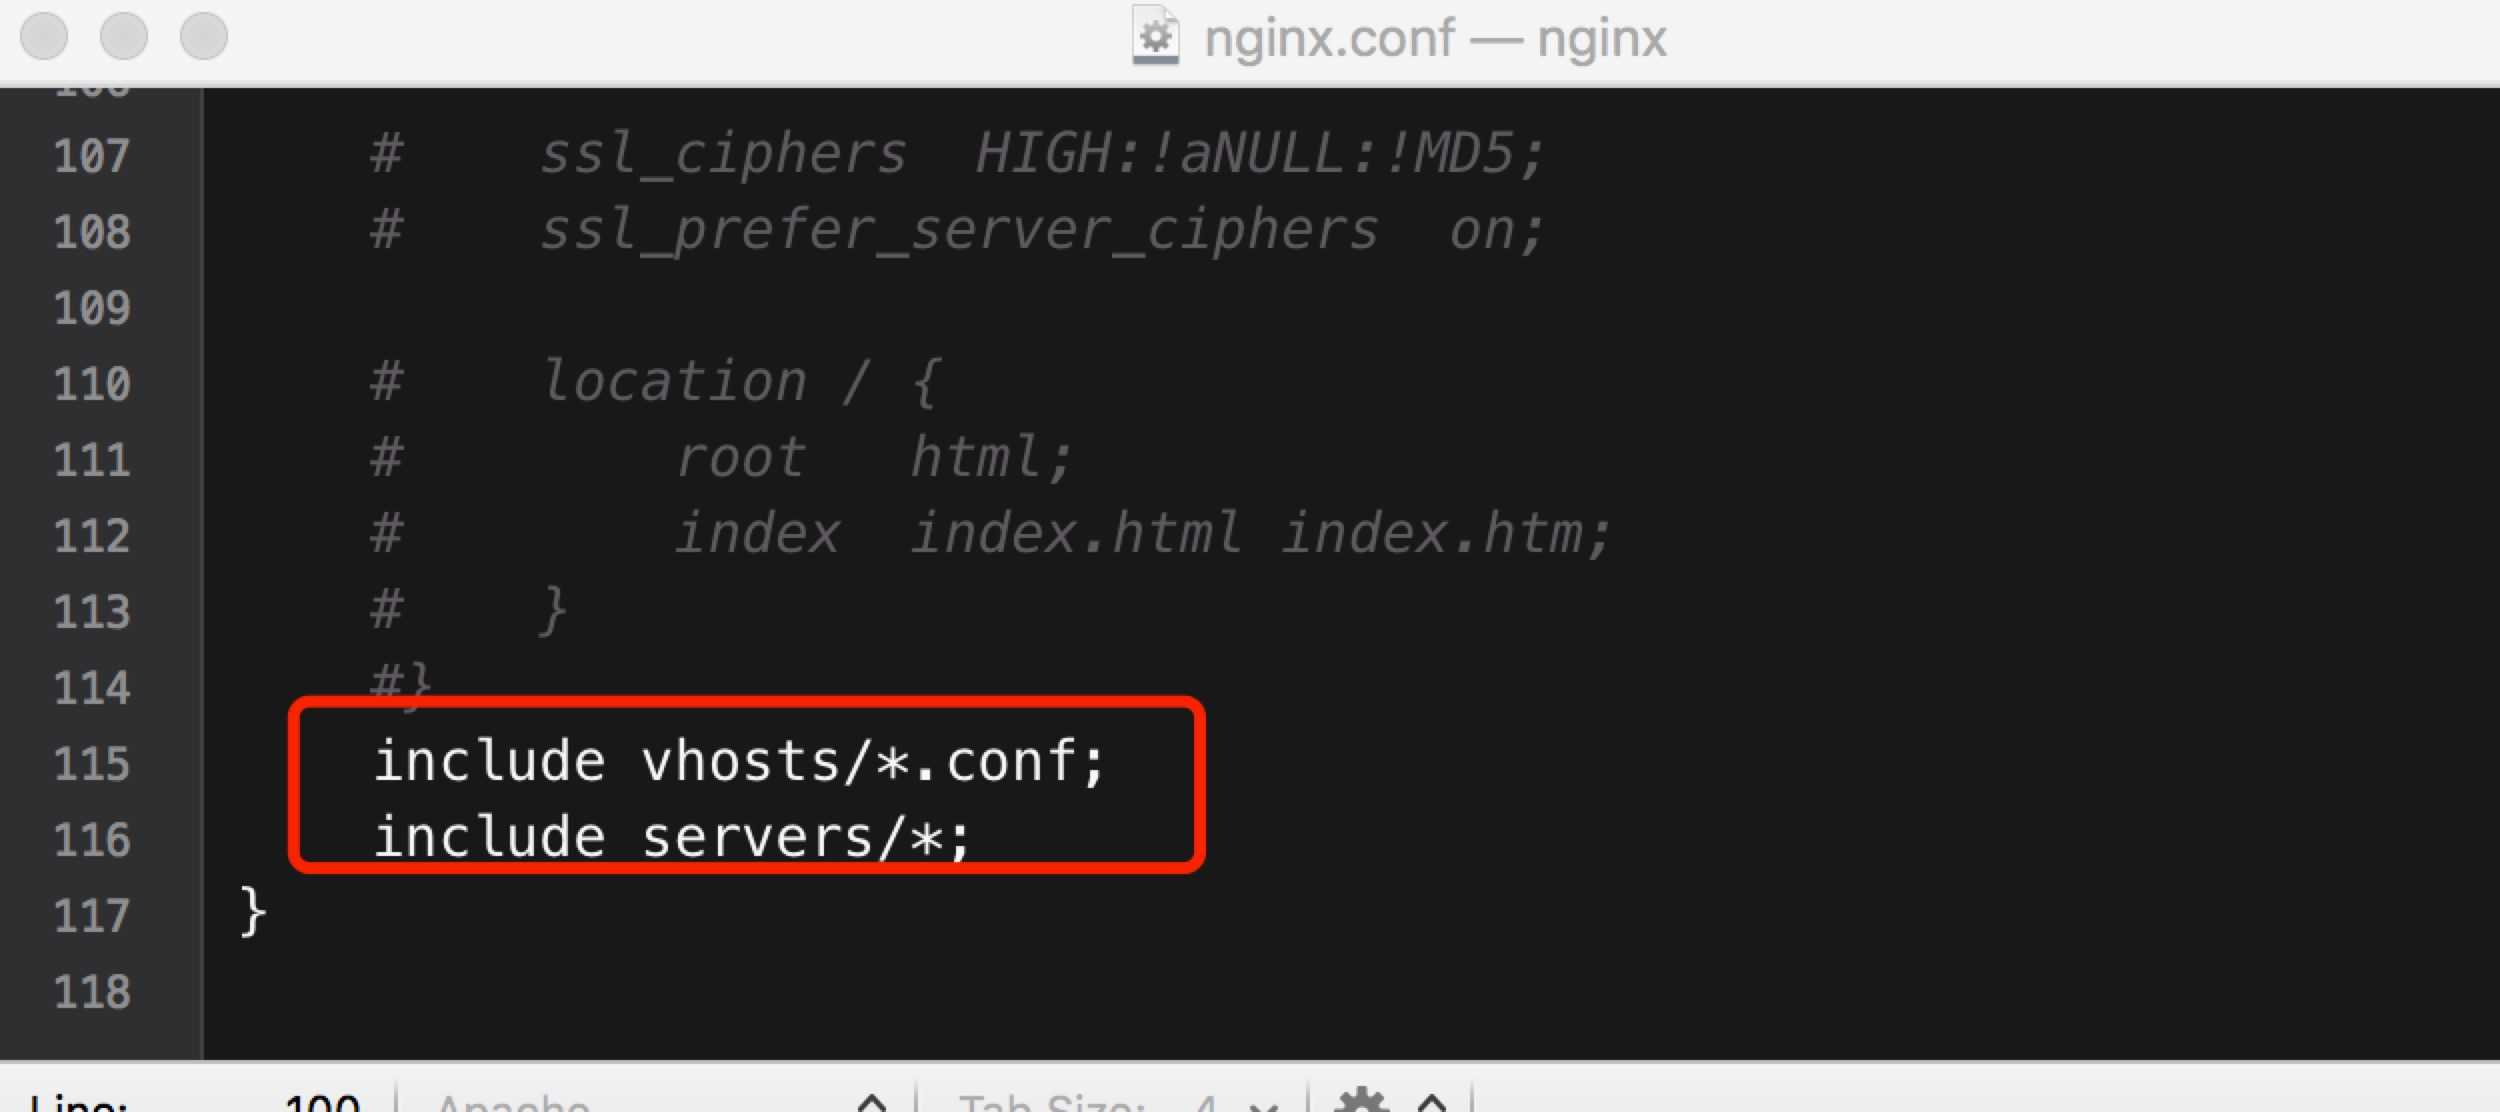
最近自己在写一个vue的小型管理系统,在浏览器中看到的路由都是带有#的,很是不好看。为了解决此问题,大家一般都会想到:mode: ‘history‘。可是在开发阶段没有问题,但是一旦build打包后,访问并刷新浏览器后,页面就会报404的错误,为了解决打包后刷新浏览器报404的问题,如果使用nginx的话,还需要做如下配置。下面贴出完整的解决方案。
在new Router()的下一行添加上:mode: ‘history‘,
import Vue from ‘vue‘
import Router from ‘vue-router‘
import Utils from ‘@/js/utils.js‘
import Login from ‘@/components/Login‘
import PerInfo from ‘@/components/perInfo/perInfo‘
import Home from ‘@/components/Home‘
import Dashboard from ‘@/components/Dashboard‘
import UserList from ‘@/components/user/userList‘
import UserAdd from ‘@/components/user/userAdd‘

Vue.use(Router)

const router = new Router({
  mode: ‘history‘,  //去掉url中的#
  routes: [
    {
      path: ‘/‘,
      name: ‘home‘,
      component: Home,
      redirect: ‘/login‘,
      // iconCls: ‘iconfont icon-home‘,  //图标样式class
      children: [
        {path: ‘/home‘, component: Dashboard, name: ‘首页‘}
      ]
    },
    {
      path: ‘/login‘,
      name: ‘登录‘,
      component: Login
    },
    {
      path: ‘/home‘,
      name: ‘仪表盘‘,
      component: Dashboard
    },
    {
      path: ‘/user‘,
      component: Home,
      name: ‘用户管理‘,
      children: [
        {path: ‘/user/list‘, component: UserList, name: ‘用户列表‘},
        {path: ‘/user/add‘, component: UserAdd, name: ‘添加用户‘}
      ]
    },
    {
      path: ‘/‘,
      component: Home,
      name: ‘系统设置‘,
      children:[
        {path: ‘/setting/perInfo‘, component: PerInfo, name: ‘个人信息‘}
      ]
    }
  ]
})

router.beforeEach((to, from, next) => {
  console.log(‘开始页面切换‘);
  console.log(to.fullPath)
  var tempId = Utils.getCookie(‘temp-id‘);
  var userInfo = sessionStorage.getItem(‘ssm_u_info‘);
  if(to.fullPath != ‘/login‘ && (tempId == null || tempId == ‘‘ || userInfo == null || userInfo == ‘‘)){
    window.location.href = ‘/login‘;
  }
  next();
});

export default router
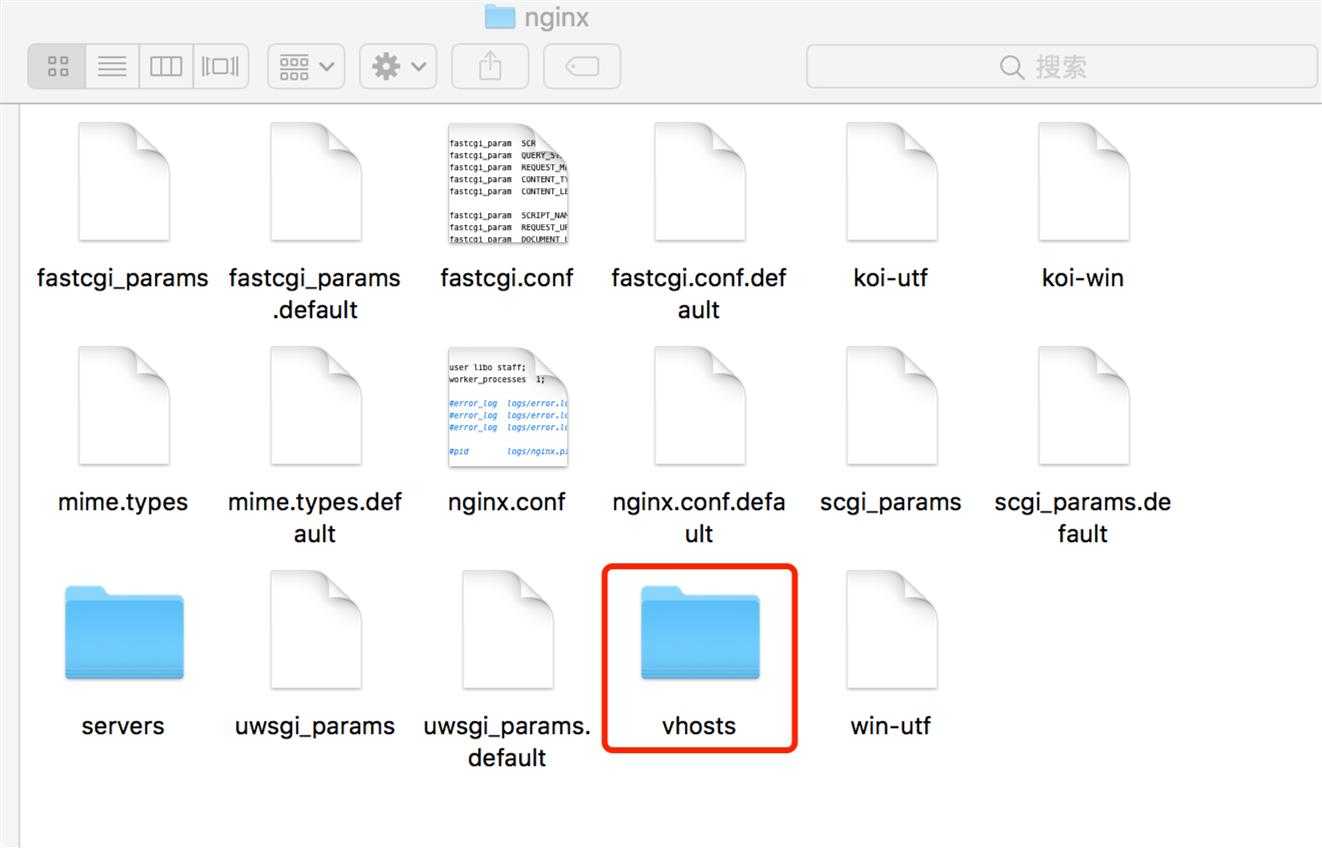
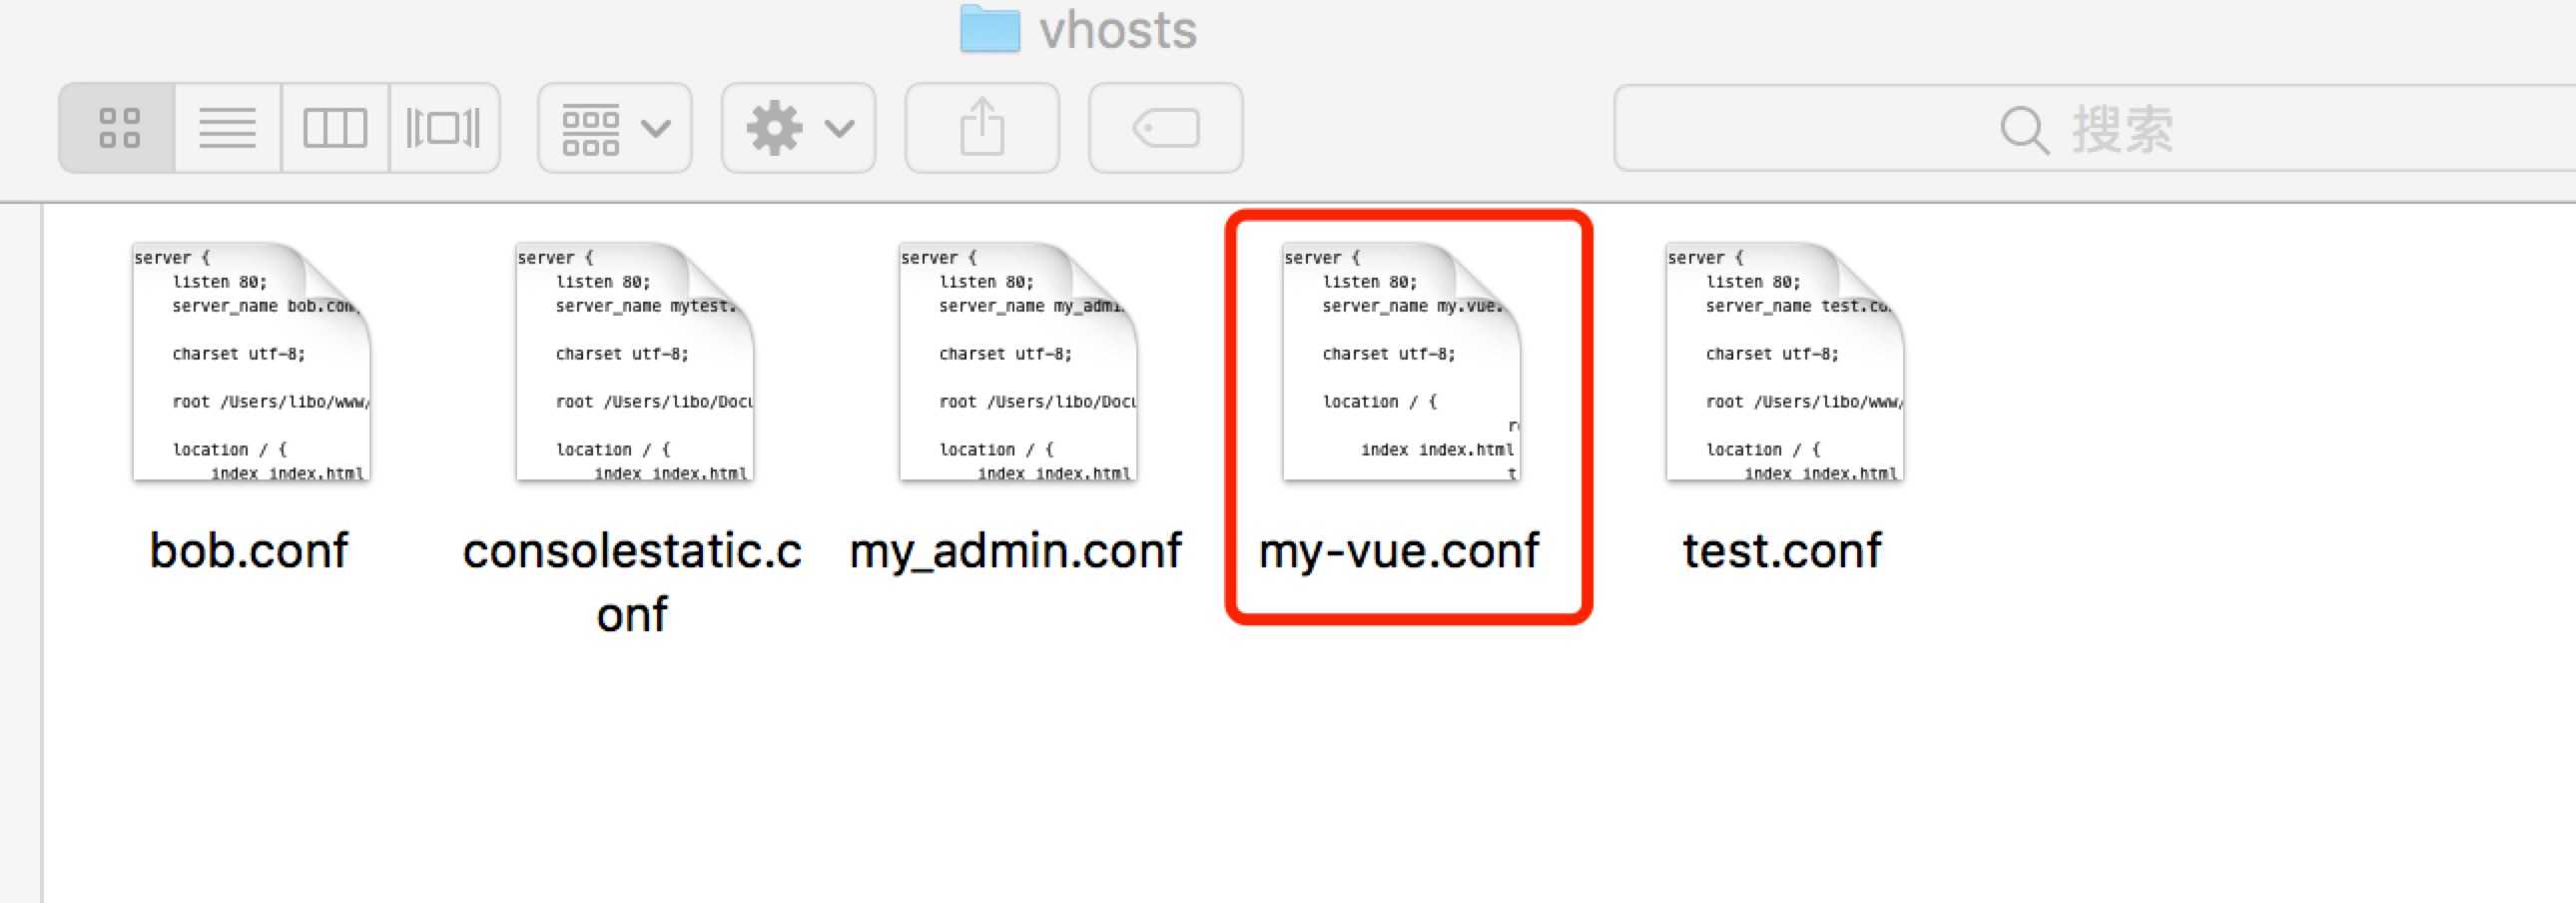
my-vue.conf文件内容:
server {
    listen 80;
    server_name my.vue.com;

    charset utf-8;

    location / {
        root /Users/libo/Documents/workspace/Vue-me/my-project/dist;
        index index.html index.htm index.php;
        try_files $uri $uri/ /index.html;
    }

    location ^~ /ssm_project/ {
        proxy_pass http://127.0.0.1:8081;
        proxy_cookie_path /127.0.0.1:8081/ /;
         proxy_pass_header Set-Cookie;
        proxy_set_header Host 127.0.0.1:8081;
    }
}
在/private/etc下的hosts文件添加如下内容:
127.0.0.1 my.vue.com
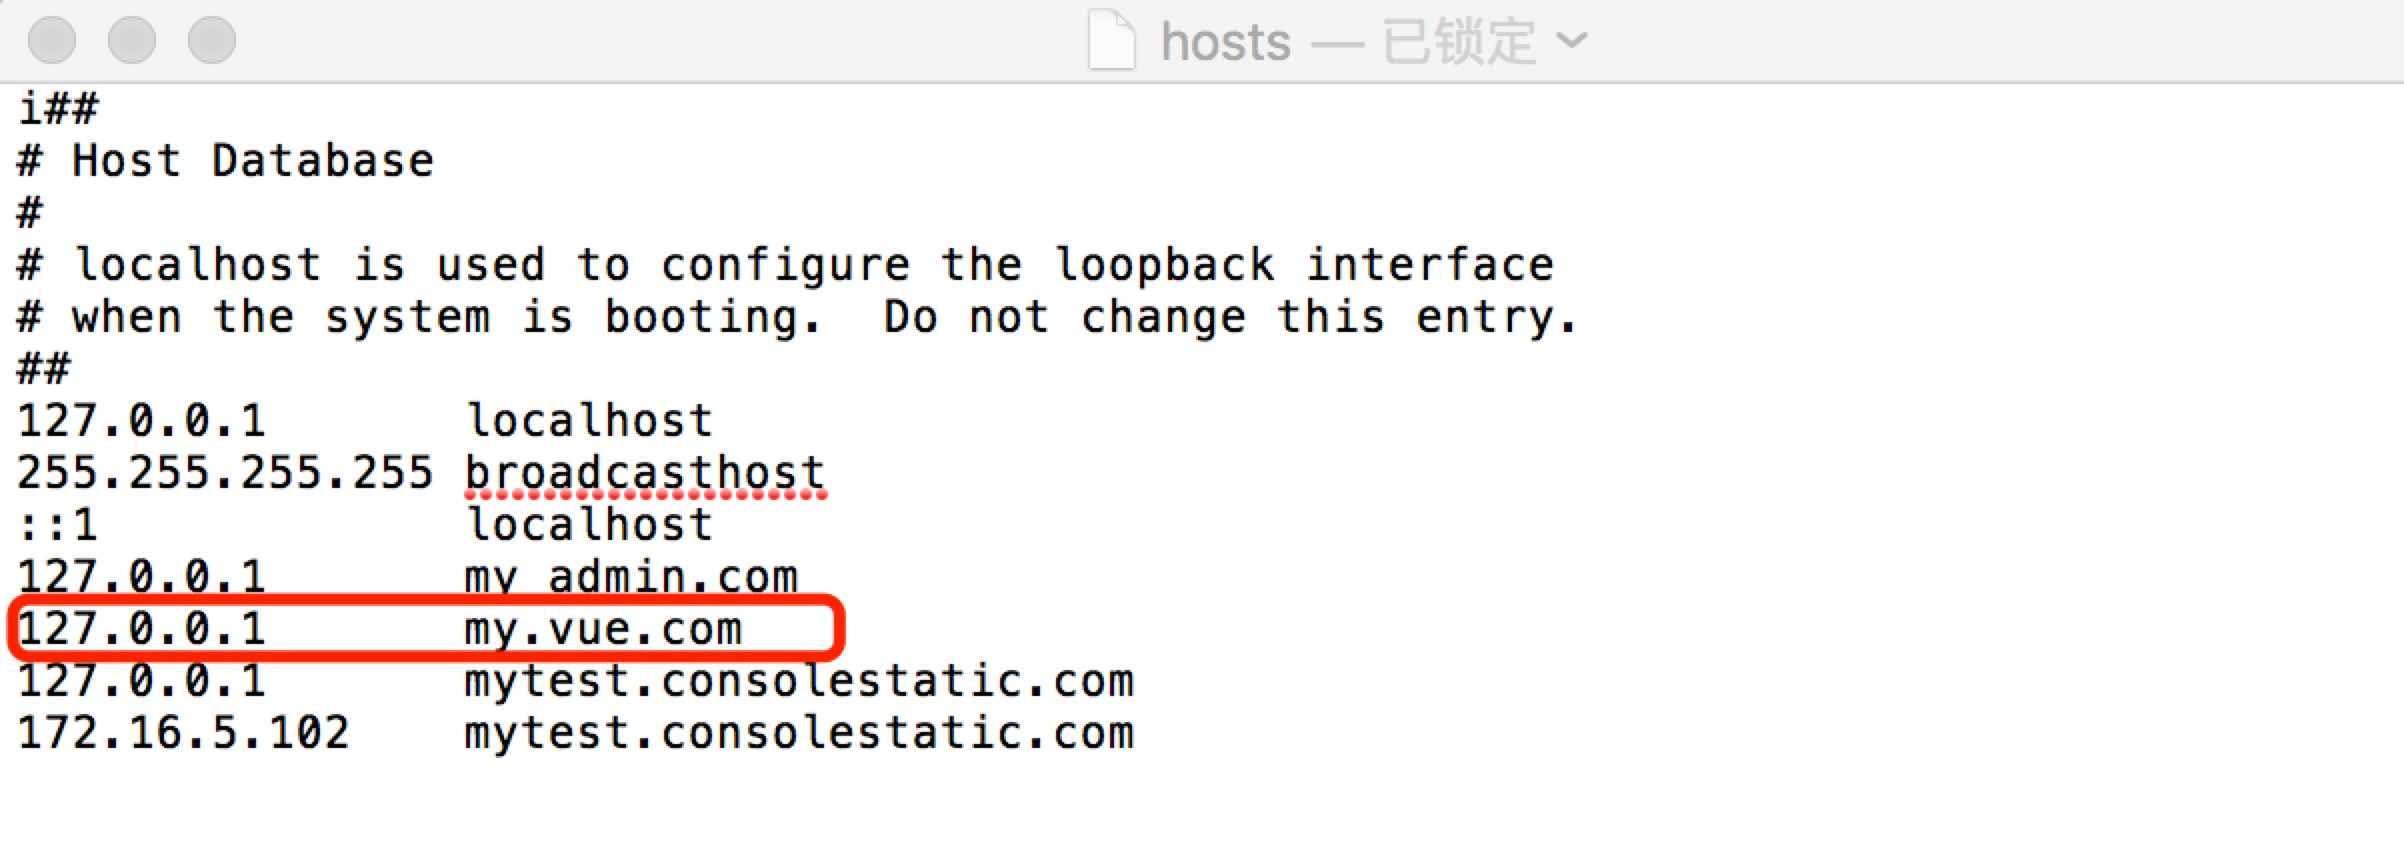
在命令行执行sudo nginx命令,以启动nginx服务,即可访问,在浏览器中输入my.vue.com,回车后页面如下
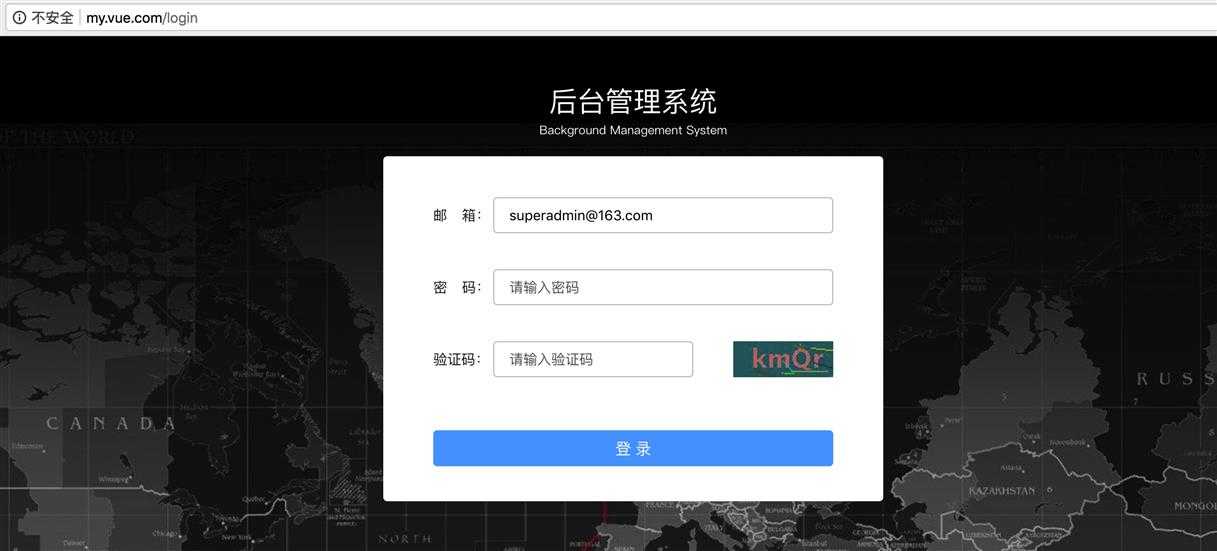
登录系统,点击用户列表菜单:
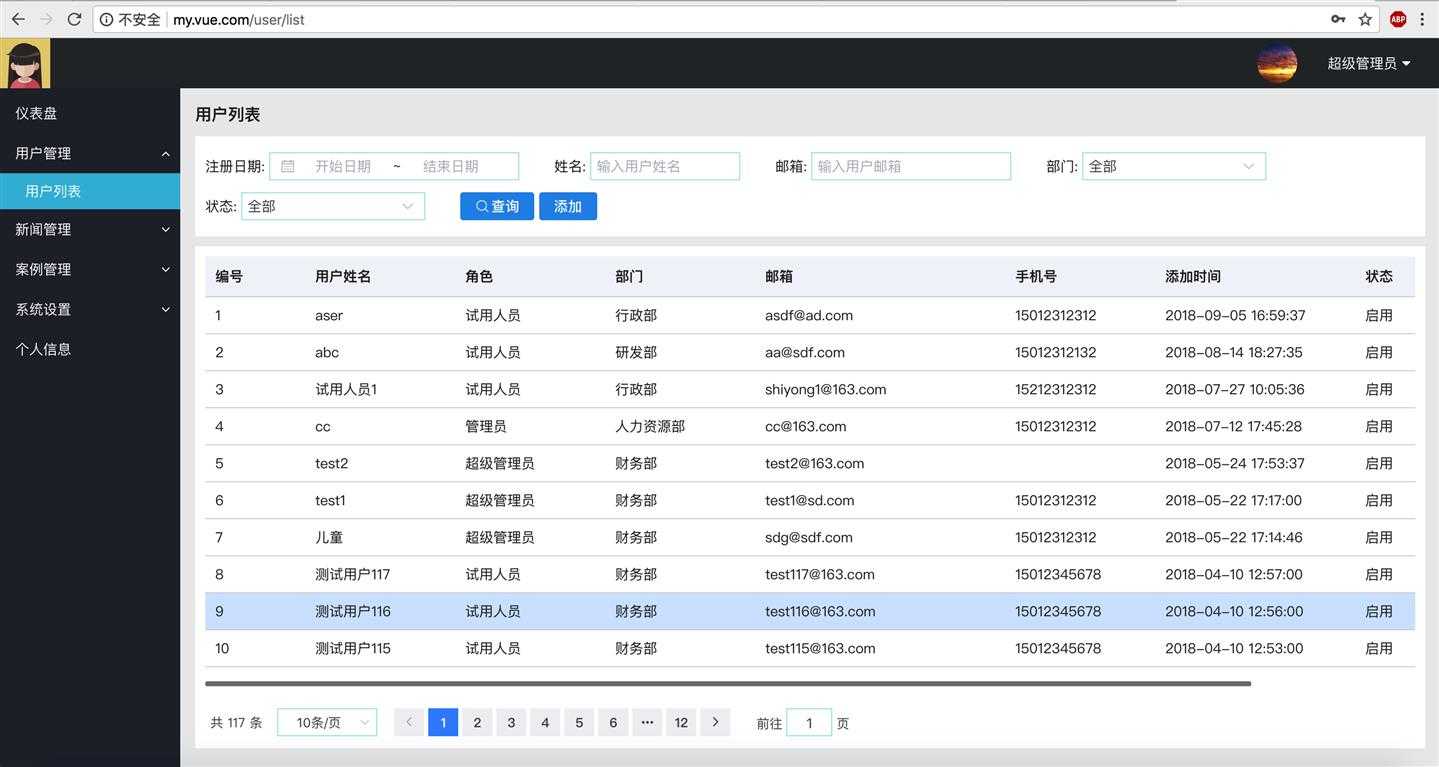
此时此刻,无论当前路由显示的是在登录页还是其他页面,再刷新浏览器,页面也不会报404了,大功告成!
标签:item col 阶段 显示 php 页面切换 点击 此刻 还需要
原文地址:https://www.cnblogs.com/libo0125ok/p/9593741.html