标签:des style blog http color io os 使用 ar
beamercn.tex
  1 \documentclass[CJK]{beamer}
  2
  3 %% Copyright 2004 by Yu Haijun <yhj@math.pku.edu.cn>
  4 %%
  5 %% 这个文件的目的使为了给大家提供一个使用beamer的快速模板
  6
  7 %%% Local Variables:
  8 %%% mode: latex
  9 %%% TeX-master: t
 10 %%% End:
 11
 12 \mode<article> % 仅应用于article版本
 13 {
 14   \usepackage{beamerbasearticle}
 15   \usepackage{fullpage}
 16   \usepackage{hyperref}
 17 }
 18
 19 %% 下面的包控制beamer的风格,可以根据自己的爱好修改
 20 %\usepackage{beamerthemesplit}   % 使用split风格
 21 \usepackage{beamerthemeshadow}  % 使用shadow风格
 22 \usepackage[width=2cm,dark,tab]{beamerthemesidebar}
 23
 24
 25 %% 这些包是可能会用到的,不必修改
 26 \usepackage{CJK}
 27 \usepackage{pgf,pgfarrows,pgfnodes,pgfautomata,pgfheaps}
 28 \usepackage{amsmath,amssymb}
 29 \usepackage{graphicx}
 30 \usepackage{multimedia}
 31
 32 %% 下面的代码用来读入Logo图象
 33 \pgfdeclaremask{logomask}{pku-tower-lake-mask}
 34 \pgfdeclareimage[mask=logomask,width=1.8cm]{logo}{pku-tower-lake}
 35
 36 \pgfdeclaremask{beidamask}{beida-mark-mask}
 37
 38 \pgfdeclaremask{titlemask}{pku-lake2-mask}
 39 \pgfdeclareimage[mask=titlemask,height=2.5cm]{title}{pku-lake2}
 40 \logo{\vbox{\hbox{\pgfuseimage{logo}\hfill}}} %设置logo图标
 41
 42 %% 定义一些自选的模板,包括背景、图标、导航条和页脚等,修改要慎重
 43 \beamertemplateshadingbackground{red!10}{structure!10}
 44 %\beamertemplatesolidbackgroundcolor{white!90!blue}
 45 \beamertemplatetransparentcovereddynamic
 46 \beamertemplateballitem
 47 \beamertemplatenumberedballsectiontoc
 48 %\beamertemplatelargetitlepage
 49 \beamertemplateboldpartpage
 50
 51 %% \makeatletter
 52 %% \usefoottemplate{ %重新定义页脚,加入作者,单位,单位图标,和文档标题
 53 %%   \vbox{\tiny%
 54 %%     \hbox{%
 55 %%       \setbox\beamer@linebox=\hbox to\paperwidth{%
 56 %%         \hbox to.5\paperwidth{\hfill\tiny\color{white}\textbf{\insertshortauthor\quad\insertshortinstitute}\hskip.1cm\lower 0.35em\hbox{\pgfuseimage{beida}}\hskip.3cm}%
 57 %%         \hbox to.5\paperwidth{\hskip.3cm\tiny\color{white}\textbf{\insertshorttitle}\hfill}\hfill}%
 58 %%       \ht\beamer@linebox=2.625ex%
 59 %%       \dp\beamer@linebox=0pt%
 60 %%       \setbox\beamer@linebox=\vbox{\box\beamer@linebox\vskip1.125ex}%
 61 %%       \color{structure}\hskip-\Gm@lmargin\vrule width.5\paperwidth
 62 %%       height\ht\beamer@linebox\color{structure!70}\vrule width.5\paperwidth
 63 %%       height\ht\beamer@linebox\hskip-\paperwidth%
 64 %%       \hbox{\box\beamer@linebox\hfill}\hfill\hskip-\Gm@rmargin}
 65 %%   }
 66 %% }
 67 %% \makeatother
 68
 69 %\beamersetuncovermixins% 改变遮挡部分在遮挡前后的透明程度
 70 %{\opaqueness<1>{15}\opaqueness<2>{10}\opaqueness<3>{85}\opaqueness<4->{2}}%
 71 %{\opaqueness<1->{15}}%
 72
 73
 74
 75 %%
 76 %% 自己的预定义命令和宏放在这里
 77 %%
 78
 79
 80
 81 %%
 82 %% 文档从这里正式开始
 83 %%   使用\part,\section,\subsection等命令组织文档结构
 84 %%   使用\frame命令制作幻灯片
 85 %%
 86
 87 \begin{document}
 88 \begin{CJK*}{GBK}{fs}
 89
 90
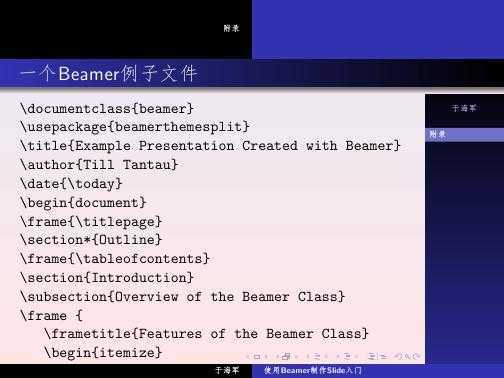
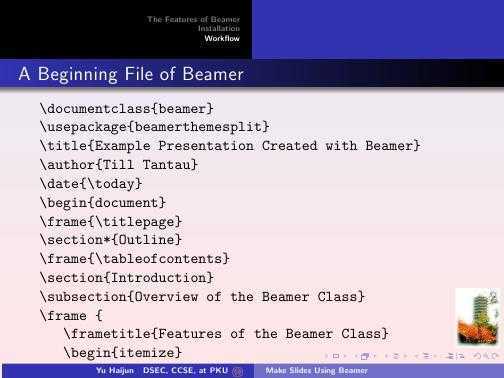
 91 \defverbatim\beamerEX{
 92 \begin{verbatim}
 93 \documentclass{beamer}
 94 \usepackage{beamerthemesplit}
 95 \title{Example Presentation Created with Beamer}
 96 \author{Till Tantau}
 97 \date{\today}
 98 \begin{document}
 99 \frame{\titlepage}
100 \section*{Outline}
101 \frame{\tableofcontents}
102 \section{Introduction}
103 \subsection{Overview of the Beamer Class}
104 \frame {
105    \frametitle{Features of the Beamer Class}
106    \begin{itemize}
107        \item<1-> Normal LaTeX class.
108        \item<2-> Easy overlays.
109        \item<3-> No external programs needed.
110    \end{itemize}
111 }
112 \end{document}
113 \end{verbatim}
114 }
115
116
117 %%
118 %% 填写作者,单位,日期,标题等文档信息
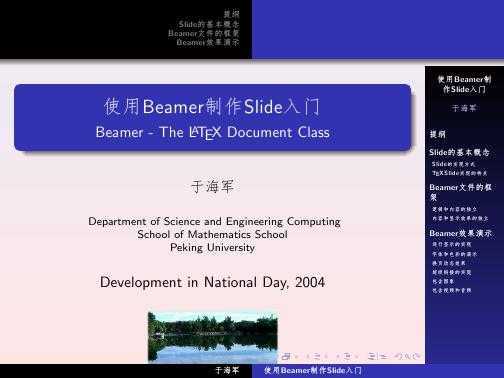
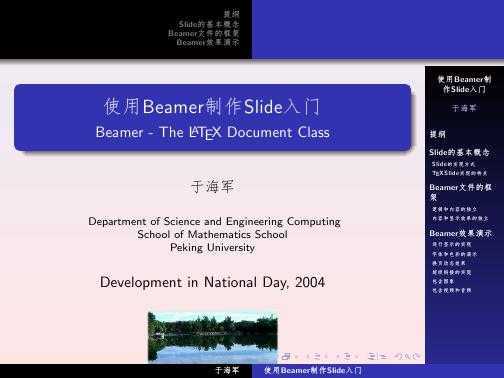
119 %%
120 \title{使用Beamer制作Slide入门}
121 \subtitle{Beamer - The~\LaTeX~Document~Class}
122 \author{于海军}
123
124 \institute[DSEC, CCSE, at PKU]{
125   Department of Science and Engineering Computing\126   School of Mathematics School\127   Peking University
128 }
129 \date[ND,2004]{Development in National Day, 2004}
130 \subject{Computer Tools, TeX, Slide}
131 \titlegraphic{\pgfuseimage{title}}
132
133 %%
134 %% 定义框架页
135 %%
136 \AtBeginSection[]{                              % 在每个Section前都会加入的Frame
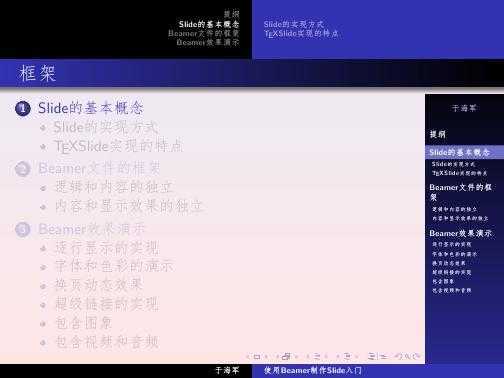
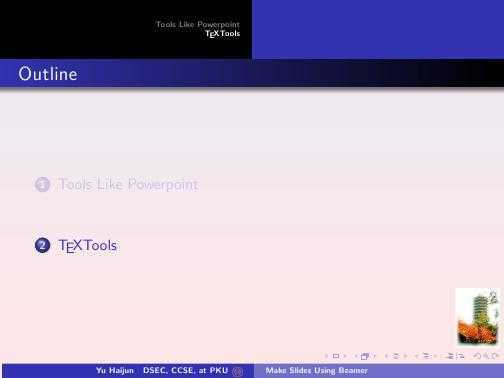
137   \frame<handout:0>{
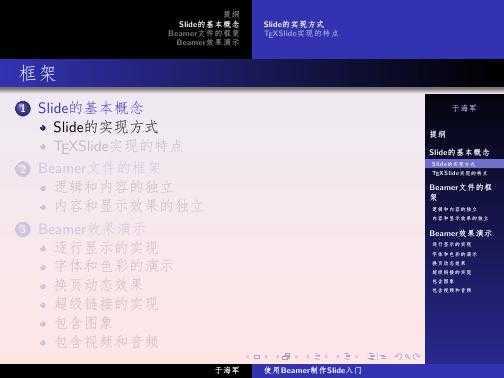
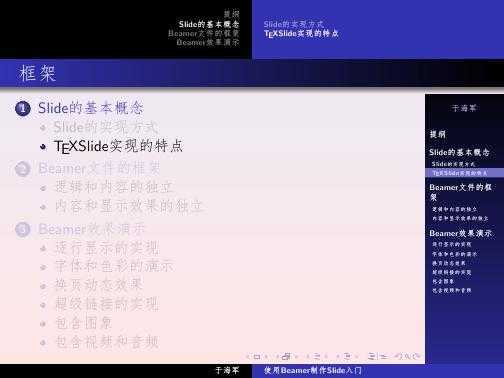
138     \frametitle{框架}
139     \tableofcontents[current,currentsubsection]
140   }
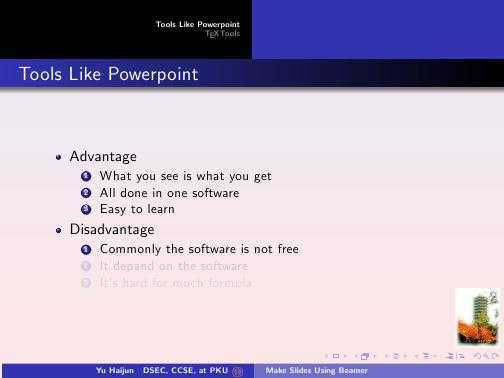
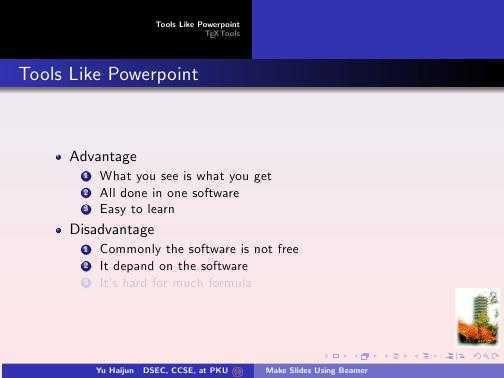
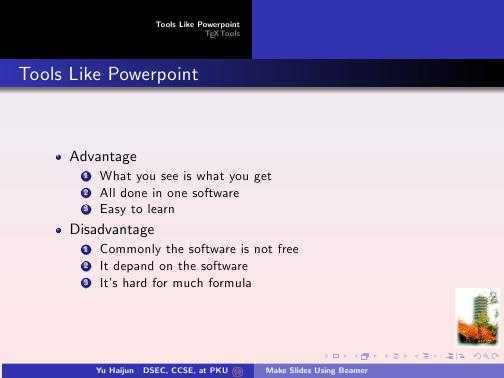
141 }
142 \AtBeginSubsection[]                            % 在每个子段落之前
143 {
144   \frame<handout:0>                             % handout:0 表示只在手稿中出现
145   {
146     \frametitle{框架}
147     \tableofcontents[current,currentsubsection] % 显示在目录中加亮的当前章节
148   }
149 }
150
151
152
153 \frame{\titlepage}
154
155 \section*{提纲}               % section后面加*表示不收录到目录中
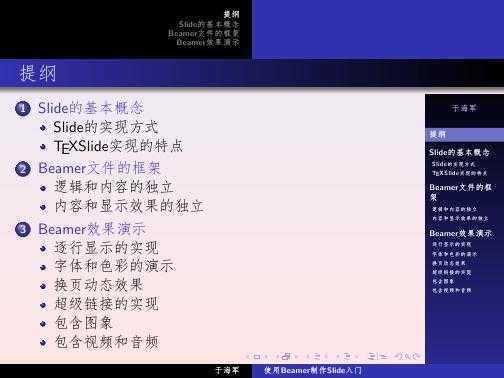
156 \frame
157 {
158   \frametitle{\secname}
159   \tableofcontents            % 使用这个命令自动生成目录
160 }
161
162
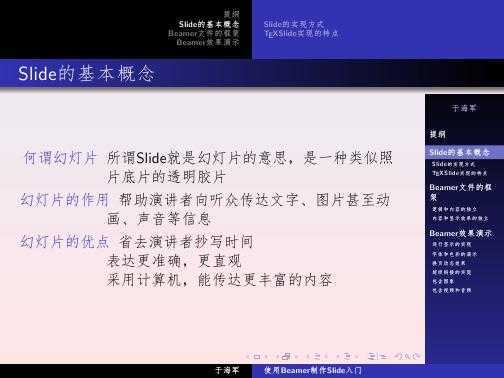
163 \section{Slide的基本概念}
164
165 \frame{
166   \frametitle{\secname}
167   \begin{description}
168   \item[何谓幻灯片]
169     所谓Slide就是幻灯片的意思,是一种类似照片底片的透明胶片
170   \item[幻灯片的作用]
171     帮助演讲者向听众传达文字、图片甚至动画、声音等信息
172   \item[幻灯片的优点]
173     省去演讲者抄写时间\174     表达更准确,更直观\175     采用计算机,能传达更丰富的内容
176   \end{description}
177 }
178
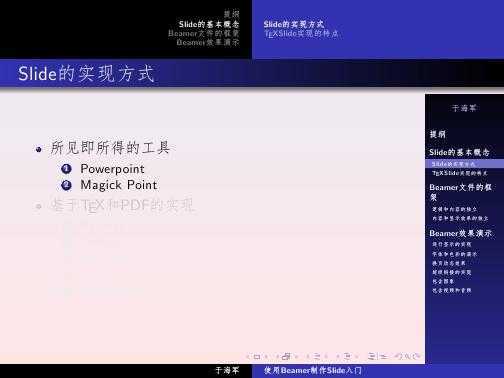
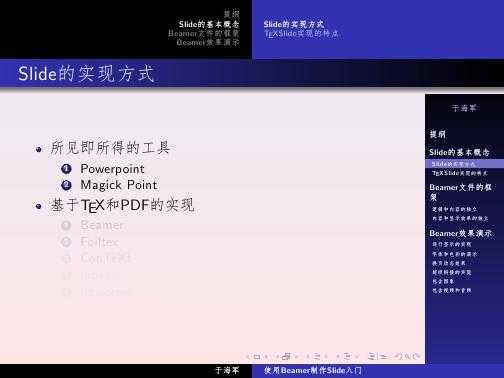
179 \subsection{Slide的实现方式}
180
181 \frame
182 {
183   \frametitle{\subsecname}
184   \begin{itemize}
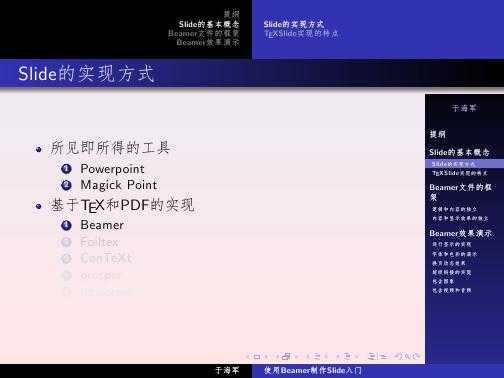
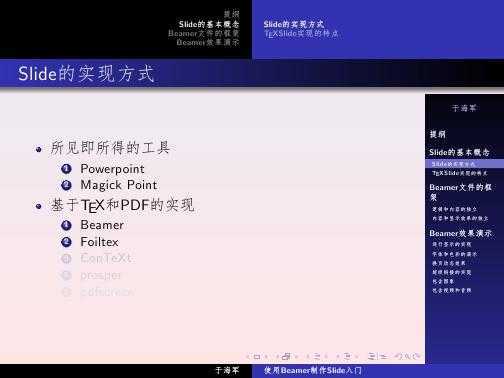
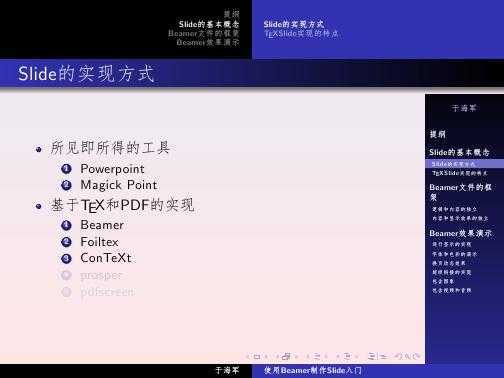
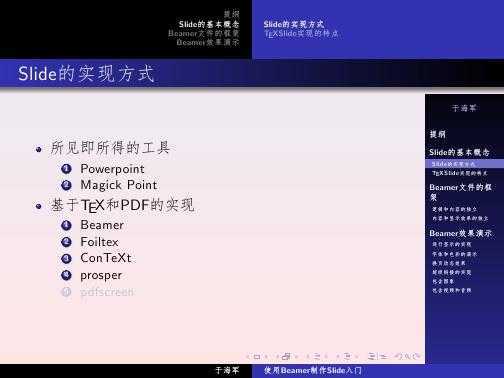
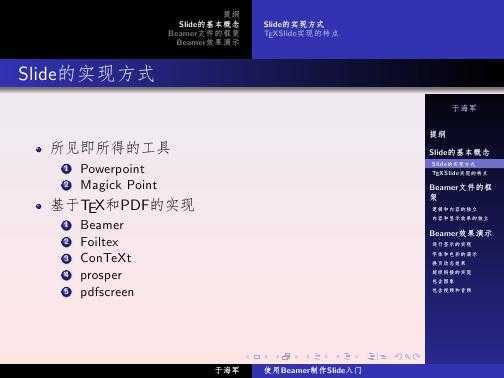
185   \item<+-> 所见即所得的工具
186     \begin{enumerate}
187     \item Powerpoint
188     \item Magick Point
189     \end{enumerate}
190   \item<+-> 基于\TeX 和PDF的实现
191     \begin{enumerate}[<+->]
192     \item Beamer
193     \item Foiltex
194     \item ConTeXt
195     \item prosper
196     \item pdfscreen
197     \end{enumerate}
198   \end{itemize}
199
200 }
201
202 \subsection{\TeX Slide实现的特点}
203
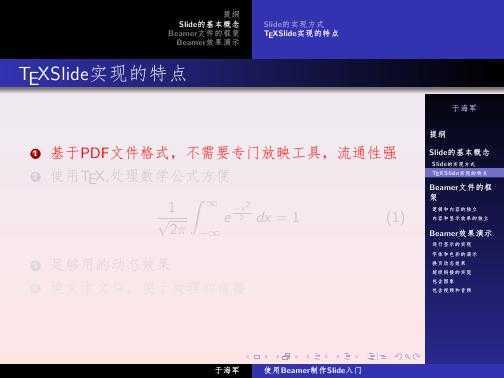
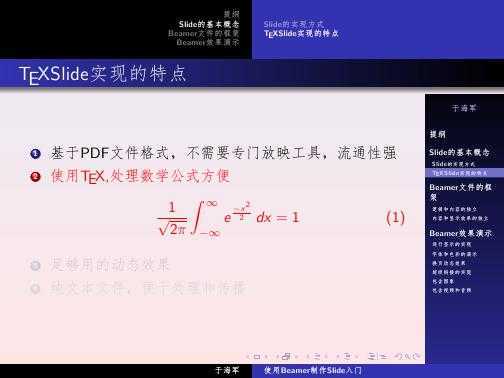
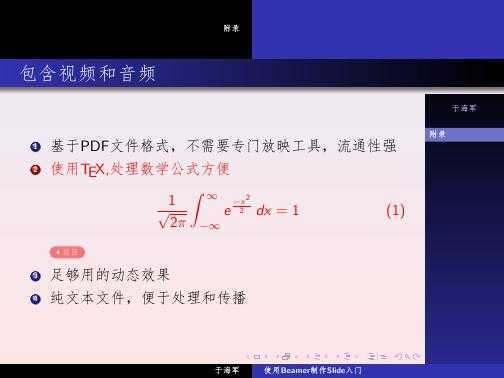
204 \frame<1-4>[<+-| alert@+>][label=math]
205 {
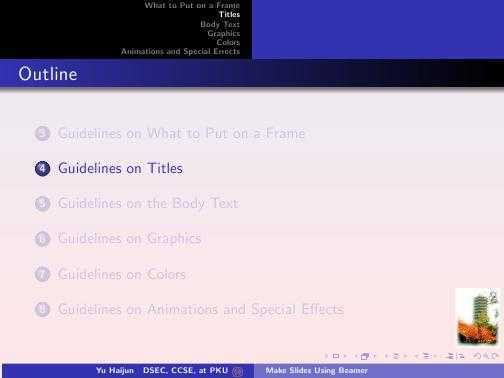
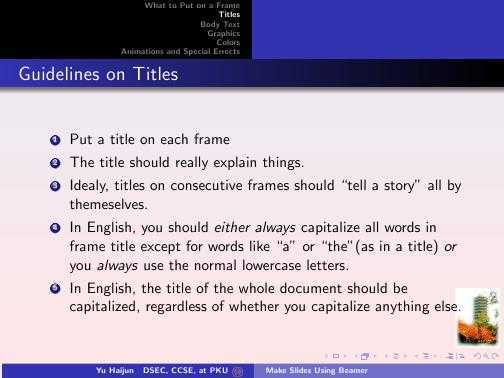
206   \frametitle{\subsecname}
207   \begin{enumerate}
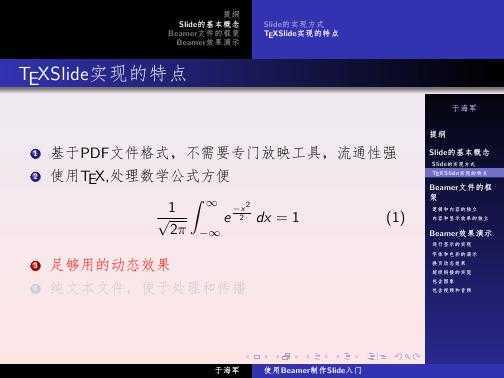
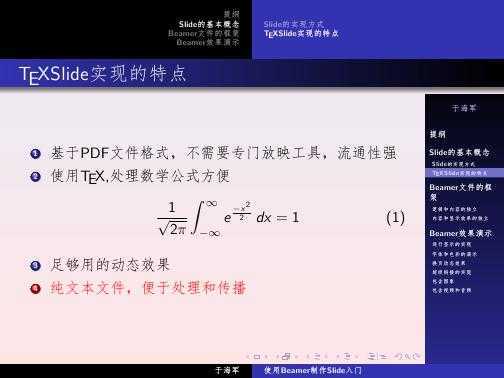
208   \item 基于PDF文件格式,不需要专门放映工具,流通性强
209   \item<+-| alert@2,5> 使用\TeX,处理数学公式方便
210     \begin{equation}
211       \label{eq1}
212       \frac{1}{\sqrt{2\pi}}\int_{-\infty}^{\infty}e^{- {x^2} \over 2}\,dx = 1
213     \end{equation}
214     \only<5>{\hyperlink{jumptofifth}{\beamerreturnbutton{返回}}}
215   \item 足够用的动态效果
216   \item 纯文本文件,便于处理和传播
217   \end{enumerate}
218 }
219
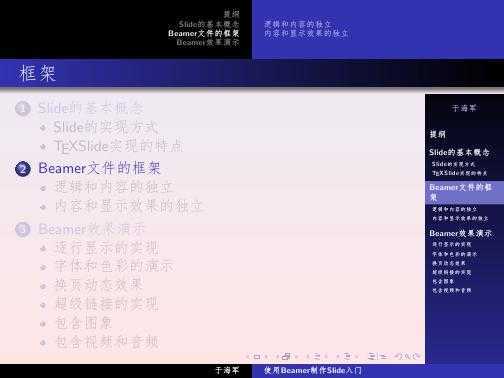
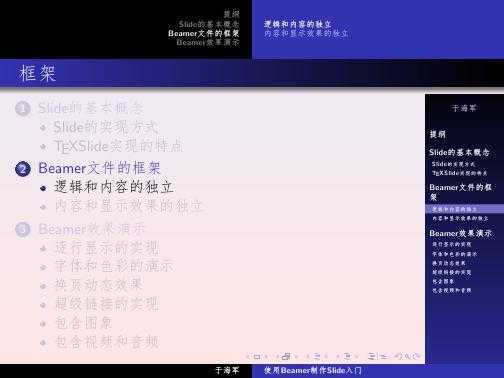
220 \section{Beamer文件的框架}
221
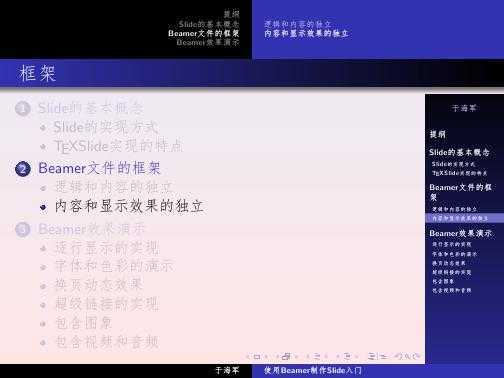
222 \subsection{逻辑和内容的独立}
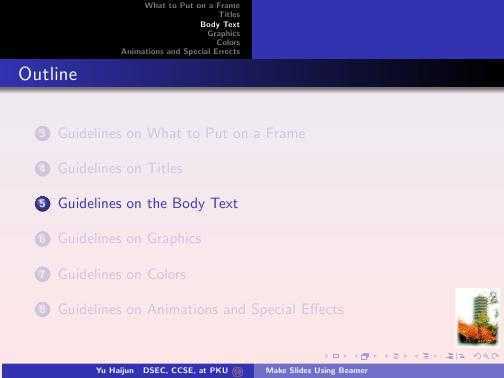
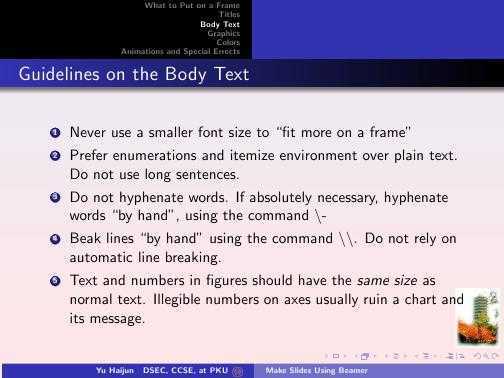
223
224 \frame
225 {
226   \frametitle{\secname}
227   \begin{itemize}
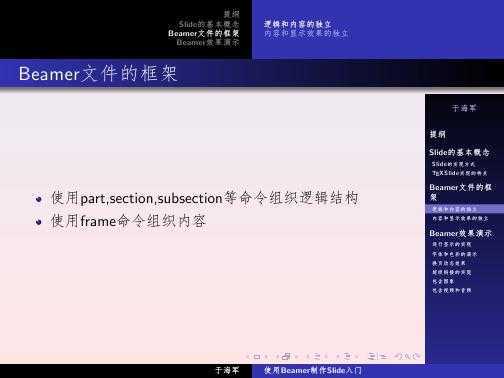
228   \item 使用part,section,subsection等命令组织逻辑结构
229   \item 使用frame命令组织内容
230   \end{itemize}
231 }
232
233 \subsection{内容和显示效果的独立}
234
235 \frame
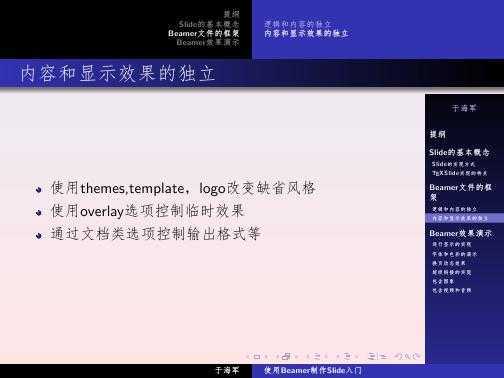
236 {
237   \frametitle{\subsecname}
238   \begin{itemize}
239   \item 使用themes,template,logo改变缺省风格
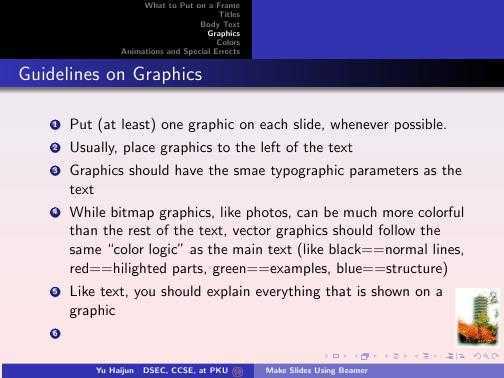
240   \item 使用overlay选项控制临时效果
241   \item 通过文档类选项控制输出格式等
242   \end{itemize}
243 }
244
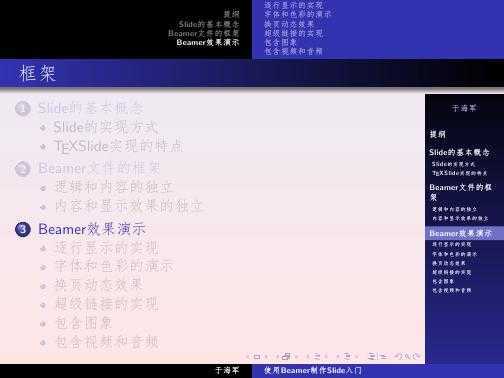
245 \section{Beamer效果演示}
246
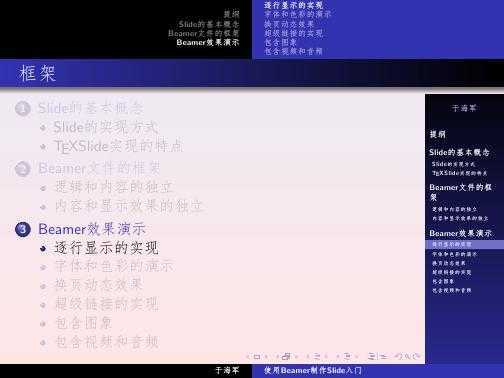
247 \subsection{逐行显示的实现}
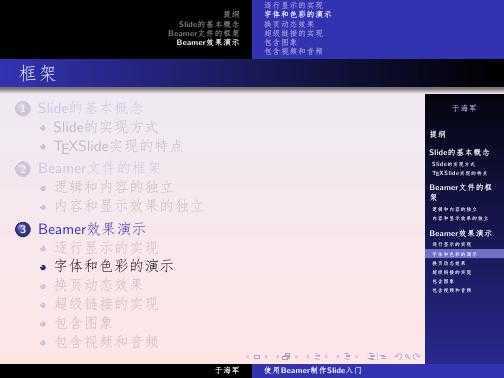
248
249 \frame
250 {
251   \frametitle{\subsecname}
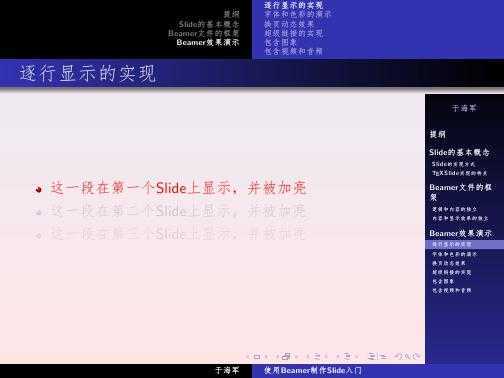
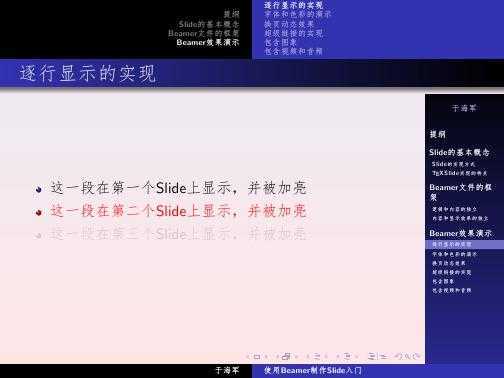
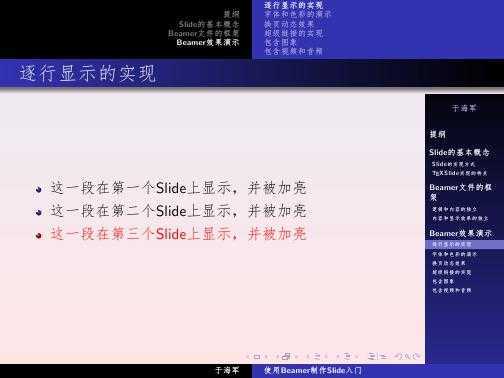
252   \begin{itemize}[<+-|  alert@+>]
253   \item 这一段在第一个Slide上显示,并被加亮
254   \item 这一段在第二个Slide上显示,并被加亮
255   \item 这一段在第三个Slide上显示,并被加亮
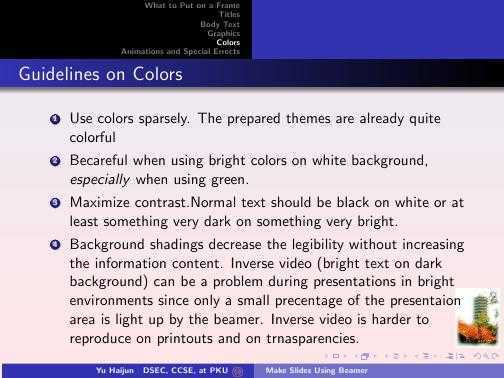
256   \end{itemize}
257 }
258
259 \subsection{字体和色彩的演示}
260
261 \frame
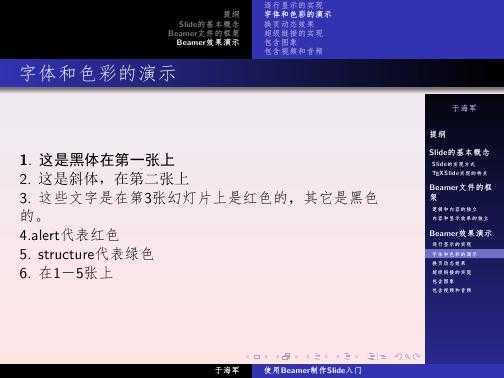
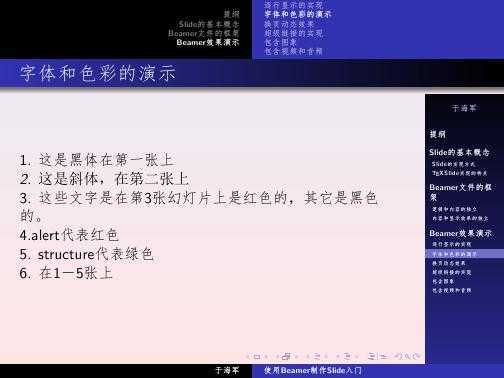
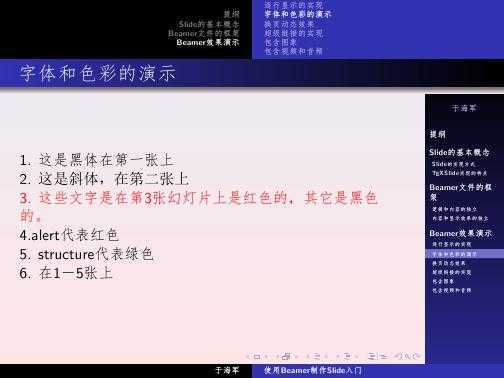
262 {
263   \frametitle{\subsecname}
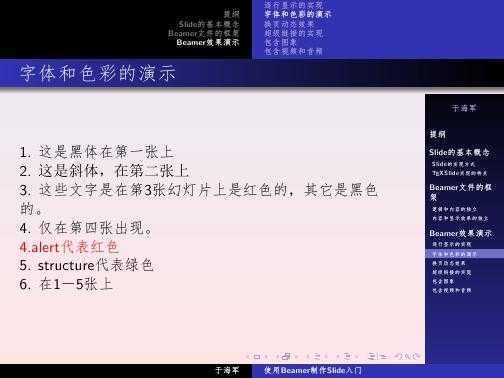
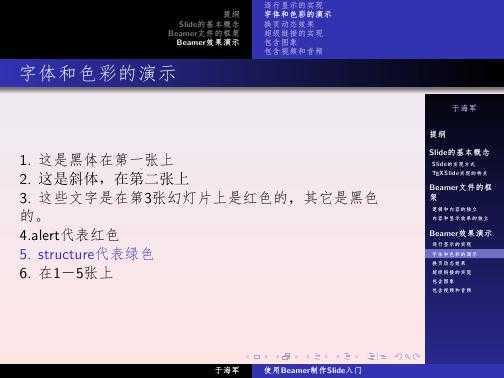
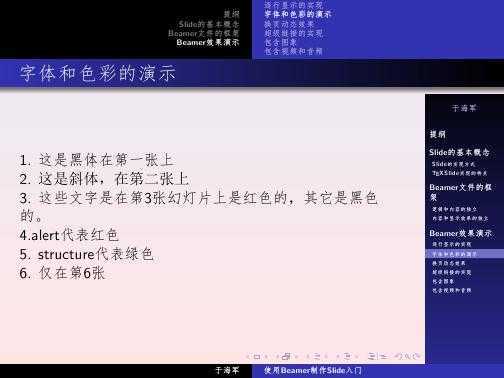
264   {\textbf<1> 1. \alt<1>{\CJKfamily{hei}这是黑体在第一张上}%可以为中文的字体变换定义一个宏
265     {\CJKfamily{fs}这是黑体在第一张上} \\}
266   {\textit<2> 2. \CJKfamily{song}这是斜体,在第二张上\\}
267   {\color<3>[rgb]{1,0,0} 3. 这些文字是在第3张幻灯片上是红色的,其它是黑色的。\\}
268   \only<4>{ 4. 仅在第四张出现。\\}
269   \alert<4>{4.alert代表红色\\}
270   \structure<5>{5. structure代表绿色\\}
271   \alt<6>{6. 仅在第6张}{6. 在1-5张上}
272 }
273
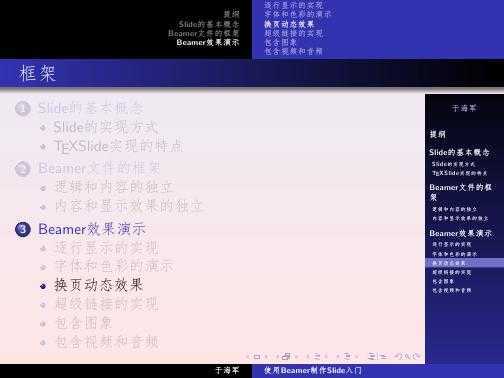
274 \subsection{换页动态效果}
275
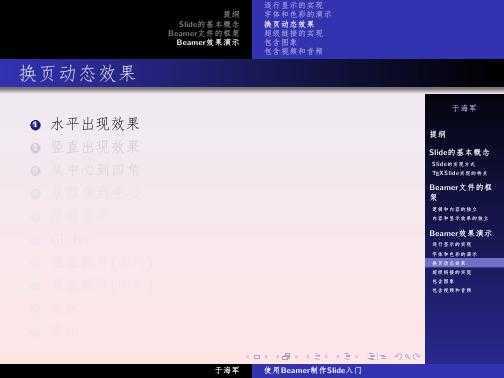
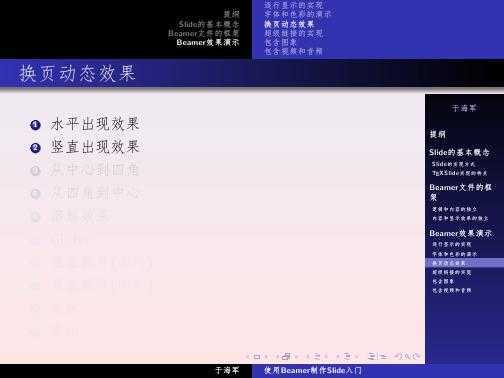
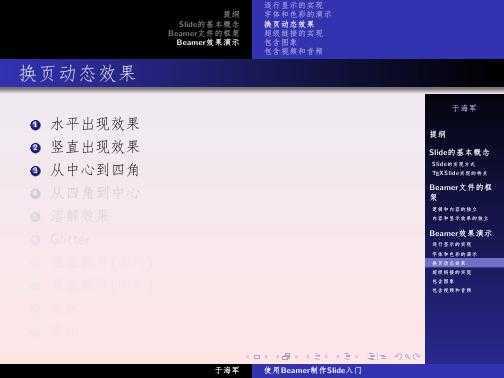
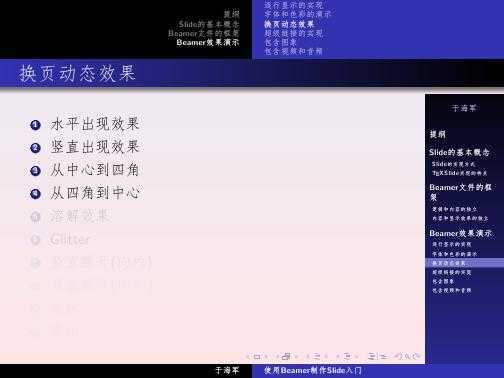
276 \frame[<+->]{
277   \frametitle{\subsecname}
278   \begin{enumerate}
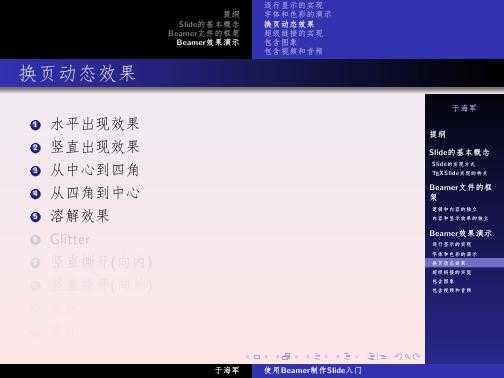
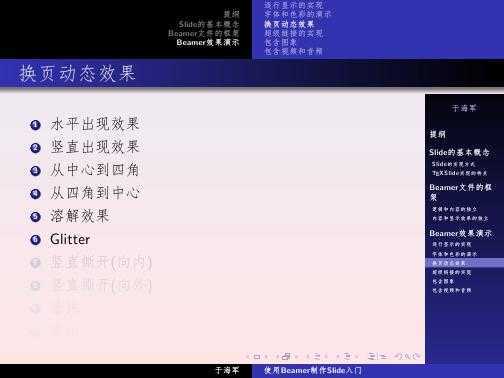
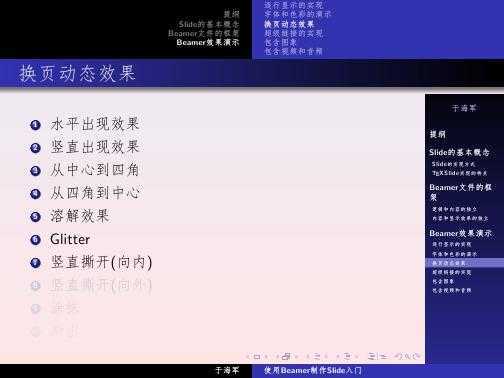
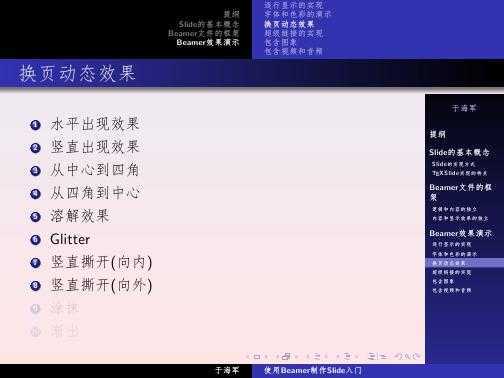
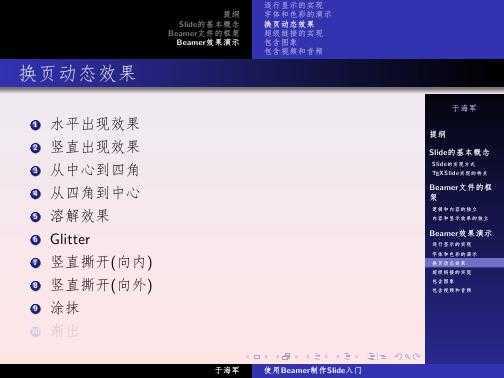
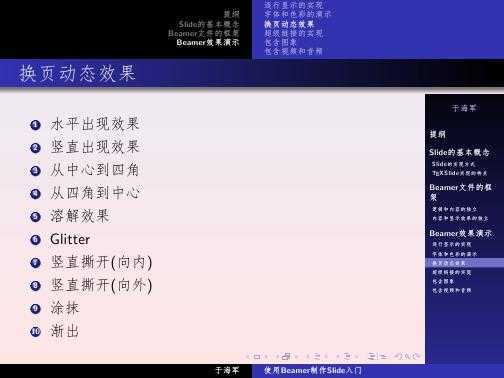
279   \item 水平出现效果
280     \transblindshorizontal<1>
281   \item 竖直出现效果
282     \transblindsvertical<2>
283   \item 从中心到四角
284     \transboxin<3>
285   \item 从四角到中心
286     \transboxout<4>
287   \item 溶解效果
288     \transdissolve<5>
289   \item Glitter
290     \transglitter<6>
291   \item 竖直撕开(向内)
292     \transsplitverticalin<7>
293   \item 竖直撕开(向外)
294     \transsplitverticalout<8>
295   \item 涂抹
296     \transwipe<9>
297   \item 渐出
298     \transduration<10>{1}
299   \end{enumerate}
300 }
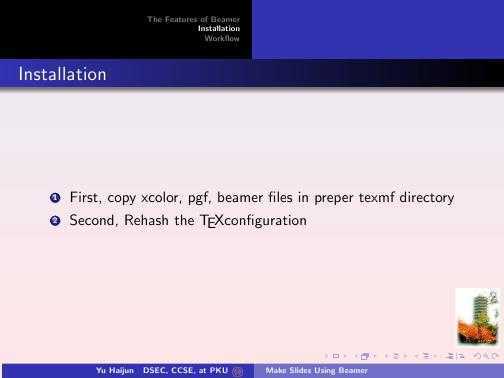
301
302 \subsection{超级链接的实现}
303
304 \frame
305 {
306   \frametitle{\subsecname}
307   \hypertarget<1>{jumptofirst}{}
308   \hypertarget<2>{jumptosecond}{}
309   \hypertarget<3>{jumptothird}{}
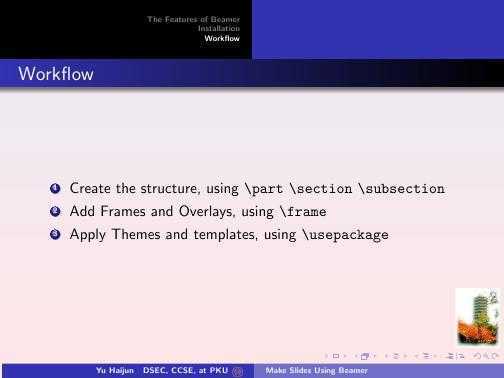
310   \hypertarget<4>{jumptoforth}{}
311   \hypertarget<5>{jumptofifth}{}
312   \begin{itemize}
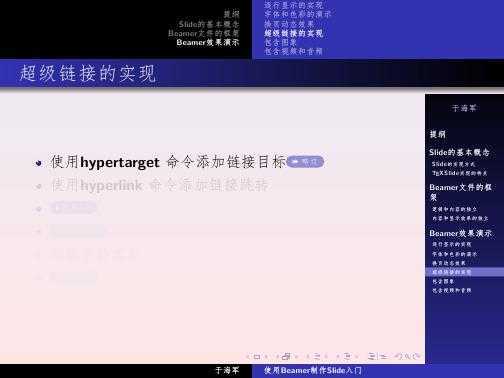
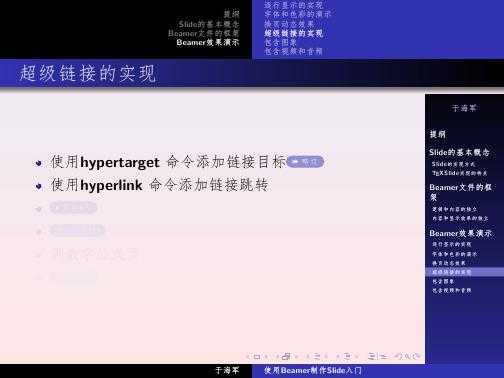
313   \item<1-> 使用 \textbf{hypertarget} 命令添加链接目标
314     \hyperlinkframestartnext{\beamerskipbutton{略过}}
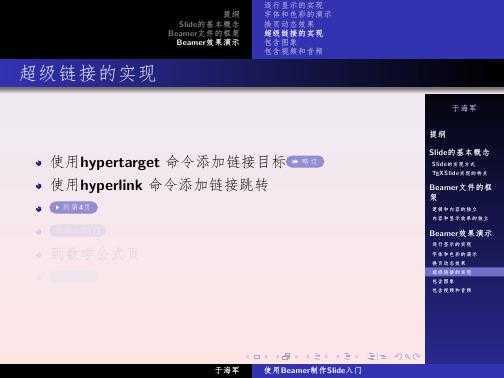
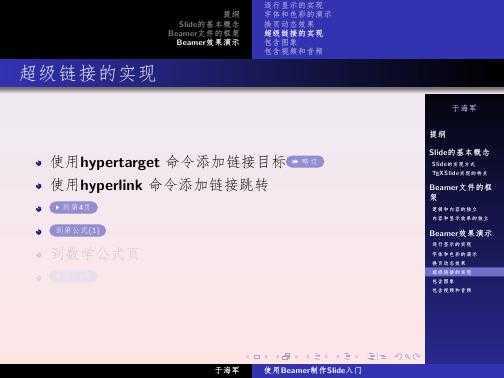
315   \item<2-> 使用 \textbf{hyperlink} 命令添加链接跳转
316   \item<3->
317     \hyperlink{jumptoforth}{\beamergotobutton{到第4页}}
318   \item<4->
319     \beamerbutton{到第公式(\ref{eq1})}
320   \item<5->
321     \hyperlink{math<5>}{到数学公式页}
322   \item<6->
323     \hyperlink{jumptofirst}{\beamerreturnbutton{回第1页}}
324   \end{itemize}
325 }
326
327
328 \subsection{包含图象}
329 \frame{
330   \frametitle{\subsecname}
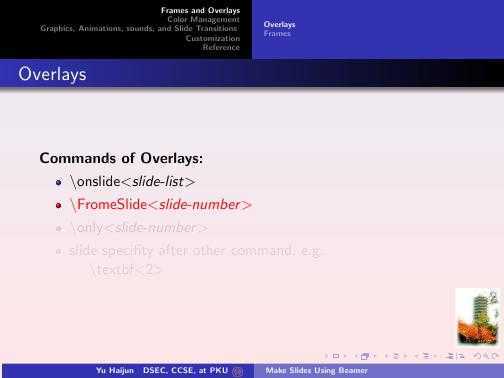
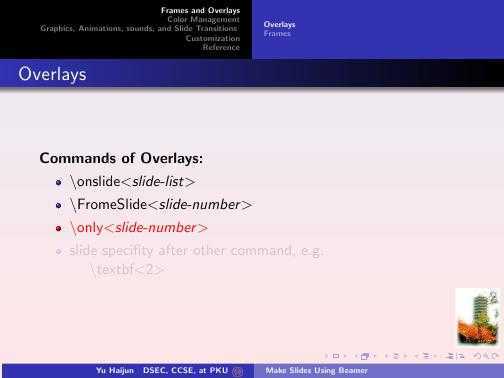
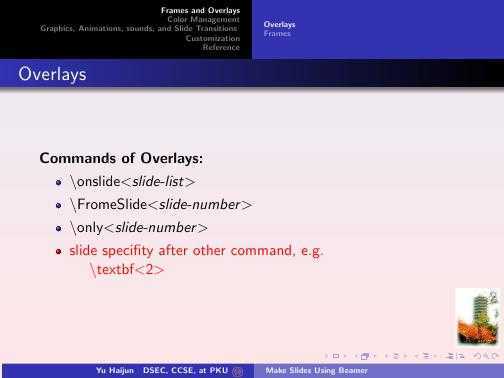
331   \begin{itemize}
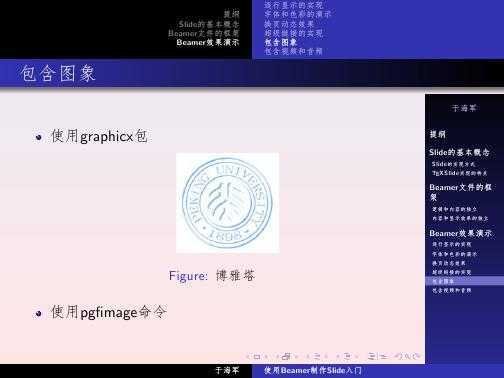
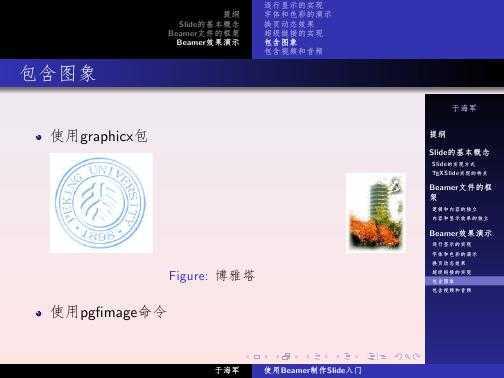
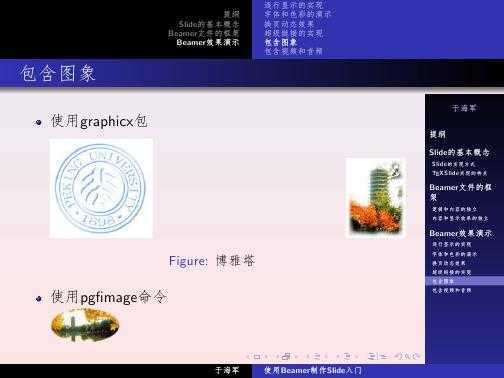
332   \item 使用graphicx包
333     \begin{figure}
334       \includegraphics<1->[height=2.5cm,angle=0]{pku-logo.pdf}
335       \hfill
336       \includegraphics<2->[height=2cm]{pku-tower.pdf}
337       \caption{\hfill{博雅塔}}
338     \end{figure}
339
340   \item 使用pgfimage命令 \341     \pgfuseimage<3>{logo}
342   \end{itemize}
343 }
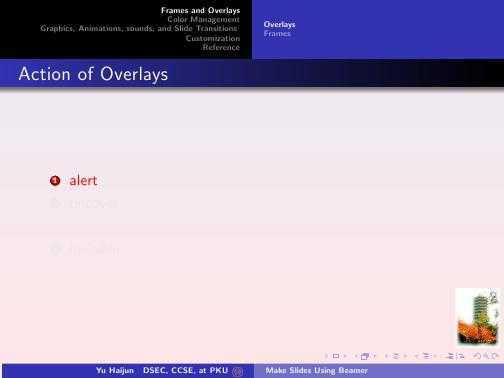
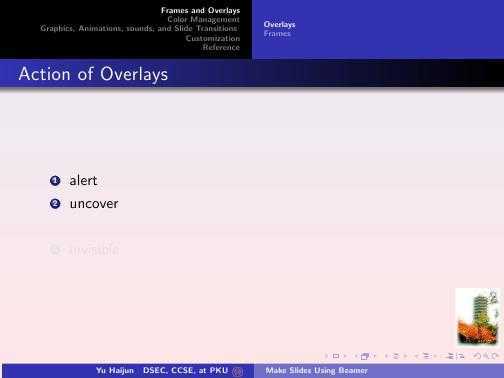
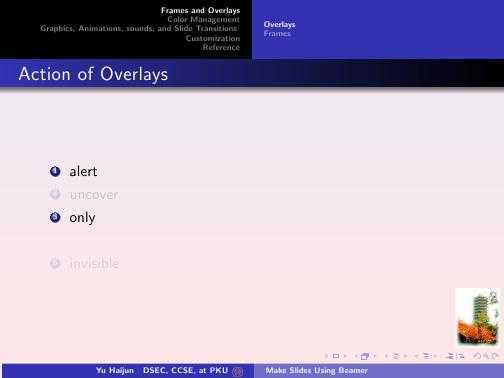
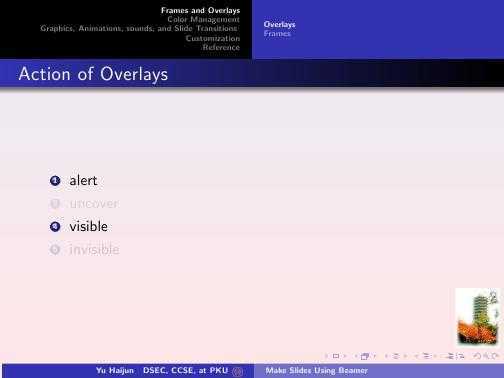
344
345 \subsection{包含视频和音频}
346
347 \frame
348 {
349   \frametitle{\subsecname}
350   \begin{itemize}
351   \item 视频 \352     \movie[externalviewer,label=mymovie,width=1in,height=0.8in,poster]{\pgfuseimage{logo}}{movie.avi}
353 %    \hyperlinkmovie[play]{mymovie}{Play}
354   \item 声音 \355     \movie[externalviewer,autostart]{这里有一段mp3}{turky.mp3}
356   \end{itemize}
357 }
358
359
360 \frame
361 {
362   \frametitle{完}
363   \hypertarget{end}{}
364 }
365
366 \appendix
367
368 \section{附录}
369
370 \againframe<5>{math}
371
372 \frame{ % 由于对包含了verbatim的frame换页有问题,所以我们手工加入一页
373   \frametitle{一个Beamer例子文件}
374   \beamerEX
375 }
376
377 \end{CJK*}
378 \end{document}
beameren.tex
  1 \documentclass[11pt]{beamer}
  2
  3
  4 %% Copyright 2004 by Yu Haijun <yhj@math.pku.edu.cn>
  5 %%
  6 %% 这个文件的目的使为了给大家提供一个使用beamer的快速模板
  7
  8 %%% Local Variables:
  9 %%% mode: latex
 10 %%% TeX-master: t
 11 %%% End:
 12
 13 \mode<article> % 仅应用于article版本
 14 {
 15   \usepackage{beamerbasearticle}
 16   \usepackage{fullpage}
 17   \usepackage{hyperref}
 18 }
 19
 20 %% 下面的包控制beamer的风格,可以根据自己的爱好修改
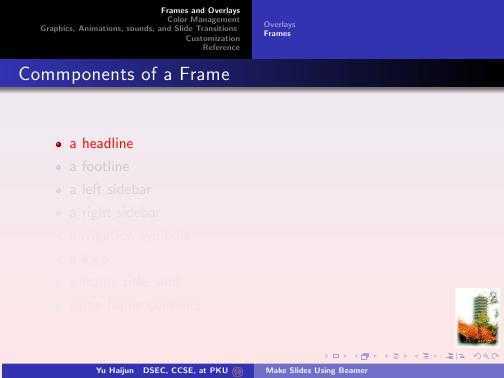
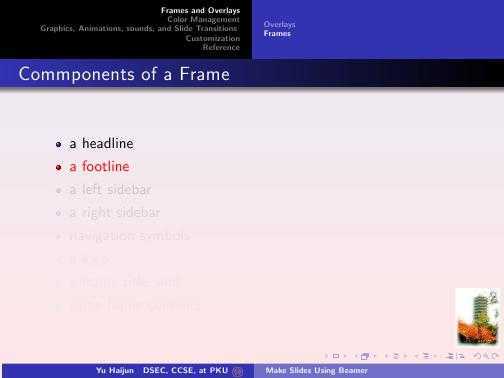
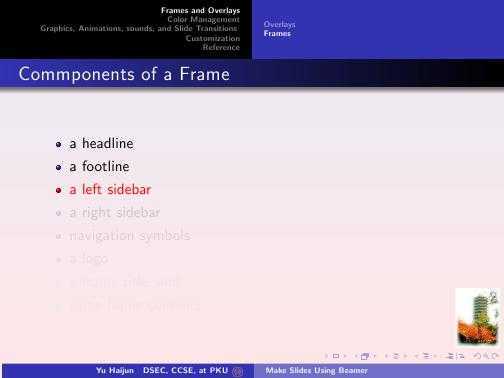
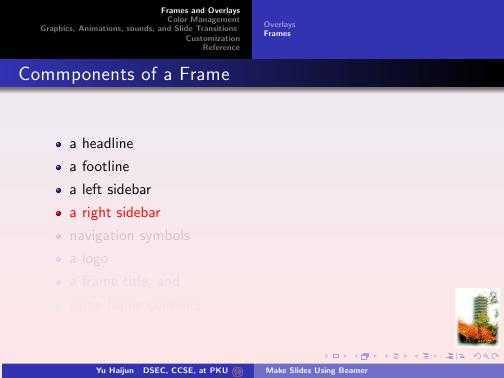
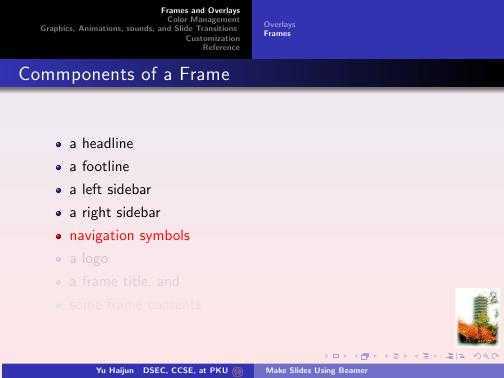
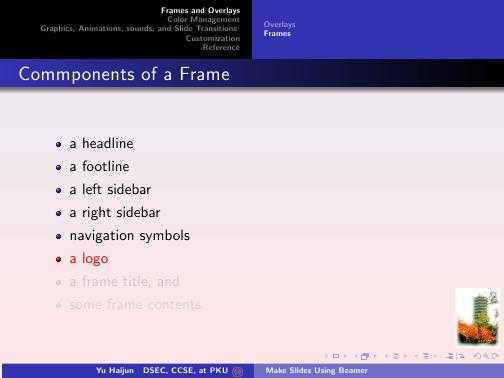
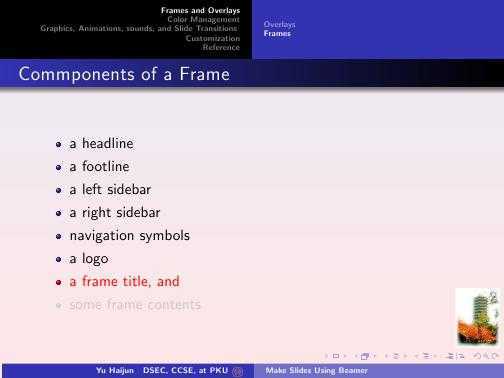
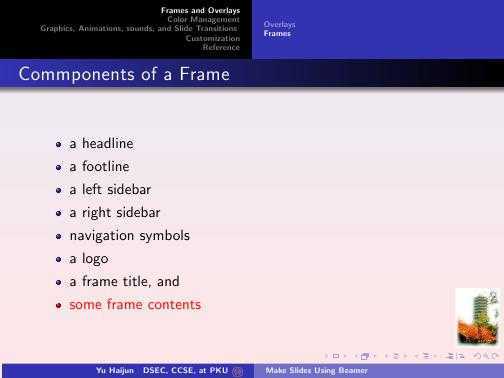
 21 \usepackage{beamerthemesplit}   % 使用split风格
 22 \usepackage{beamerthemeshadow}  % 使用shadow风格
 23 %% 这些包是可能会用到的,不必修改
 24 \usepackage{pgf,pgfarrows,pgfnodes,pgfautomata,pgfheaps}
 25 \usepackage{amsmath,amssymb}
 26 \usepackage{graphics}
 27 \usepackage{multimedia}
 28
 29 %% 下面的代码用来读入Logo图象
 30 \pgfdeclaremask{logomask}{pku-tower-mask}
 31 \pgfdeclareimage[mask=logomask,height=1.5cm]{logo}{pku-tower}
 32
 33 \pgfdeclaremask{beidamask}{beida-mark-mask}
 34 \pgfdeclareimage[mask=beidamask,height=0.25cm]{beida}{beida-mark}
 35
 36 \pgfdeclaremask{titlemask}{pku-lake2-mask}
 37 \pgfdeclareimage[mask=titlemask,height=2.5cm]{title}{pku-lake2}
 38 \logo{\vbox{\hbox{\hfill\pgfuseimage{logo}}}} %设置logo图标
 39
 40 %% 定义一些自选的模板,包括背景、图标、导航条和页脚等,修改要慎重
 41 \beamertemplateshadingbackground{red!10}{structure!10}
 42 %\beamertemplatesolidbackgroundcolor{white!90!blue}
 43 \beamertemplatetransparentcovereddynamic
 44 \beamertemplateballitem
 45 \beamertemplatenumberedballsectiontoc
 46 %\beamertemplatelargetitlepage
 47 \beamertemplateboldpartpage
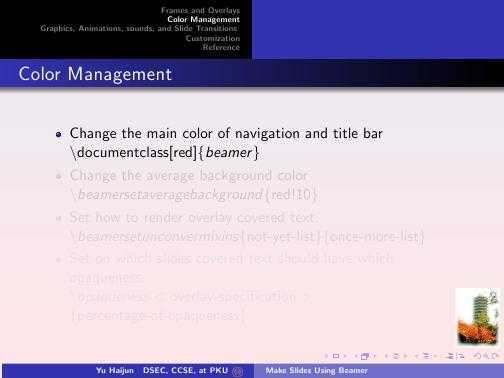
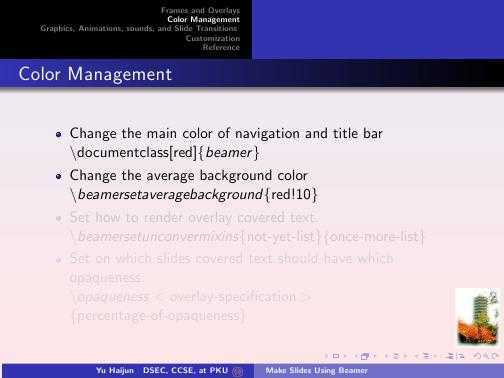
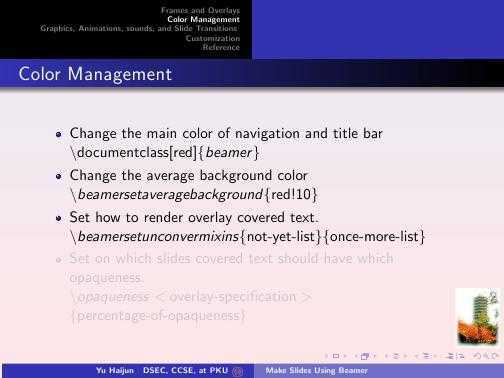
 48
 49 \makeatletter
 50 \usefoottemplate{ %重新定义页脚,加入作者,单位,单位图标,和文档标题
 51   \vbox{\tiny%
 52     \hbox{%
 53       \setbox\beamer@linebox=\hbox to\paperwidth{%
 54         \hbox to.5\paperwidth{\hfill\tiny\color{white}\textbf{\insertshortauthor\quad\insertshortinstitute}\hskip.1cm\lower 0.35em\hbox{\pgfuseimage{beida}}\hskip.3cm}%
 55         \hbox to.5\paperwidth{\hskip.3cm\tiny\color{white}\textbf{\insertshorttitle}\hfill}\hfill}%
 56       \ht\beamer@linebox=2.625ex%
 57       \dp\beamer@linebox=0pt%
 58       \setbox\beamer@linebox=\vbox{\box\beamer@linebox\vskip1.125ex}%
 59       \color{structure}\hskip-\Gm@lmargin\vrule width.5\paperwidth
 60       height\ht\beamer@linebox\color{structure!70}\vrule width.5\paperwidth
 61       height\ht\beamer@linebox\hskip-\paperwidth%
 62       \hbox{\box\beamer@linebox\hfill}\hfill\hskip-\Gm@rmargin}
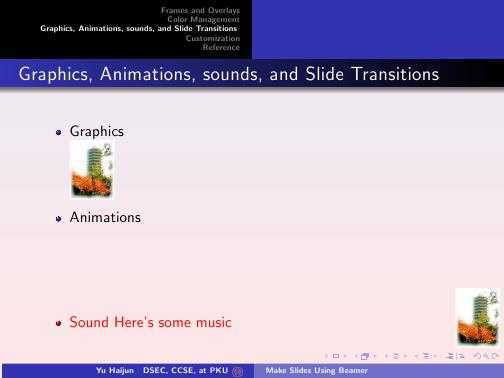
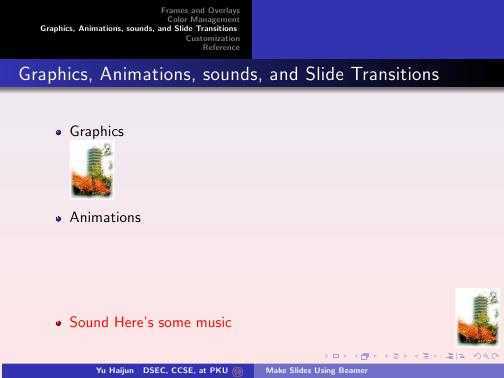
 63   }
 64 }
 65 \makeatother
 66
 67
 68 %%
 69 %% 自己的预定义命令和宏放在这里
 70 %%
 71
 72 %%
 73 %% 填写作者,单位,日期,标题等文档信息
 74 %%
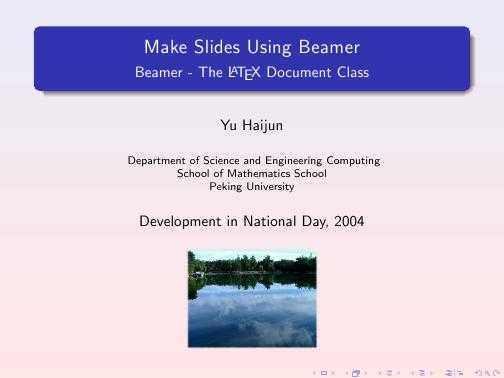
 75 \title{Make~Slides Using~Beamer}
 76 \subtitle{Beamer - The~\LaTeX~Document~Class}
 77 \author[Yu Haijun]{Yu Haijun}
 78 \institute[DSEC, CCSE, at PKU]{
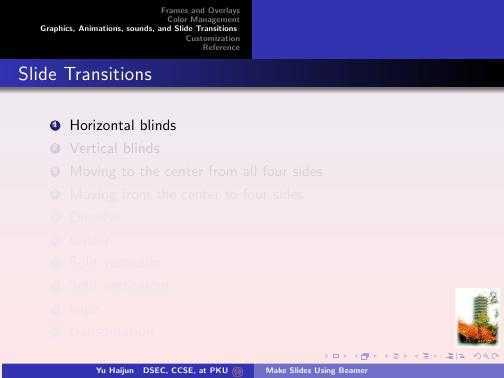
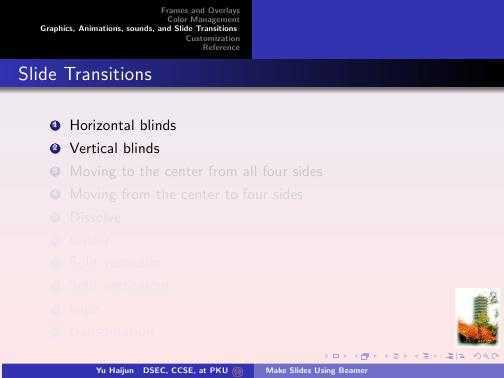
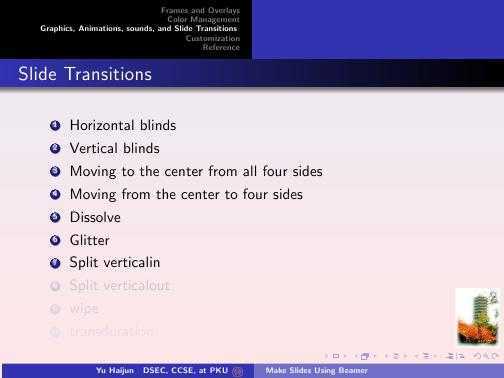
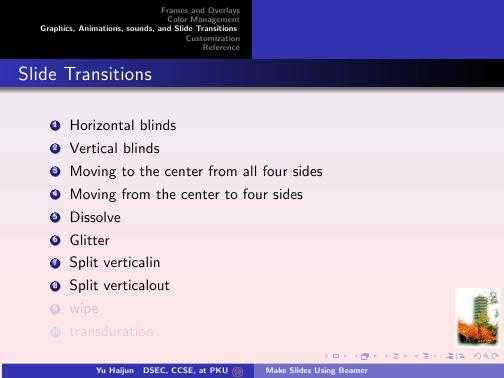
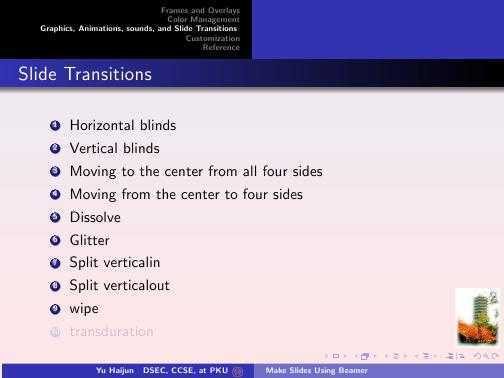
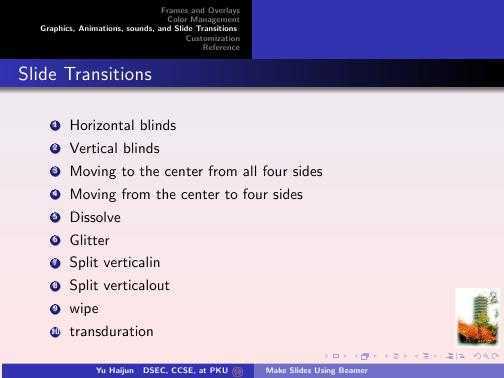
 79   Department of Science and Engineering Computing\ 80   School of Mathematics School\ 81   Peking University
 82 }
 83 \date[ND,2004]{Development in National Day, 2004}
 84 \subject{Computer Tools, TeX, Slide}
 85 \titlegraphic{\pgfuseimage{title}}
 86
 87 \AtBeginSection[]{ % 在每个Section前都会加入的Frame
 88   \frame<handout:0>{
 89     \frametitle{Outline}
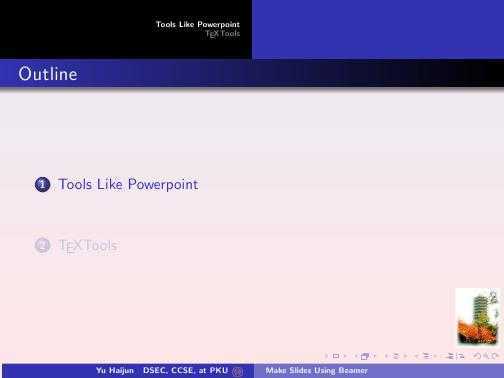
 90     \tableofcontents[current,currentsubsection]
 91   }
 92 }
 93
 94 %%
 95 %% 文档从这里正式开始
 96 %%   使用\part,\section,\subsection等命令组织文档结构
 97 %%   使用\frame命令制作幻灯片
 98 %%
 99
100 \begin{document}
101
102 \defverbatim\beamerEX{
103 \begin{verbatim}
104 \documentclass{beamer}
105 \usepackage{beamerthemesplit}
106 \title{Example Presentation Created with Beamer}
107 \author{Till Tantau}
108 \date{\today}
109 \begin{document}
110 \frame{\titlepage}
111 \section*{Outline}
112 \frame{\tableofcontents}
113 \section{Introduction}
114 \subsection{Overview of the Beamer Class}
115 \frame {
116    \frametitle{Features of the Beamer Class}
117    \begin{itemize}
118        \item<1-> Normal LaTeX class.
119        \item<2-> Easy overlays.
120        \item<3-> No external programs needed.
121    \end{itemize}
122 }
123 \end{document}
124 \end{verbatim}
125 }
126
127 \frame[plain]{\titlepage} % 产生主题页,plain选项表示不显示页眉页脚等内容
128
129 %% \section<presentation>*{Outline}   % 带*号表示不加到目录中
130 %% \frame{
131 %%   \nameslide{outline}
132 %%   \frametitle{Outline}
133 %%   \tableofcontents[pausesections]
134 %%   \note{At most 1 minute for the outline}
135 %% }
136
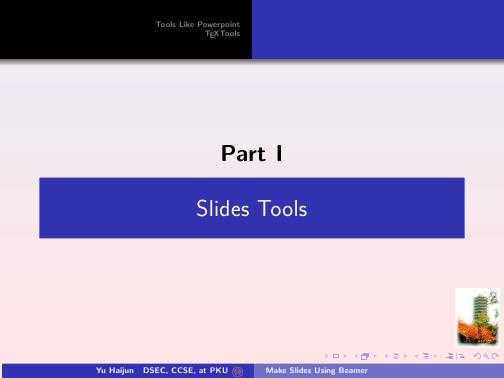
137 \part{Slides Tools}
138 \frame{\partpage}
139
140 \section{Tools Like Powerpoint}
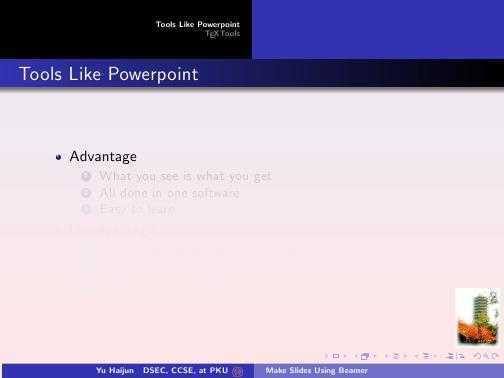
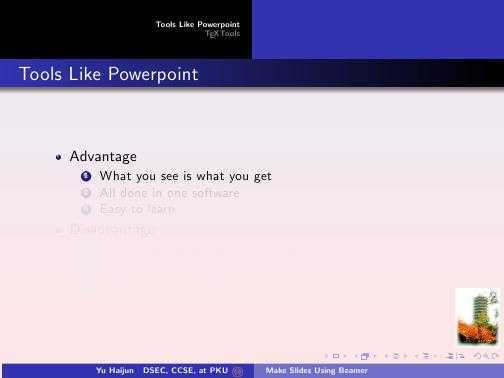
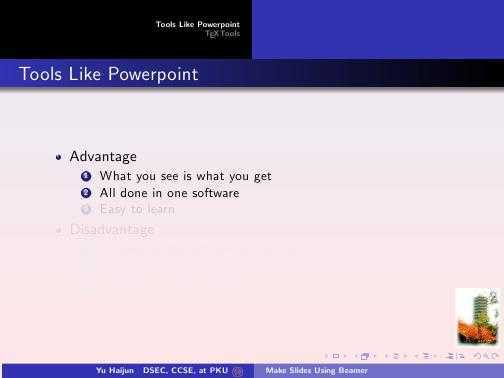
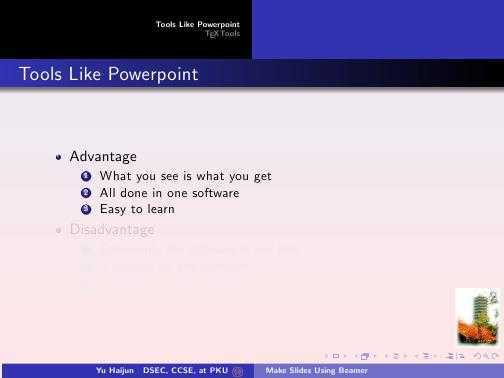
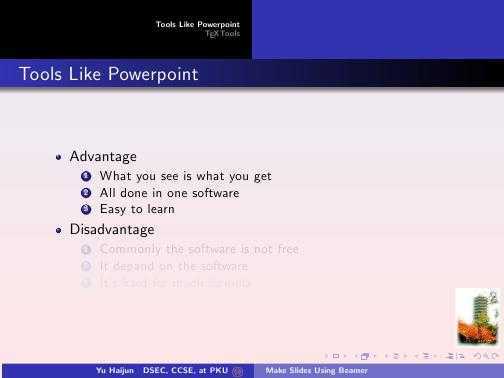
141 \frame[<+->]{
142   \frametitle{Tools Like Powerpoint}
143   \begin{itemize}
144   \item Advantage
145     \begin{enumerate}
146     \item What you see is what you get
147     \item All done in one software
148     \item Easy to learn
149     \end{enumerate}
150   \item Disadvantage
151     \begin{enumerate}
152     \item Commonly the software is not free
153     \item It depand on the software
154     \item It‘s hard for much formula
155     \end{enumerate}
156   \end{itemize}
157 }
158 \section{\TeX Tools}
159
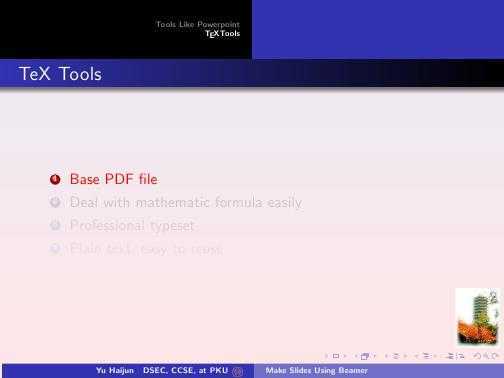
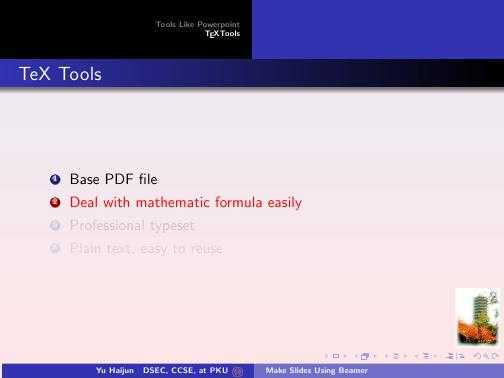
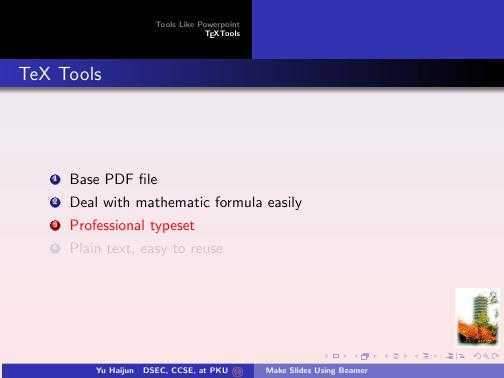
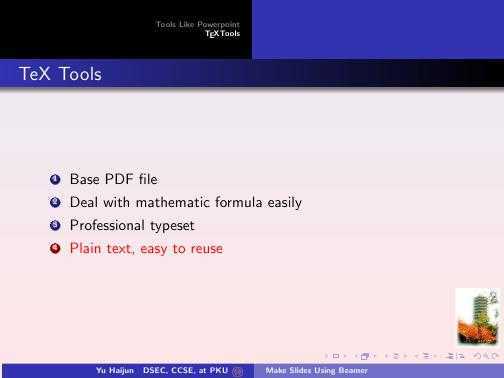
160 \frame[<+-| alert@+>]{
161   \frametitle{TeX Tools}
162   \begin{enumerate}
163   \item Base PDF file
164   \item Deal with mathematic formula easily
165   \item Professional typeset
166   \item Plain text, easy to reuse
167   \end{enumerate}
168 }
169 \frame[<+->]{
170   \frametitle{\TeX\ Slide Tools}
171   \begin{description}
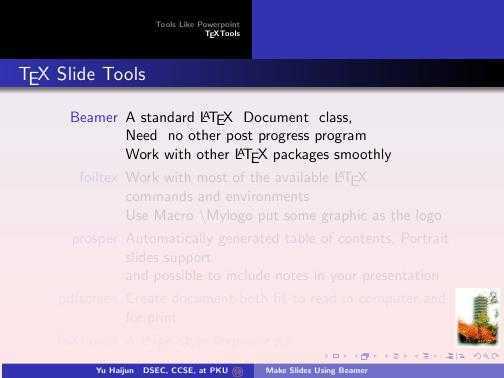
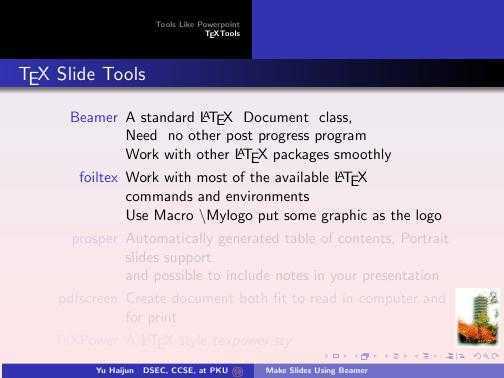
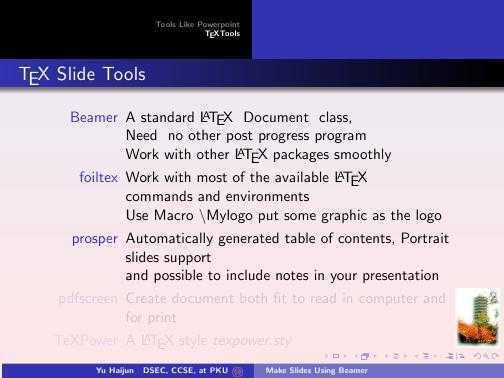
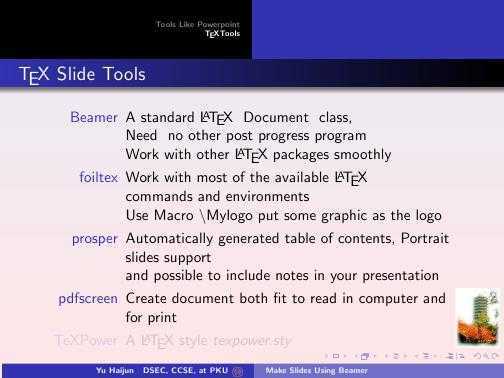
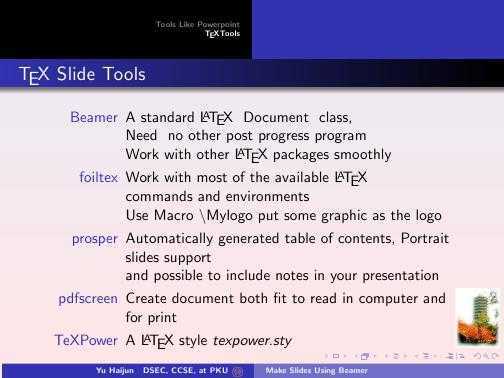
172   \item[Beamer] A~standard~\LaTeX\ ~Document~ class,\173     Need~ no other post progress program\174     Work with other \LaTeX\ packages smoothly
175   \item[foiltex] Work with most of the~available~\LaTeX\ ~commands~and~environments\176     Use Macro $\backslash$Mylogo put some graphic as the logo
177   \item[prosper] Automatically generated table of contents, Portrait slides support \178     and possible to include notes in your presentation
179   \item[pdfscreen] Create document both fit to read in computer and for print
180 % \item[seminar] A simple \LaTeX style designed for seminar presentations.
181   \item[TeXPower] A \LaTeX\ style \textsl{texpower.sty}
182   \end{description}
183 }
184
185
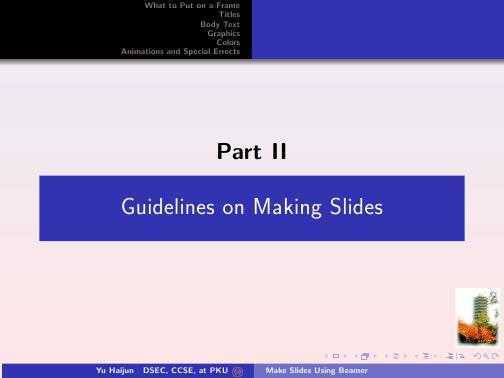
186 \part{Guidelines on Making Slides}
187 \frame{\partpage}
188
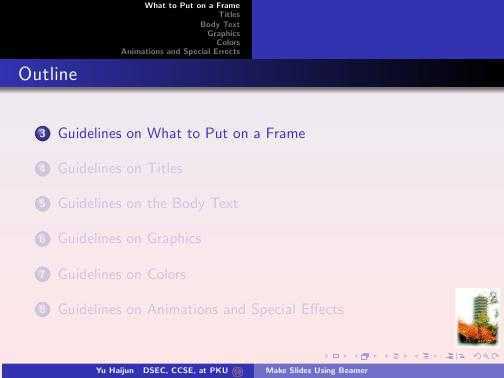
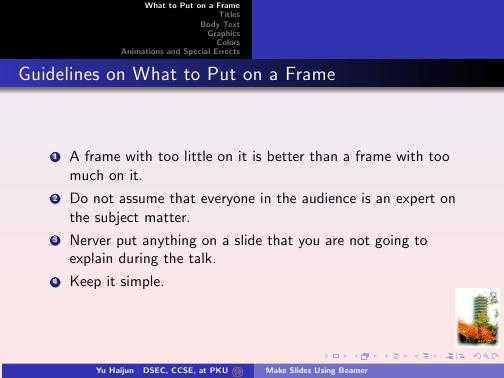
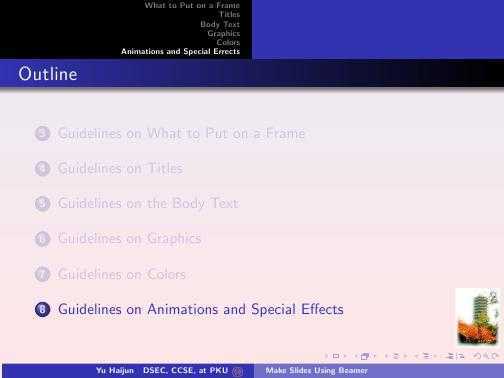
189 \section[What to Put on a Frame]{Guidelines on What to Put on a Frame}
190 \frame{
191   \frametitle{\secname}
192   \begin{enumerate}
193   \item A frame with too little on it is better than a frame with too much on
194     it.
195   \item Do not assume that everyone in the audience is an expert on the
196     subject matter.
197   \item Nerver put anything on a slide that you are not going to explain
198     during the talk.
199   \item Keep it simple.
200   \end{enumerate}
201   }
202
203 \section[Titles]{Guidelines on Titles}
204
205 \frame{
206   \frametitle{\secname}
207   \begin{enumerate}
208   \item Put a title on each frame
209   \item The title should really explain things.
210   \item Idealy, titles on consecutive frames should ``tell a story‘‘ all by
211     themeselves.
212   \item In English, you should \textsl{either always} capitalize all words in
213     frame title except for words like ``a‘‘ or ``the‘‘(as in a title)
214     \textsl{or} you \textsl{always} use the normal lowercase letters.
215   \item In English, the title of the whole document should be capitalized,
216     regardless of whether you capitalize anything else.
217   \end{enumerate}
218 }
219
220 \section[Body Text]{Guidelines on the Body Text}
221 \frame{
222   \frametitle{\secname}
223   \begin{enumerate}
224   \item Never use a smaller font size to ``fit more on a frame‘‘
225   \item Prefer enumerations and itemize environment over plain text. Do not
226     use long sentences.
227   \item Do not hyphenate words. If absolutely necessary, hyphenate words ``by
228     hand‘‘, using the command $\backslash$-
229   \item Beak lines ``by hand‘‘ using the command $\backslash\backslash$. Do
230     not rely on automatic line breaking.
231   \item Text and numbers in figures should have the \textsl{same size} as
232     normal text. Illegible numbers on axes usually ruin a chart and its
233     message.
234   \end{enumerate}
235 }
236
237 \section[Graphics]{Guidelines on Graphics}
238 \frame{
239   \frametitle{\secname}
240   \begin{enumerate}
241   \item Put (at least) one graphic on each slide, whenever possible.
242   \item Usually, place graphics to the left of the text
243   \item Graphics should have the smae typographic parameters as the text
244   \item While bitmap graphics, like photos, can be much more colorful than the
245     rest of the text, vector graphics should follow the same ``color logic‘‘
246     as the main text (like black==normal lines, red==hilighted parts,
247     green==examples, blue==structure)
248   \item Like text, you should explain everything that is shown on a graphic
249   \item
250   \end{enumerate}
251 }
252
253 \section[Colors]{Guidelines on Colors}
254 \frame{
255   \frametitle{\secname}
256   \begin{enumerate}
257   \item Use colors sparsely. The prepared themes are already quite colorful
258   \item Becareful when using bright colors on white background,
259     \textsl{especially} when using green.
260   \item Maximize contrast.Normal text should be black on white or at least
261     something very dark on something very bright.
262   \item Background shadings decrease the legibility without increasing the
263     information content.  Inverse video (bright text on dark background) can
264     be a problem during presentations in bright environments since only a
265     small precentage of the presentaion area is light up by the beamer.
266     Inverse video is harder to reproduce on printouts and on trnasparencies.
267   \end{enumerate}
268 }
269
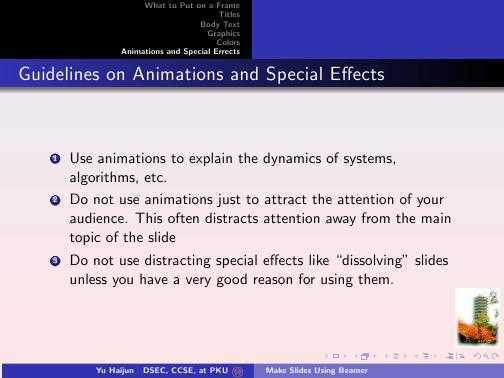
270 \section[Animations and Special Errects]{Guidelines on Animations and Special Effects}
271 \frame{
272   \frametitle{\secname}
273   \begin{enumerate}
274   \item Use animations to explain the dynamics of systems, algorithms, etc.
275   \item Do not use animations just to attract the attention of your audience.
276     This often distracts attention away from the main topic of the slide
277   \item Do not use distracting special effects like ``dissolving‘‘ slides
278     unless you have a very good reason for using them.
279   \end{enumerate}
280 }
281
282
283 \part{Make Slides Using Beamer Class}
284 \frame{\partpage}
285
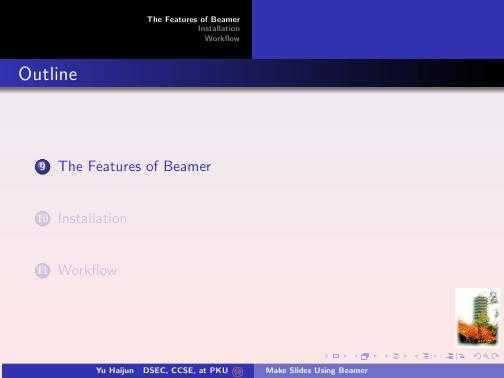
286 \section{The Features of Beamer}
287 \frame{
288   \frametitle{\secname}
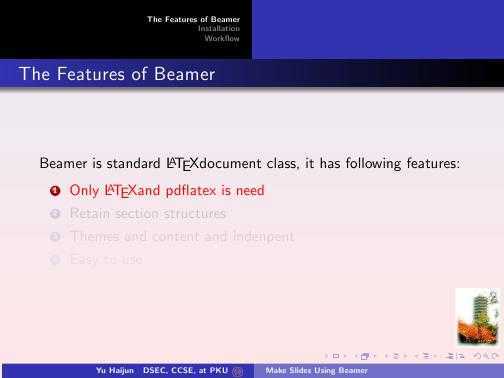
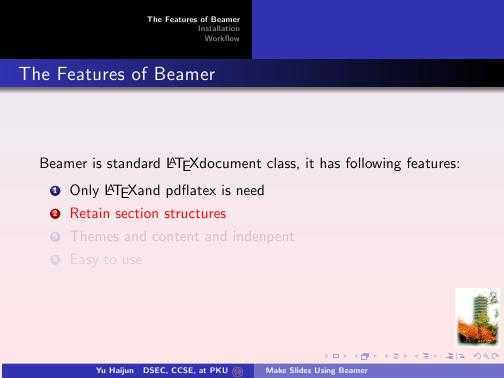
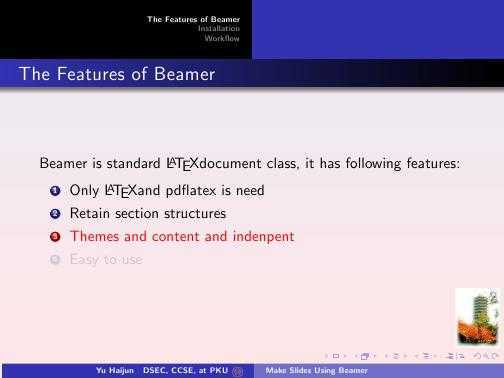
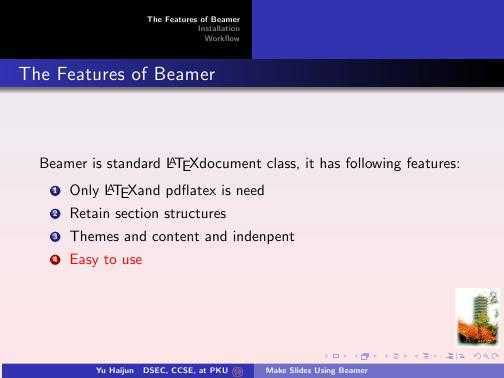
289   Beamer is standard \LaTeX document class, it has following features:\290   \begin{enumerate}[<+-| alert@+>]
291   \item Only \LaTeX and pdflatex is need
292   \item Retain section structures
293   \item Themes and content and indenpent
294   \item Easy to use
295   \end{enumerate}
296 }
297
298 \section{Installation}
299 \frame{
300   \frametitle{\secname}
301   \begin{enumerate}
302   \item First, copy xcolor, pgf, beamer files in preper texmf directory
303   \item Second, Rehash the \TeX configuration
304   \end{enumerate}
305 }
306
307 \section{Workflow}
308 \frame[containsverbatim]{
309   \frametitle{\secname}
310   \begin{enumerate}
311   \item Create the structure, using \verb|\part| \verb|\section| \verb|\subsection|
312   \item Add Frames and Overlays, using \verb|\frame|
313   \item Apply Themes and templates, using \verb|\usepackage|
314   \end{enumerate}
315 }
316
317
318 \frame{ % 由于对包含了verbatim的frame换页有问题,所以我们手工加入一页
319   \frametitle{A Beginning File of Beamer}
320   \beamerEX
321 }
322
323 \part{Step by Step}
324 \frame{\partpage}
325
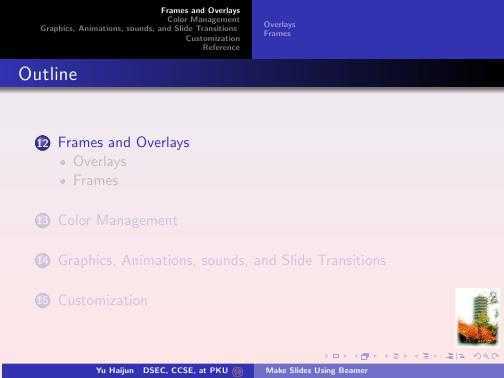
326 \section{Frames and Overlays}
327 \subsection{Overlays}
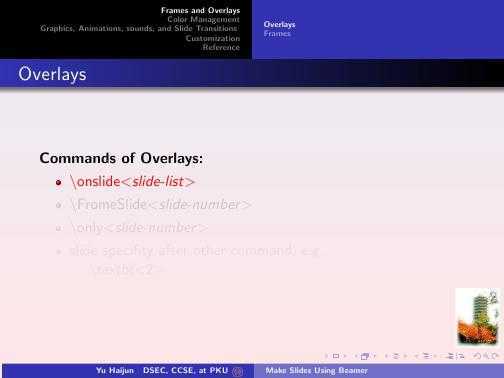
328 \frame{
329   \frametitle{Overlays}
330   \textbf{Commands of Overlays:}
331   \begin{itemize}[<+-| alert@+>]
332   \item $\backslash$onslide$<$\textsl{slide-list}$>$
333   \item $\backslash$FromeSlide$<$\textsl{slide-number}$>$
334   \item $\backslash$only$<$\textsl{slide-number}$>$
335   \item slide specifity after other command, e.g.\336     \hskip 0.5cm $\backslash$textbf$<$2$>$
337   \end{itemize}
338 }
339
340 \frame{
341   \frametitle{Action of Overlays}
342   \begin{enumerate}
343   \item<1-| alert@1> alert
344   \item<2-| uncover@2> uncover
345   \item<3-| only@3> only
346   \item<4-| visible@4> visible
347   \item<5-| invisible@5> invisible
348   \end{enumerate}
349 }
350
351 \beamerdefaultoverlayspecification{<+-| alert@+>}
352 \frame[<+->]{
353   \frametitle{Action of Overlays II}
354   \begin{itemize}
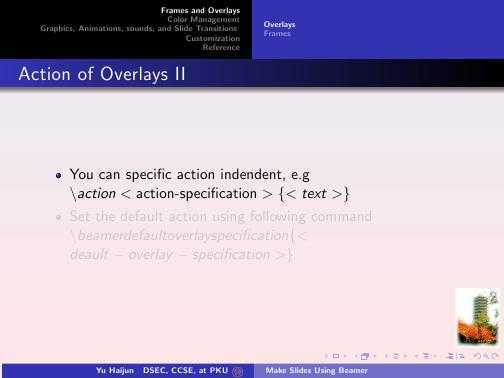
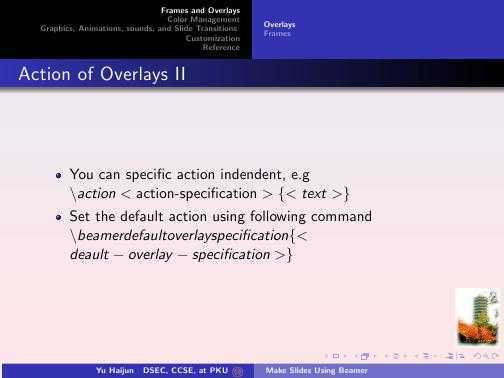
355   \item You can specific action indendent, e.g\356     $\backslash action<\mbox{action-specification}>\{<text>\}$
357   \item Set the default action using following command\358     $\backslash beamerdefaultoverlayspecification\{<deault-overlay-specification>\}$
359   \end{itemize}
360 }
361
362 \subsection{Frames}
363 %%\frame<overlay-specification>[<default-overlay-specification>][<options>]{<frame text>}
364 \frame<presentation>[<+->]{
365   \frametitle{Frames}
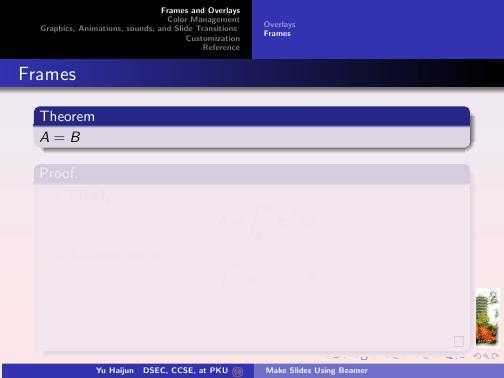
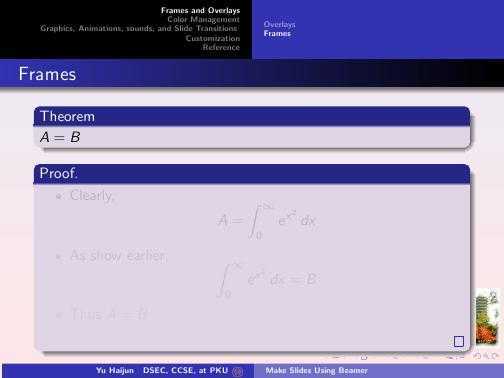
366   \begin{theorem}
367     $A=B$
368   \end{theorem}
369   \begin{proof}
370     \begin{itemize}
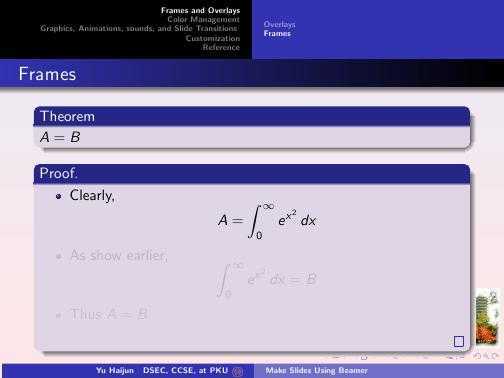
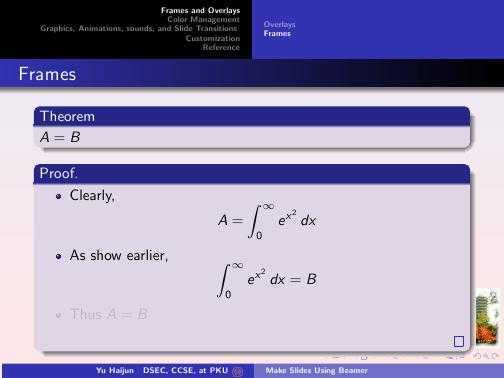
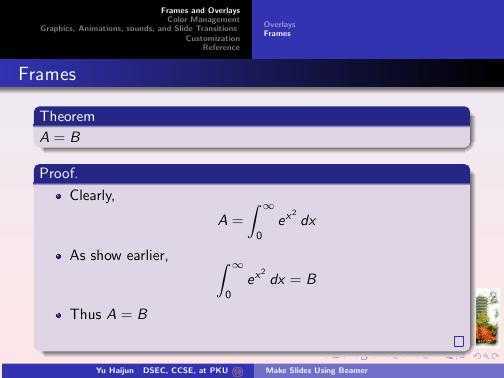
371     \item Clearly, $$A=\int_0^\infty e^{x^2}\,dx$$
372     \item As show earlier, $$\int_0^\infty e^{x^2}\,dx=B$$
373     \item Thus $A=B$
374     \end{itemize}
375   \end{proof}
376 }
377 \frame[allowframebreaks]{
378   \frametitle{Frames II}
379   \textbf{Options of Frame}
380   \begin{itemize}
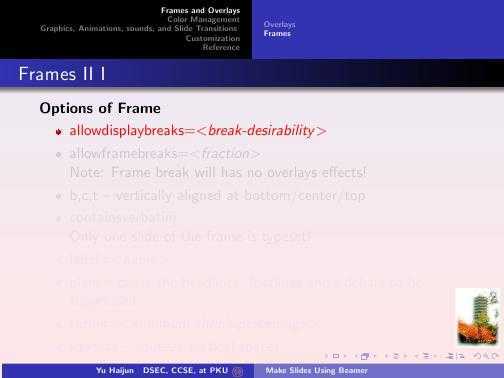
381   \item allowdisplaybreaks=$<$\textsl{break-desirability}$>$
382   \item allowframebreaks=$<$\textsl{fraction}$>$ \383     Note: Frame break will has no overlays effects!
384   \item b,c,t -- vertically aligned at bottom/center/top
385   \item containsverbatim \386     Only one slide of the frame is typeset!
387   \item label=$<$\textsl{name}$>$
388   \item plain -- cause the headlines, footlines and sidebars to be suppressed
389   \item shrink=$<$\textsl{minimum-shrink-percentage}$>$
390   \item squeeze -- squeeze vertical spaces.
391   \end{itemize}
392 }
393
394 \frame{
395   \frametitle{Commponents of a Frame}
396   \begin{itemize}
397   \item a headline
398   \item a footline
399   \item a left sidebar
400   \item a right sidebar
401   \item navigation symbols
402   \item a logo
403   \item a frame title, and
404   \item some frame contents
405   \end{itemize}
406 }
407 \frame[<+->]
408 {
409   \frametitle{Hyperlink and Navigation Bars}
410   \begin{itemize}
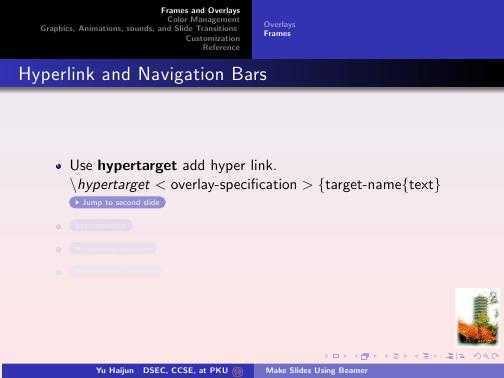
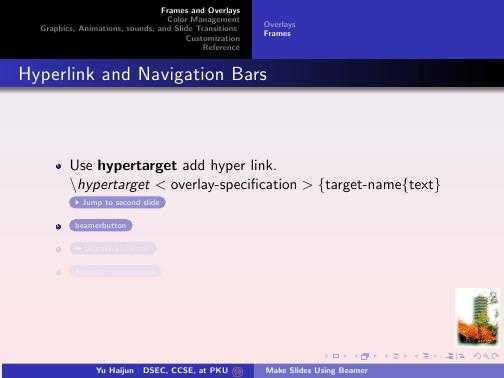
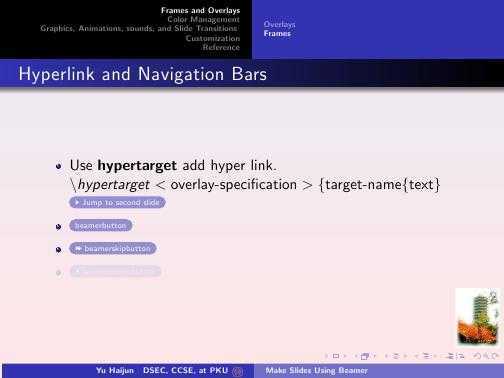
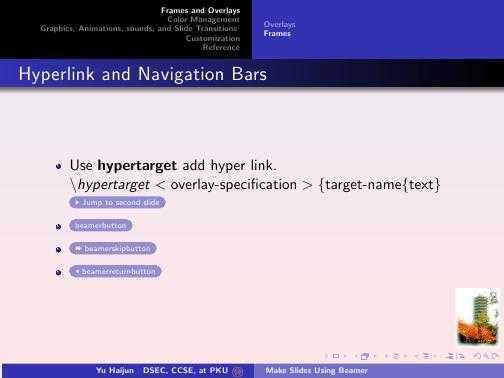
411   \item Use \textbf{hypertarget} add hyper link.\412     $\backslash hypertarget<\mbox{overlay-specification}>\{\mbox{target-name}\{\mbox{text}\}$
413     \hyperlink{jumptosecond}{\beamergotobutton{Jump to second slide}}
414     \hypertarget<2>{jumptosecond}{}
415   \item \beamerbutton{beamerbutton}
416   \item \beamerskipbutton{beamerskipbutton}
417   \item \beamerreturnbutton{beamerreturnbutton}
418   \end{itemize}
419 }
420
421 \section{Color Management}
422 \frame[<+->]{
423   \frametitle{\secname}
424   \begin{itemize}
425   \item Change the main color of navigation and title bar \426     $\backslash\mbox{documentclass[red]}\{beamer\}$
427   \item Change the average background color \428     $\backslash beamersetaveragebackground\{\mbox{red!}10\}$
429   \item Set how to render overlay covered text. \430     $\backslash beamersetunconvermixins\{\mbox{not-yet-list}\}\{\mbox{once-more-list}\}$
431   \item Set on which slides covered text should have which opaqueness. \432    $\backslash opaqueness<\mbox{overlay-specification}>\{\mbox{percentage-of-opaqueness}\}$
433   \end{itemize}
434 }
435
436 \section{Graphics, Animations, sounds, and Slide Transitions }
437 \frame{
438   \frametitle{\secname}
439   \begin{itemize}
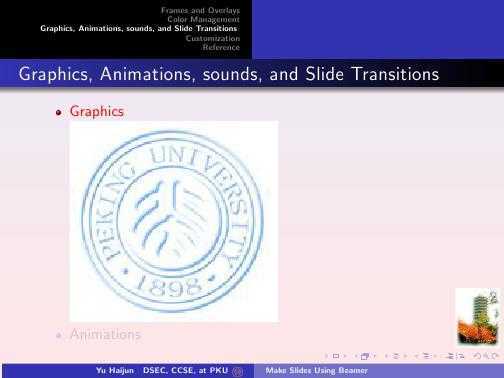
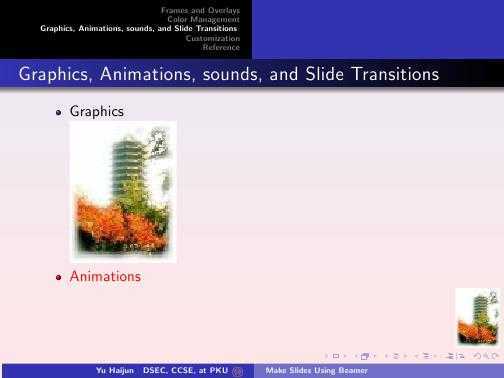
440   \item Graphics \441     \includegraphics<1>{pku-logo.pdf}
442     \includegraphics<2>{pku-tower.pdf}
443     \pgfuseimage<3>{logo}
444   \item Animations \445     \movie[externalviewer,label=mymovie,width=1in,height=0.8in,poster]{}{movie.avi}
446 %    \hyperlinkmovie[play]{mymovie}{Play}
447   \item Sound
448     \movie[externalviewer,autostart]{Here‘s some music}{turky.mp3}
449   \end{itemize}
450 }
451
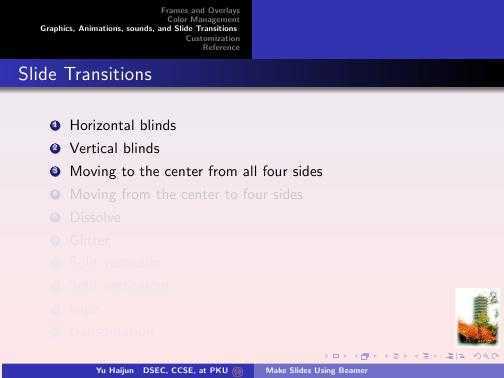
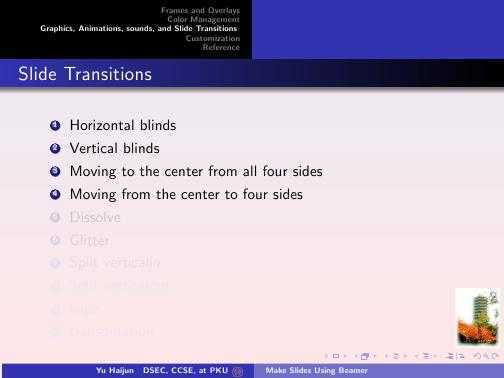
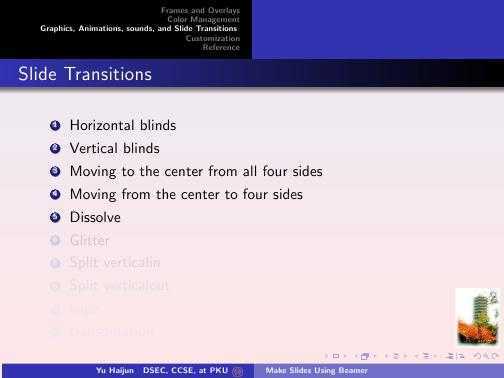
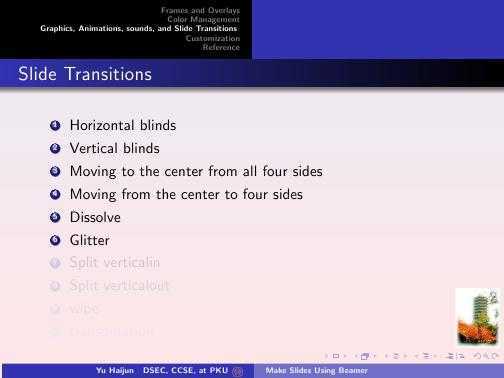
452 \frame[<+->]{
453   \frametitle{Slide Transitions}
454   \begin{enumerate}
455   \item Horizontal blinds
456     \transblindshorizontal<1>
457   \item Vertical blinds
458     \transblindsvertical<2>
459   \item Moving to the center from all four sides
460     \transboxin<3>
461   \item Moving from the center to four sides
462     \transboxout<4>
463   \item Dissolve
464     \transdissolve<5>
465   \item Glitter
466     \transglitter<6>
467   \item Split verticalin
468     \transsplitverticalin<7>
469   \item Split verticalout
470     \transsplitverticalout<8>
471   \item wipe
472     \transwipe<9>
473   \item transduration
474     \transduration<10>{1}
475   \end{enumerate}
476 }
477
478
479 \section{Customization}
480
481 %%
482 %% reference here
483 %%
484
485 \section<presentation>*{Reference}
486
487 \frame{
488   \transdissolve
489   \frametitle<presentation>{Reference}
490
491   \beamertemplatebookbibitems
492
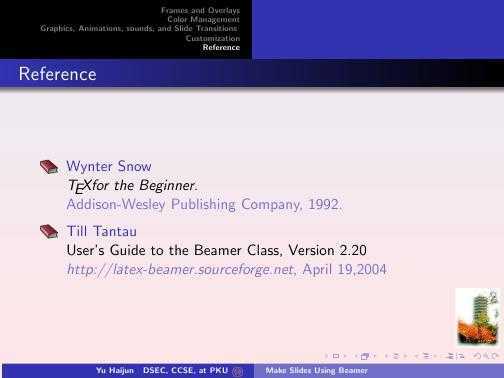
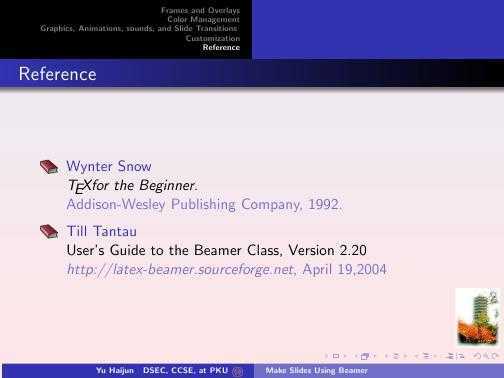
493   \begin{thebibliography}{10}
494
495   \bibitem{TeX}
496     Wynter Snow
497     \newblock {\em \TeX for the Beginner}.
498     \newblock Addison-Wesley Publishing Company, 1992.
499     \pause
500
501   \beamertemplatearticlebibitems
502
503   \bibitem{userguide}
504     Till Tantau
505     \newblock User‘s Guide to the Beamer Class, Version 2.20
506     \newblock {\em http://latex-beamer.sourceforge.net}, April 19,2004
507     \pause
508
509
510   \end{thebibliography}
511 }
512
513
514
515 %%
516 %% 附录之后的东西将不在正文里出现
517 %%
518
519 \appendix
520
521 \section{Tips and (Dirty) Tricks}
522
523 %%
524 %% 最后加入一个显示Thank you!!!字样的动画
525 %%
526
527 \newcount\opaqueness
528 \plainframe{
529   \itshape
530   \animate<1-10>
531   \Large
532
533   \only<1-10>{
534   \animatevalue<1-10>{\opaqueness}{10}{100}
535   \begin{colormixin}{\the\opaqueness!averagebackgroundcolor}
536     \begin{centering}
537       \Huge Thank You!!!\par
538     \end{centering}
539   \end{colormixin}
540   }
541 }
542
543 \end{document}
beamercn.pdf
beameren.pdf


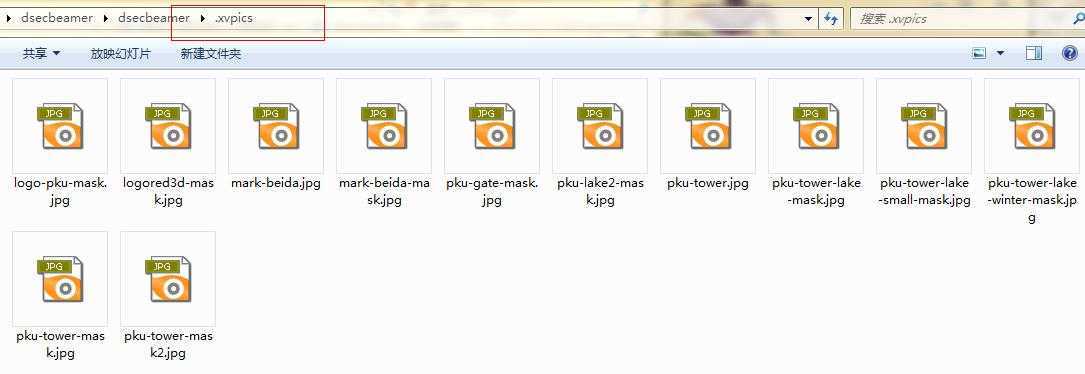
工作目录:

标签:des style blog http color io os 使用 ar
原文地址:http://www.cnblogs.com/jinliangjiuzhuang/p/4014459.html