During this years VMware {code} Hackathon at VMworld Vegas I submitted a team project which ran PowerShell within the vSphere Client. To achieve this I had to create a Docker container running PowerShell Core. During development I ran the container on an Ubuntu Linux server. For my final submission at the Hackathon I wanted to minimise the dependency to run a separate Linux VM. So I created a process to install and run Docker directly on VCSA 6.7.
The process to install and run Docker within VCSA 6.7 is surprisingly very simple. As a reference I used a blog post from William Lam but with a small modification to correctly load the Bridge module in VCSA 6.7 (as opposed to VCSA 6.5 in William’s post).
I thought I would share the steps I used below for others to experiment with.
Step 1.
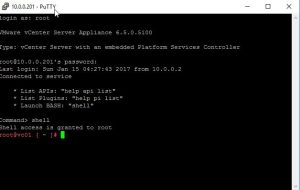
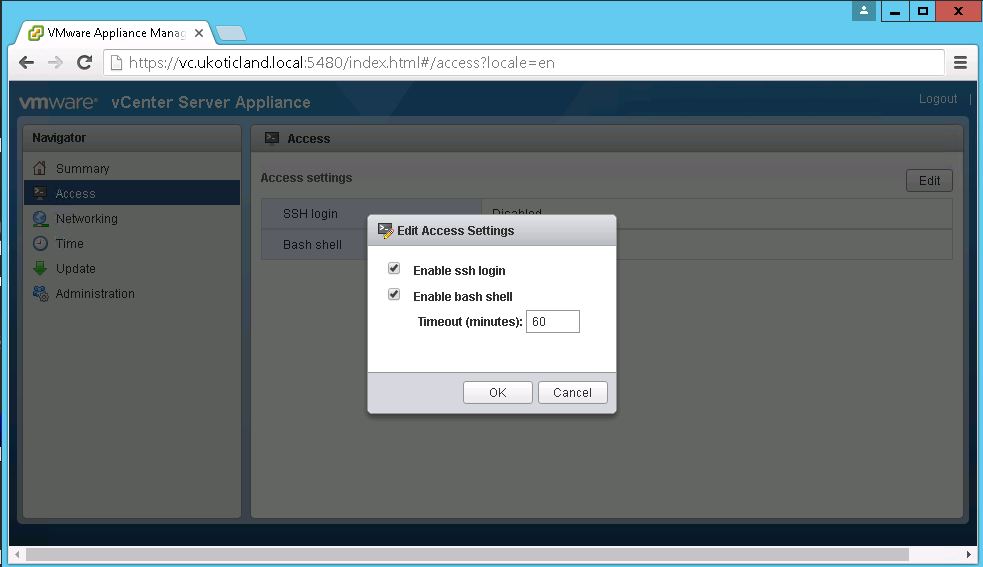
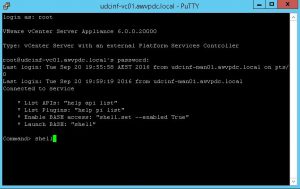
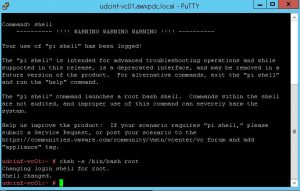
SSH to the VCSA VM and enter the Shell
Install the docker package
tdnf -y install docker
Step 2.
Load the kernel module to start the Docker client. (This step needs to be re-run if the VCSA is rebooted)
modprobe bridge --ignore-install
If successful no information should be returned.
You can check if the module is installed by running the following
lsmod | grep bridge
root@vc67-1 [ ~ ]# lsmod | grep bridge
bridge                118784  0
stp                    16384  1 bridge
llc                    16384  2 stp,bridge
Step 3.
Enable and start the Docker Clientsystemctl enable docker
systemctl start docker
Making the Bridge module load after a reboot (Optonal)
As with William’s process to install and run Docker Step 2 needs to be re-run each time the VCSA is rebooted. The solution to make the Bridge module automatically load after a reboot happens to be exactly the same. I’ve included the specific commands to simplify the process.
Step 1.
Make a backup of the file we are going to modify.
cp /etc/modprobe.d/modprobe.conf /etc/modprobe.d/modprobe.conf.bak
Step 2.
Comment out the line that disables the Bridge module from loading
sed -i "s/install bridge/# install bridge/g" /etc/modprobe.d/modprobe.conf
Step 3.
Create a new config file to load the Bridge module
touch /etc/modules-load.d/bridge.conf
Step 4.
Specify the name of the Bridge module to load at reboot
echo bridge >> /etc/modules-load.d/bridge.conf
That’s all we need to do to start running containers on VCSA 6.7. Excluding the steps to have the Bridge module persist after a reboot and it’s even simpler.
Running a Docker container
If you want to test your first container on VCSA you can try my Docker image I build for the Hackathon. The steps are very simple and listed out below.
Step 1.
Download the two required files from my GitHub repo
curl -O https://raw.githubusercontent.com/originaluko/vSphere_PowerCLI/master/Dockerfile
curl -O https://raw.githubusercontent.com/originaluko/vSphere_PowerCLI/master/supervisord.conf
Step 2.
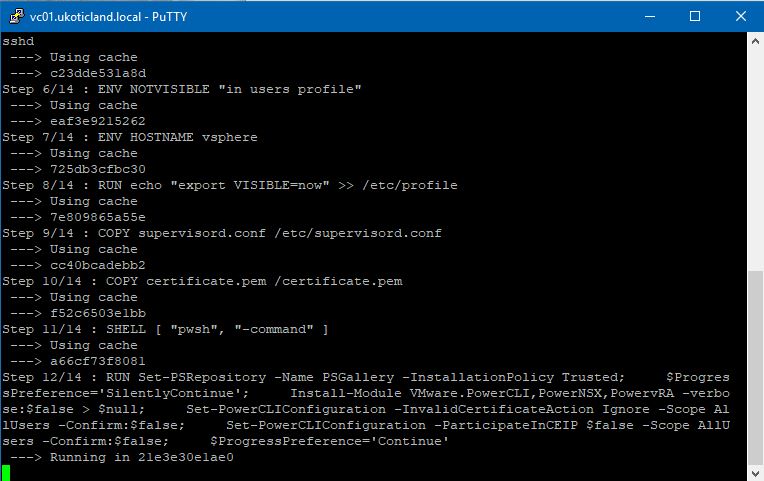
Build the Image
docker build -t vsphere-powercli .
Step 3.
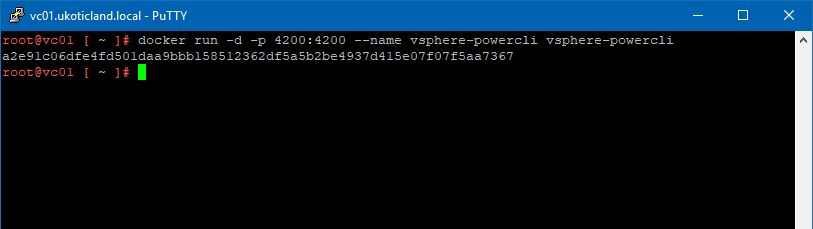
Start the container with this image
docker run -d -p 4200:4200 --name vsphere-powercli vsphere-powercli
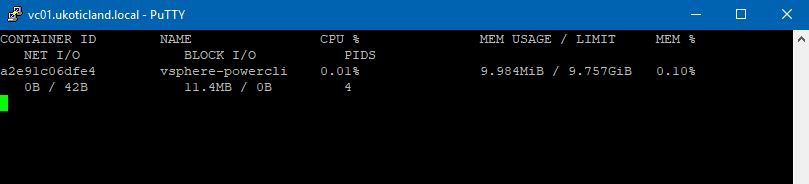
You can check if the docker container is running with the below command.
docker stats
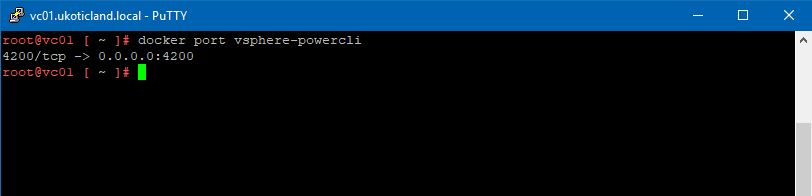
You can check if the port has been mapped correctly by running
docker port vsphere-powercli
Step 4.
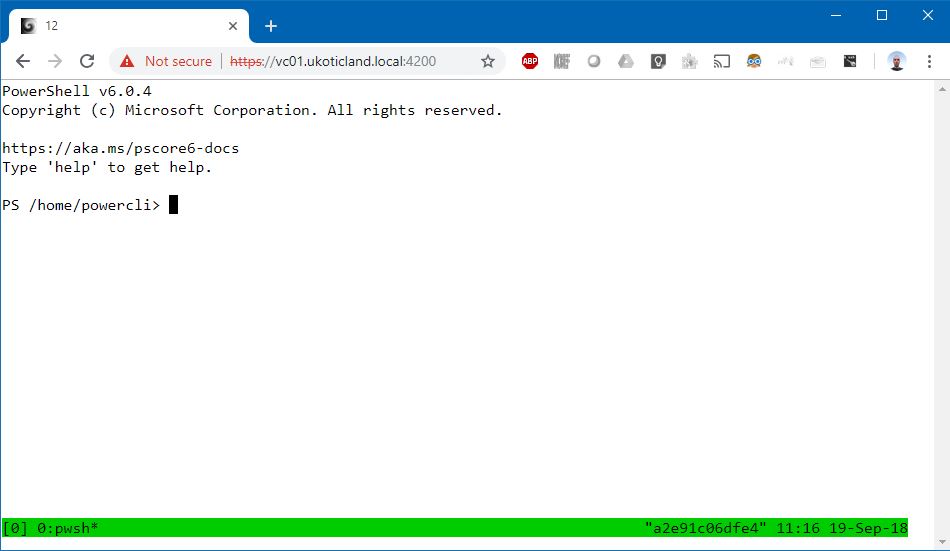
Open a web browser and test if you can connect directly to the container through the browser and login to the PowerShell prompt.
https://{my_vcsa}:4200
Accept any certificate warning and login with the default credentials of powercli / password
I hope that was all fairly straight forward to understand. It’s actually all very simple to achieve under VCSA 6.7. As in William’s post, none of this is supported by VMware, so user beware. Though I have been playing with Docker inside of VCSA 6.7 for quite a few months now with no noticeable issues.
If you want to see my full VMworld Hackathon project you can check it out over in my GitHub repo