标签:config dir 发布 use 需要 图片 云服务器 iso info
1.域名购买之后 备案。
2.购买服务器。
3.这两个条件具备之后进行下一步。
本人使用Mac ,实践流程按照Mac本的流程操作。
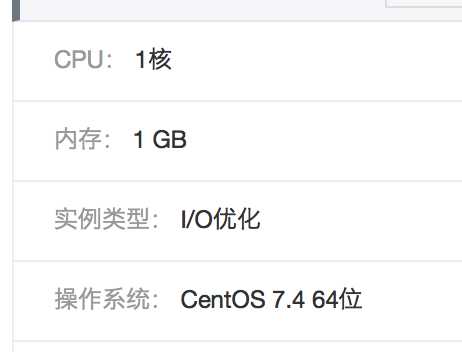
作为初学者,简配的服务器,
实例类型: I/O优化,操作系统: CentOS 7.4 64位 nginx 1.10
ps:为了将本地文件传到服务器,下载filezilla工具,类似ftp工具,连接之后,可以随时查看服务器里面的文件,也可以将本地文件上传到服务器。
ps:为了本地电脑连接服务器,下载 xshell,mac本可以通过自己的终端建立远程连接,需要将服务器的ip添加到对应的位置建立连接。有时候初始化系统盘,重新连接,会出现以下错误,需要在终端执行
ssh-keygen -R x x x x。/xxxx表示服务器的ip

4.这些工作具备了,进行下一步。
5.连接到服务器之后,会出现欢迎的一些话,说明登陆成功 ,默认的服务器登陆用户名是root,密码是自己设置的服务器密码,在阿里云购买的服务器,可以对服务器密码重置。接下里安装一些依赖
mkdir -p /usr/local/src/nginx-files
cd /usr/local/src/nginx-files
wget http://www.zlib.net/zlib-1.2.11.tar.gz
wget https://ftp.pcre.org/pub/pcre/pcre-8.40.tar.gz
wget https://www.openssl.org/source/openssl-1.1.0e.tar.gz
wget http://nginx.org/download/nginx-1.10.3.tar.gz

解压到当前目录
tar zxvf nginx-1.10.3.tar.gz
tar zxvf pcre-8.40.tar.gz
tar zxvf zlib-1.2.11.tar.gz
tar zxvf openssl-1.1.0e.tar.gz

然后打开解压的nginx文件夹
cd nginx-1.10.3
yum install gcc gcc-c++ ncurses ncurses-devel bison libgcrypt perl automake autoconf libtool make
在该目录下安装编译文件
#增加系统用户 www
groupadd www
useradd -r -g www www
./configure --prefix=/usr/local/nginx --user=www --group=www --with-http_ssl_module --with-http_v2_module --with-http_gzip_static_module --with-ipv6 --with-poll_module --with-select_module --with-pcre=/usr/local/src/nginx-files/pcre-8.40 --with-zlib=/usr/local/src/nginx-files/zlib-1.2.11 --with-openssl=/usr/local/src/nginx-files/openssl-1.1.0e
make
make install
这样基本酒操作完成了,接下来启动nginx
/usr/local/nginx/sbin/nginx

查看nginx是否启动
ps axu | grep nginx
启动之后,执行 ps axu | grep nginx 会看到如下界面:说明启动成功

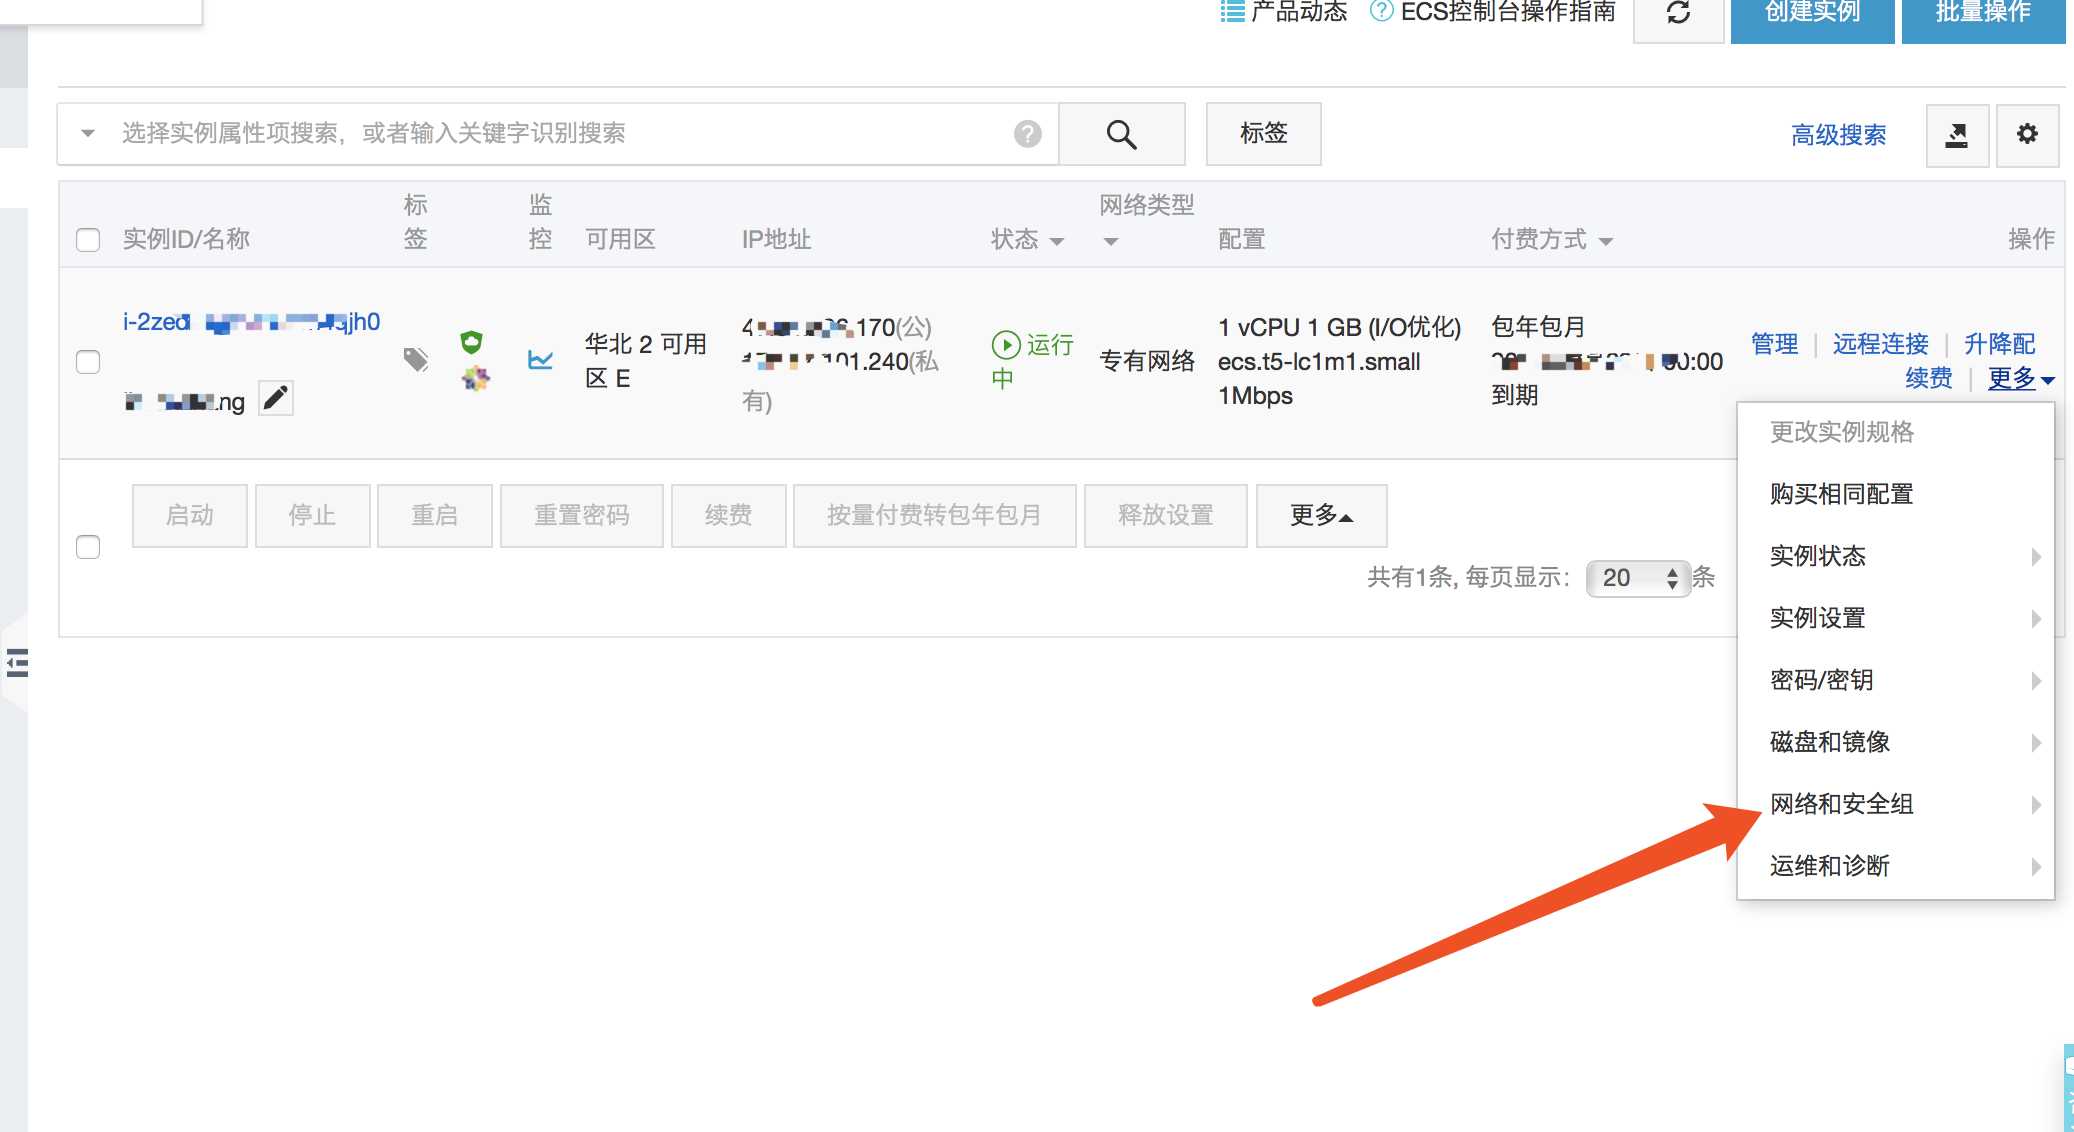
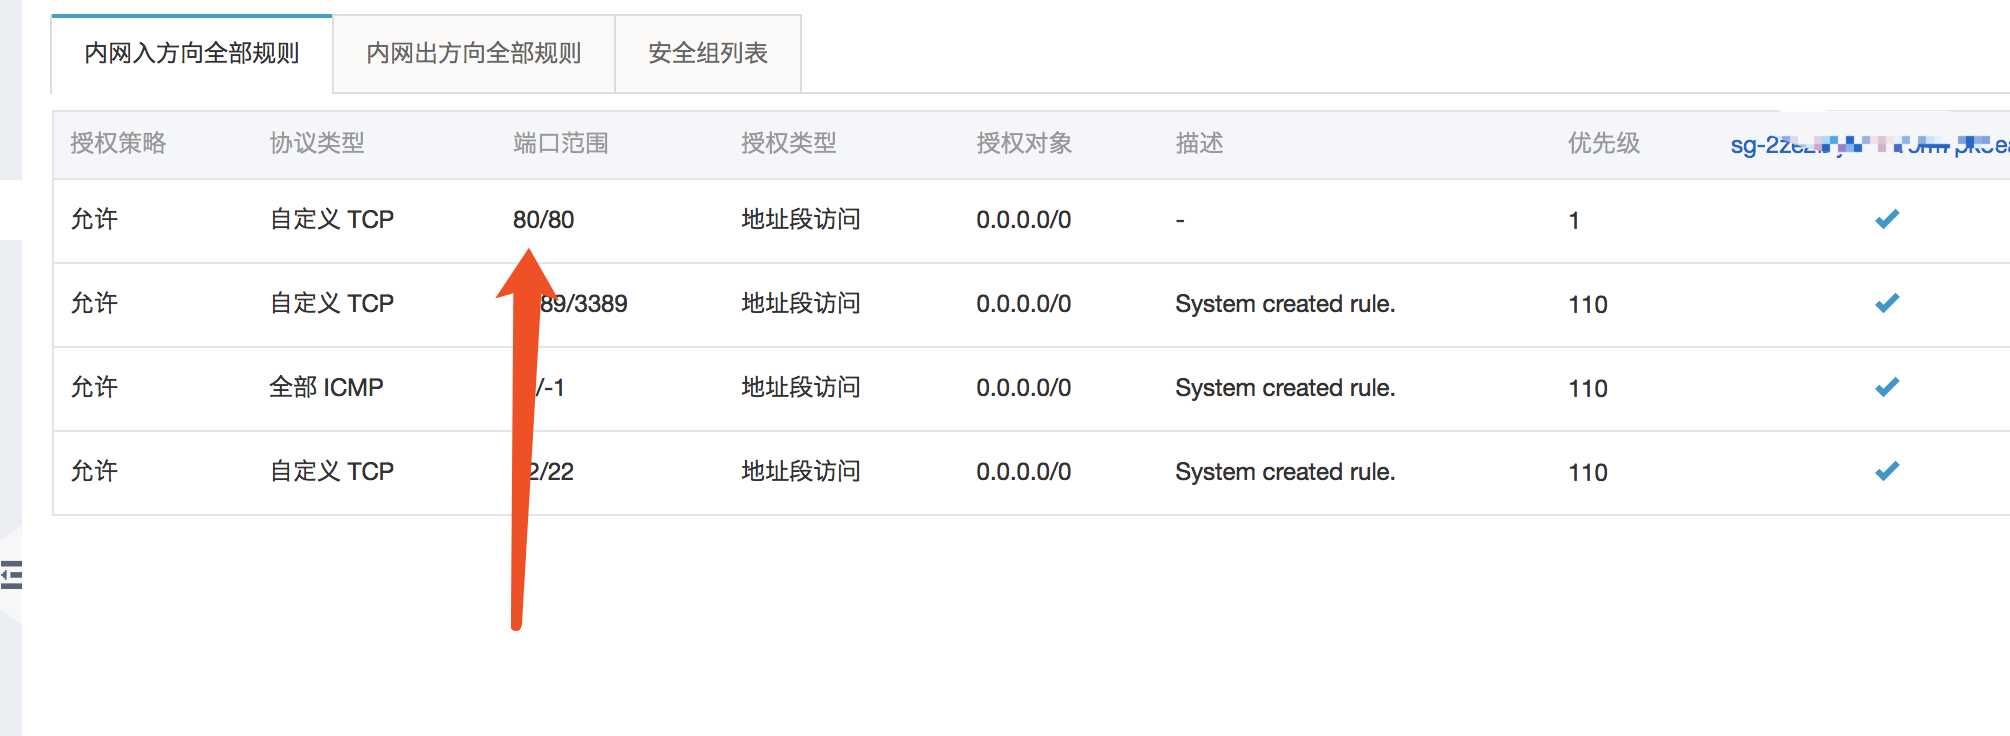
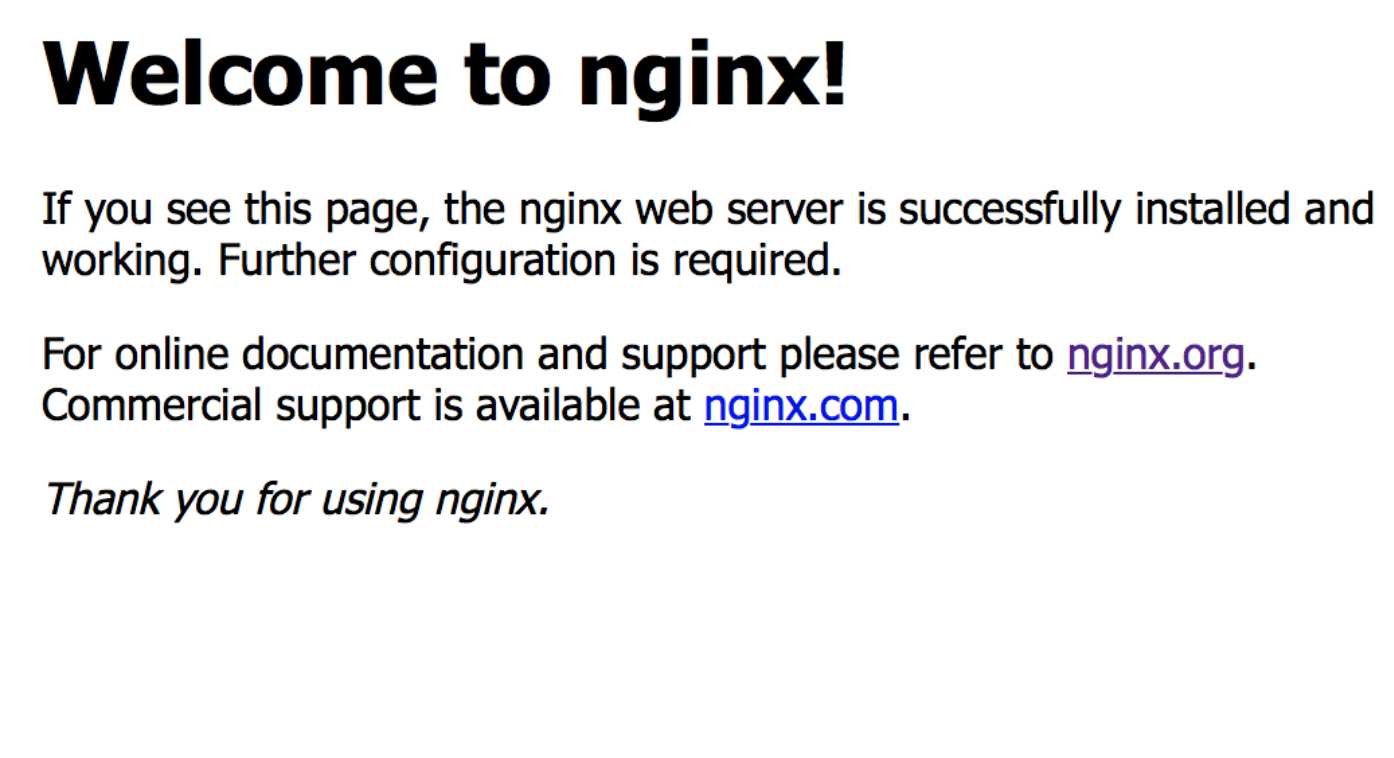
当nginx启动以后,在浏览器输入自己服务器的ip,看是否能给出来 welcome to nginx页面,如果出不来,需要登陆阿里云设置安全组,添加新的端口号范围

添加成功以后这样

再次输入服务器的ip加上80端口就可以出现welcone to nginx 页面了

到这里就ok 了,接下来部署静态页面,下次发布,很多都是百度的,感觉不够清晰,最后整理了一下。有问题可以沟通

标签:config dir 发布 use 需要 图片 云服务器 iso info
原文地址:https://www.cnblogs.com/-youth/p/9764765.html