标签:ant title tle tar ISE llb rev profile turn
上一篇将请求流程描述一遍,这篇将描述一下相关的源码。
GET /Home/Secure HTTP/1.1HTTP/1.1 302 Found
Date: Tue, 23 Oct 2018 09:02:40 GMT
Location: http://127.0.0.1:5000/connect/authorize?client_id=mvc&redirect_uri=http://127.0.0.1:5002/signin-oidc&response_type=id_token&scope=openid profile&response_mode=form_post&nonce=636758。。。&state=CfD。。。ZLI0fuVlCMPs&x-client-SKU=ID_NET&x-client-ver=2.1.4.0
Secure action 代码如下:

        [Authorize]
        public IActionResult Secure()
        {
            ViewData["Message"] = "Secure page.";

            return View();
        }
1.1 authorizationPolicy
不同点在用 Authorize 修饰了 action,中间有些曲折,最终其相当于在 ActionContext 的属性 FilterDescriptors 添加了一个 AuthorizerFilte,这个过滤器的 Policy 是 DenyAnonymousAuthorizationRequirement,就是拒绝匿名用户访问,同 [Authorize] 定义相符。

MVC 过滤器的解释及相关可以参考官方文档,个人认为主要是实践 AOP 想法。
1.2 Challenged
过滤器被执行的结果是
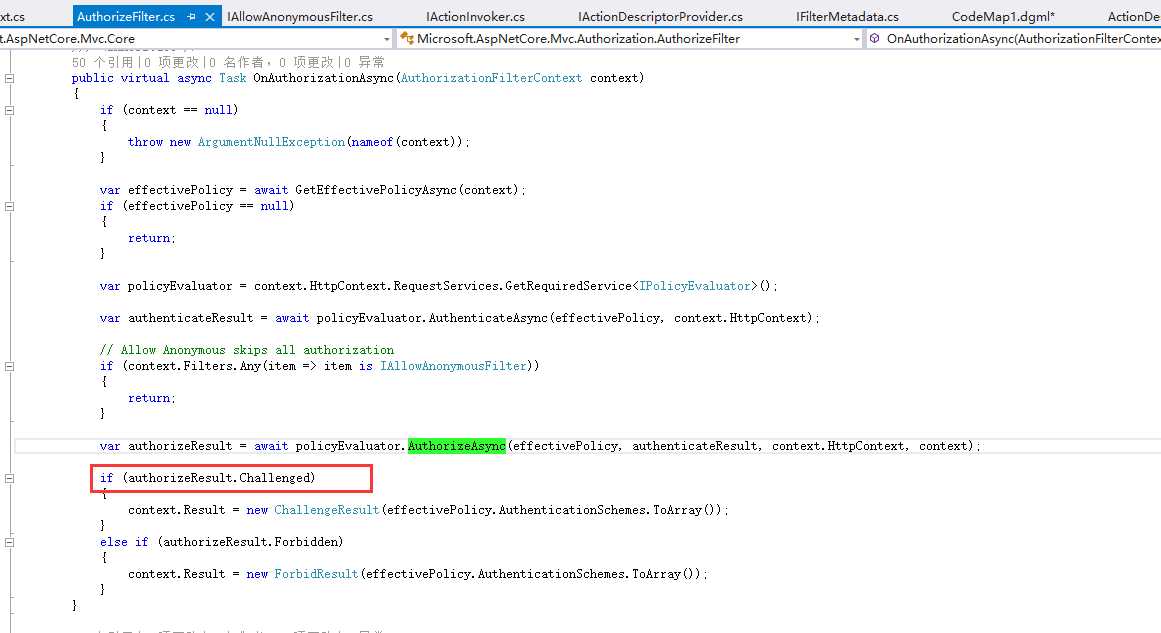
项目的地址在这里。dotnet core 授权和认证的原理主要是5个扩展方法,相关的代码是在 HttpAbstractions 这个项目中。
1.3 生成 redirect
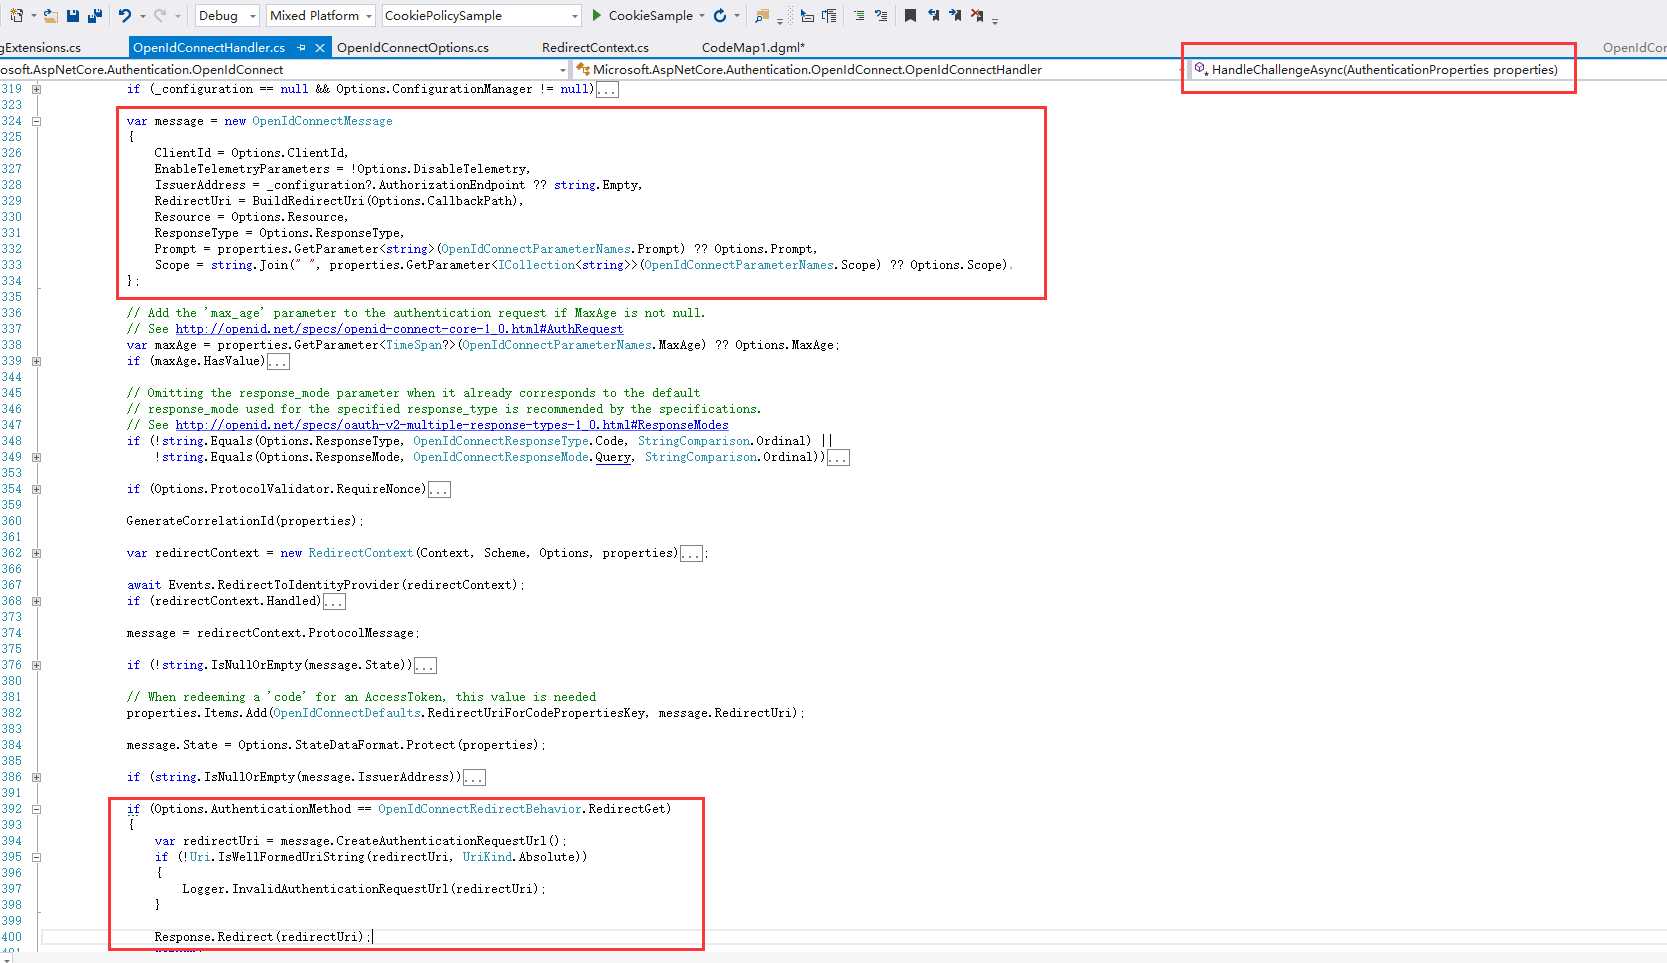
MvcClient 中配置 oidc 的 options 会赋给 OpenIDConnectMessage 对象,并最终拼接中 RedirectUrl:

    public class Startup
    {
        public void ConfigureServices(IServiceCollection services)
        {
            services.AddMvc();

            JwtSecurityTokenHandler.DefaultInboundClaimTypeMap.Clear();

            services.AddAuthentication(options =>
                {
                    options.DefaultScheme = "Cookies";
                    options.DefaultChallengeScheme = "oidc";
                })
                .AddCookie("Cookies")
                .AddOpenIdConnect("oidc", options =>
                {
                    options.SignInScheme = "Cookies";

                    options.Authority = "http://127.0.0.1:5000";
                    options.RequireHttpsMetadata = false;

                    options.ClientId = "mvc";
                    options.SaveTokens = true;
                });
        }
1.4 OpenIDConnectOptions
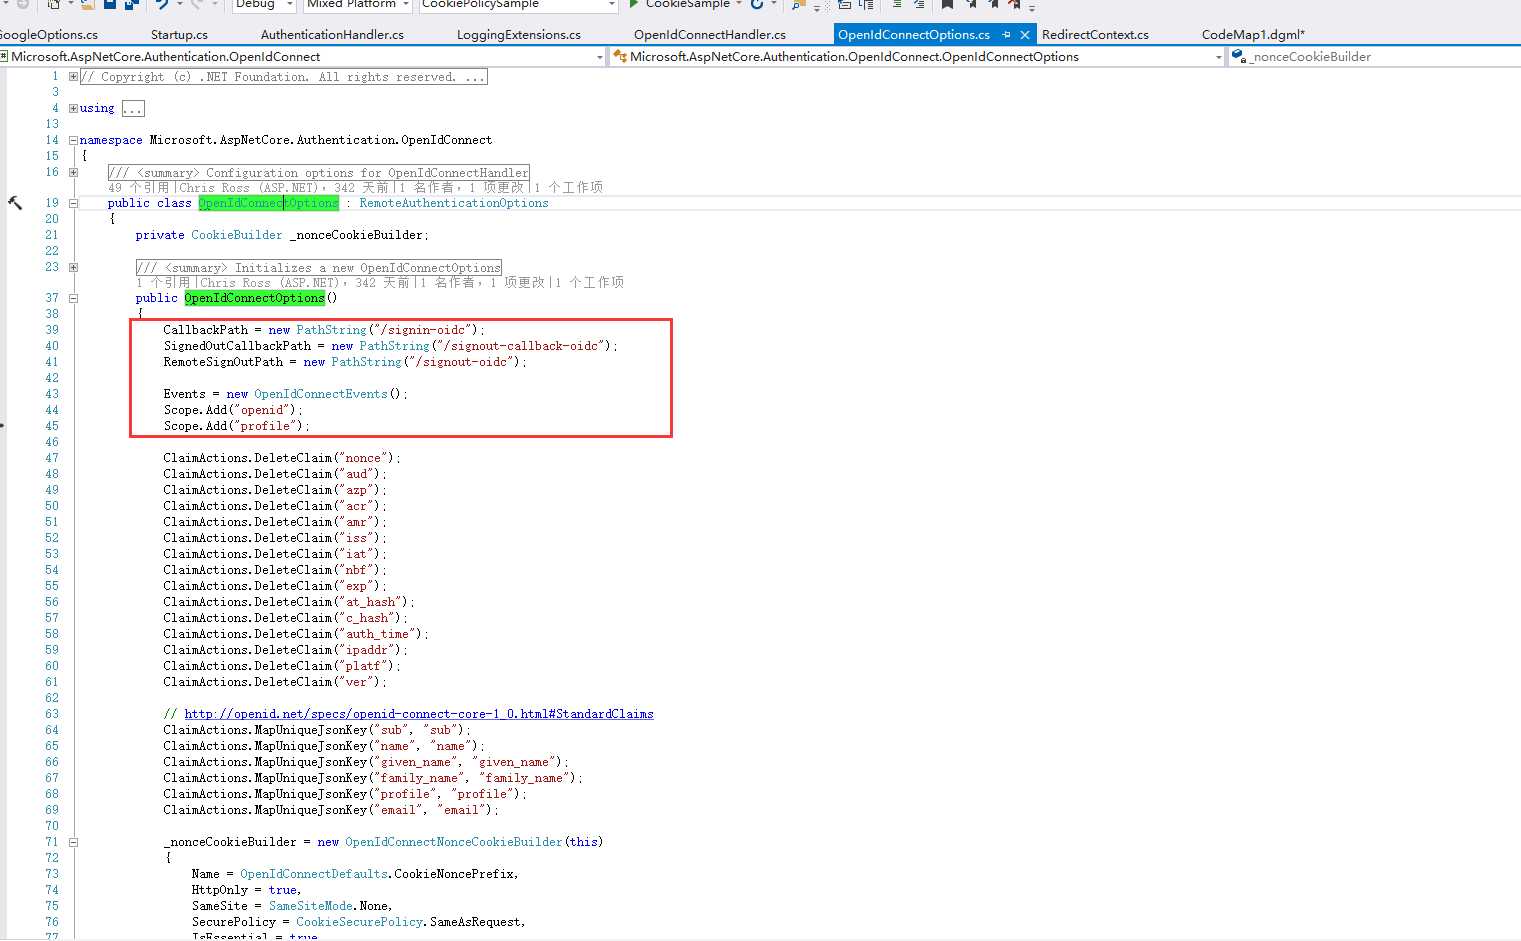
这个地方就可以看到 oidc 许多默认设置,比如当 Scope 没有设置时,默认会请求“openid”和“profile”
GET /connect/authorize?client_id=mvc&redirect_uri=http%3A%2F%2F127.0.0.1%3A5002%2Fsignin-oidc&response_type=id_tok
HTTP/1.1 302 Found
Location: http://127.0.0.1:5000/account/login?returnUrl=%2Fconnect%2Fauthorize%2Fca。。。%26x-client-ver%3D2.1.4.0
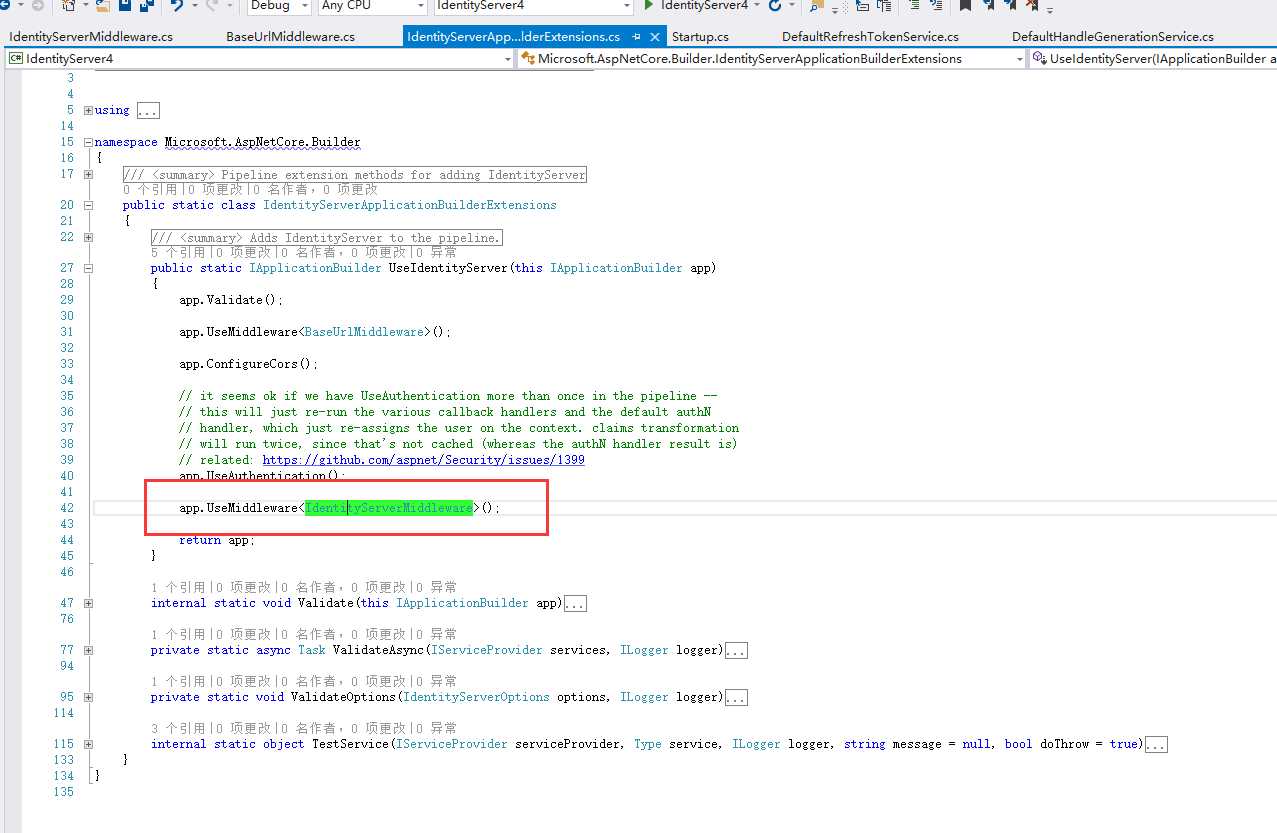
2.1 IdentityServerMiddleware
项目地址在这里
在 IdentityServer 的 Starup中
app.UseIdentityServer();
主要是将 IdentityServerMiddleware 中间件提交 app 管道中,
2.2 endpoint
个人认为 identityServer 的实现时各种 endpoint,并将 endpoint 与路径挂钩,

        public static class ProtocolRoutePaths
        {
            public const string Authorize              = "connect/authorize";
            public const string AuthorizeCallback      = Authorize + "/callback";
            public const string DiscoveryConfiguration = ".well-known/openid-configuration";
            public const string DiscoveryWebKeys       = DiscoveryConfiguration + "/jwks";
            public const string Token                  = "connect/token";
            public const string Revocation             = "connect/revocation";
            public const string UserInfo               = "connect/userinfo";
            public const string Introspection          = "connect/introspect";
            public const string EndSession             = "connect/endsession";
            public const string EndSessionCallback     = EndSession + "/callback";
            public const string CheckSession           = "connect/checksession";

            public static readonly string[] CorsPaths =
            {
                DiscoveryConfiguration,
                DiscoveryWebKeys,
                Token,
                UserInfo,
                Revocation
            };
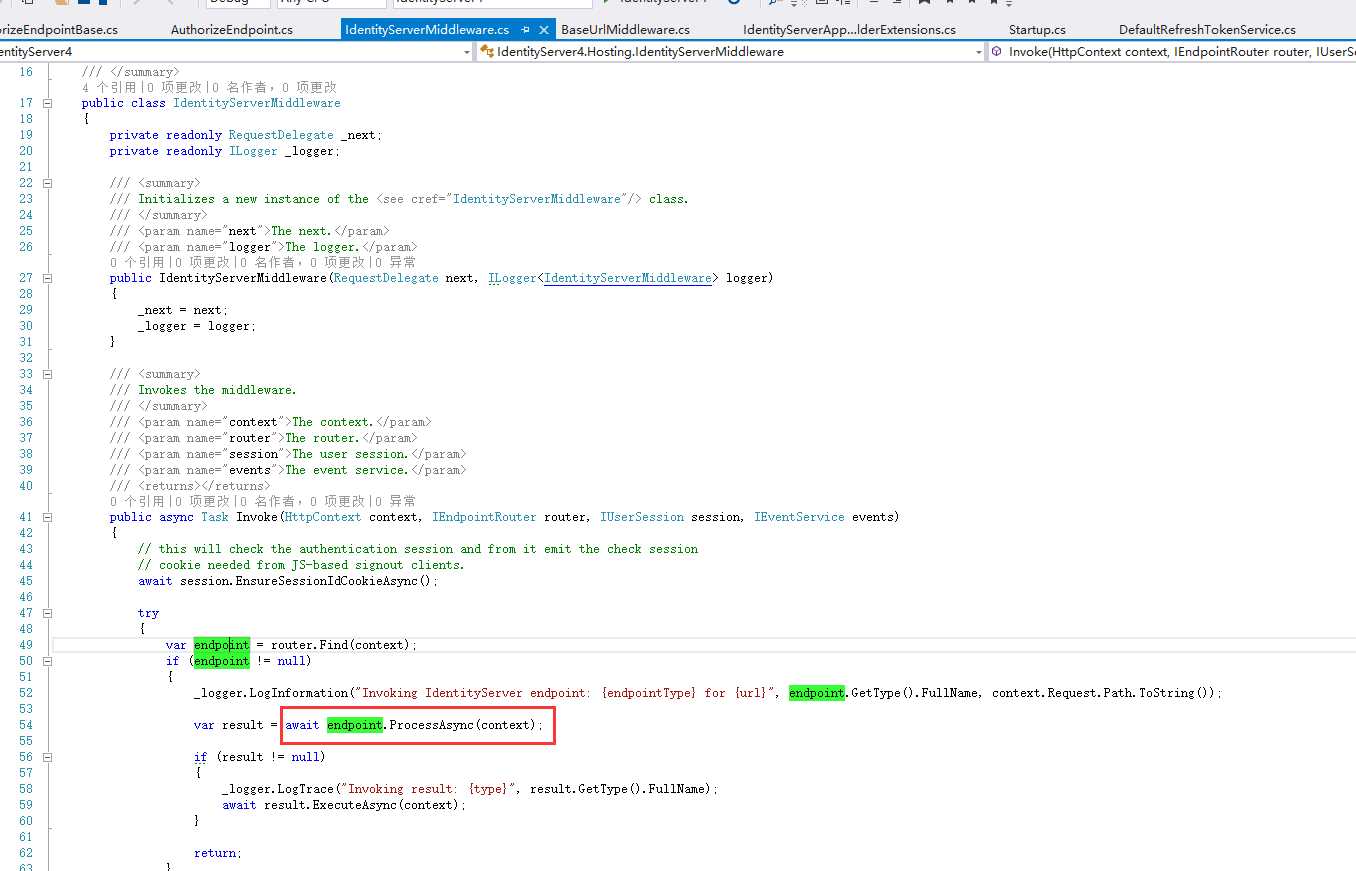
比如请求的地址为:/connect/authorize?,它获得的就是 AuthorizeEndpoint
2.3 LoginPageResult
var result = endpoint.ProcessAsync(context);
endpoint 处理后就是 result 对象,
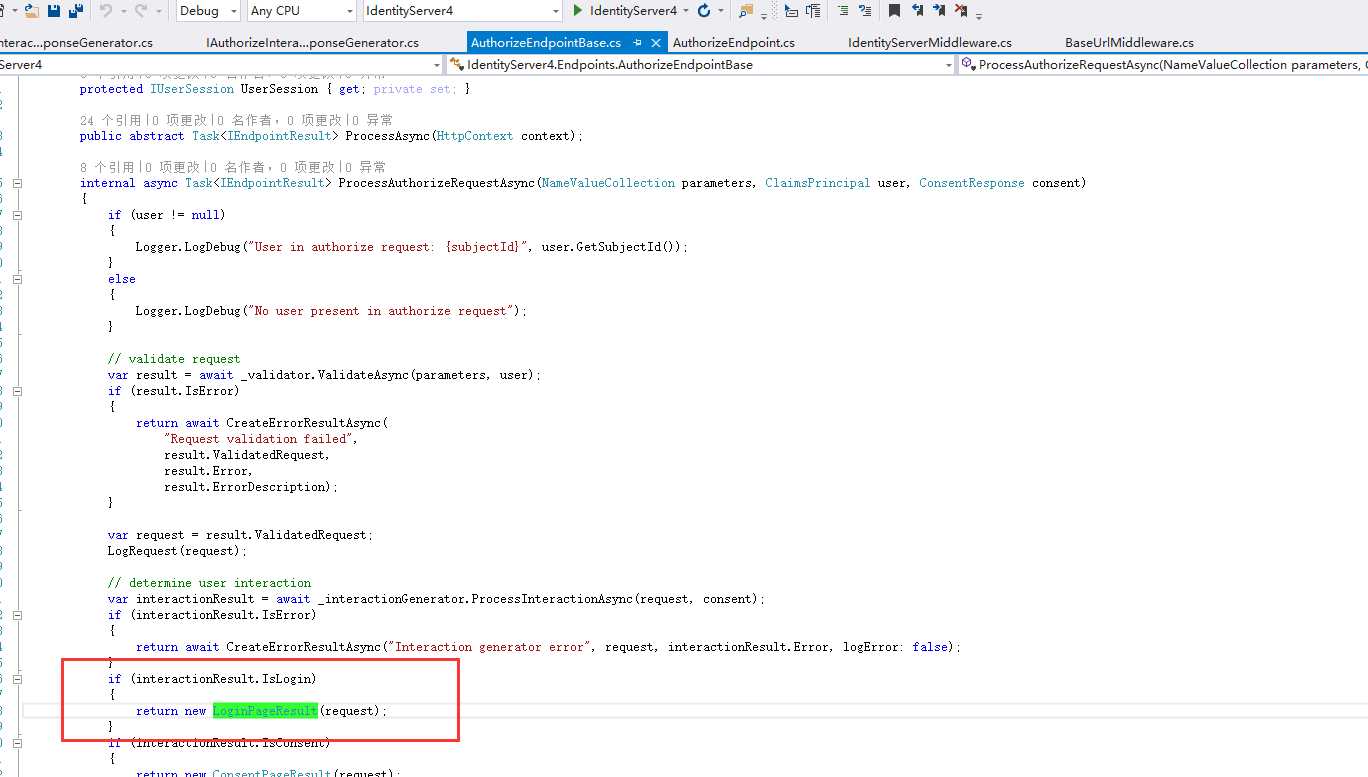
同 endpoint 类似, IdentityServer 实现了各种 result
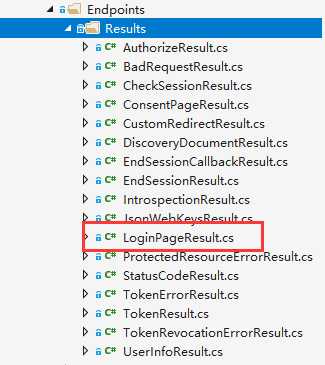
而 LoginPageResult 这是讲请求 redirect 到 /account/login?,这与抓包的流程3描述一致。
而后续在 IdentityServer 中跳转流程可通过了类似方式查看源代码,就不再一一描述。
-------感觉写代码现在变成了体力活,无任何技术可言。
indetityserver4-implicit-grant-types-请求流程叙述-下篇
标签:ant title tle tar ISE llb rev profile turn
原文地址:https://www.cnblogs.com/850391642c/p/9857327.html