标签:tar processes 火墙 root用户 安装完成 pass 自己的 inux 开机启动
说明:我安装后的版本号分别是:
apache : Apache/2.4.6 (CentOS)
mysql:5.6.42
php:5.6.39


一、配置网络。
我们首先需要让我们的虚拟机能够连接上外网,这样才能方便我们使用yum进行安装。
1、如果只是自己开发用的话,最简洁的配置,我们只需要配置一个IP和网关就可以了(根据自己的实际情况)
vim /etc/sysconfig/network-scripts/ifcfg-ens33
DEVICE=ens33
IPADDR=192.168.1.101
GATEWAY=192.168.1.1
ZONE=public
2、配置DNS,具体的值可以在 cmd 的ipconfig -all 进行查看
vim /etc/resolv.conf
nameserver xxx.xxx.xxx.xxx
3、service network restart // 重启网络服务
4、ping 192.168.1.101 或 ping www.baidul.com //检测网络是否可以连接网络了。
二、配置防火墙和SELINUX
开启80、3306端口。CentOS 7.0默认使用的是firewall作为防火墙,这里改为iptables防火墙
1、关闭firewall
#停止firewall服务
systemctl stop firewalld.service
#禁止firewall开机启动
systemctl disable firewalld.service
2、安装iptables
yum install iptables-services
#编辑防火墙配置文件
vim /etc/sysconfig/iptables
加入红色的两行代码,请注意位置一定要对应。
1 # sample configuration for iptables service
2 # you can edit this manually or use system-config-firewall
3 # please do not ask us to add additional ports/services to this default configuration
4 *filter
5 :INPUT ACCEPT [0:0]
6 :FORWARD ACCEPT [0:0]
7 :OUTPUT ACCEPT [0:0]
8 -A INPUT -m state --state RELATED,ESTABLISHED -j ACCEPT
9 -A INPUT -p icmp -j ACCEPT
10 -A INPUT -i lo -j ACCEPT
11 -A INPUT -p tcp -m state --state NEW -m tcp --dport 22 -j ACCEPT
12 -A INPUT -p tcp -m state --state NEW -m tcp --dport 80 -j ACCEPT
13 -A INPUT -p tcp -m state --state NEW -m tcp --dport 3306 -j ACCEPT
14 -A INPUT -j REJECT --reject-with icmp-host-prohibited
15 -A FORWARD -j REJECT --reject-with icmp-host-prohibited
16 COMMIT
3、最后重启防火墙使配置生效
systemctl restart iptables.service
#设置防火墙开机启动
systemctl enable iptables.service
4、关闭selinux
#修改配置文件
vi /etc/selinux/config
1
2 # This file controls the state of SELinux on the system.
3 # SELINUX= can take one of these three values:
4 # enforcing - SELinux security policy is enforced.
5 # permissive - SELinux prints warnings instead of enforcing.
6 # disabled - No SELinux policy is loaded.
7 #SELINUX=enforcing
8 SELINUX=disabled
9 # SELINUXTYPE= can take one of three two values:
10 # targeted - Targeted processes are protected,
11 # minimum - Modification of targeted policy. Only selected processes are protected.
12 # mls - Multi Level Security protection.
13 #SELINUXTYPE=targeted
5、使配置立即生效
setenforce 0
三、安装apache
yum install -y httpd
可能会用到的:
systemctl start httpd.service //启动apache

systemctl stop httpd.service //停止apache

systemctl restart httpd.service //重启apache

systemctl enable httpd.service //设置apache开机启动

systemctl restart httpd.service //重启服务
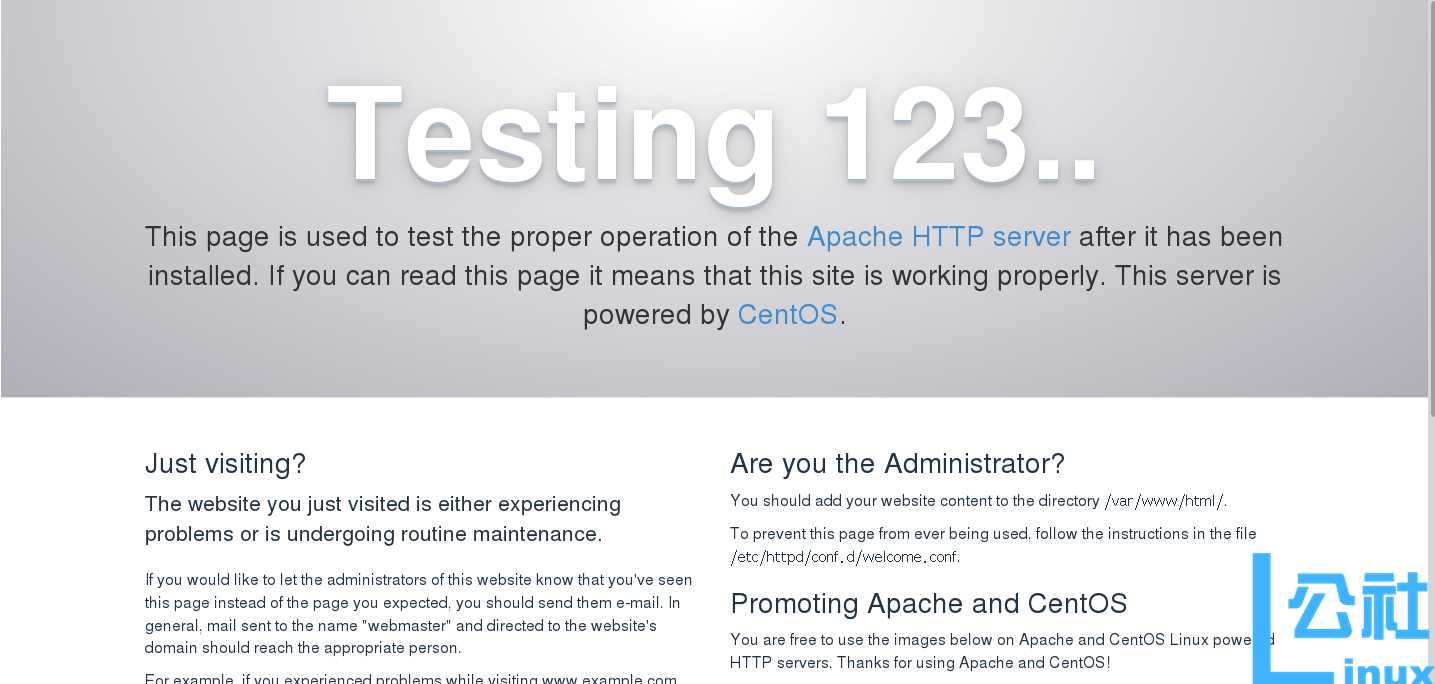
输入 192.168.1.101 出现如下界面,就代表apache安装成功。

四、安装mysql
由于yum源上没有mysql-server。所以必须去官网下载后在安装吗,这里我们用wget命令,直接获取。
wget http://dev.mysql.com/get/mysql-community-release-el7-5.noarch.rpm
rpm -ivh mysql-community-release-el7-5.noarch.rpm
yum install -y mysql-community-server
systemctl restarat mysqld.service //安装完成后重启mysql
初始安装 root用户没有密码,设置一个秘密
mysql -u root
#设置msyql密码为 123456
mysql> set password for ‘root‘@‘localhost‘ =password(‘123456‘);
#远程连接设置,所有以root账号连接的远程用户,设其密码为 123456
mysql> grant all privileges on *.* to root@‘%‘identified by ‘123456‘;
#更新权限
mysql>flush privileges;
五、安装PHP
由于自带的yum 源php版本是 php5.4 ,我觉得有点儿低,在此安装php5.6
首先我们需要追加CentOS 7.0的epel及remi源。
yum install -y epel-release
rpm -ivh http://rpms.famillecollet.com/enterprise/remi-release-7.rpm
//使用yum list命令查看可安装的包(Packege)。
yum list --enablerepo=remi --enablerepo=remi-php56 | grep php
//yum源配置好了,下一步就安装PHP5.6。
yum install -y --enablerepo=remi --enablerepo=remi-php56 php php-opcache php-devel php-mbstring php-mcrypt php-mysqlnd php-phpunit-PHPUnit php-pecl-xdebug php-pecl-xhprof
//用PHP命令查看版本。
php --version
六、验证LAMP是否安装成功
1、重启一下 apache 和 mysql
2、cd /var/www/html
vim index.php 写入 phpinfo();
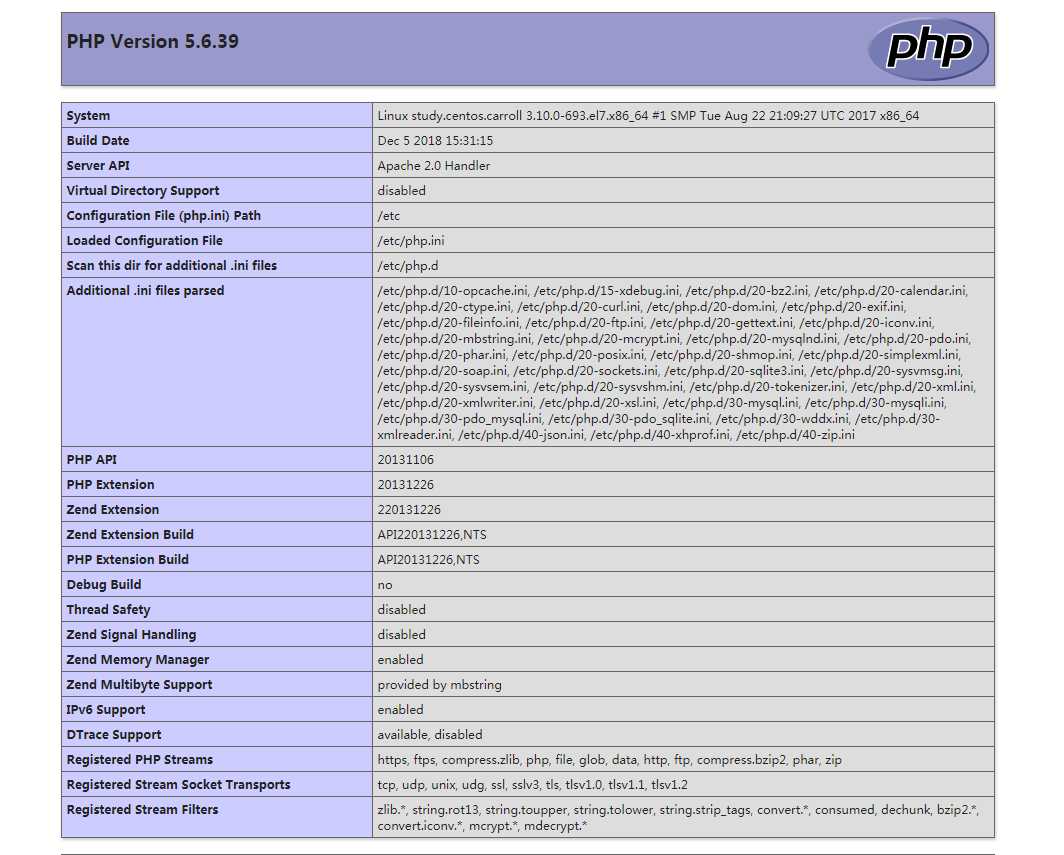
验证 http://192.168.4.147/index.php ,出现如下界面,代表安装OK。

到此为止,我们的LAMP环境就搭建好啦!
参考了博友的博客:https://www.linuxidc.com/Linux/2016-11/136766.htm
https://www.cnblogs.com/jie-hu/p/5950584.html
感谢他们!
标签:tar processes 火墙 root用户 安装完成 pass 自己的 inux 开机启动
原文地址:https://www.cnblogs.com/chrdai/p/10168259.html