标签:.repo 版本 note server 守护进程 install ash mbed ==
[root@gitlab ~]# vim /etc/yum.repos.d/gitlab-ce.repo
[gitlab-ce]
name=gitlab-ce
baseurl=http://mirrors.tuna.tsinghua.edu.cn/gitlab-ce/yum/el6
repo_gpgcheck=0
gpgcheck=0
enabled=1
gpgkey=https://packages.gitlab.com/gpg.key
注:由于网络问题,国内用户,建议使用清华大学的镜像源进行安装:
[root@gitlab ~]# yum makecache
[root@gitlab ~]# yum install gitlab-ce #可以指定版本安装如gitlab-ce-10.8.7,不指定则是最新版
[root@gitlab ~]# gitlab-ctl reconfigure
[root@gitlab ~]# gitlab-ctl status   #查看状态
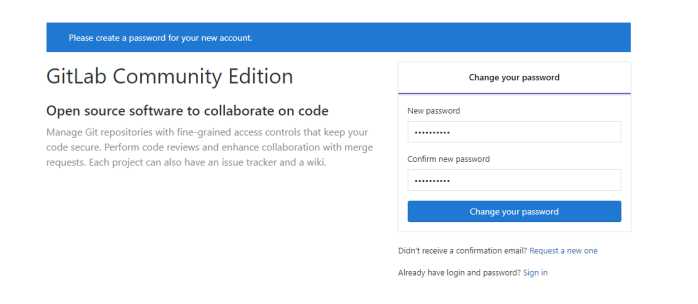
gitlab默认端口是80端口,访问方式:http://IP
第一次登录gitlab,需要为root用户修改密码,root用户也是gitlab的超级管理员
$ gitlab-ctl stop
$ yum remove gitlab-ce
$ ps –ef|grep gitlab
#杀掉第一个守护进程(runsvdir -P /opt/gitlab/service log)
$ find / -name *gitlab*|xargs rm -rf      删除所有包含gitlab的文件及目录
$ find / -name gitlab |xargs rm -rf         删除备份的配置文件
在安装gitlab,新建项目之后,默认的clone链接为git@gitlab.example:test/test.git,http也是gitlab.example这种的 这样每次clone时候都需要手动改下,改成ip或者域名才可以,可以按照如下方式更改external_url
更改/opt/gitlab/embedded/service/gitlab-rails/config/gitlab.yml文件(centos7)中 host和port即可
vi /opt/gitlab/embedded/service/gitlab-rails/config/gitlab.yml
# 1. GitLab app settings
# ==========================

## GitLab settings
gitlab:
    ## Web server settings (note: host is the FQDN, do not include http://)
    host: 10.119.116.160
    port: 8181
    https: false
注意:更改后clone的external_url后执行gitlab-ctl restart,重新进入gitlab就生效了
$ mkdir -p /data/gitlab
vim /etc/gitlab/gitlab.rb
在git_data_dir下面添加一句git_data_dir "/data/gitlab"

$ gitlab-ctl stop
$ gitlab-ctl reconfigure
$ gitlab-ctl start
标签:.repo 版本 note server 守护进程 install ash mbed ==
原文地址:https://www.cnblogs.com/blsnt/p/10280857.html