标签:vcc join ima oid 分享图片 公司 配置文件 oiv ova
一、下载地址
二、安装步骤
1、windows 64bit
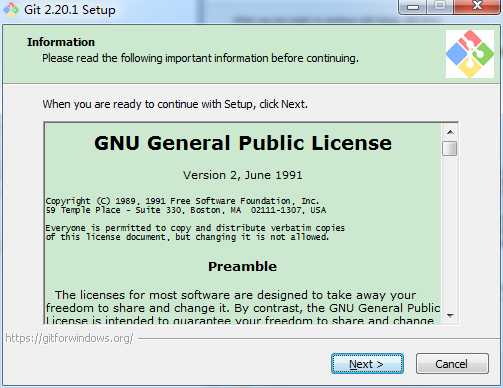
1.1)双击 Git-2.20.1-64-bit.exe 安装
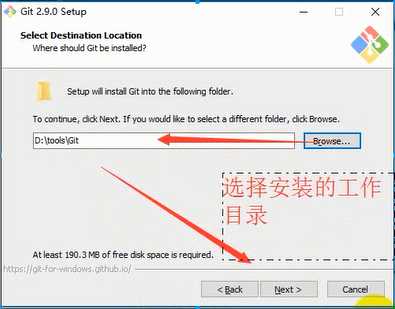
1.2)选择安装目录
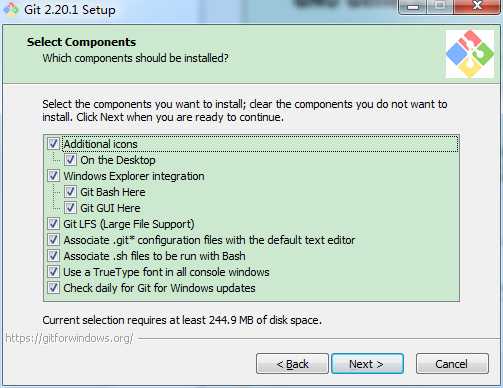
1.3)选择组件
Additional icons-->>其他图标
On the Desktop-->>选择是否创建桌面快捷方式
Windows Explorer integration-->>Windows资源管理器集成
Git Bash Here-->>命令行模式,使用Bash浏览源码
Git GUI Here-->>图形界面,使用GUI浏览源码
Associate .git* configuration files with the default text editor-->>是否关联git配置文件,该配置文件主要显示文本编辑器的样式
Associate .sh files to be run with Bash-->>是否关联Bash命令行执行的shell脚本文件
Use a TrueType font in all console windows-->>在命令行中是否使用TruthType编码,该编码是微软和苹果公司制定的通用编码
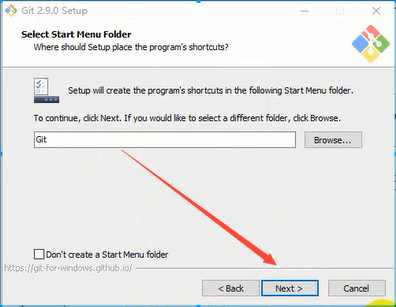
1.4)开始菜单目录名称
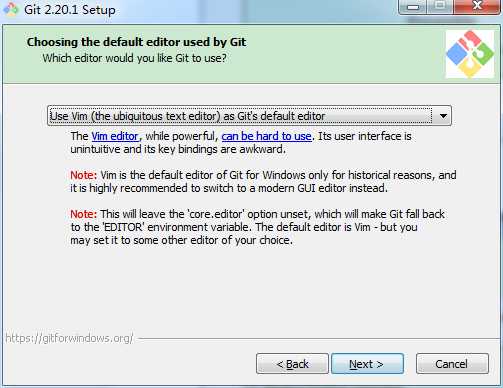
1.5)选择Git使用的默认编辑器
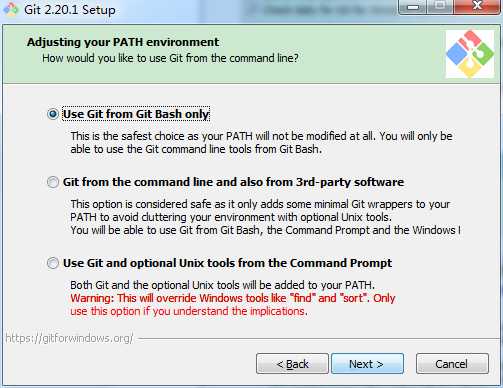
1.6)设置环境变量(选择使用命令行环境)
Use Git from Git Bash only-->>git自带的命令行工具
Git from the command line and also from 3rd-party software-->>使用Windows系统的cmd命令行工具
Use Git and optional Unix tools from the Command Prompt-->>上面二者同时配置,但是注意这样会将windows中的find.exe和sort.exe工具覆盖,如果不懂这些尽量不要选择
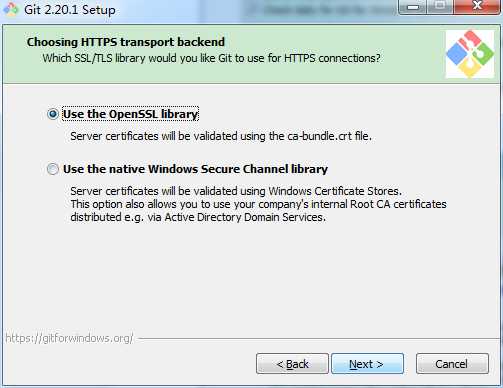
1.7)选择HTTPS传输后端
1.8)配置结束转换的行
Checkout Windows-style,commit Unix-style line endings:(Windows系统安装选择)检查换行格式将windows格式的换行转换为unix格式的换行在进行提交
Checkout as-is,commit Unix-style line endings:(Unix系统安装选择)检查换行格式将原来不管什么格式的换行一律转换为unix格式的换行在进行提交
Checkout as-is,commit as-is:(非跨平台项目安装选择)不进行格式转换,检查出什么格式就提交什么格式

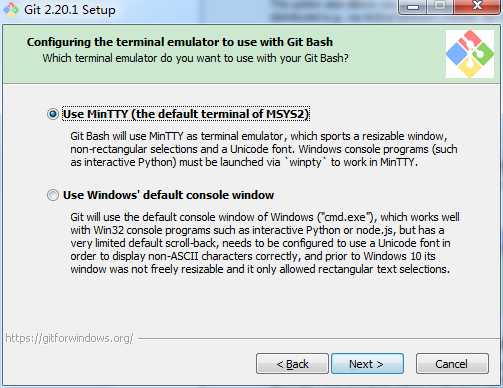
1.9)配置终端模拟器以使用Git Bash
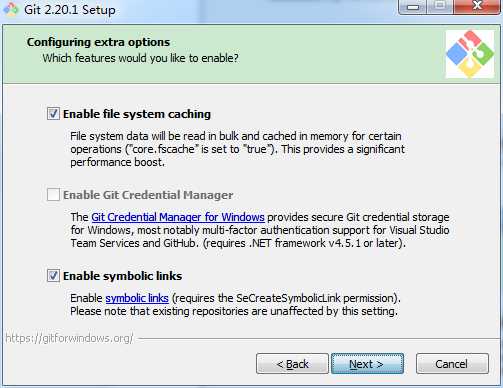
1.10)额外的配置选项
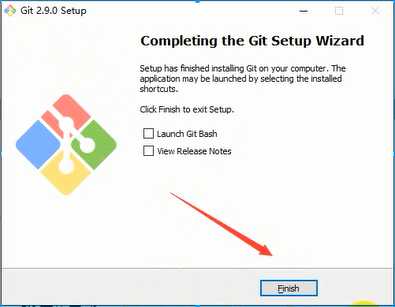
1.11)安装完成
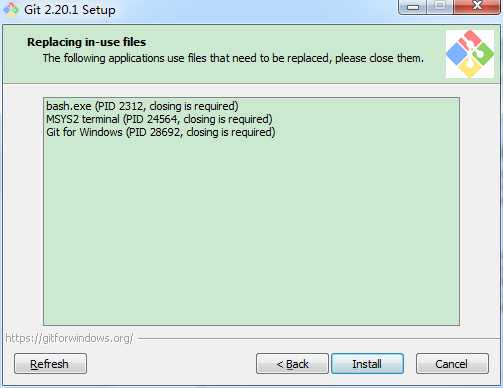
1.12)重新安装或者覆盖安装
2、配置环境变量
2.1)环境变量path中添加 D:\Program Files\Git\cmd
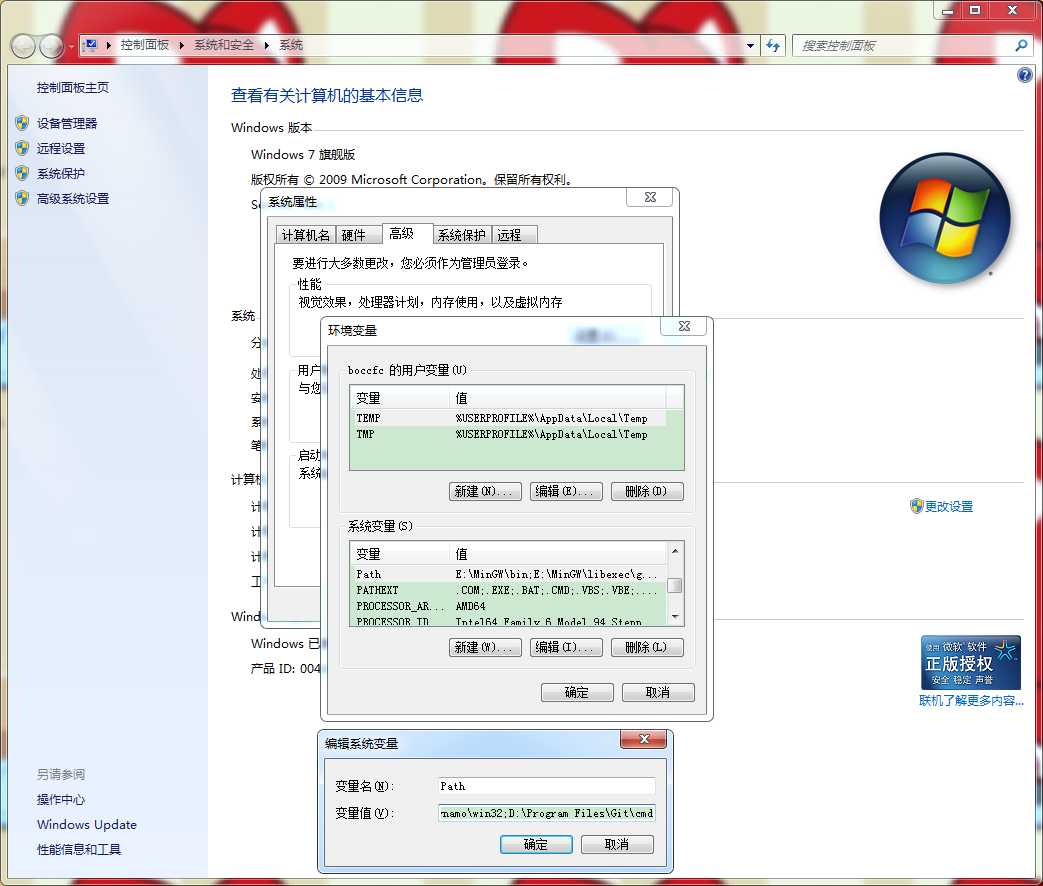
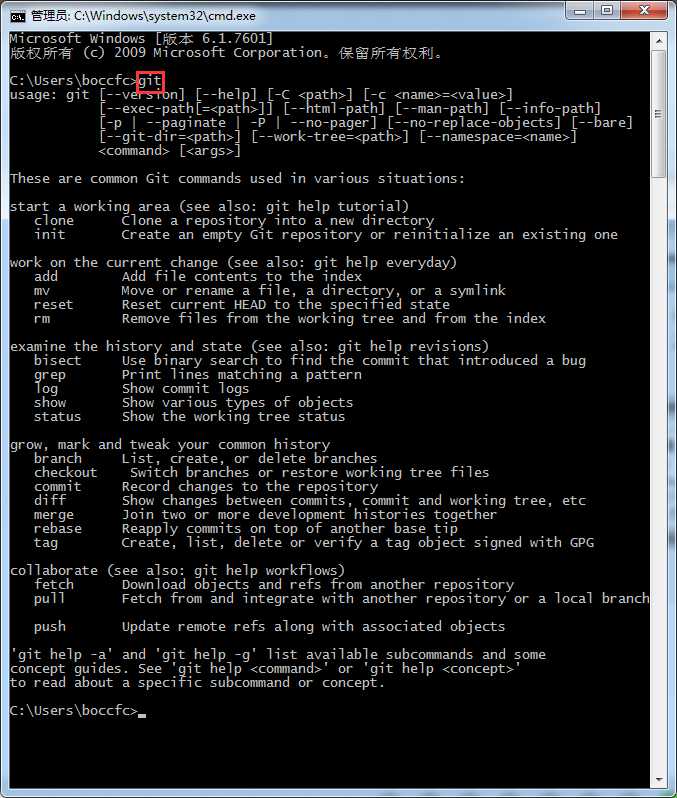
2.2)验证是否配置成功,配置成功如下图
Git 2.20.1 安装及配置
标签:vcc join ima oid 分享图片 公司 配置文件 oiv ova
原文地址:https://www.cnblogs.com/minRose/p/10286473.html
