标签:strong 链接 info gcc src 就是 module c++ 很多
今天在安装centos的时候,又出现了yum报错的情况,弄了半个小时就弄好,就直接放弃了,使用了VMware快照功能。(快照功能要经常使用,我使用的频率不高,所以这次又造成了以前安装好的很多模块又得重新安装)
一、下载Nginx
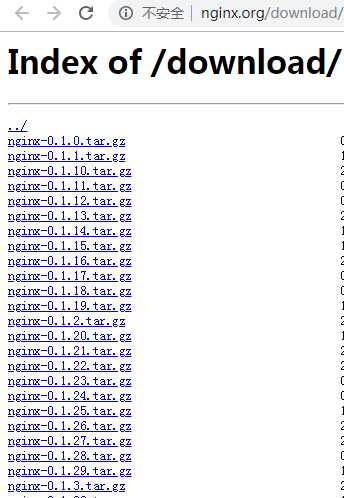
首先下载Nginx,如果我们需要下载指定版本的话,建议直接在根据官网来下载,毕竟我们可以直接看到有哪些版本,可以直接下载。

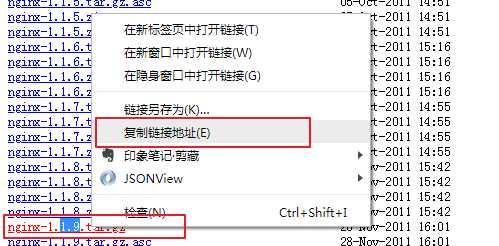
下载方法:将鼠标放在在相关版本上,点击右键,复制链接地址

使用wget下载
wget http://nginx.org/download/nginx-1.9.9.tar.gz
二、解压Nginx
下载好之后就是解压
tar -xzvf nginx-1.9.9.tar.gz
三、配置Nginx
进入到nginx-1.9.9目录,执行命令:
yum -y install make zlib zlib-devel gcc-c++ libtool  openssl openssl-devel

./configure --prefix=/usr/local/nginx --with-http_ssl_module --with-http_v2_module --with-http_stub_status_module --with-pcre

make && make install
四、检测配置或安装是否成功
/usr/local/nginx/sbin/nginx -t
如果出现下列信息,则标识安装或配置成功
nginx: the configuration file /usr/local/nginx/conf/nginx.conf syntax is ok
nginx: configuration file /usr/local/nginx/conf/nginx.conf test is successful
五、启动Nginx
cd /usr/local/nginx/sbin
执行./nginx
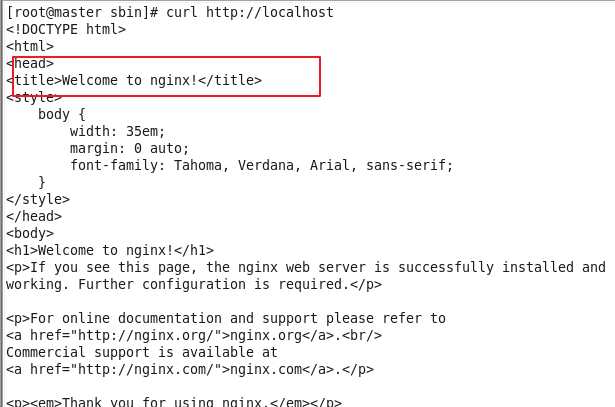
六、验证是否启动成功
curl http://localhost

七、Nginx常用命令
启动:./nginx
停止:./nginx -s stop
重启:./nginx -s reopen
执行./nginx -h 可以看到命令的帮助信息
标签:strong 链接 info gcc src 就是 module c++ 很多
原文地址:https://www.cnblogs.com/itpython/p/10479635.html