标签:127.0.0.1 socket erro 报错 location 怎么 监听端口 cte 需要
一,nginx
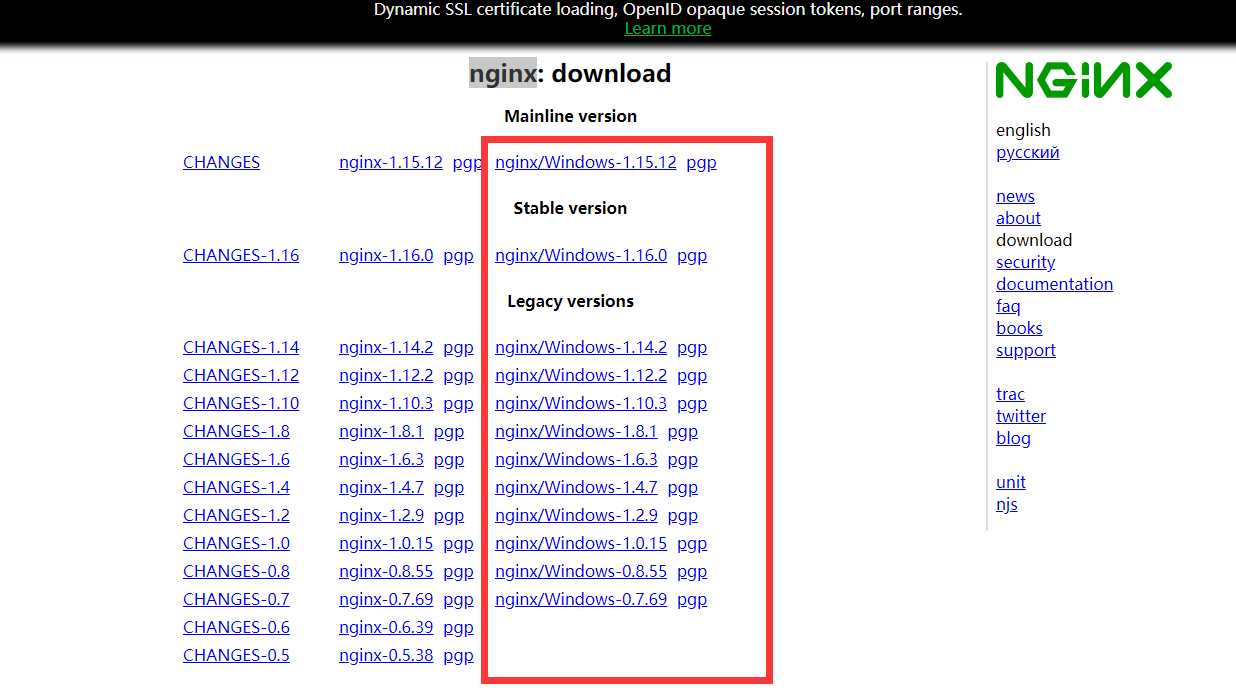
下载地址:http://nginx.org/en/download.html
二,下载对应版本
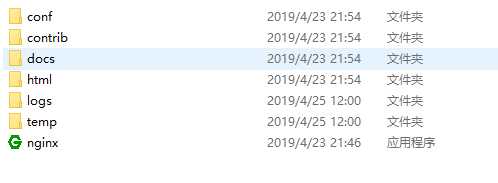
三,打开下载的安装包:如下图
四,运行nginx.exe
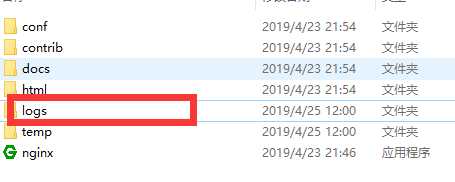
1,这个是时候,程序运行都是一闪而过的,但我们要确认有没有运行成功,我们需要去查看log文件下的error,日志看有没有报错
第一次运行报错:2019/04/25 12:16:32 [emerg] 10856#10840: bind() to 0.0.0.0:80 failed (10013: An attempt was made to access a socket in a way forbidden by its access permissions)
2,这个是80端口被占用,我们可以释放80端口,或者更改配置监听端口,如下:
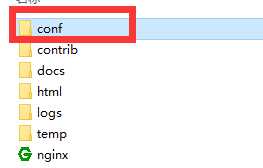
文件下的nginx文件的修改端口:
worker_processes  1;

events {
    worker_connections  1024;
}

http {
    include       mime.types;
    default_type  application/octet-stream;
    sendfile        on;
    keepalive_timeout  65;
server {
    listen       8888;
}
}
我们监听8888端口
再次运行nginx.exe,然后这个时候我们可以在浏览器查看地址http://localhost:8888/,结果如下图:
五,怎么配置负载均衡呢?
我们修改配置如下
worker_processes  1;

events {
    worker_connections  1024;
}

http {
    include       mime.types;
    default_type  application/octet-stream;
    sendfile        on;
    keepalive_timeout  65;
upstream backend {
    server 127.0.0.1:8001;
    server 127.0.0.1:8002;
}

server {
    listen       8888;
    location / {
        proxy_pass http:backend;  //集群名字
    }
}
}
我们添加了两个配置:
upstream backend {    //集群
    server 127.0.0.1:8001;
    server 127.0.0.1:8002;
}
 location / {
        proxy_pass http://backend;  //集群名字
    }
我们再IIS发布指定端口8001,8002的网站,以便于对应我们的配置
server 127.0.0.1:8001;
server 127.0.0.1:8002;
六,现在访问http://localhost:8888/就会自动访问我们发布的8001和8002端口的网站
标签:127.0.0.1 socket erro 报错 location 怎么 监听端口 cte 需要
原文地址:https://www.cnblogs.com/May-day/p/10767677.html