标签:vat exce 距离 eve view color als instance tool
自定义View的方式:现有的自定义View的方式有三种:①继承控件的方式——继承一个现有控件,去实现一个简单的效果;②继承View布局的方式——继承多个现有控件,然后干脆继承整个布局,去实现一个复杂的效果;③继承根View的方式——现有的控件完全无法满足需要,那么开发者就完全需要自定义一个之前不存在的控件。
自定义View三种方式对比:①、②方式对现有的控件进行一定程度的修改可以满足要求,是开发中最常用、最有效、最安全的方式,如果你需要自定义View了,请先考虑这两种方式。③方式完全实现一个从无到有的控件,是开发中一种非常牛的行为,但是也会带来后果—bug啊、安全问题啊、效率问题啊......这个道理和使用框架是一样的,现有的控件毕竟是谷歌官方给出的,已经很多开发者在使用了,稳定性和效率都有了很大程度的保证
自定义 View 的继承与构造方法
凡事总有有个开头,关于集成的话,其实只要是 View 的子类包括 View 就可以了,当然 View 的子类(比如 TextView,ImageView 都已经自带了一些属性,如何选择请自行掂量),自定义啥的就先从构造函数说起吧
一个提交按钮Button
未点击
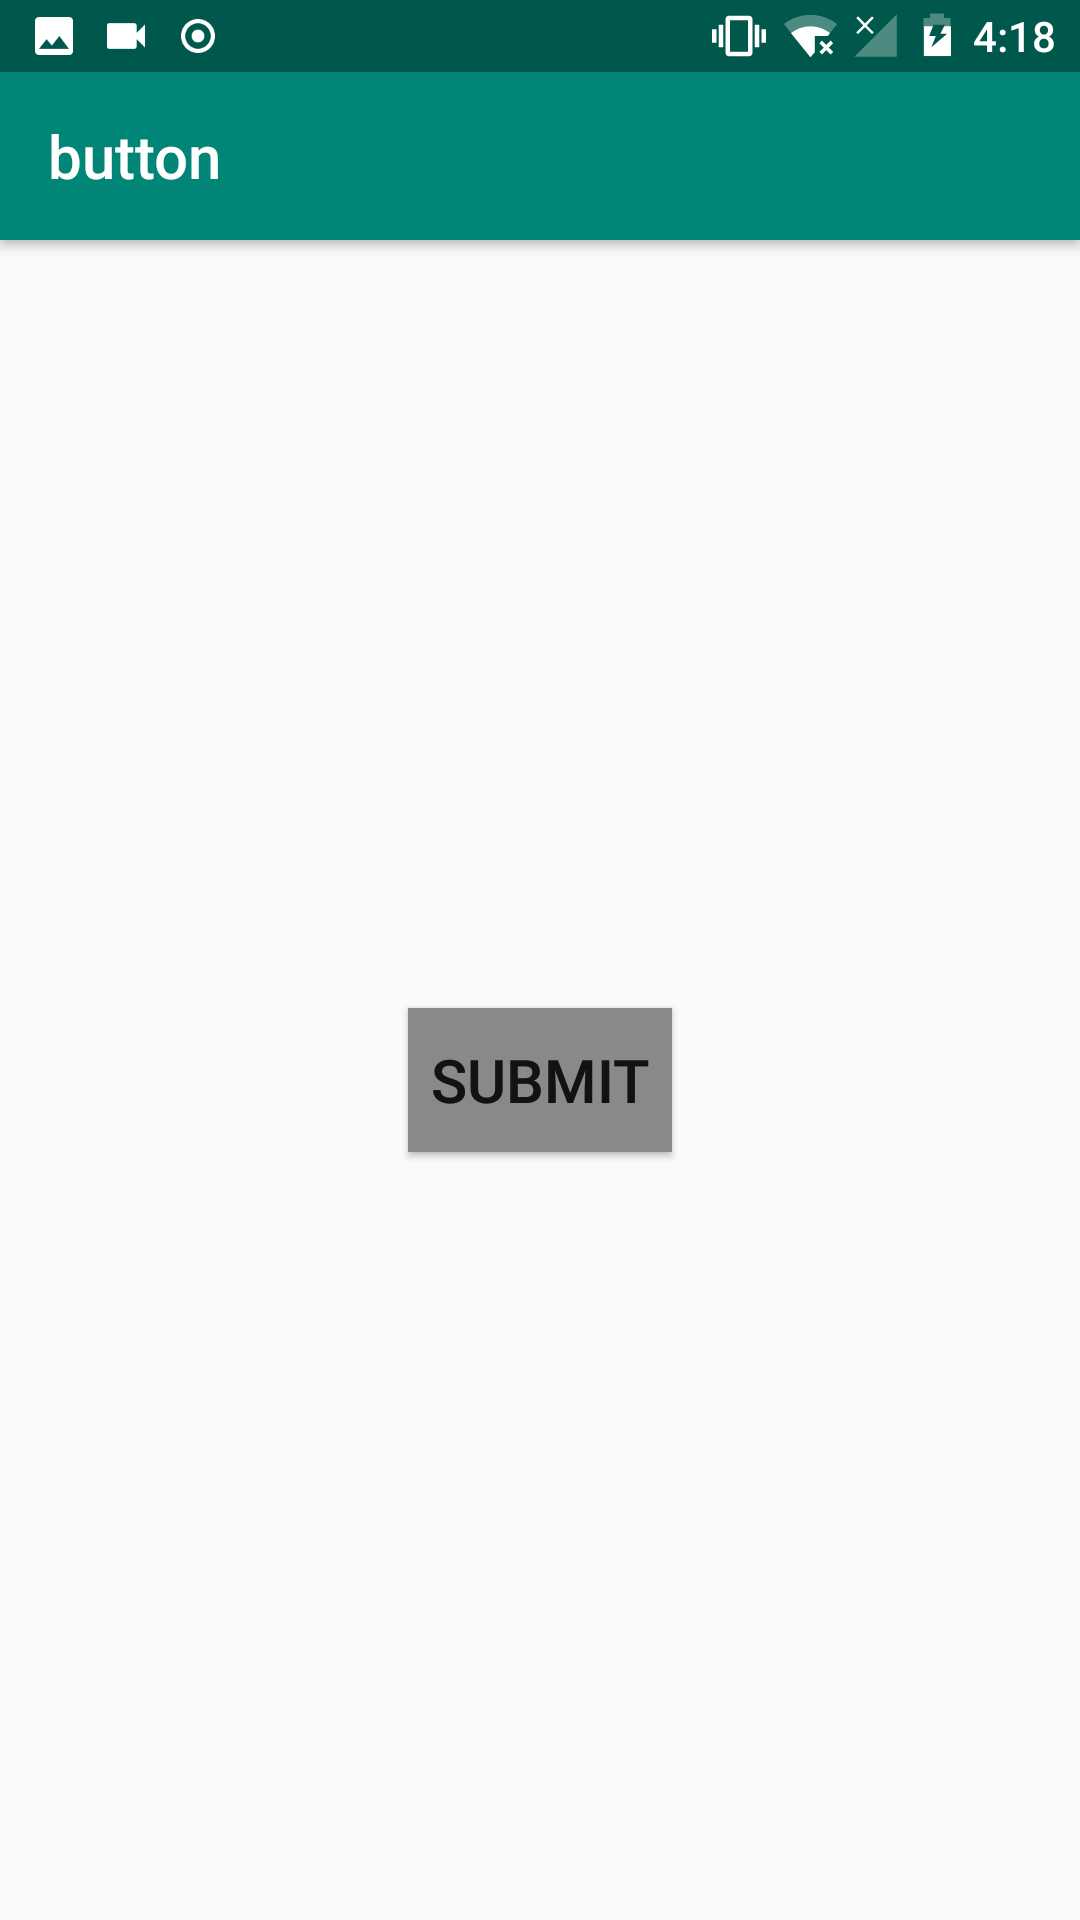
点击后:
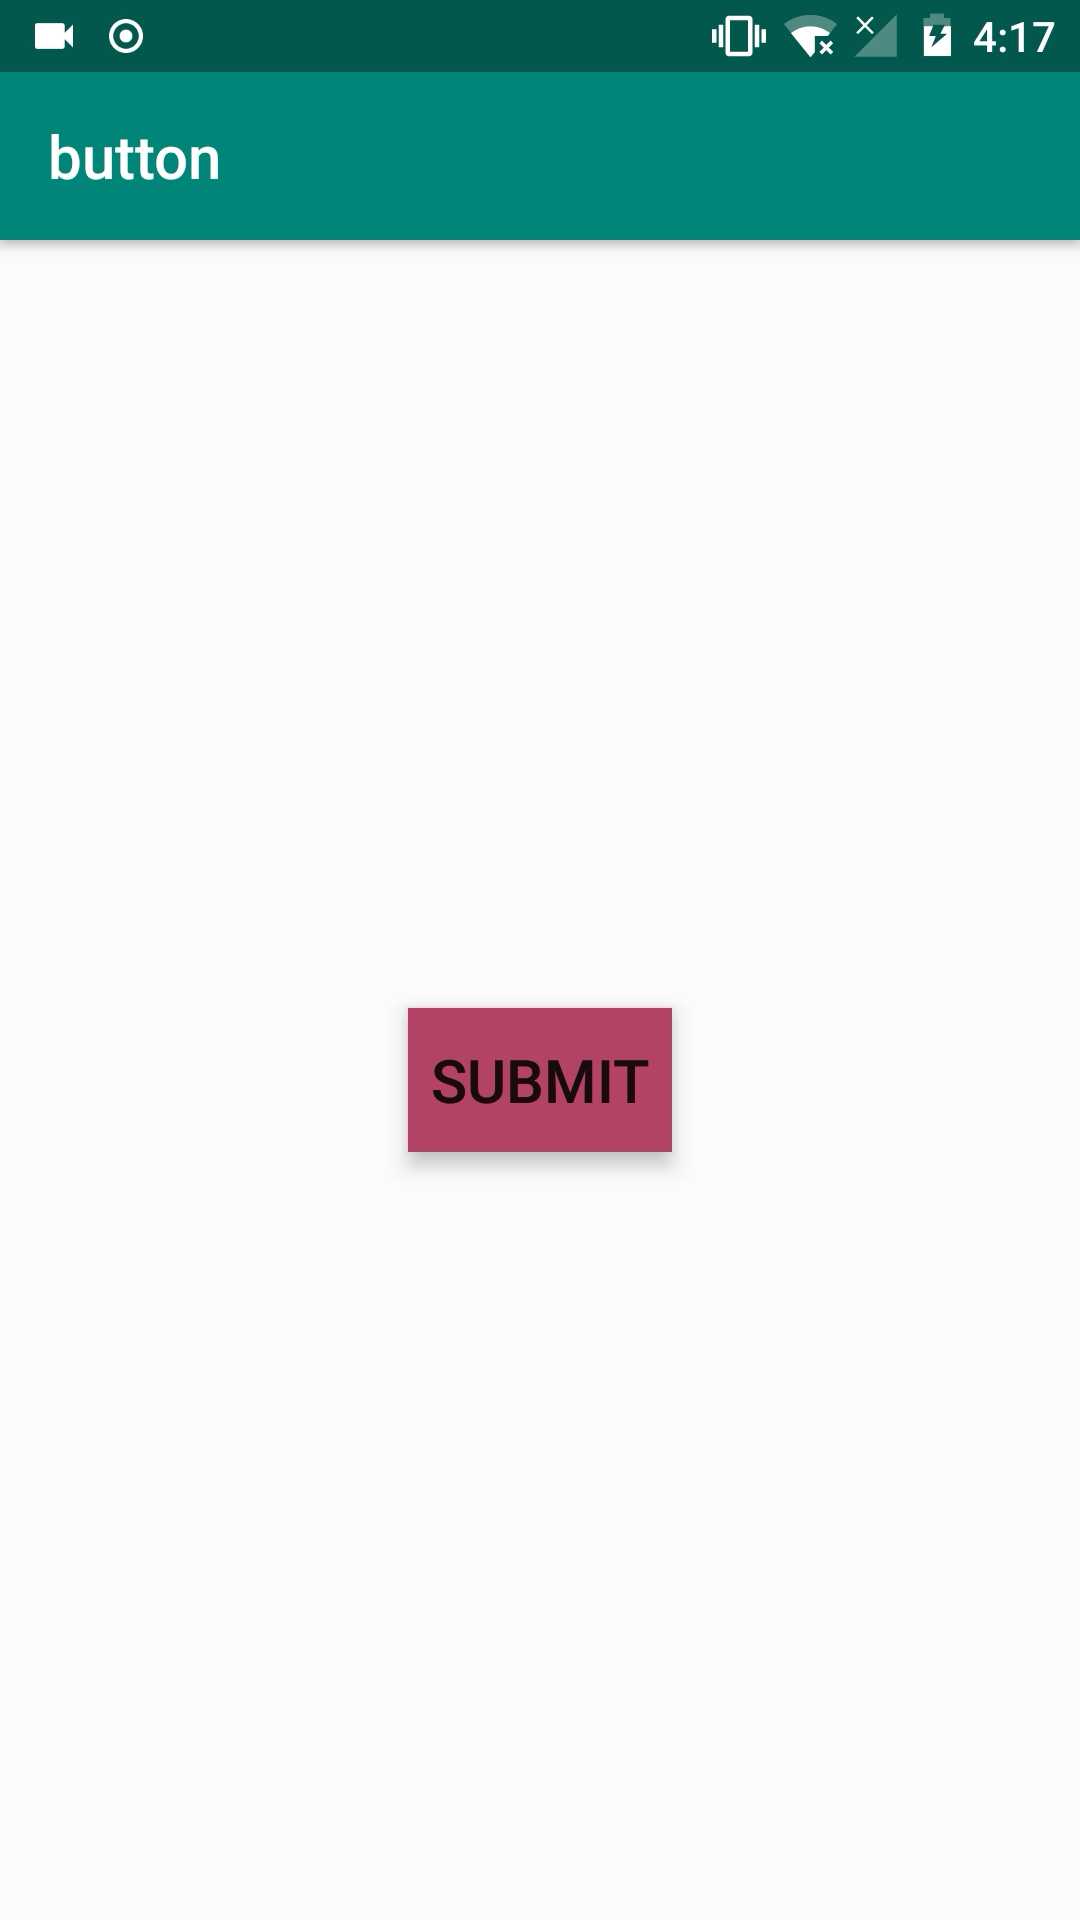
在drawable文件夹下定义好button.xml文件,用于定义button状态
<?xml version="1.0" encoding="utf-8"?>
<selector xmlns:android="http://schemas.android.com/apk/res/android">
<item android:state_pressed="true" android:drawable="@color/colorAccent"/>
    <item android:drawable="@color/gray"/>

</selector>
自定义SubmitButton代码段——自定义一个SubmitButton类
package com.example.admin.button;

import android.content.Context;
import android.util.AttributeSet;
import android.widget.Button;


public class SubmitButton extends Button {
    public SubmitButton(Context context, AttributeSet set) {
        super(context,set);
        init();
    }
    private void init(){
        setBackgroundResource(R.drawable.button);
        setText(R.string.submit);
        setTextSize(20);
    }
}
Activity布局activity.main.xml代码段——在主布局文件中引入自定义控件
<?xml version="1.0" encoding="utf-8"?>
<LinearLayout xmlns:android="http://schemas.android.com/apk/res/android"
    xmlns:app="http://schemas.android.com/apk/res-auto"
    xmlns:tools="http://schemas.android.com/tools"
    android:layout_width="match_parent"
    android:layout_height="match_parent"
    tools:context=".MainActivity"
    android:gravity="center">

    <com.example.admin.button.SubmitButton
        android:layout_width="wrap_content"
        android:layout_height="wrap_content" />

</LinearLayout>
使用AttributeSer - 自定义属性实现
每个控件都会有属性,既然是自定义控件怎么能少了自定义属性呢! 1.为了方便展开话题,我们先照做在 res/values/ 目录下添加一个 attrs.xml 这个文件。
<?xml version="1.0" encoding="utf-8"?>
<resources>
    <declare-styleable name="test">
        <attr name="content_text" format="string"/>
        <attr name="contentSize" format="dimension"/>
    </declare-styleable>
</resources>


button.xml
<?xml version="1.0" encoding="utf-8"?>
<selector xmlns:android="http://schemas.android.com/apk/res/android">
<item android:state_pressed="true" android:drawable="@color/colorAccent"/>
    <item android:drawable="@color/gray"/>

</selector>
SubmitButton.java
package com.example.admin.button;

import android.content.Context;
import android.content.res.TypedArray;
import android.util.AttributeSet;
import android.widget.Button;


public class SubmitButton extends Button {
    private String mContent;
    public SubmitButton(Context context, AttributeSet set) {
        super(context,set);
        TypedArray array=context.obtainStyledAttributes(set,R.styleable.test);
        if(array!=null){
            String content=array.getString(R.styleable.test_content_text);
            float size=array.getDimension(R.styleable.test_contentSize,15);
            setText(content);
            setBackgroundResource(R.drawable.button);
            setTextSize(size);

        }
    }

}
activity.main.xml
<?xml version="1.0" encoding="utf-8"?>
<LinearLayout xmlns:android="http://schemas.android.com/apk/res/android"
    xmlns:tools="http://schemas.android.com/tools"
    xmlns:app="http://schemas.android.com/apk/res-auto"
    android:layout_width="match_parent"
    android:layout_height="match_parent"
    tools:context=".MainActivity"
    android:gravity="center">

  <com.example.admin.button.SubmitButton
      android:layout_width="wrap_content"
      android:layout_height="wrap_content"
      app:content_text="@string/submit"
      app:contentSize="20sp" />
</LinearLayout>
2.组合控件
组合控件,顾名思义就是将一些小的控件组合起来形成一个新的控件,这些小的控件多是系统自带的控件。比如很多应用中普遍使用的标题栏控件,其实用的就是组合控件,那么下面将通过实现一个简单的标题栏自定义控件来说说组合控件的用法。
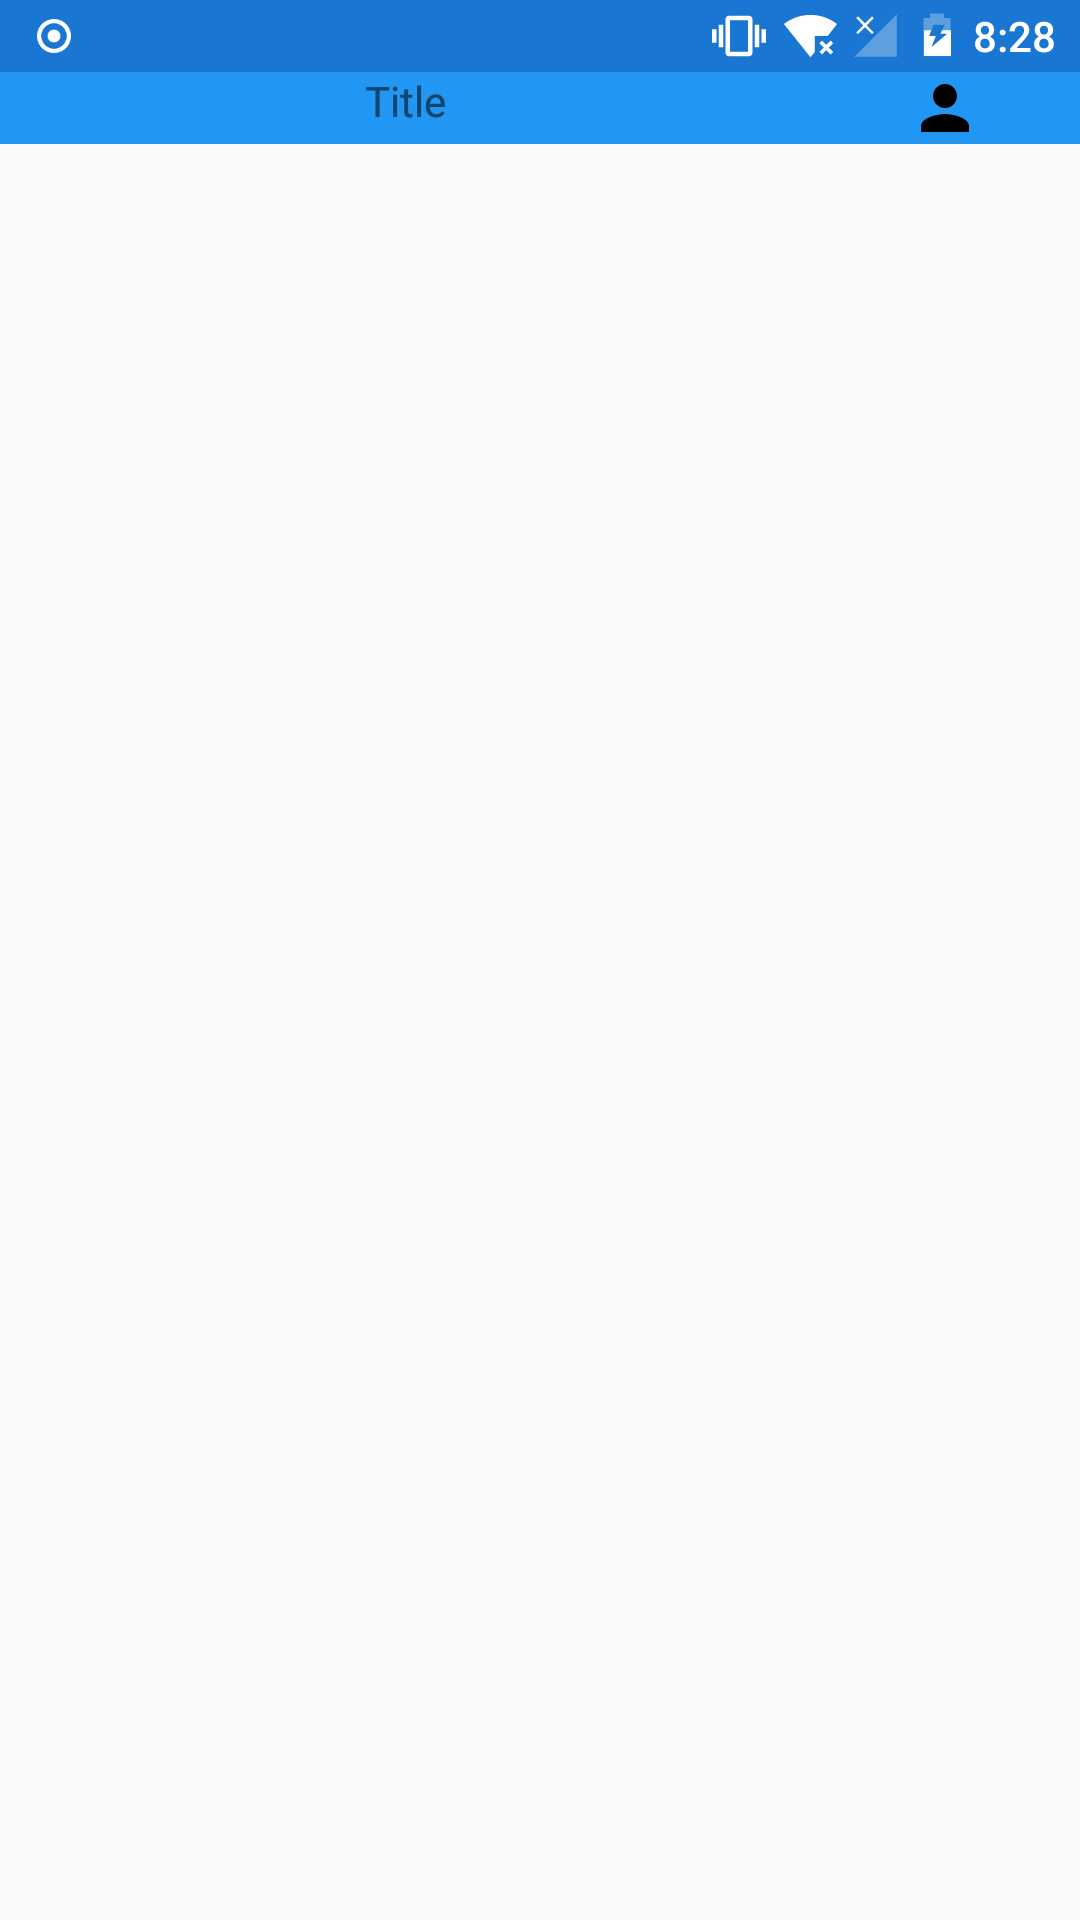
创建自定义标题栏的布局文件title_bar.xml:
<?xml version="1.0" encoding="utf-8"?>
<LinearLayout
    xmlns:android="http://schemas.android.com/apk/res/android"
    xmlns:tools="http://schemas.android.com/tools"
    android:layout_width="match_parent"
    android:layout_height="match_parent"
    android:background="#2196F3">

    <TextView
          android:gravity="center"
          android:id="@+id/textview"
          android:layout_width="0dp"
          android:layout_height="wrap_content"
          android:layout_weight="3"
          android:text="Title"/>

    <ImageView
        android:id="@+id/imageview_person"
        android:layout_width="0dp"
        android:layout_height="wrap_content"
        android:layout_weight="1"
        android:src="@drawable/ic_person_black_24dp" />
</LinearLayout>
创建一个类TitleView:
package com.example.admin.button;

import android.content.Context;
import android.util.AttributeSet;
import android.view.LayoutInflater;
import android.widget.ImageView;
import android.widget.LinearLayout;


public class TitleView extends LinearLayout {

    private ImageView imageView;

    public TitleView(Context context,  AttributeSet attrs) {
        super(context, attrs);
        LayoutInflater.from(context).inflate(R.layout.title_bar,this);
        imageView=findViewById(R.id.imageview_person);
    }

    public void setImageViewClickListener(OnClickListener listener){
         imageView.setOnClickListener(listener);
    }
}
在activity_main.xml中引入自定义的标题栏:
<?xml version="1.0" encoding="utf-8"?>
<LinearLayout xmlns:android="http://schemas.android.com/apk/res/android"
    xmlns:tools="http://schemas.android.com/tools"
    xmlns:app="http://schemas.android.com/apk/res-auto"
    android:layout_width="match_parent"
    android:layout_height="match_parent"
    tools:context=".MainActivity">


<com.example.admin.button.TitleView
    android:id="@+id/titleView"
    android:layout_width="match_parent"
    android:layout_height="wrap_content">
</com.example.admin.button.TitleView>
</LinearLayout>
在MainActivity中获取自定义的标题栏,并且为图片添加自定义点击事件:
package com.example.admin.button;

import android.support.v7.app.AppCompatActivity;
import android.os.Bundle;
import android.view.View;
import android.widget.Toast;

public class MainActivity extends AppCompatActivity {

    @Override
    protected void onCreate(Bundle savedInstanceState) {
        super.onCreate(savedInstanceState);
        setContentView(R.layout.activity_main);
        TitleView titleView= findViewById(R.id.titleView);
        titleView.setImageViewClickListener(new View.OnClickListener() {
            @Override
            public void onClick(View v) {
                Toast.makeText(MainActivity.this,"Hello",Toast.LENGTH_SHORT).show();
            }
        });

    }
}


3.自绘控件
就是画笔,用于设置绘制风格,如:线宽(笔触粗细),颜色,透明度和填充风格等 直接使用无参构造方法就可以创建Paint实例: Paint paint = new Paint( );
我们可以通过下述方法来设置Paint(画笔)的相关属性,另外,关于这个属性有两种, 图形绘制相关与文本绘制相关:
画笔有了,接着就到画布(Canvas),总不能凭空作画是吧~常用方法如下:
首先是构造方法,Canvas的构造方法有两种:
Canvas(): 创建一个空的画布,可以使用setBitmap()方法来设置绘制具体的画布。
Canvas(Bitmap bitmap): 以bitmap对象创建一个画布,将内容都绘制在bitmap上,因此bitmap不得为null。
接着是 1.drawXXX()方法族:以一定的坐标值在当前画图区域画图,另外图层会叠加, 即后面绘画的图层会覆盖前面绘画的图层。 比如:
2.clipXXX()方法族:在当前的画图区域裁剪(clip)出一个新的画图区域,这个画图区域就是canvas 对象的当前画图区域了。比如:clipRect(new Rect()),那么该矩形区域就是canvas的当前画图区域
3.save()和restore()方法: save( ):用来保存Canvas的状态。save之后,可以调用Canvas的平移、放缩、旋转、错切、裁剪等操作! restore():用来恢复Canvas之前保存的状态。防止save后对Canvas执行的操作对后续的绘制有影响。 save()和restore()要配对使用(restore可以比save少,但不能多),若restore调用次数比save多,会报错!
4.translate(float dx, float dy): 平移,将画布的坐标原点向左右方向移动x,向上下方向移动y.canvas的默认位置是在(0,0)
5.scale(float sx, float sy):扩大,x为水平方向的放大倍数,y为竖直方向的放大倍数
6.rotate(float degrees):旋转,angle指旋转的角度,顺时针旋转
简单点说就是描点,连线~在创建好我们的Path路径后,可以调用Canvas的drawPath(path,paint) 将图形绘制出来~常用方法如下:
更高级的效果可以使用PathEffect类!
几个To:
圆形
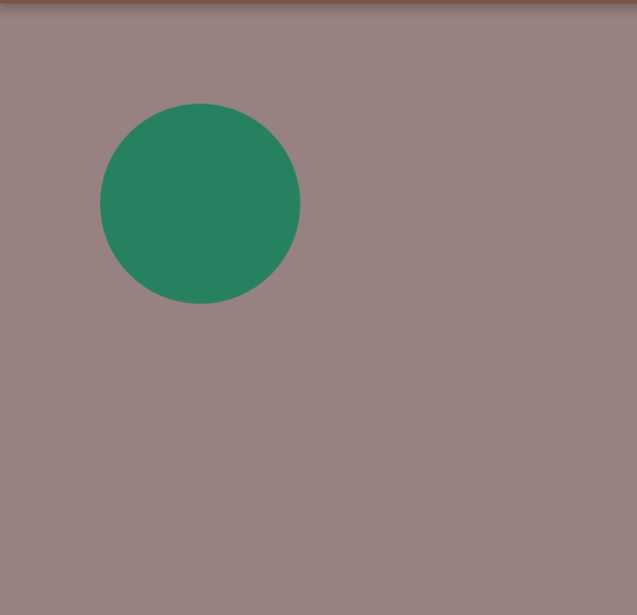
public class MyView extends View {

    private Paint mPaint;

    public MyView(Context context,  AttributeSet attrs) {
        super(context, attrs);
        init();
    }

    private void init(){
        mPaint = new Paint();
        mPaint.setAntiAlias(true);             //抗锯齿
        mPaint.setColor(getResources().getColor(R.color.colorAccent));//画笔颜色
        mPaint.setStyle(Paint.Style.FILL);  //画笔风格
        mPaint.setTextSize(36);             //绘制文字大小,单位px
        mPaint.setStrokeWidth(5);           //画笔粗细
    }

    @Override
    protected void onDraw(Canvas canvas) {
        super.onDraw(canvas);
        canvas.drawColor(getResources().getColor(R.color.brown));   //设置画布背景颜色
        canvas.drawCircle(200, 200, 100, mPaint);//画实心圆

    }
}


椭圆


canvas.drawOval(newRectF(0,0,200,300),mPaint);//画椭圆
弧形
canvas.drawArc(new RectF(0, 0, 100, 100),0,90,true,mPaint);  //绘制弧形区域

假如true改为false:

矩形
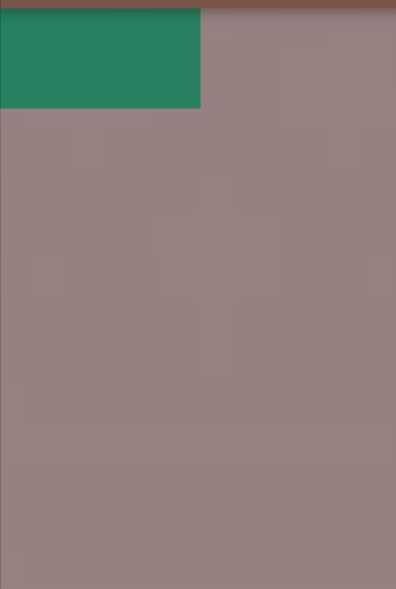
canvas.drawRect(0, 0, 200, 100, mPaint); //画矩形
圆角矩形
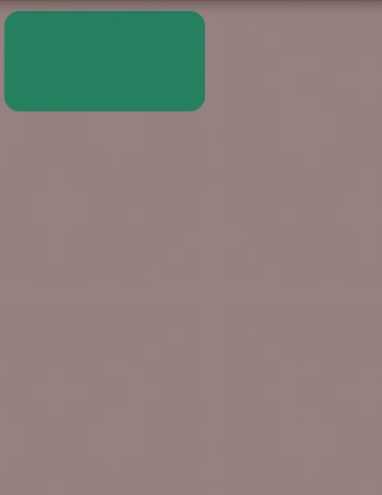
canvas.drawRoundRect(new RectF(10,10,210,110),15,15,mPaint); //画圆角矩形


多边形

Path path = new Path();
path.moveTo(10, 10); //移动到 坐标10,10
path.lineTo(100, 50);
path.lineTo(200,40);
path.lineTo(300, 20);
path.lineTo(200, 10);
path.lineTo(100, 70);
path.lineTo(50, 40);
path.close();
canvas.drawPath(path,mPaint);


Bitmap
canvas.drawBitmap(BitmapFactory.decodeResource(getResources(), R.mipmap.ic_launcher), 0, 0, mPaint);


文字:
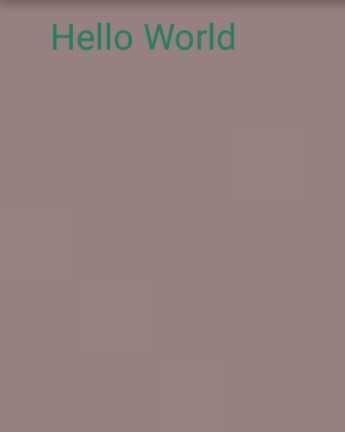
canvas.drawText("Hello World",50,50,mPaint);
你也可以沿着某条Path来绘制这些文字:
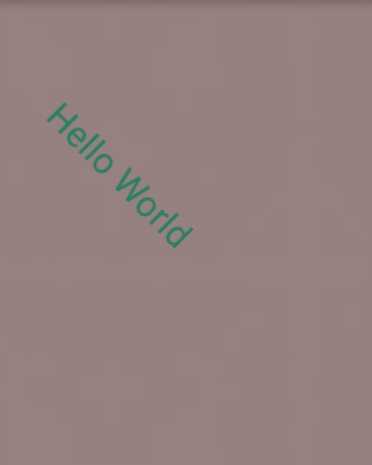
 Path path = new Path();
    path.moveTo(50,50);
    path.lineTo(100, 100);
    path.lineTo(200, 200);
    path.lineTo(300, 300);
    path.close();
    canvas.drawTextOnPath("Hello World",path,50,50,mPaint);
}
一个简单的计数器
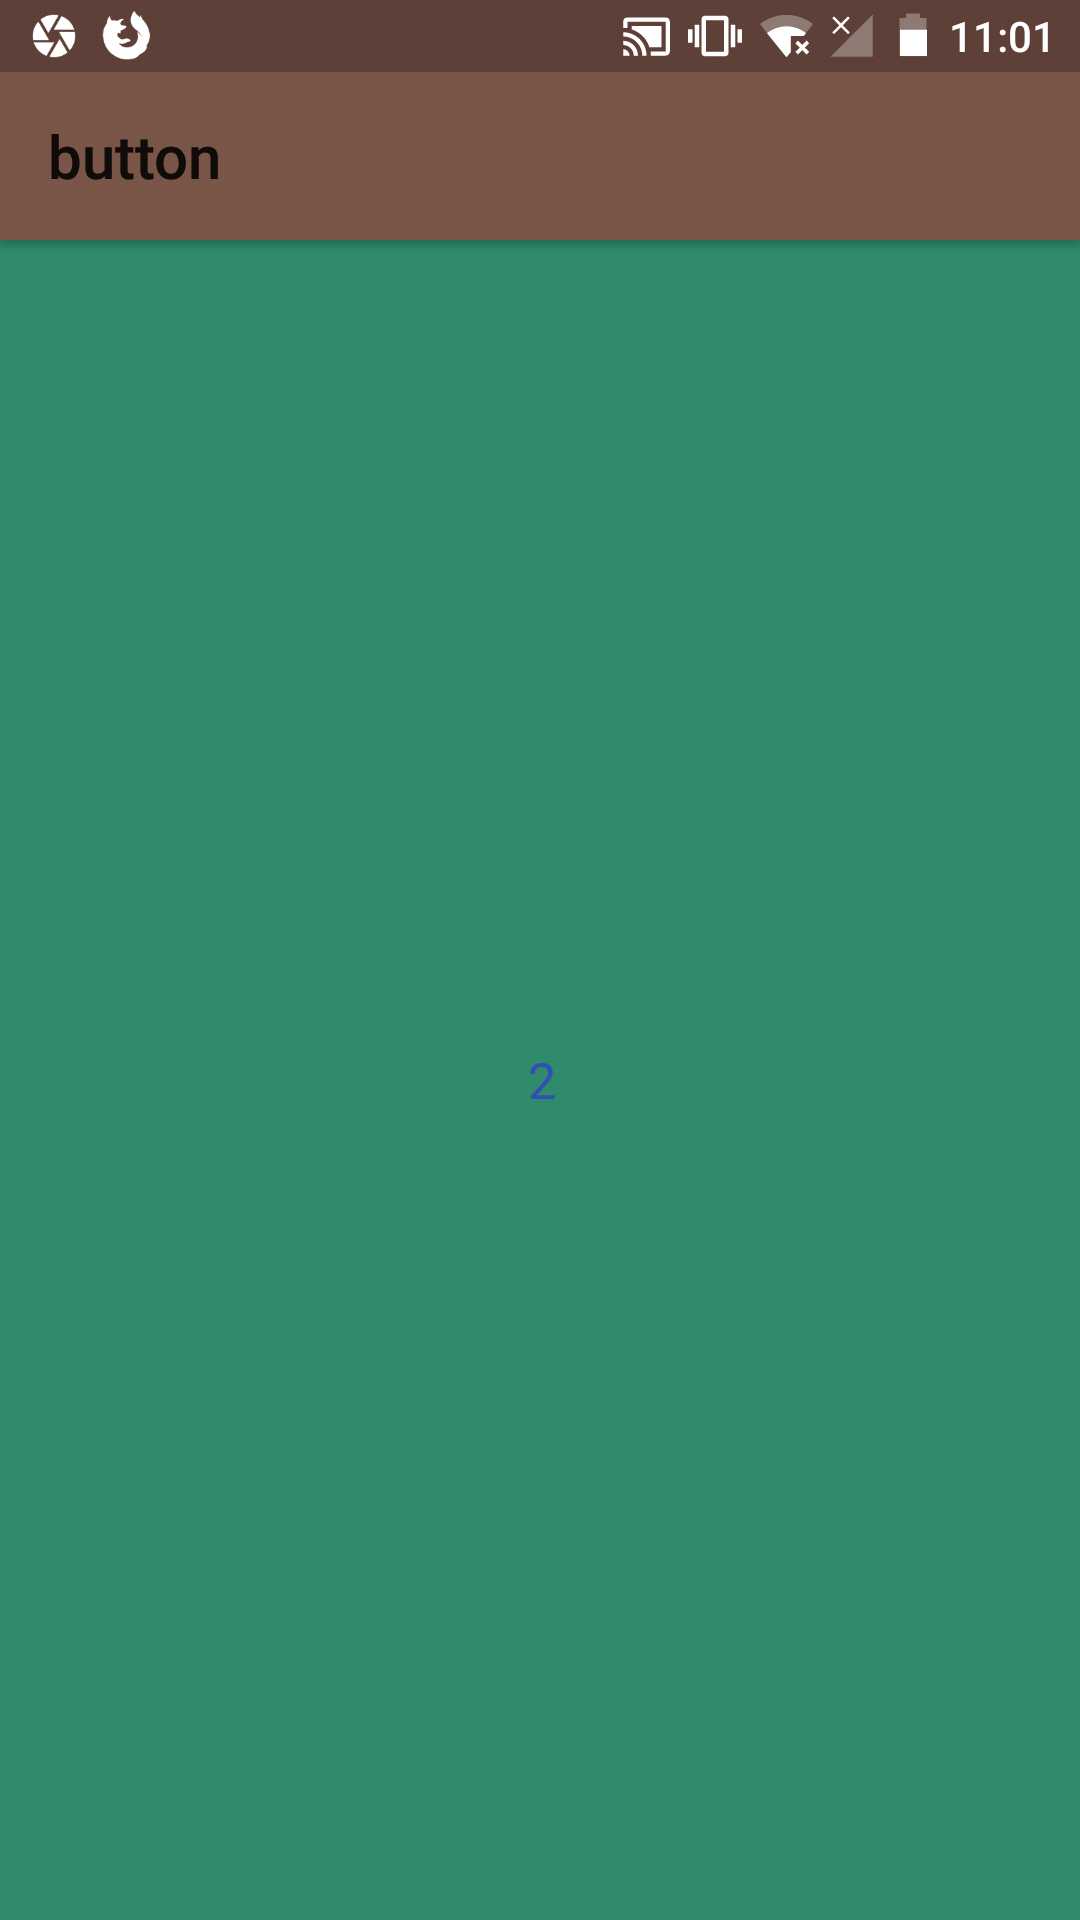
package com.example.admin.button;

import android.content.Context;
import android.graphics.Canvas;
import android.graphics.Paint;
import android.graphics.Rect;
import android.util.AttributeSet;
import android.view.View;

public class MyView extends View implements View.OnClickListener {

    private Paint mPaint;
    // 用于获取文字的宽和高
   private Rect mBounds;
    private int mCount;

    public MyView(Context context,  AttributeSet attrs) {
        super(context, attrs);
        init();
    }

    private void init(){
        mPaint = new Paint();
        mPaint.setAntiAlias(true);             //抗锯齿
        mBounds = new Rect();
        // 本控件的点击事件
        setOnClickListener(this);
    }

    @Override
    protected void onDraw(Canvas canvas) {
        super.onDraw(canvas);
        mPaint.setColor(getResources().getColor(R.color.colorAccent));
        canvas.drawRect(0, 0, getWidth(), getHeight(), mPaint);
        mPaint.setColor(getResources().getColor(R.color.blue));
        mPaint.setTextSize(50);             //绘制文字大小,单位px
        String text = String.valueOf(mCount);
        //获取文字的宽和高
        mPaint.getTextBounds(text, 0, text.length(), mBounds);
        float textWidth = mBounds.width();
        float textHeight = mBounds.height();
        canvas.drawText(text, getWidth() / 2 - textWidth / 2, getHeight() / 2
                             + textHeight / 2, mPaint);

    }

    @Override
    public void onClick(View v) {
        mCount++;
        //重绘
        invalidate();
    }
}
在activity_main.xml中引入该自定义布局:
<?xml version="1.0" encoding="utf-8"?>
<LinearLayout xmlns:android="http://schemas.android.com/apk/res/android"
xmlns:tools="http://schemas.android.com/tools"
xmlns:app="http://schemas.android.com/apk/res-auto"
android:layout_width="match_parent"
android:layout_height="match_parent"
tools:context=".MainActivity">

<com.example.admin.button.MyView
android:layout_width="match_parent"
android:layout_height="match_parent" />
</LinearLayout>
标签:vat exce 距离 eve view color als instance tool
原文地址:https://www.cnblogs.com/neowu/p/10909043.html