标签:rom res init gate 功能 orm info ack standard
1、安装vue-cli
vue intall -g vue-cli
2、创建项目
vue init webpack nblog
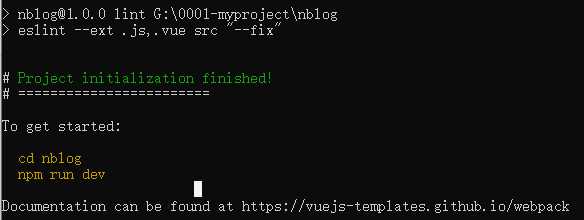
3、按提示要求配置项目
? Project name nblog
? Project description 学习bolg开发
? Author nxzJIA <987097855@qq.com>
? Vue build standalone
? Install vue-router? Yes
? Use ESLint to lint your code? Yes
? Pick an ESLint preset Standard
? Set up unit tests No
? Setup e2e tests with Nightwatch? No
? Should we run `npm install` for you after the project has been created? (recommended) npm

   vue-cli · Generated "nblog".
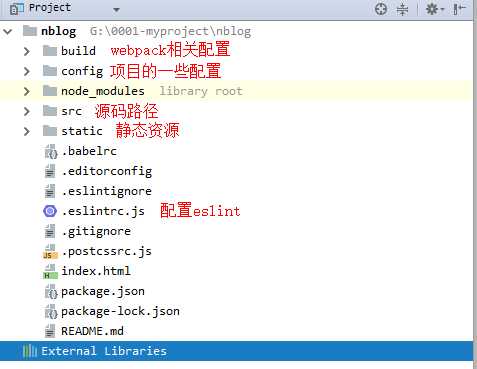
4、创建完成之后,用webstorm导入项目,如下图
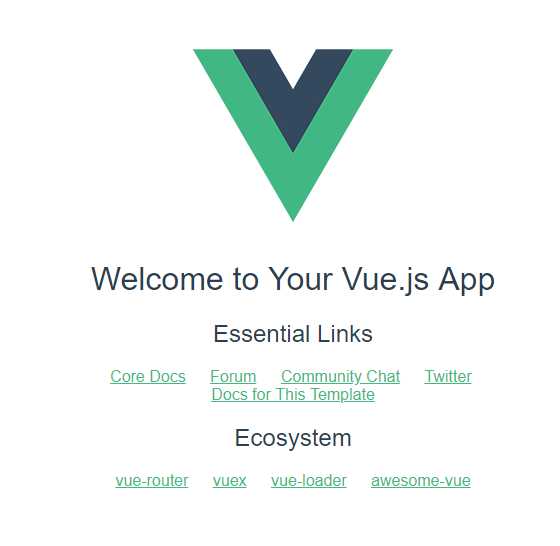
5、启动项目,项目默认的主页
6、为了方便开发,会使用iviewui
需要在main.js中添加:
import iView from ‘iview‘

Vue.use(iView)
7、改造项目
创建自己的主页路由home.vue(顶级路由,其他所有路由的内容都要渲染到该路由)
在src/components下创建home.vue
home.vue中布局:上中下布局使用iview的Layout标签,上侧显示为菜单(固定上侧不动)、中(内容显示区域)、下(待定)
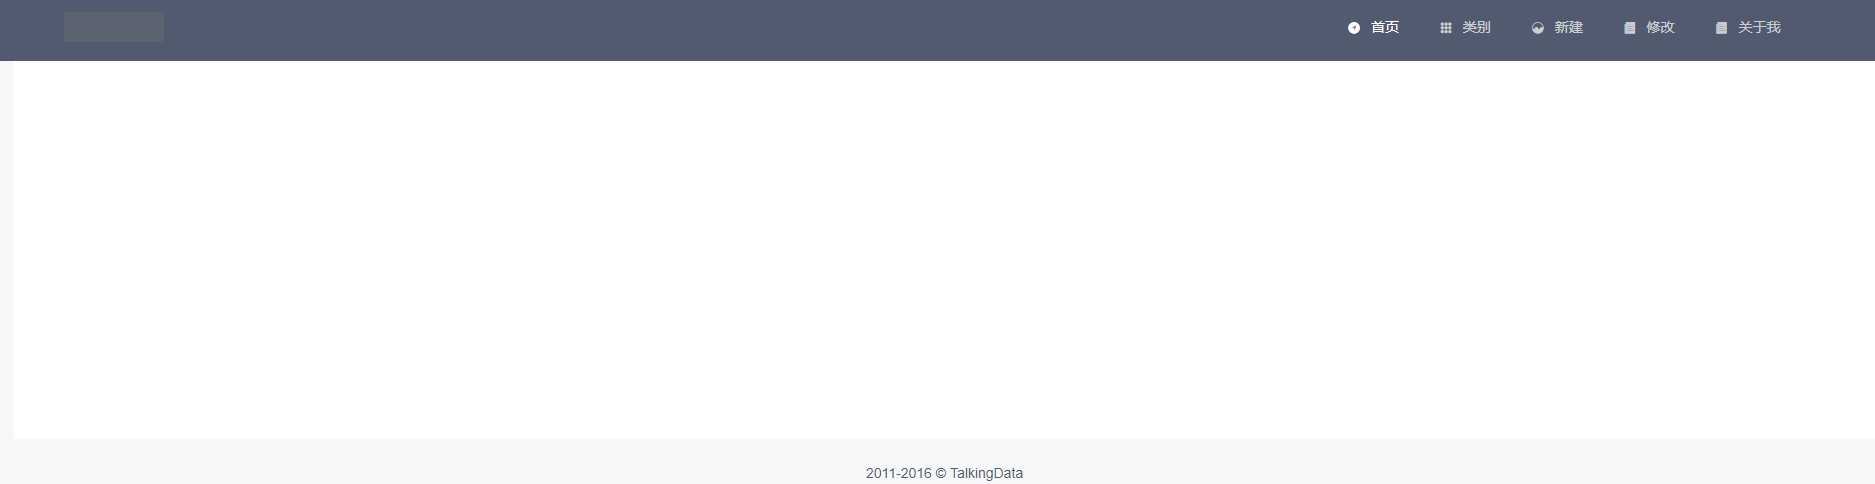
8、顶部菜单路由,采用最简单的形式,点击手也是,主体部分会心事相应的内容
import Vue from ‘vue‘
import Router from ‘vue-router‘
import Home from ‘@/components/home‘
import Index from ‘@/components/index‘
import Create from ‘@/components/create‘
import Edit from ‘@/components/edit‘
import PostClass from ‘@/components/post-class‘
import AboutMe from ‘@/components/about-me‘

Vue.use(Router)

export default new Router({
  mode:‘history‘,
  routes: [
    {
      path: ‘/‘,
      name: ‘Home‘,
      component: Home,
      children:[
        {
          path: ‘/index‘,
          name: ‘Index‘,
          alias:‘/‘,
          component: Index
        },
        {
          path: ‘/create‘,
          name: ‘Create‘,
          component: Create
        },
        {
          path: ‘/edit‘,
          name: ‘Edit‘,
          component: Edit
        },
        {
          path: ‘/postClass‘,
          name: ‘PostClass‘,
          component: PostClass
        },
        {
          path: ‘/aboutMe‘,
          name: ‘AboutMe‘,
          component: AboutMe
        },
      ]
    },


  ]
})
home.vue
<template> <div class="layout"> <Layout> <Header :style="{position: ‘fixed‘, width: ‘100%‘}"> <Menu mode="horizontal" theme="dark" active-name="1"> <div class="layout-logo"> <img src="static/img/logo.png" alt=""> </div> <div class="layout-nav"> <MenuItem name="1" to="index"> <Icon type="ios-navigate"></Icon> 首页 </MenuItem> <MenuItem name="2" to="postClass"> <Icon type="ios-keypad"></Icon> 类别 </MenuItem> <MenuItem name="3" to="create"> <Icon type="ios-analytics"></Icon> 新建 </MenuItem> <MenuItem name="4" to="edit"> <Icon type="ios-paper"></Icon> 修改 </MenuItem> <MenuItem name="5" to="aboutMe"> <Icon type="ios-paper"></Icon> 关于我 </MenuItem> </div> </Menu> </Header> <Content :style="{margin: ‘88px 20px 0‘, background: ‘#fff‘, minHeight: ‘500px‘}"> <router-view></router-view> </Content> <Footer class="layout-footer-center">2011-2016 © TalkingData</Footer> </Layout> </div> </template> <script> export default { name: "home" } </script> <style scoped> @import "../static/css/home.css"; </style>
index.vue
<template>
<div>
  index
</div>
</template>

<script>
    export default {
        name: "index"
    }
</script>

<style scoped>

</style>
其他的也类似(一开始就是个简单的布局,后序内容陆续添加)
这样页面的基本功能添加完毕
标签:rom res init gate 功能 orm info ack standard
原文地址:https://www.cnblogs.com/nxzblogs/p/10914042.html