标签:中间件 nts tar die https metadata configure eth tty
创建一个名为QuickstartIdentityServer的ASP.NET Core Web 空项目(asp.net core 2.2),端口5000
创建一个名为Api的ASP.NET Core Web Api 项目(asp.net core 2.2),端口5001
1、NuGet命令行
NuGet命令行:Install-Package IdentityServer4
2、在QuickstartIdentityServer项目中添加一个Config.cs文件:
using IdentityServer4.Models;
using IdentityServer4.Test;
using System;
using System.Collections.Generic;
using System.Linq;
using System.Threading.Tasks;

namespace QuickstartIdentityServer
{
    public static class Config
    {
        public static IEnumerable<IdentityResource> GetIdentityResources()
        {
            return new IdentityResource[]
            {
                new IdentityResources.OpenId()
            };
        }

        public static IEnumerable<ApiResource> ApiResources()
        {
            return new[]
            {
                new ApiResource("socialnetwork", "社交网络")
            };
        }
        public static IEnumerable<Client> Clients()
        {
            return new[]
            {
                new Client
                {
                    ClientId = "socialnetwork",
                    ClientSecrets = new [] { new Secret("secret".Sha256()) },
                    AllowedGrantTypes = GrantTypes.ResourceOwnerPasswordAndClientCredentials,
                    AllowedScopes = new [] { "socialnetwork" }
                }
            };
        }
        public static IEnumerable<TestUser> Users()
        {
            return new[]
            {
                new TestUser
                {
                    SubjectId = "1",
                    Username = "mail@qq.com",
                    Password = "password"
                }
            };
        }
    }
}
3、注入ids4服务
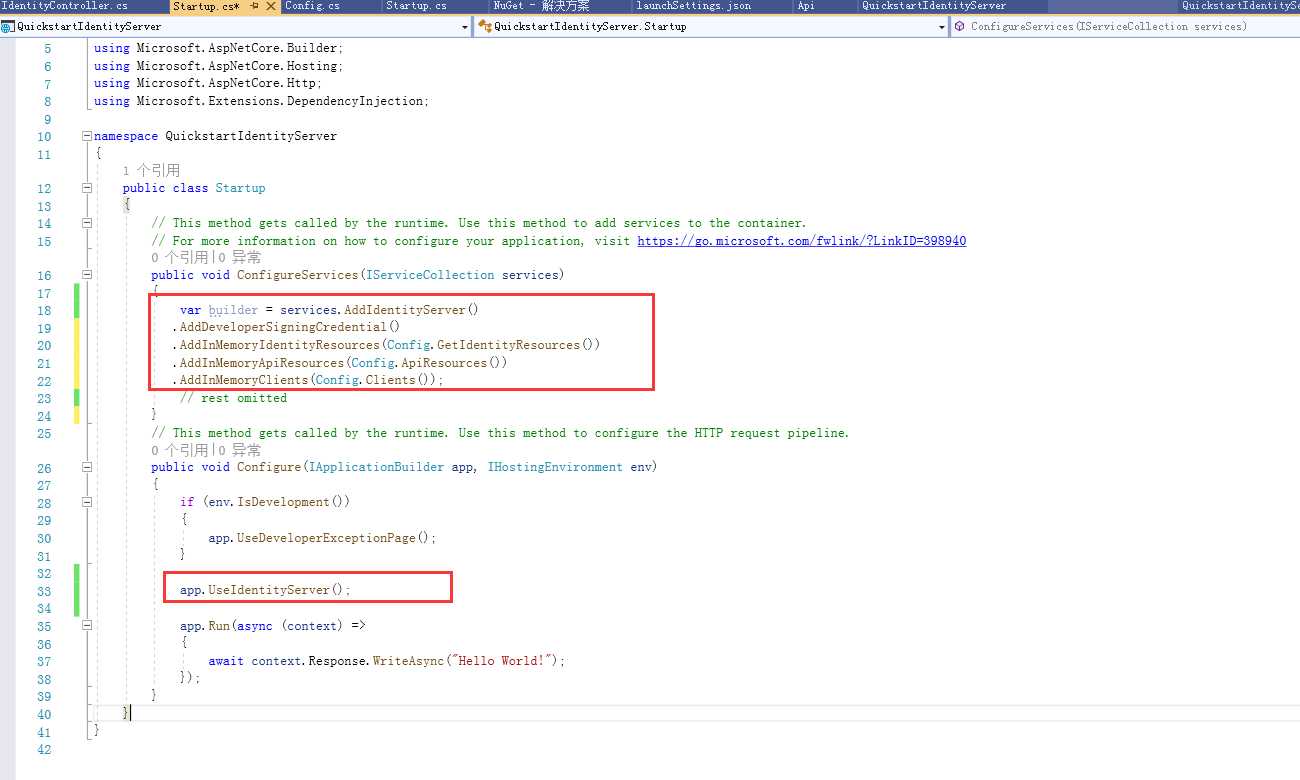
    public class Startup
    {
        // This method gets called by the runtime. Use this method to add services to the container.
        // For more information on how to configure your application, visit https://go.microsoft.com/fwlink/?LinkID=398940
        public void ConfigureServices(IServiceCollection services)
        {
            var builder = services.AddIdentityServer()
           .AddDeveloperSigningCredential()
           .AddInMemoryIdentityResources(Config.GetIdentityResources())
           .AddInMemoryApiResources(Config.ApiResources())//配置资源
           .AddInMemoryClients(Config.Clients());//配置客户端
            // rest omitted
        }
        // This method gets called by the runtime. Use this method to configure the HTTP request pipeline.
        public void Configure(IApplicationBuilder app, IHostingEnvironment env)
        {
            if (env.IsDevelopment())
            {
                app.UseDeveloperExceptionPage();
            }

            app.UseIdentityServer();//添加到管道中

            app.Run(async (context) =>
            {
                await context.Response.WriteAsync("Hello World!");
            });
        }
    }
1、通过nuget添加即可:
IdentityServer4.AccessTokenValidation

资源库配置identity server就需要对token进行验证, 这个库就是对access token进行验证的. 通过nuget安装.
2、配置
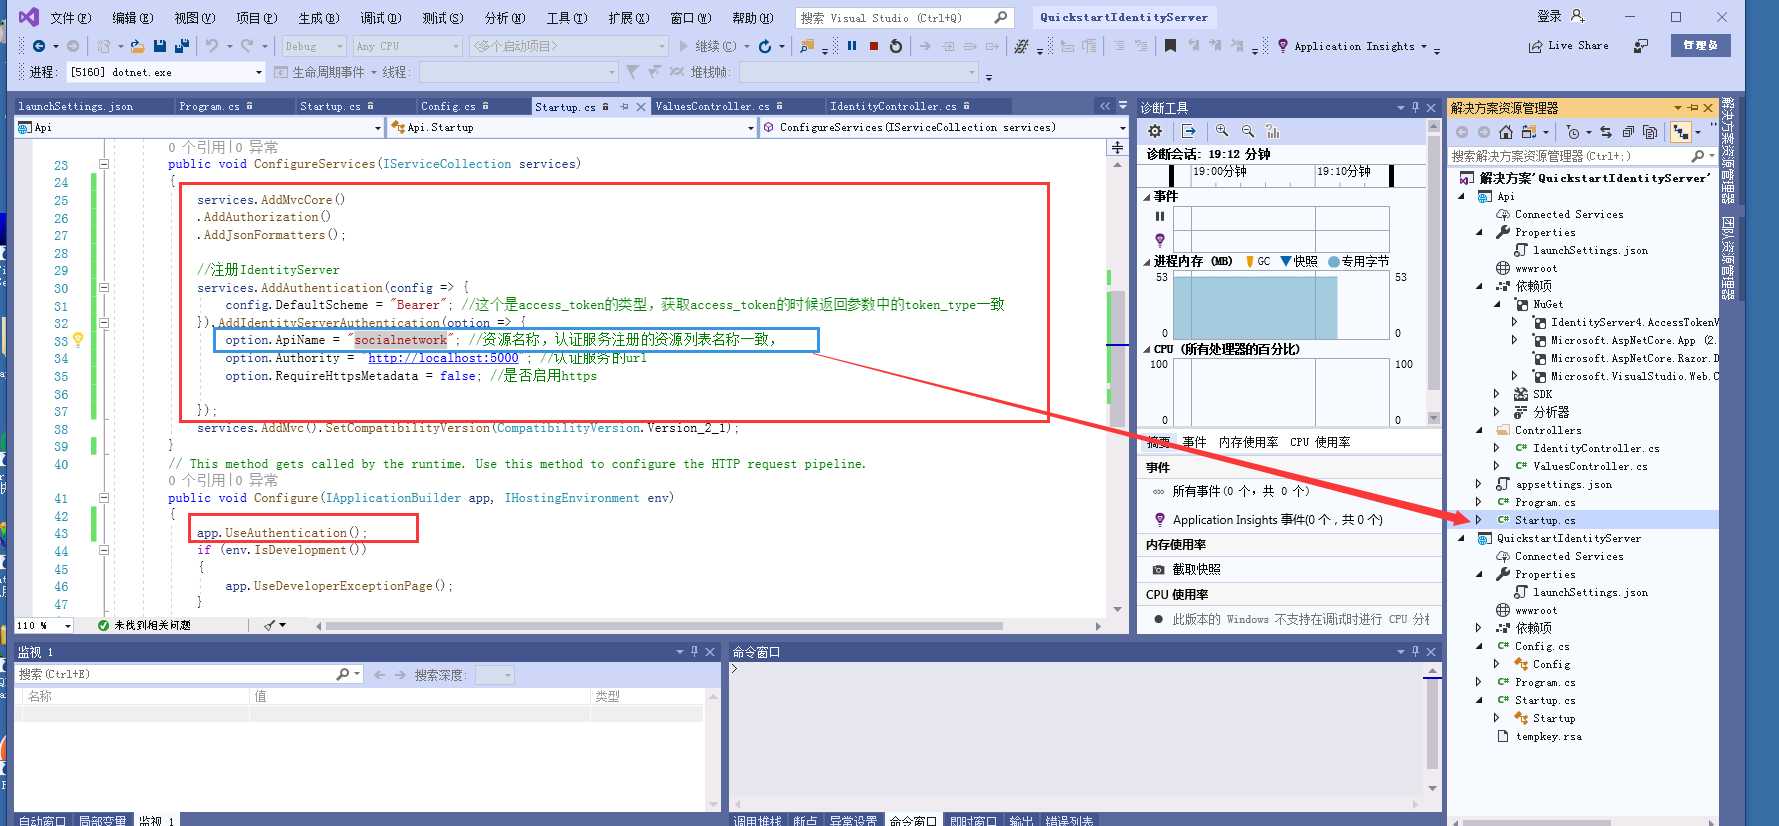
        public Startup(IConfiguration configuration)
        {
            Configuration = configuration;
        }
        public IConfiguration Configuration { get; }
        // This method gets called by the runtime. Use this method to add services to the container.
        public void ConfigureServices(IServiceCollection services)
        {
            services.AddMvcCore()
            .AddAuthorization() //将认证服务添加到DI,配置"Bearer"作为默认方案
            .AddJsonFormatters();

            //注册IdentityServer
            services.AddAuthentication(config => {
                config.DefaultScheme = "Bearer"; //这个是access_token的类型,获取access_token的时候返回参数中的token_type一致
            }).AddIdentityServerAuthentication(option => {//将IdentityServer访问令牌验证处理程序添加到DI中以供身份验证服务使用
                option.ApiName = "socialnetwork"; //资源名称,认证服务注册的资源列表名称一致(该Api项目对应的IdentityServer的Api资源,与GetApiResources方法里面的Api名称对应),
                option.Authority = "http://localhost:5000"; //认证服务的url
                option.RequireHttpsMetadata = false; //是否启用https

            });
            services.AddMvc().SetCompatibilityVersion(CompatibilityVersion.Version_2_1);
        }
        // This method gets called by the runtime. Use this method to configure the HTTP request pipeline.
        public void Configure(IApplicationBuilder app, IHostingEnvironment env)
        {
            app.UseAuthentication(); //将认证中间件添加到流水线中,以便在对主机的每次呼叫时自动执行认证
            if (env.IsDevelopment())
            {
                app.UseDeveloperExceptionPage();
            }

            app.UseMvc();
        }
    }
3、添加WebApi资源服务器(就是拿到Token用来请求WebApi接口)
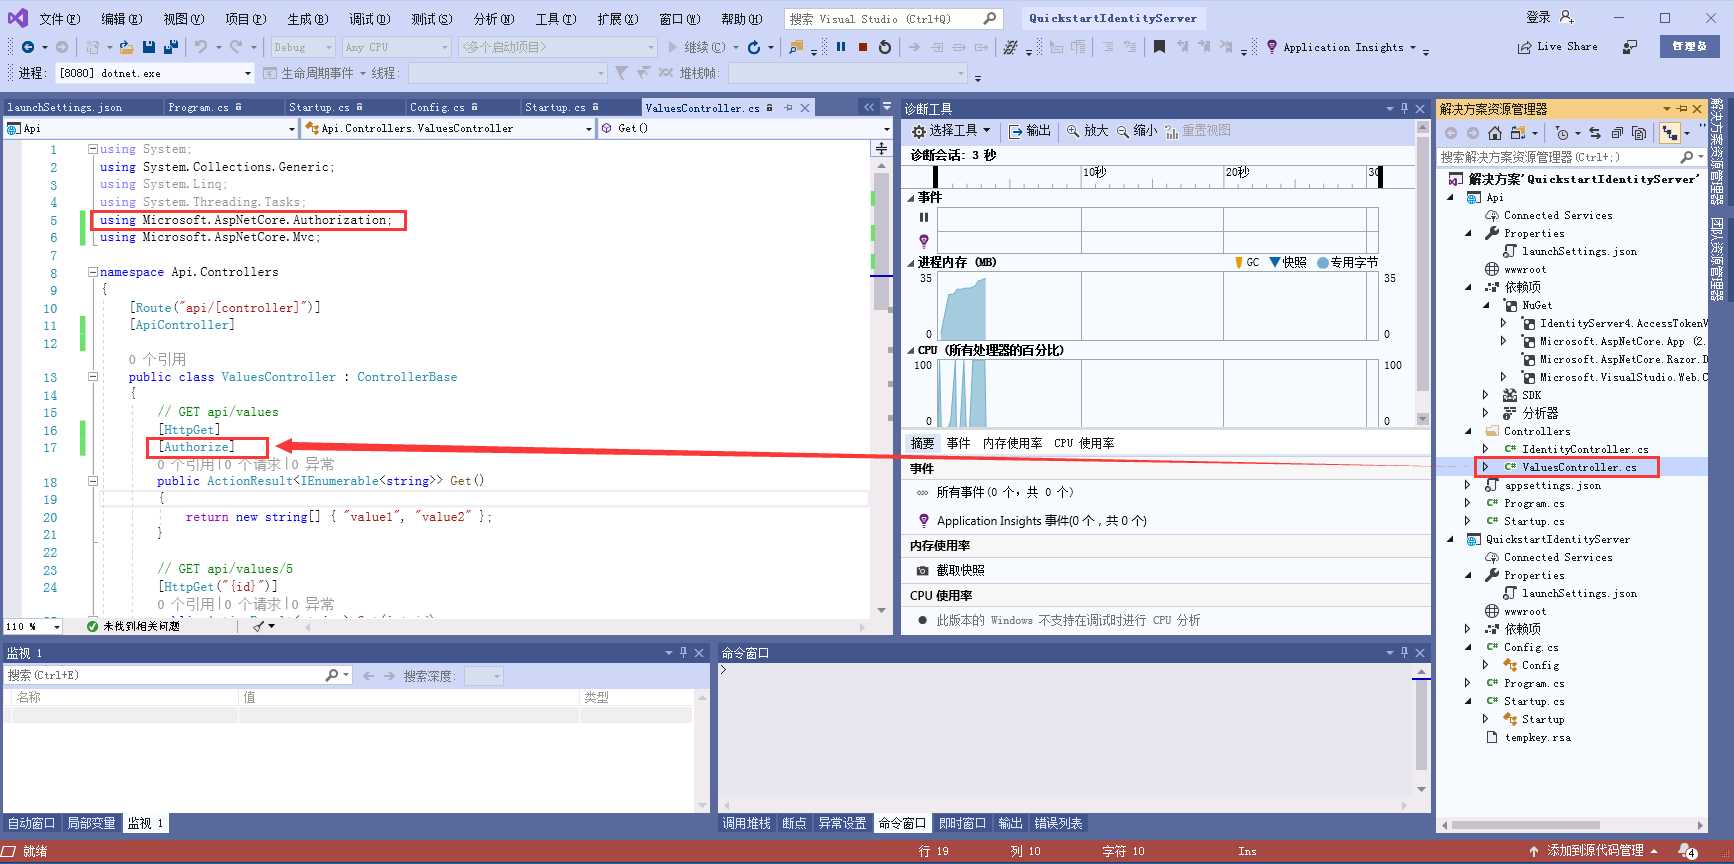
3.1、已有控制器添加[Authorize]特性,用来测试访问:这里注意要添加[Authorize]特性。用来做验证是否有权限的。没有的话,以上做的没有意义。需要引用命名空间:using Microsoft.AspNetCore.Authorization;
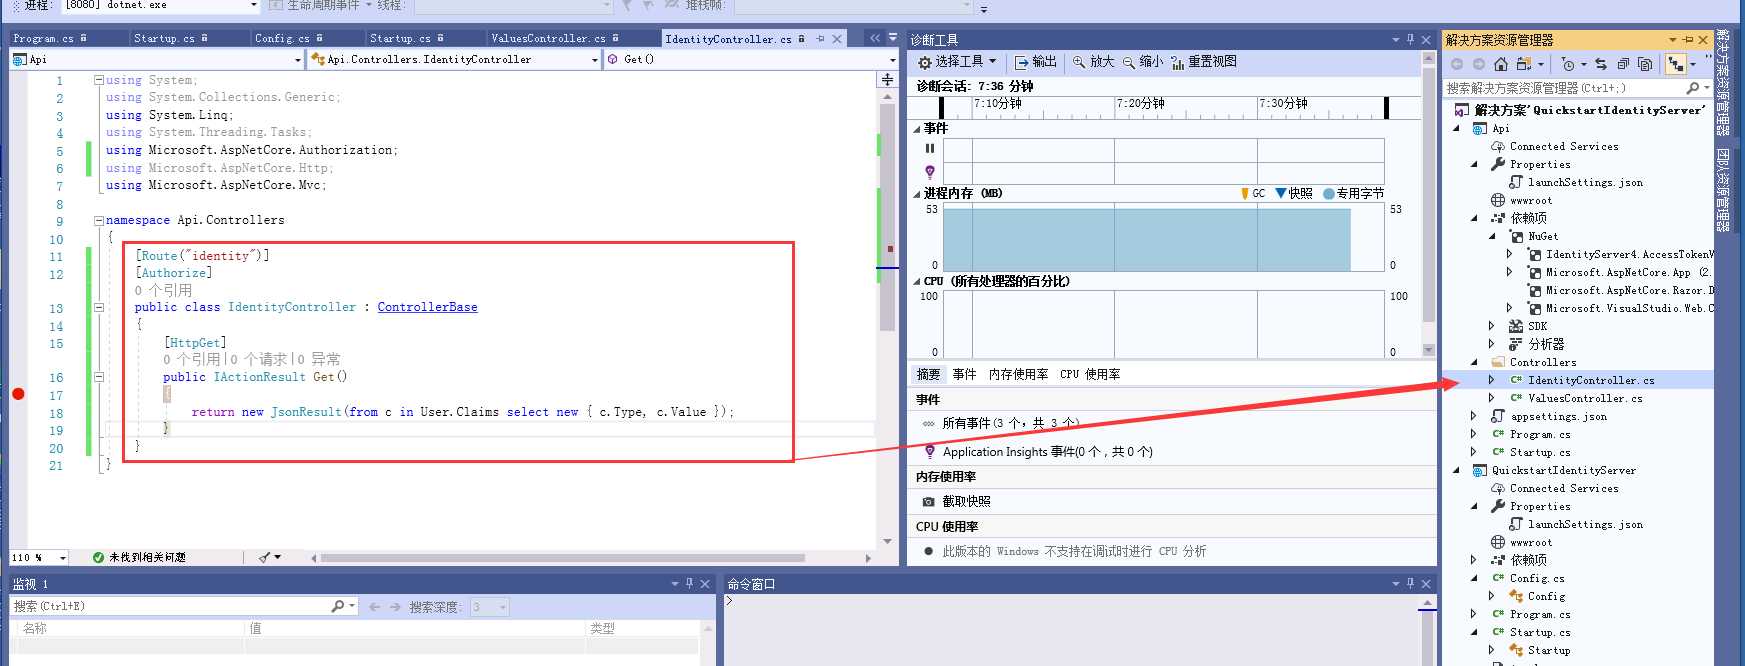
3.2、在项目Api中新增接口文件IdentityController.cs,用于测试授权
如果你直接访问http://localhost:5001/identity ,你会得到一个401错误,因为调用这个接口需要凭证
    [Route("identity")]
    [Authorize]
    public class IdentityController : ControllerBase
    {
        [HttpGet]
        public IActionResult Get()
        {   //这里是查询声明身份
            return new JsonResult(from c in User.Claims select new { c.Type, c.Value });
        }
    }
图
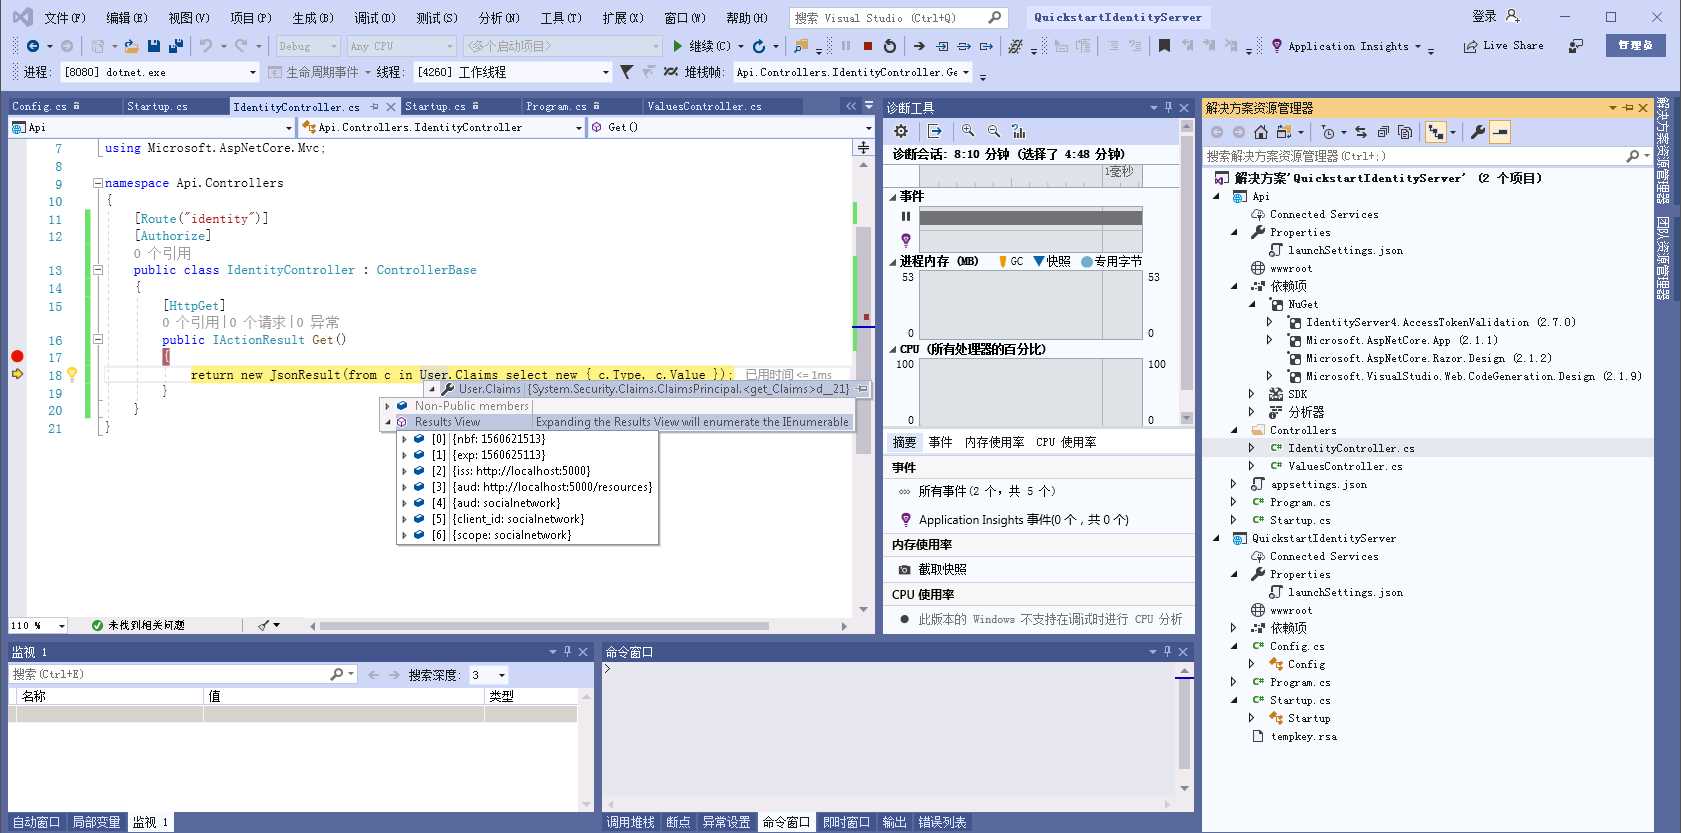
我们分别启动这两个项目,5000端口代表授权服务器,5001代表Api服务器
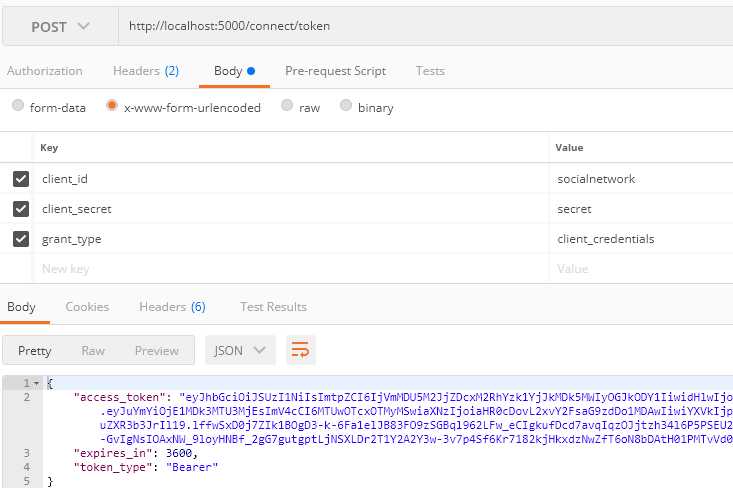
使用postman来测试调用
测试1(从授权服务器拿到token)
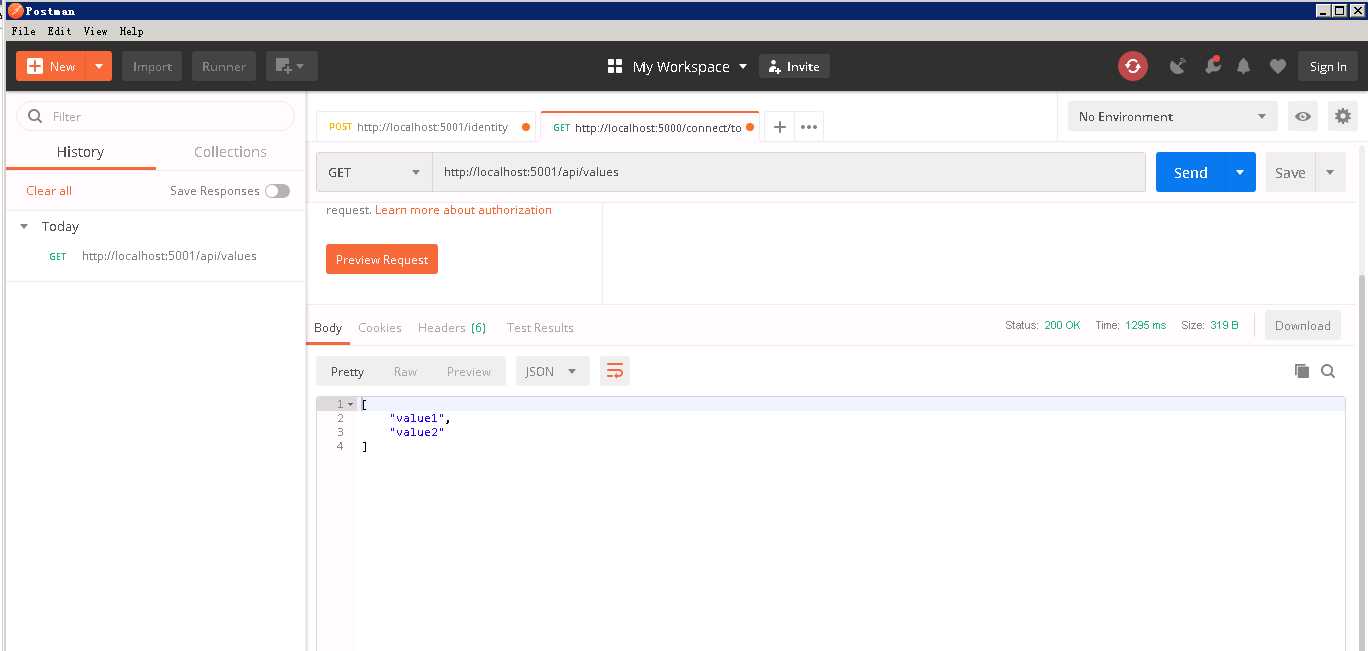
测试2(拿token去访问WebApi资源)
把access_token贴到Authorization Header的值里面, 前边要加上Bearer表示类型, 还有一个空格.
或者直接
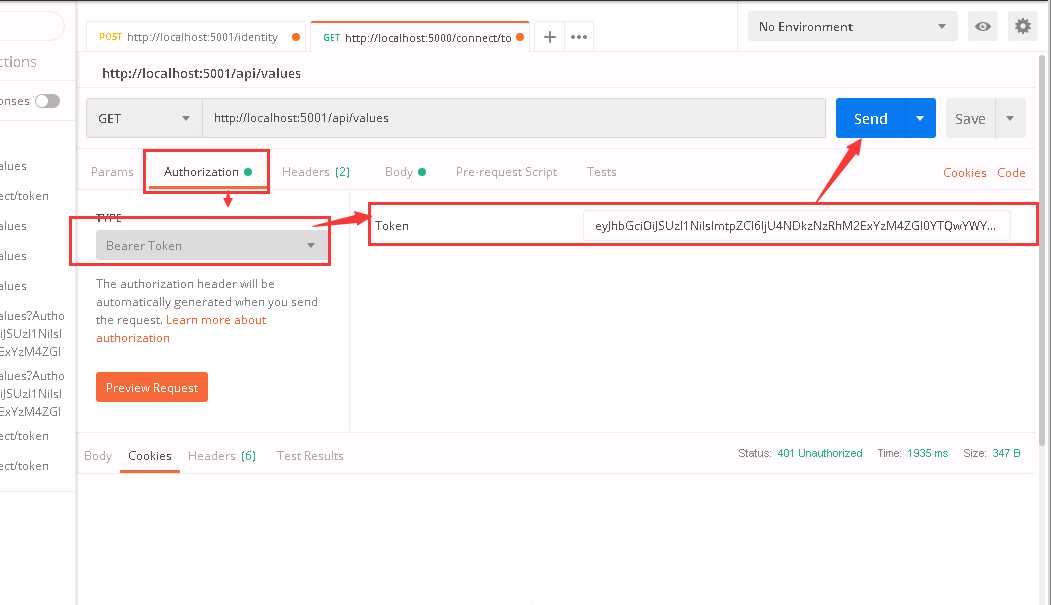
是因为资源配置不一致:
图如下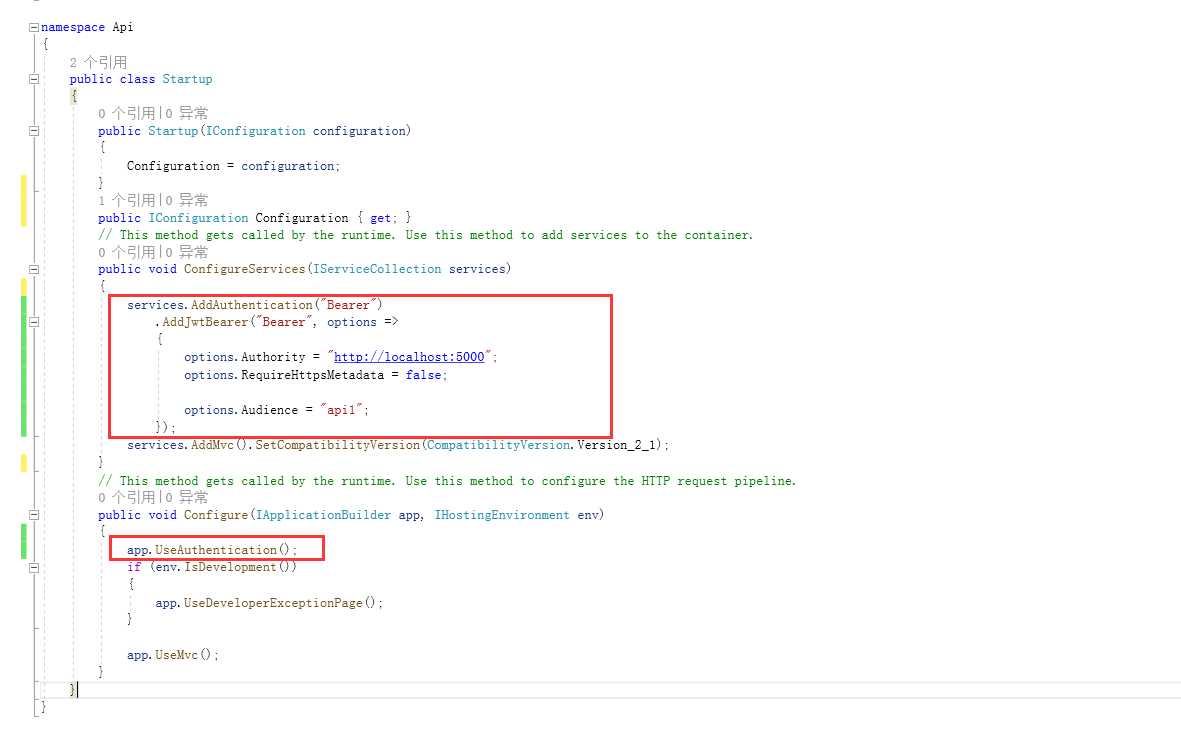
public class Startup
    {
        public Startup(IConfiguration configuration)
        {
            Configuration = configuration;
        }
        public IConfiguration Configuration { get; }
        // This method gets called by the runtime. Use this method to add services to the container.
        public void ConfigureServices(IServiceCollection services)
        {
            services.AddAuthentication("Bearer")
                .AddJwtBearer("Bearer", options =>
                {
                    options.Authority = "http://localhost:5000";
                    options.RequireHttpsMetadata = false;

                    options.Audience = "api1";
                });
            services.AddMvc().SetCompatibilityVersion(CompatibilityVersion.Version_2_1);
        }
        // This method gets called by the runtime. Use this method to configure the HTTP request pipeline.
        public void Configure(IApplicationBuilder app, IHostingEnvironment env)
        {
            app.UseAuthentication();
            if (env.IsDevelopment())
            {
                app.UseDeveloperExceptionPage();
            }

            app.UseMvc();
        }
    }
续IDS4建立Authorization server和Client
标签:中间件 nts tar die https metadata configure eth tty
原文地址:https://www.cnblogs.com/fger/p/11029478.html