标签:detail example line 设置图 图片 false imshow 效果 odi
pip安装
1 python3.6 -m pip install wordcloud -i https://mirrors.aliyun.com/pypi/simple/ --trusted-host mirrors.aliyun.com
conda安装
1 conda install -c conda-forge wordcloud
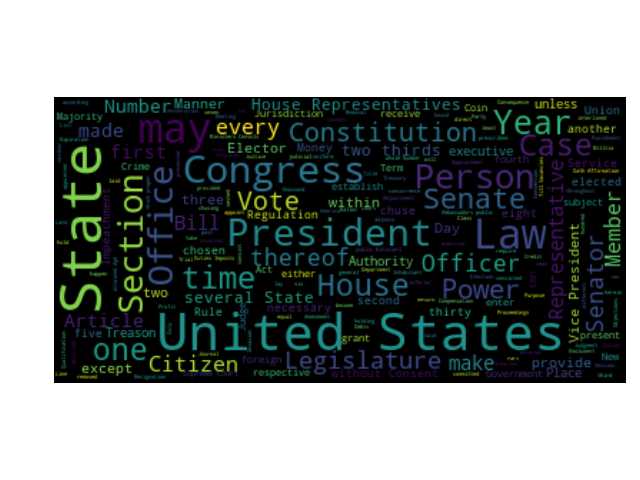
from wordcloud import WordCloud, STOPWORDS
#
# sample_text_path = "../data/constitution.txt"
#
# # 读取文本
# text = open(sample_text_path).read()
#
# # 生成词云实例,generate对text分词
# word_cloud = WordCloud().generate(text)
#
# # 展示生成的图片
# # 使用matplotlib
# import matplotlib.pyplot as plt
# plt.imshow(word_cloud, interpolation=‘bilinear‘)
# plt.axis("off")
# plt.show()
#
# # max_font_size 调低最大字体
# word_cloud = WordCloud(max_font_size=40).generate(text)
# plt.figure()
# plt.imshow(word_cloud, interpolation=‘bilinear‘)
# plt.axis(‘off‘)
# plt.show()
#
# # width,height,margin可以设置图片属性
# # font_path参数来设置字体集
# # background_color参数为设置背景颜色,默认颜色为黑色
#
# # 保存图片
# word_cloud.to_file(‘./test.png‘)
效果:
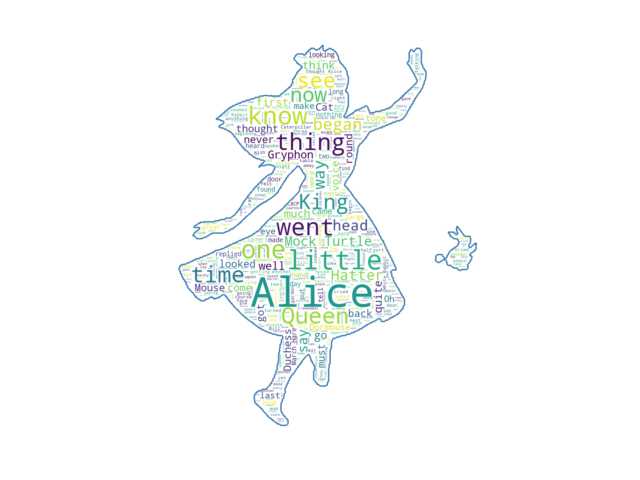
 1 from wordcloud import WordCloud, STOPWORDS, ImageColorGenerator
 2 from PIL import Image
 3 import numpy as np
 4 import matplotlib.pyplot as plt
 5
 6 sample_text_path = "../data/alice.txt"
 7 sample_image_path = ‘../data/alice_mask.png‘
 8
 9 # 读取文本
10 text = open(sample_text_path).read()
11
12 # 读取 mask image
13 alice_mask = np.array(Image.open(sample_image_path))
14
15 stop_words = set(STOPWORDS)
16 stop_words.add(‘said‘)
17
18
19 word_cloud = WordCloud(background_color=‘white‘,
20                        max_words=2000,
21                        mask=alice_mask,
22                        stopwords=stop_words,
23                        contour_width=3,
24                        contour_color=‘steelblue‘).generate(text)
25 # word_cloud.to_file(‘./alice/png‘)
26
27
28 plt.imshow(word_cloud, interpolation=‘bilinear‘)
29
30
31 plt.axis(‘off‘)
32 plt.figure()
33 plt.show()
效果:
 1 from wordcloud import WordCloud, STOPWORDS, ImageColorGenerator
 2 from PIL import Image
 3 import numpy as np
 4 import matplotlib.pyplot as plt
 5
 6 sample_text_path = "../data/alice.txt"
 7 sample_image_path = ‘../data/alice_mask.png‘
 8
 9 # 读取文本
10 text = open(sample_text_path).read()
11
12 # 读取 mask image
13 alice_mask = np.array(Image.open(sample_image_path))
14
15 stop_words = set(STOPWORDS)
16 stop_words.add(‘said‘)
17
18
19 word_cloud = WordCloud(background_color=‘white‘,
20                        max_words=2000,
21                        mask=alice_mask,
22                        stopwords=stop_words,
23                        contour_width=3,
24                        contour_color=‘steelblue‘).generate(text)
25 # word_cloud.to_file(‘./alice/png‘)
26
27 #方法一:单独列
28 image_colors_byImg = ImageColorGenerator(alice_mask)
29
30 plt.imshow(word_cloud, interpolation=‘bilinear‘)
31
32 #方法,加到imshow中
33 plt.imshow(word_cloud.recolor(image_colors_byImg), interpolation=‘bilinear‘)
34
35 plt.axis(‘off‘)
36 plt.figure()
37 plt.show()
会报错 NotImplementedError: Gray-scale images TODO, 方法是换过一张图片
参照:https://blog.csdn.net/heyuexianzi/article/details/76851377
使用jeiba
 1 import jieba
 2
 3 # The function for processing text with Jieba
 4 def jieba_processing_txt(text):
 5     for word in userdict_list:
 6         jieba.add_word(word)
 7
 8     mywordlist = []
 9     seg_list = jieba.cut(text, cut_all=False)
10     liststr = "/ ".join(seg_list)
11
12     with open(stopwords_path, encoding=‘utf-8‘) as f_stop:
13         f_stop_text = f_stop.read()
14         f_stop_seg_list = f_stop_text.splitlines()
15
16     for myword in liststr.split(‘/‘):
17         if not (myword.strip() in f_stop_seg_list) and len(myword.strip()) > 1:
18             mywordlist.append(myword)
19     return ‘ ‘.join(mywordlist)
参考文档:
https://github.com/amueller/word_cloud/tree/master/examples
标签:detail example line 设置图 图片 false imshow 效果 odi
原文地址:https://www.cnblogs.com/huangm1314/p/11334567.html