标签:背景 初始 cmd post 格式 lis dir hid tab
制作一个最小的CentOS6系统首先要明确一下CentOS6启动的过程
POST -> BootSequence(BIOS) -> Bootloader(MBR) -> Kernel(ramdisk) -> rootfs -> switchroot -> /sbin/init -> (/etc/inittab,/etc/init/*.conf) -> 设置默认运行级别 -> 系统初始化脚本 ->关闭或启动对应级别下的服务 -> 启动终端
1、POST不用管,硬件的事
2、BootSequence,手动选择某个硬盘启动即可
3、Bootloader即stage1.0阶段,使用grub-install生成
stage1.5阶段也用grub-install生成
4、stage2.0阶段即内核文件vmlinuz和ramdisk镜像从源系统复制一份
然后需要grub文件,CentOS6就手动写一份吧,格式如下:
default=#:设定默认启动的菜单项;落单项(title)编号从0开始
timeout=#:指定菜单等待选项选择的时长
splashimage=(hd#,#)/PATH/TO/XPM_PIC_FILE:指定菜单背景图片
hiddenmenu:隐藏菜单
title TITLE:定义菜单标题
    root(hd#,#)grub查找stage2及kernel文件所在的设备分区:为grub的根
    kernel /PATH/TO/VMLINUZ_FILE:启动的内核
    initrd /PATH/TO/INITRAMFS_FILE:内核匹配的ramfs文件
    password [--md5] STRING:菜单编辑认证
5、复制几个命令,开启也别启动/sbin/init,直接启动/bin/bash行了
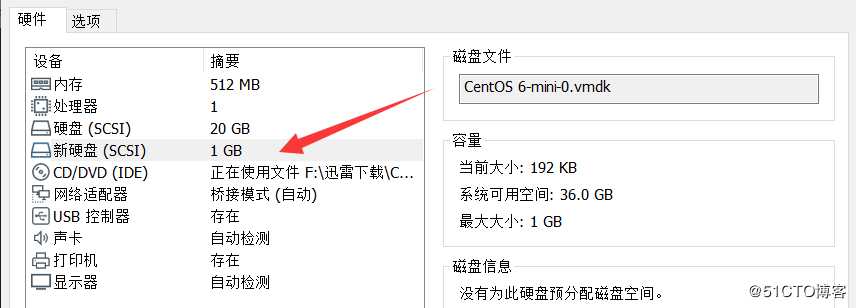
swap分区可以不要,刚开始启动不起来,我还以为是缺少swap分区,后来发现,是因为selinux问题,grub.conf里面kernel哪一行加上selinux=0即可
[root@localhost ~]# for i in `seq 0 2`;do echo - - - >/sys/class/scsi_host/host$i/scan;done
[root@localhost ~]# lsblk /dev/sdb -f
NAME FSTYPE LABEL UUID MOUNTPOINT
sdb
#一个boot分区,一个根分区算了
[root@localhost ~]# fdisk /dev/sdb
Command (m for help): n
p
Partition number (1-4): 1
First cylinder (1-130, default 1):
Last cylinder, +cylinders or +size{K,M,G} (1-130, default 130): +300M
Command (m for help): n
p
Partition number (1-4):
Partition number (1-4): 2
Last cylinder, +cylinders or +size{K,M,G} (40-130, default 130): +100M
Command (m for help): t
Partition number (1-4): 2
Hex code (type L to list codes): 82
Command (m for help): n
p
Partition number (1-4): 3
Last cylinder, +cylinders or +size{K,M,G} (54-130, default 130):
Command (m for help): w
The partition table has been altered!
#创建文件系统
[root@localhost ~]# mkfs.ext4 /dev/sdb1
[root@localhost ~]# mkswap /dev/sdb2
[root@localhost ~]# mkfs.ext4 /dev/sdb3
[root@localhost ~]# lsblk -f /dev/sdb
NAME   FSTYPE LABEL UUID                                 MOUNTPOINT
sdb
├─sdb1 ext4         54632ecc-7b84-400e-9c44-bc01edf500b5
├─sdb2 swap         6ca8ef8e-3753-447e-ba89-569b6258ea25
└─sdb3 ext4         a80dd4f2-d9f6-4eb0-909a-54d1ac06fd6b
#临时挂
[root@localhost ~]# mkdir /mnt/{boot,sysroot}
[root@localhost ~]# mount /dev/sdb1 /mnt/boot/
[root@localhost ~]# mount /dev/sdb3 /mnt/sysroot/
[root@localhost ~]# grub-install --root-directory=/mnt /dev/sdb
Probing devices to guess BIOS drives. This may take a long time.
Installation finished. No error reported.
This is the contents of the device map /mnt/boot/grub/device.map.
Check if this is correct or not. If any of the lines is incorrect,
fix it and re-run the script `grub-install‘.

(fd0)   /dev/fd0
(hd0)   /dev/sda
(hd1) /dev/sdb[root@localhost ~]# cp /boot/vmlinuz-2.6.32-754.el6.x86_64 /mnt/boot/vmlinuz
[root@localhost ~]# cp /boot/initramfs-2.6.32-754.el6.x86_64.img /mnt/boot/initramfs.img手写grub.conf,照着/boot/grub/grub.conf
注意:selinux=0不启用selinux,init=/bin/bash表示开机使用/bin/bash,不使用/sbin/init
[root@localhost ~]# cat /mnt/boot/grub/grub.conf
default=0
timeout=5
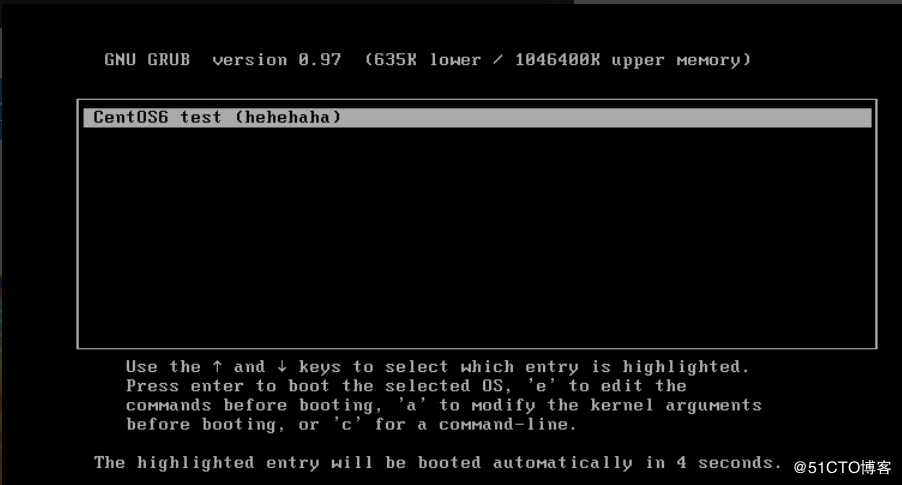
title CentOS6 test (hehehaha)
kernel /vmlinuz ro root=/dev/sda3 selinux=0 init=/bin/bash
initrd /initramfs.img[root@localhost sysroot]# mkdir home tmp root usr lib lib64 proc etc mnt bin sbin dev opt var sys
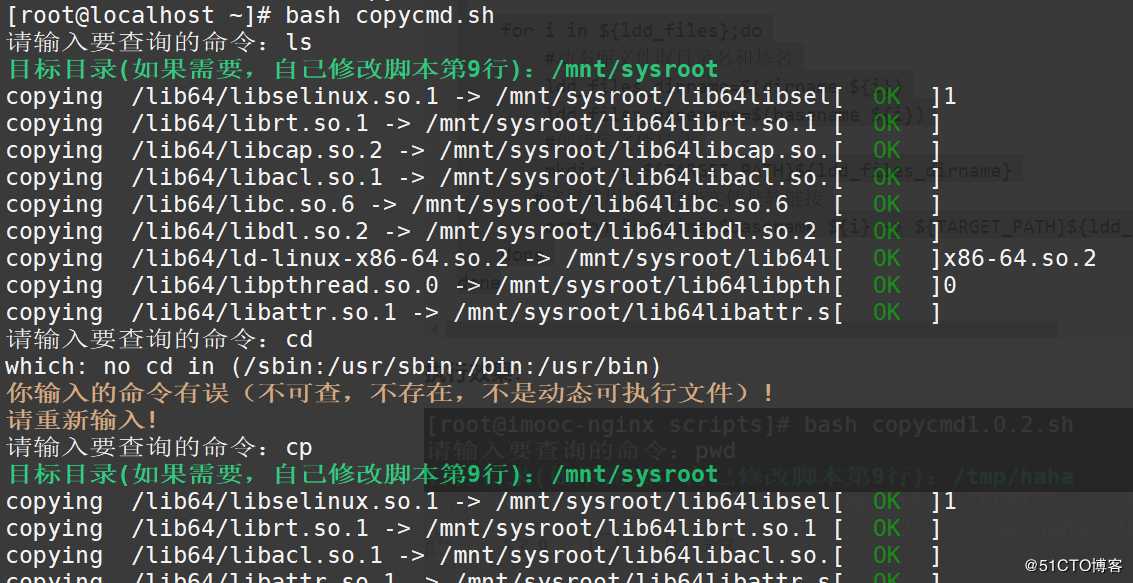
切根试试:
[root@localhost ~]# chroot /mnt/sysroot/
bash-4.1# ls
bin  etc   lib    mnt  proc  sbin  tmp  var
dev  home  lib64  opt  root  sys   usr
bash-4.1# pwd
/
bash-4.1# cd root
bash-4.1# pwd
/root
顺便复制个网卡驱动
[root@localhost ~]# ethtool -i eth0
driver: e1000
version: 7.3.21-k8-NAPI
firmware-version:
bus-info: 0000:02:01.0
supports-statistics: yes
supports-test: yes
supports-eeprom-access: yes
supports-register-dump: yes
supports-priv-flags: no
[root@localhost ~]# find / -name e1000.ko
/lib/modules/2.6.32-754.el6.x86_64/kernel/drivers/net/e1000/e1000.ko
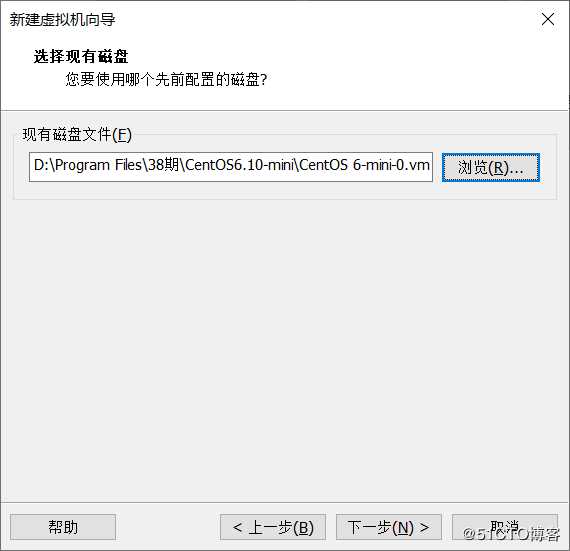
[root@localhost ~]# cp /lib/modules/2.6.32-754.el6.x86_64/kernel/drivers/net/e1000/e1000.ko /mnt/sysroot/lib/自定义创建虚拟机
神奇的grub界面:
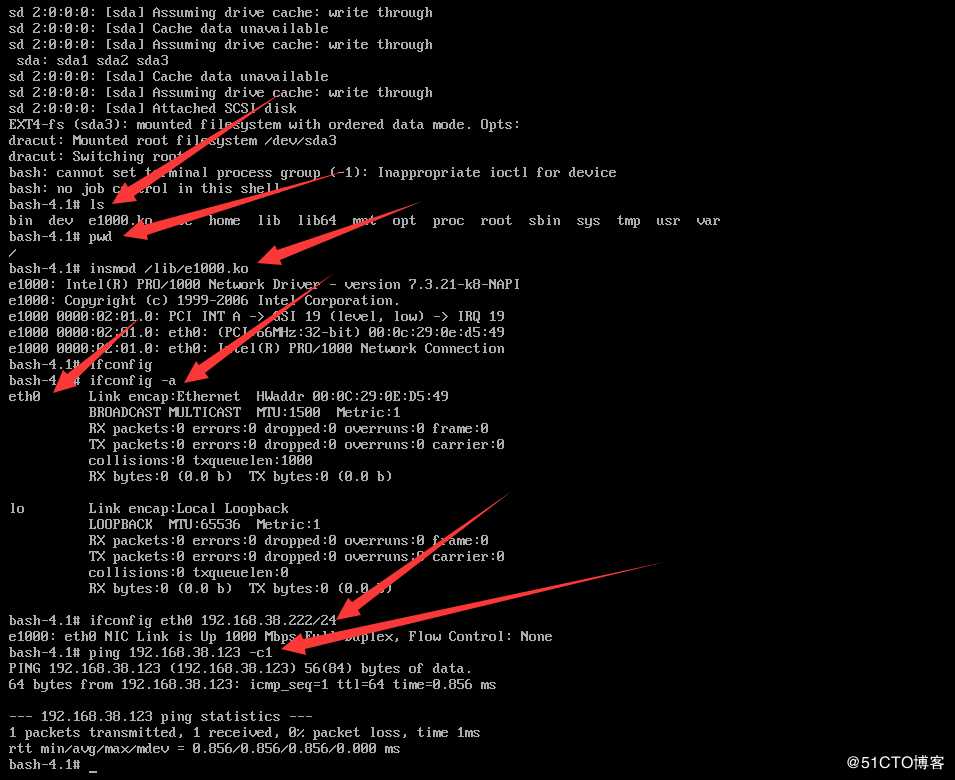
进去之后,加载网卡,配IP,ping一下别的虚拟机
LFS:构建最小Linux文档:https://lctt.github.io/LFS-BOOK/
标签:背景 初始 cmd post 格式 lis dir hid tab
原文地址:https://blog.51cto.com/14012942/2434184