标签:oat out binding nbsp mic cuda directory sea https
CTC安装:
1. 在终端执行命令:git clone https://github.com/SeanNaren/warp-c)
(效果如下图,大家不用管我前面括号的内容,那是我打开的虚拟环境)

2. 打开warp-ctc文件夹:cd warp-ctc
3.执行命令:git checkout ac045b6072b9bc3454fb9f9f17674f0d59373789
(这条命令要执行,不然会出现binding.cpp:6:29: fatal error: torch/extension.h: No such file or directory这个错误.
详情请见:https://www.cnblogs.com/elitphil/p/11451494.html)
4. 执行命令:mkdir build
5. 执行:cd build
6.执行:cmake ..
7. 执行:make
8.执行:cd ../pytorch_binding/
9.执行:python setup.py install
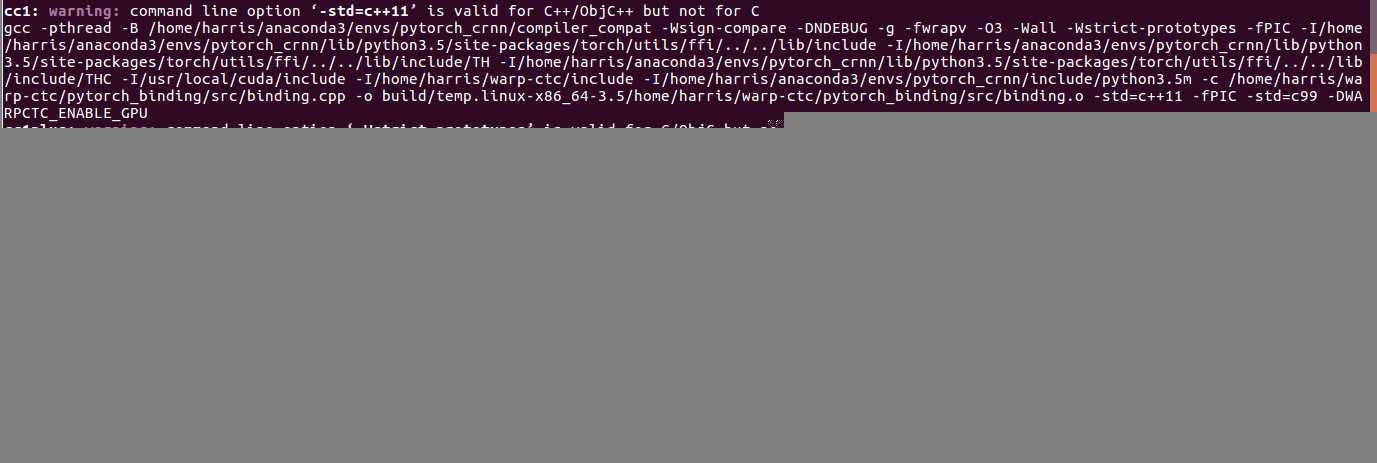
如果你出现以下错误:

莫慌。按照如下解决方案进行pytorch_bingding/src/binding.cpp的代码段修改。这是造成上述错误的主要原因(这是我从别的博客学的,在这里主要作为自己学习的记录以及后人避坑)。
1. binding.cpp文件的92行修改成如下:
int probs_size = THCudaTensor_size(state, probs, 2);
2. binding.cpp文件的105行修改成如下:
void* gpu_workspace;
THCudaMalloc(state, &gpu_workspace, gpu_size_bytes);
解决。
10. 接下重新执行:python setup.py install
安装完毕。
标签:oat out binding nbsp mic cuda directory sea https
原文地址:https://www.cnblogs.com/elitphil/p/11453453.html